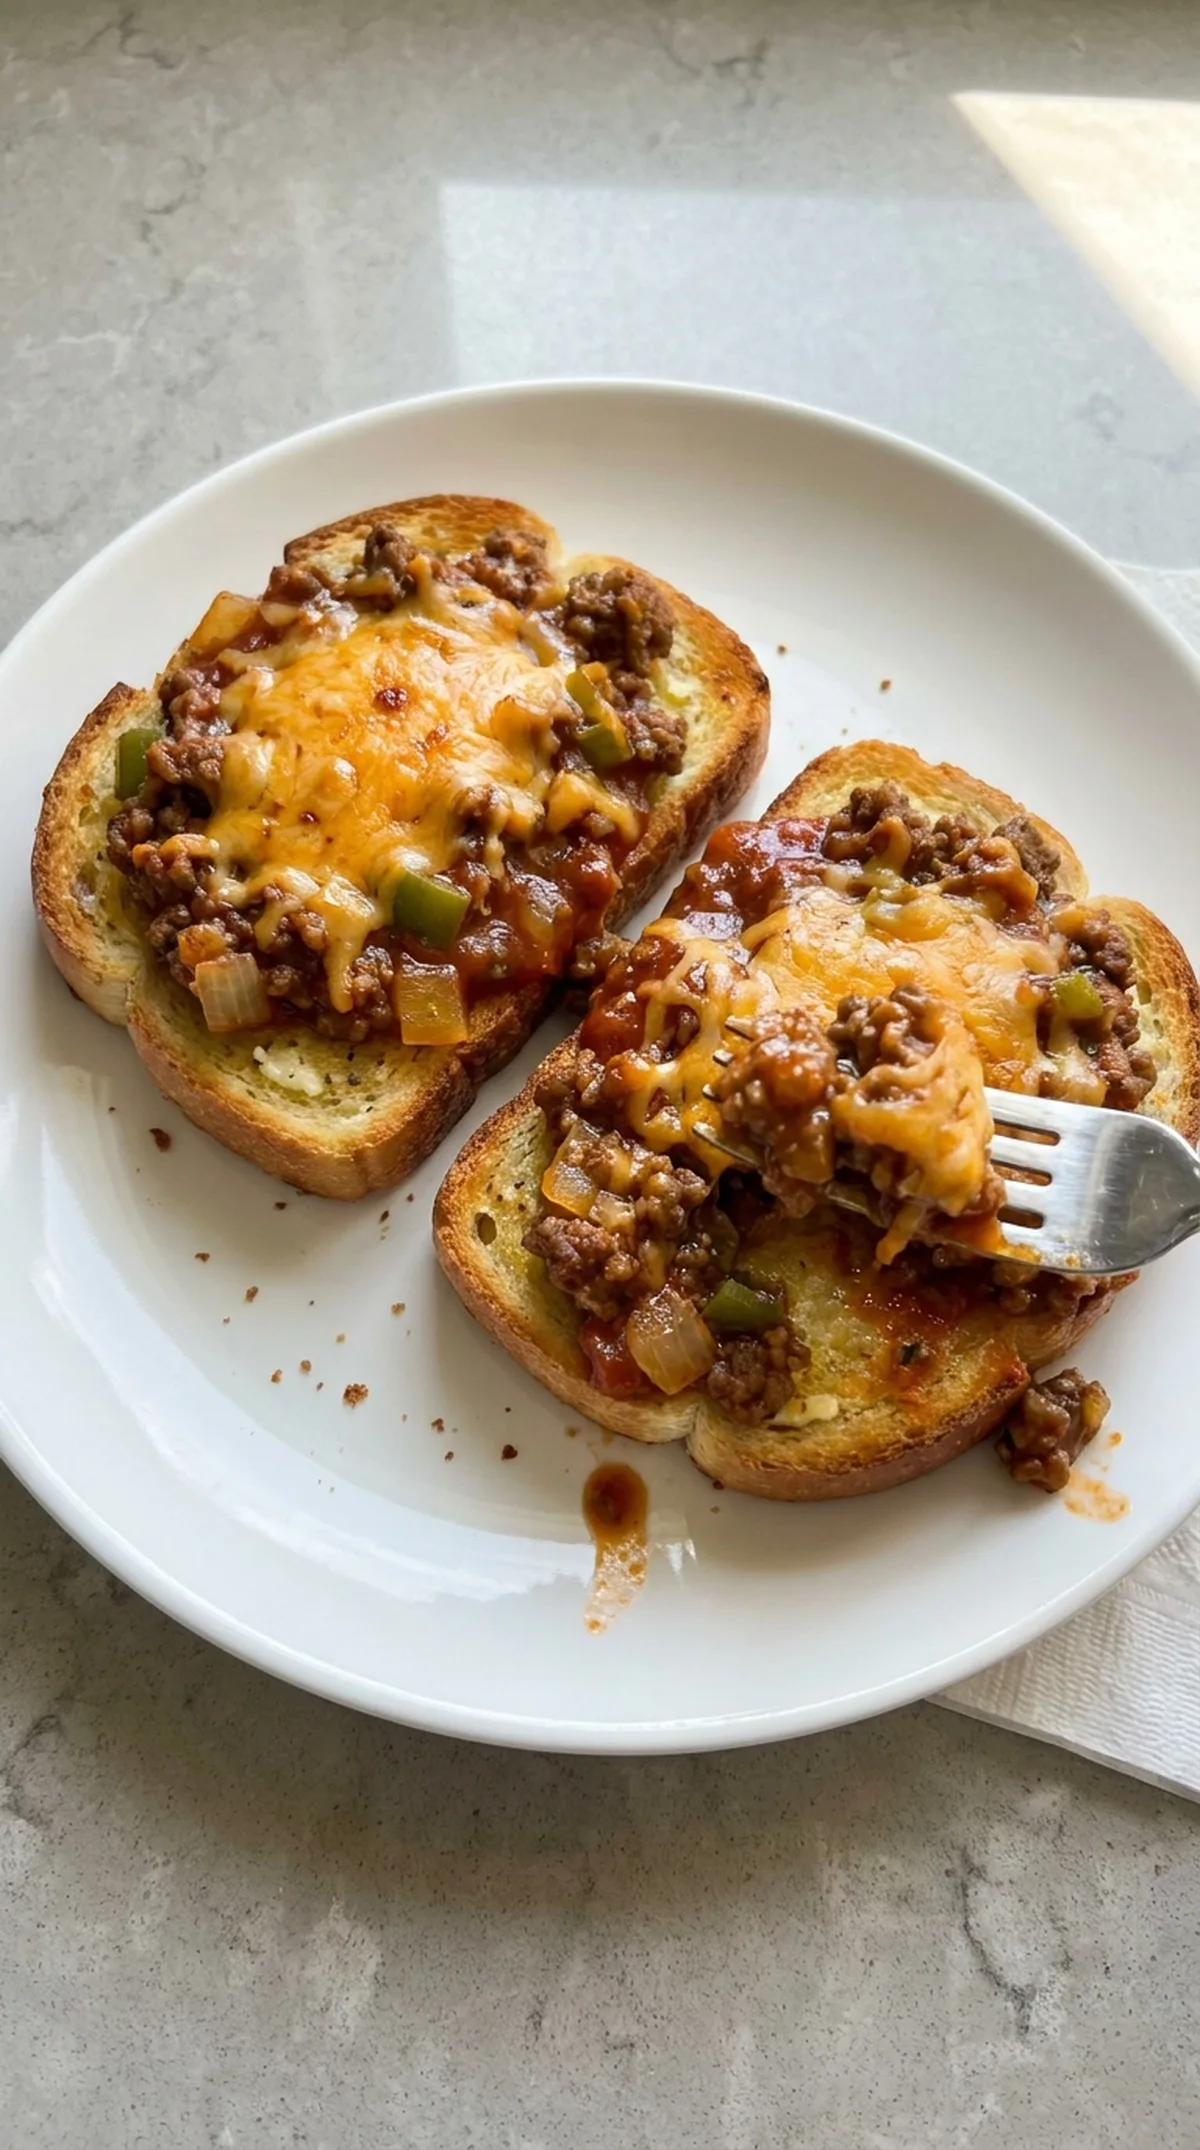
Ingredients
Method
Method
- Preheat the oven to 425°F (220°C). Line a large rimmed baking sheet with parchment paper or aluminum foil.
- Heat the olive oil in a 12-inch skillet over medium-high heat. Add the ground beef and cook for 5 to 7 minutes, breaking it into small crumbles. Continue until no pink remains and the beef reaches 160°F (71°C).
- If more than a thin coating of fat remains in the skillet, carefully spoon it out. Leaving too much grease can make the sloppy joe filling separate and soften the toast.
- Add the diced onion and green bell pepper to the beef. Reduce the heat to medium and cook for 4 to 5 minutes, stirring occasionally, until the onion is translucent and the pepper begins to soften. Add the garlic and cook for 30 seconds, just until fragrant.
- Stir in the tomato sauce, ketchup, Worcestershire sauce, mustard, brown sugar, smoked paprika, salt, and black pepper. Mix until the sauce is uniform and no streaks of mustard remain.
- Reduce the heat to medium-low and simmer uncovered for 8 to 10 minutes, stirring occasionally. The filling should be thick, glossy, and able to hold its shape briefly when pushed across the skillet. If it still looks watery, simmer for another 2 to 3 minutes.
- While the filling simmers, arrange the frozen Texas toast in a single layer on the prepared baking sheet. Bake for 4 to 5 minutes, until the bottoms are lightly crisp but the tops are not deeply browned.
- Remove the baking sheet from the oven: Turn each piece of toast over so the less-crisp side faces up. Spoon approximately 1/3 cup of sloppy joe filling onto each slice, spreading it close to the edges without pressing it into the bread.
- Sprinkle the shredded cheddar evenly over the eight sandwiches. Keep most of the cheese over the filling so it does not melt directly onto the pan.
- Return the baking sheet to the oven and bake for 4 to 6 minutes, until the cheese is fully melted and bubbling lightly around the edges. The toast should be deep golden underneath but not dark brown.
- Let the sandwiches stand on the baking sheet for 5 minutes. This allows the cheese to set slightly and makes the toast easier to lift without losing the filling. Garnish with chopped parsley, if using.
- Serve the Texas Toast Sloppy Joes warm: Use a fork and knife for less mess, or let them cool for another few minutes before picking them up.