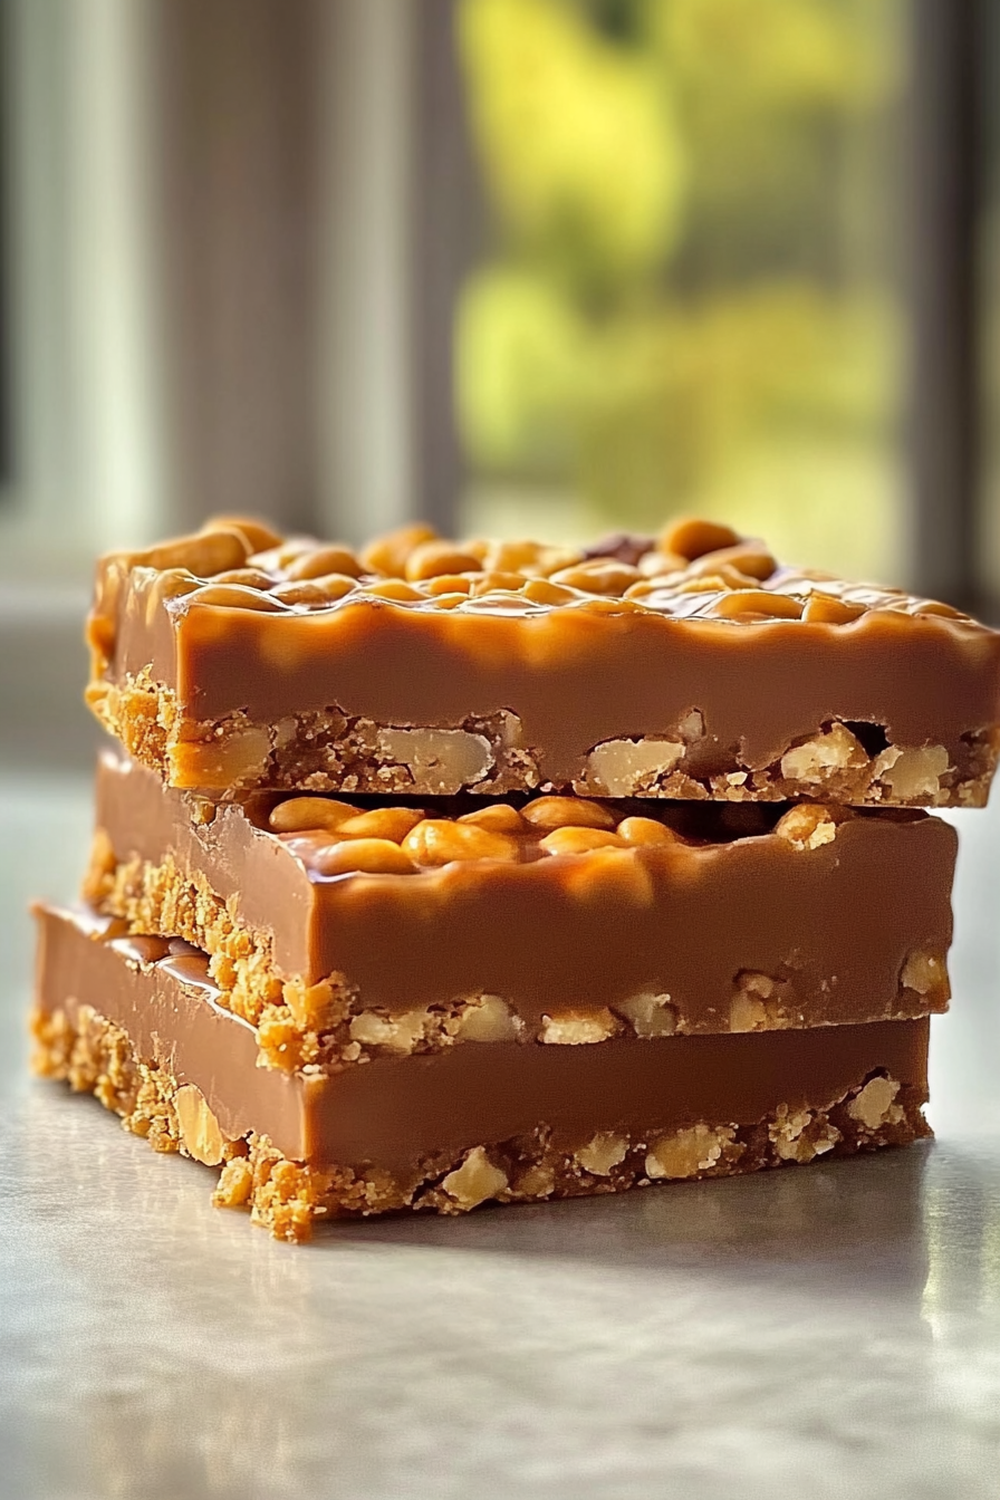
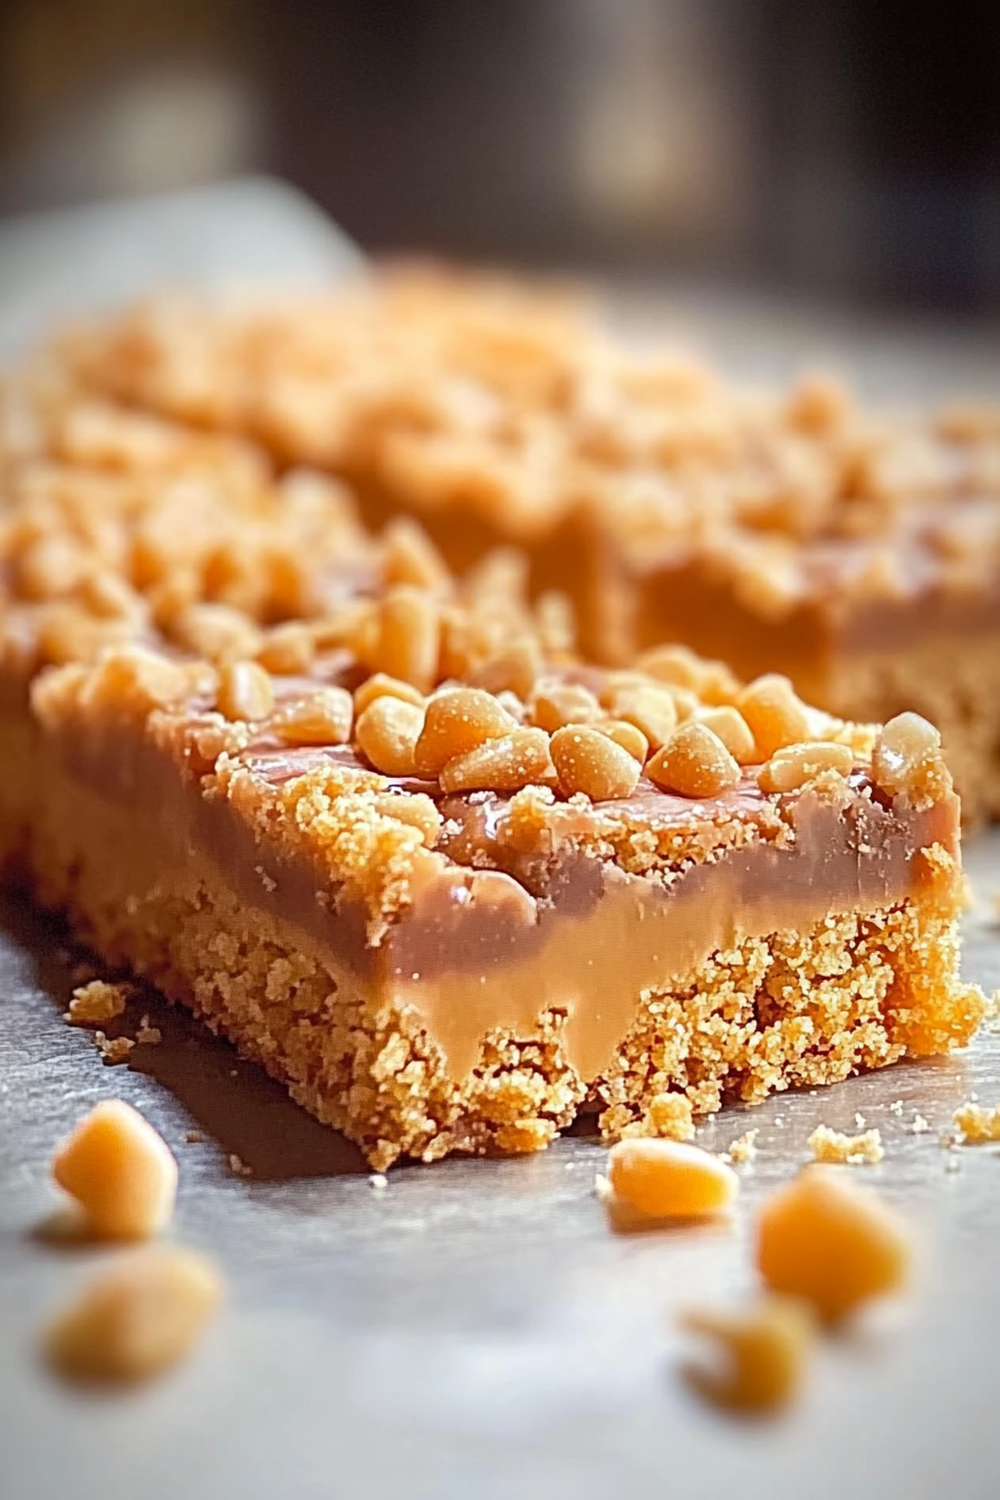
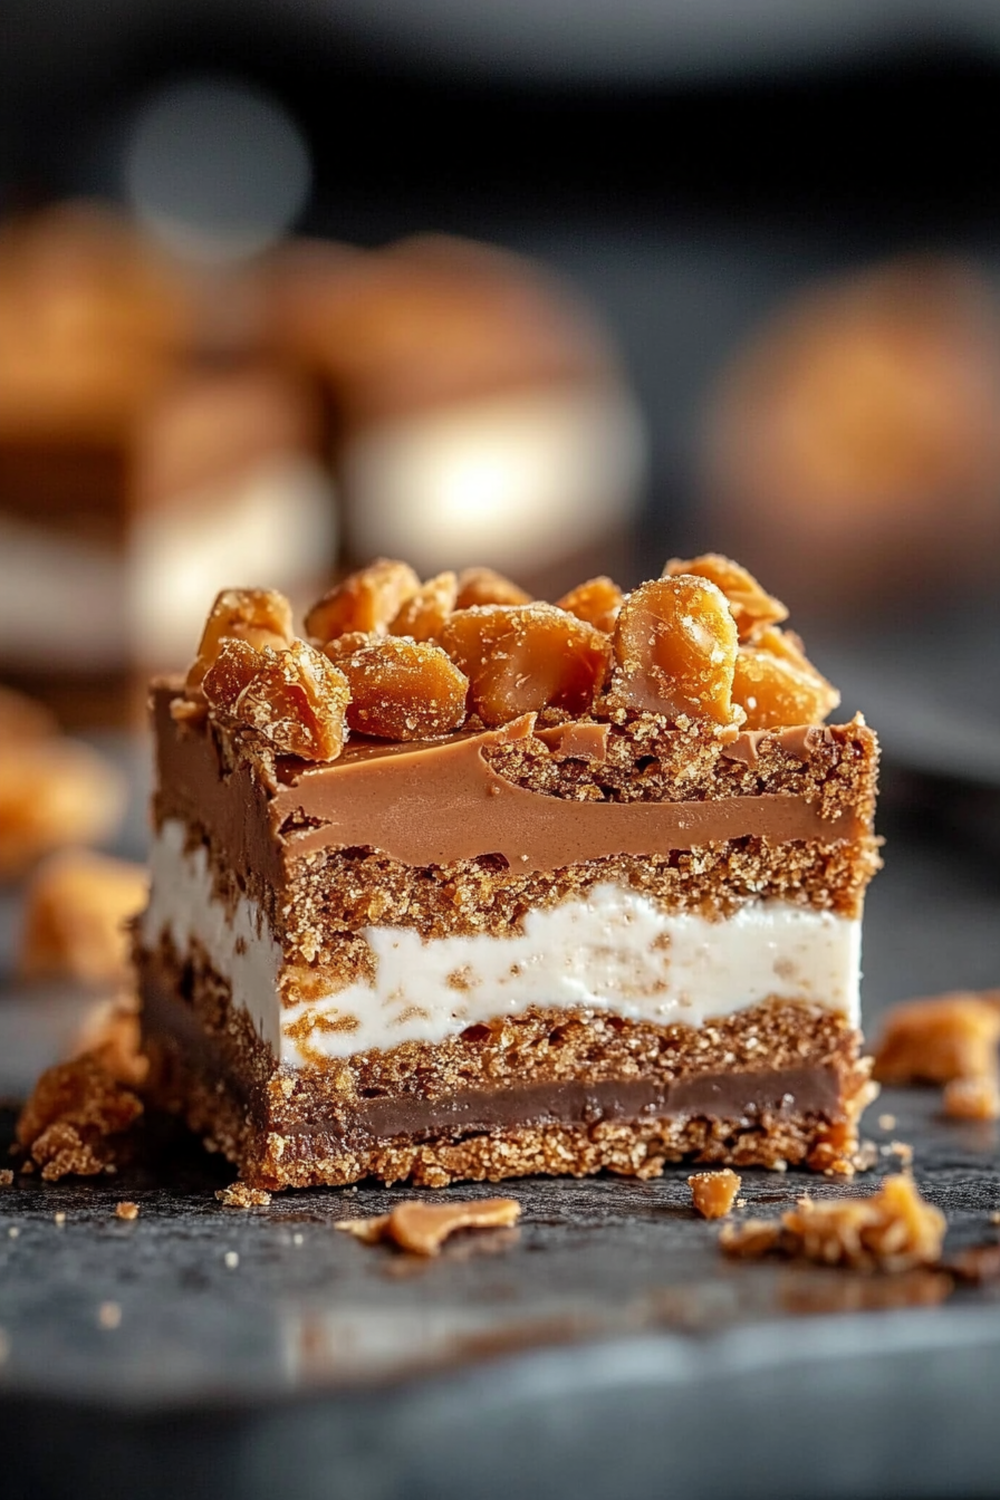
Are you ready to indulge in a sweet treat that combines crunchy textures with rich flavors? The Crunchy Butterfinger Bliss Bars are the ultimate dessert for those who crave something special. These bars mix the delightful taste of Butterfinger candy with smooth chocolate and creamy peanut butter, creating a heavenly treat that everyone will love. Perfect for parties, family gatherings, or a simple snack at home, these bars are sure to impress.
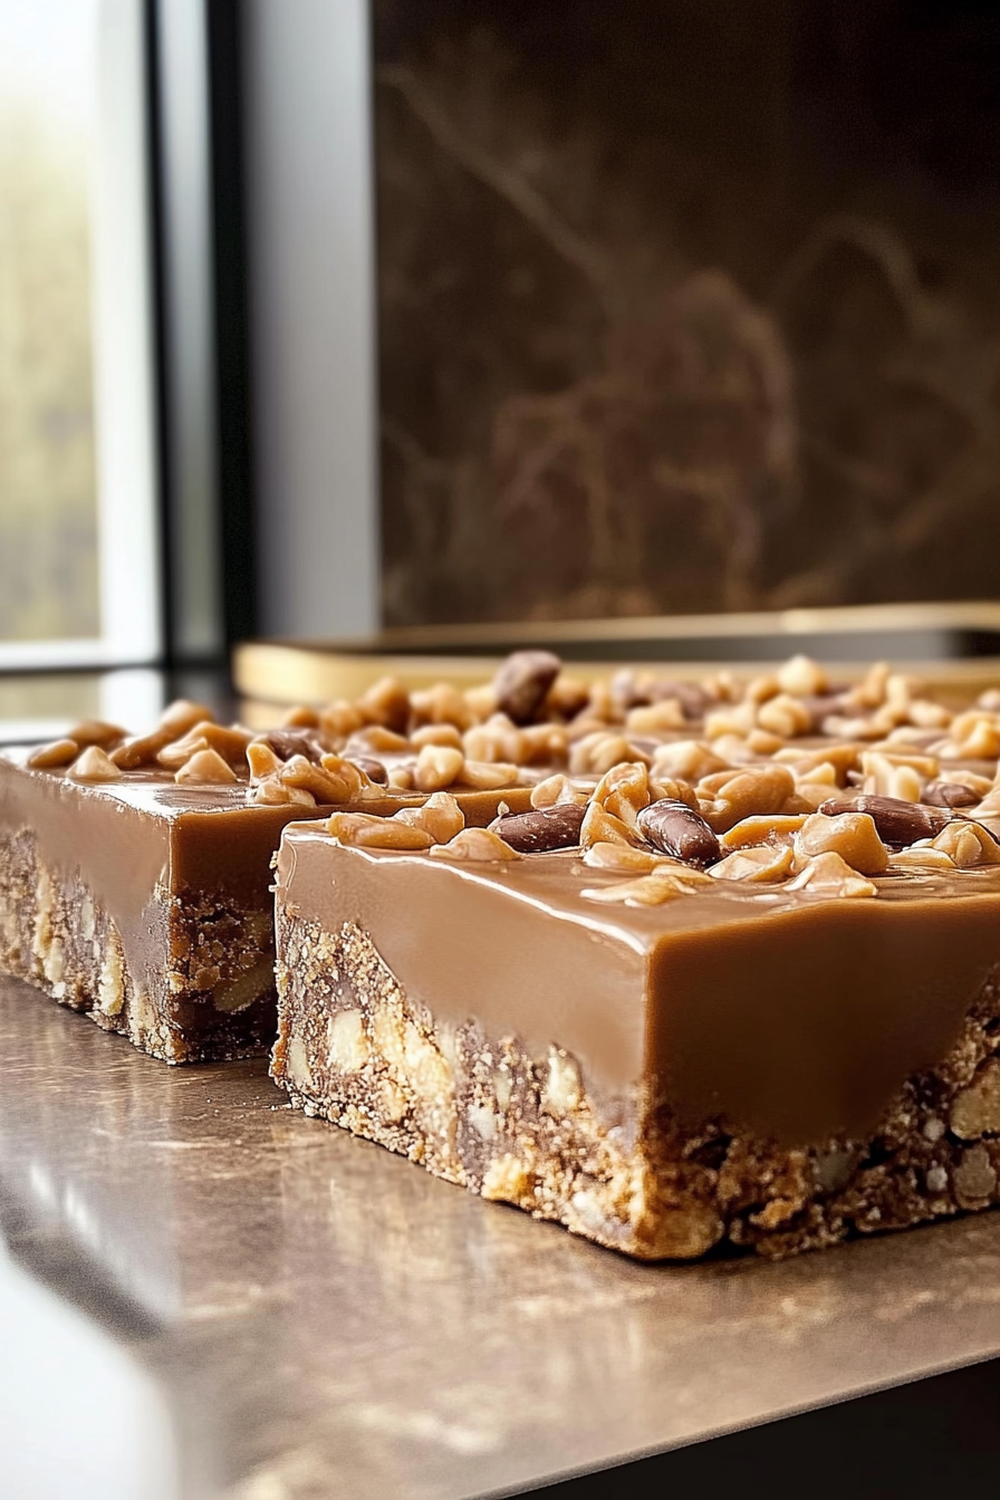
Making these Crunchy Butterfinger Bliss Bars is easier than you might think. With just a few basic ingredients and minimal preparation time, you can whip up a batch in no time. This recipe is versatile too; feel free to customize it by adding nuts or drizzling extra chocolate on top. Whether you’re a seasoned baker or a kitchen novice, this recipe will guide you through every step.
In this article, we will explore the main ingredients needed to create these blissful bars and provide detailed instructions on how to prepare them perfectly. You’ll also find helpful serving and storing tips so you can enjoy your creations days after making them. Get ready to satisfy your sweet tooth with these delectable Crunchy Butterfinger Bliss Bars!
Main Ingredients
Chocolate
Chocolate serves as the foundational flavor in the Crunchy Butterfinger Bliss Bars. Using high-quality semisweet or milk chocolate ensures that each bite is rich and satisfying. For this recipe, you’ll need about 12 ounces of chocolate chips or chopped chocolate. Melting the chocolate creates a smooth layer that holds everything together while providing that irresistible cocoa taste.
Peanut Butter
Creamy peanut butter adds both flavor and texture to your dessert bars. Approximately one cup of creamy peanut butter is required for this recipe. Choose natural peanut butter without added sugar or oils for the best results. Its smooth consistency allows it to blend beautifully with melted chocolate and other ingredients, giving the bars their signature taste.
Graham Cracker Crumbs
Graham cracker crumbs provide the base for these delightful bars and contribute to their crunchiness. You’ll need about two cups of graham cracker crumbs for this recipe. Crush whole graham crackers using a food processor or place them in a zip-top bag and crush them with a rolling pin until they resemble fine crumbs. This ingredient creates a sturdy crust that balances the richness of the chocolate and peanut butter.
Powdered Sugar
To achieve the perfect sweetness without graininess, powdered sugar is essential in this recipe. About one cup of powdered sugar helps bind all the ingredients while adding a slight sweetness. It dissolves easily into mixtures and gives your bars a lovely smooth texture that contrasts wonderfully with the crunchy bits.
Butterfinger Candy Bars
The star of our recipe is undoubtedly the Butterfinger candy bars themselves! You will need approximately four large Butterfinger bars (or equivalent mini sizes), chopped into small pieces. Their unique combination of crispy layers and rich peanut butter flavor elevates these bliss bars to new heights of deliciousness. Feel free to adjust the amount based on your personal preference—more candy means more crunch!
How to Prepare Crunchy Butterfinger Bliss Bars
Step 1: Prepare Your Pan
Start by preparing an 8×8 inch baking dish or pan by lining it with parchment paper allowing some overhang on each side—this makes it easier to remove your finished bars later on. Spray lightly with cooking spray to prevent sticking further ensuring easy removal once set.
Step 2: Melt Chocolate & Peanut Butter Mixture
In a medium saucepan over low heat, combine 1 cup of creamy peanut butter and 12 ounces of semisweet chocolate chips (or chopped chocolate). Stir continuously until melted and completely smooth—this should take about 5-7 minutes. Remove from heat once fully melted but keep stirring until well combined; let cool slightly before moving on.
Step 3: Mix Dry Ingredients
In another bowl, combine two cups graham cracker crumbs and one cup powdered sugar; mix thoroughly until evenly dispersed throughout the mixture—this will create an even base when combined later with wet ingredients.
Step 4: Combine Ingredients
Once your melted chocolate-peanut butter mixture has cooled slightly (but not hardened), pour it over your dry mixture (graham cracker crumbs + powdered sugar) in one bowl—carefully fold together until all dry ingredients are moistened without overmixing; this should take only around 2-3 minutes; it’s important not to leave any dry patches uncovered since they won’t hold together when cut into pieces later!
Step 5: Add Chopped Butterfingers
Now fold in roughly chopped pieces of four large (or equivalent mini) Butterfinger candy bars into your combined mixture gently ensuring they are evenly distributed throughout; be careful not to break them down too much as some chunks add lovely texture contrast in each bite making every piece more enjoyable!
Step 6: Spread Mixture Into Pan
Once combined fully spread mixture evenly into prepared baking dish pressing firmly but gently so everything sticks together well without squishing down too much—it’s important that this layer remains thick enough so it holds shape once set properly; refrigerate for at least two hours or until firm enough before cutting into squares!
Serving and Storing Tips
Serving Suggestions
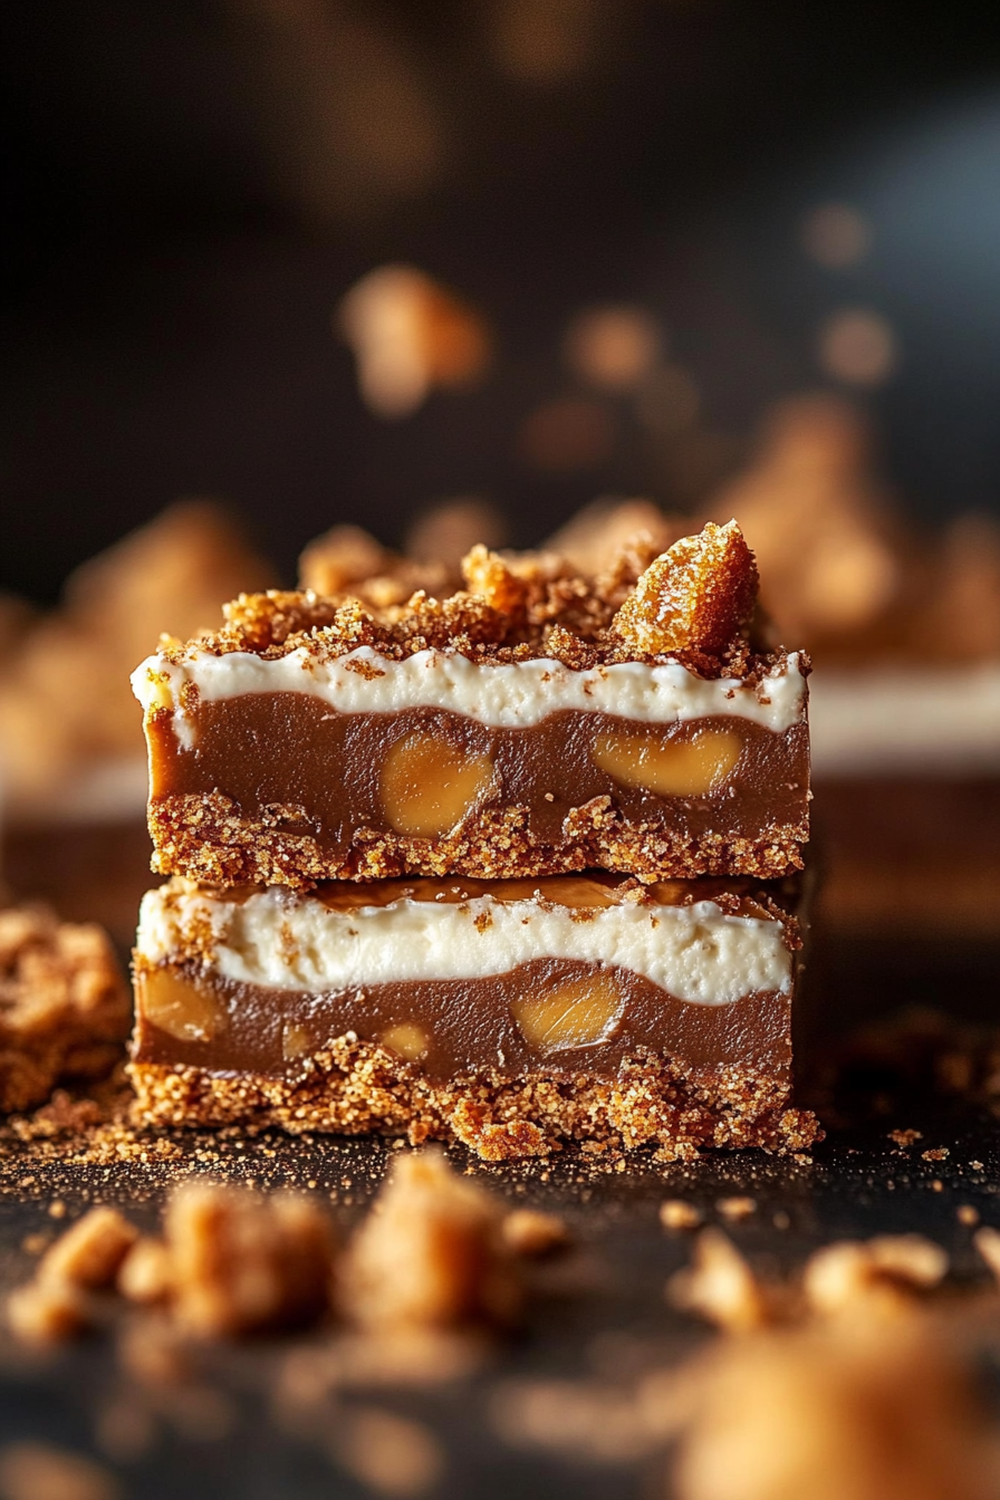
When ready to serve your Crunchy Butterfinger Bliss Bars, use the parchment paper overhang to lift them out from the pan easily onto a cutting board before cutting into squares! Aim for small bite-sized pieces since these treats can be quite rich due their combination of flavors—it’s easy for guests (and yourself!) to indulge! Pair these blissful bites with fresh fruit such as strawberries or bananas alongside cold milk or hot coffee for an enjoyable experience everyone will remember fondly!
Storing Leftovers
If there are any leftovers after serving (which may be unlikely!), store them properly by wrapping individual squares tightly in plastic wrap then placing inside an airtight container—it’s best if kept refrigerated where they can last up three weeks! For longer storage options freeze wrapped portions between layers of parchment paper within freezer-safe bags up-to three months without losing too much quality upon thawing later! Just remember allow enough time at room temperature before enjoying again so they regain proper texture!
By following this comprehensive guide on making deliciously crispy yet creamy Crunchy Butterfinger Bliss Bars—everyone will surely want seconds! Enjoy crafting this delightful confectionery treat today!
Mistakes to avoid
When preparing Crunchy Butterfinger Bliss Bars, it’s crucial to avoid common mistakes that can hinder the quality of your dessert.
One major mistake is not properly measuring your ingredients. Baking is a science, and even slight deviations in measurements can lead to disastrous results. For example, using too much flour can make your bars dry and crumbly, while too little sugar can result in blandness. Always use a kitchen scale for precise measurements and double-check the recipe before starting.
Another common error is neglecting to line your baking dish with parchment paper. This step ensures easy removal of your bars once they are set. Without lining, you risk having them stick to the pan, making them difficult to cut and serve. Take the extra time to line the dish; it will save you frustration later.
Overbaking is another pitfall to avoid. Keep a close eye on your treats while they are in the oven. The right baking time ensures a soft and chewy texture, which complements the crunchiness of the Butterfinger pieces perfectly. Use a timer and check for doneness a few minutes before the suggested time.
Lastly, not allowing adequate cooling time can ruin your bliss bars. After baking, let them cool completely in the pan before cutting into squares. If you rush this step, you may end up with messy bars that crumble apart. Patience truly pays off when it comes to these delicious treats.
Tips and tricks
Creating perfect Crunchy Butterfinger Bliss Bars involves more than just following a recipe; it requires some useful tips to elevate your treat.
Start by using high-quality ingredients. The flavor of your bars hinges on the chocolate and Butterfinger pieces you choose. Opt for real chocolate instead of chocolate chips for a richer taste that melts beautifully. Additionally, ensure that your Butterfinger candy bars are fresh; stale candy will affect both texture and flavor.
Consider chilling your mixing bowl and utensils before preparing the batter. This helps keep the chocolate from melting too quickly when combined with other ingredients, ensuring a smooth consistency. A chilled environment also helps maintain shape as you mix everything together.
Experiment with add-ins! While traditional recipes may call for specific ingredients, feel free to incorporate nuts or additional candies into your mixture for extra crunch and flavor depth. Just remember not to overwhelm the base mixture; balance is key.
Lastly, don’t skimp on toppings! Once you’ve poured your mixture into the pan, consider drizzling melted chocolate or caramel over the top for an irresistible finish. Adding crushed Butterfinger pieces as a topping adds visual appeal and enhances texture.
Suggestions for Crunchy Butterfinger Bliss Bars
To enhance your Crunchy Butterfinger Bliss Bars experience, consider these suggestions that address common pitfalls during preparation.
First, try incorporating different flavors into the base mixture. For instance, adding a hint of sea salt enhances sweetness while balancing out flavors beautifully. A sprinkle of flaky sea salt atop each bar after baking brings out all those rich notes without overwhelming them.
Second, if you’re looking for a healthier option without sacrificing taste, consider substituting some of the butter with coconut oil or Greek yogurt. These alternatives can create a lighter version of bliss bars while still maintaining moisture and flavor integrity.
Another suggestion is to adjust the serving size based on occasions or gatherings—especially considering how rich these bars are! Cutting smaller squares allows guests to enjoy multiple treats without feeling overly indulgent, perfect for parties or potlucks where variety matters.
Finally, always store leftover bars correctly to maintain freshness longer. Place them in an airtight container at room temperature if you intend to consume them within a week; otherwise, consider freezing portions wrapped tightly in plastic wrap or foil for up to three months!
FAQs
What are Crunchy Butterfinger Bliss Bars made of?
Crunchy Butterfinger Bliss Bars typically consist of simple yet flavorful ingredients like crushed Butterfinger candy bars, creamy peanut butter, graham cracker crumbs, melted chocolate, and butter. These elements combine harmoniously to create layers of sweet goodness that melt in your mouth while providing delightful crunchiness from the candy pieces.
How long do Crunchy Butterfinger Bliss Bars last?
When stored properly in an airtight container at room temperature, Crunchy Butterfinger Bliss Bars can last up to one week. If you want them to last longer—up to three months—consider freezing individual portions wrapped securely in plastic wrap or aluminum foil before placing them in freezer-safe containers or bags.
Can I make these bars gluten-free?
Absolutely! To make Crunchy Butterfinger Bliss Bars gluten-free, simply substitute regular graham crackers with gluten-free options available at most grocery stores today. Ensure all other ingredients used are certified gluten-free as well so everyone can enjoy this delicious treat worry-free!
What’s the best way to cut these bliss bars?
To cut Crunchy Butterfinger Bliss Bars neatly without crumbling them apart after cooling completely in their pan allows ease during slicing! Use a sharp knife dipped in hot water between cuts; this creates clean lines while preventing sticky residue from clinging onto surfaces during each slice process!
Can I use other types of candy besides Butterfingers?
Yes! While traditional recipes highlight beloved Butterfingers prominently—a fantastic choice indeed—you could switch things up by using alternative candies like Snickers or Reese’s Pieces! Adjust sweetness levels accordingly based on what substitutes chosen if necessary!
How do I store leftover bliss bars?
Store leftover Crunchy Butterfinger Bliss Bars by placing them into an airtight container lined with parchment paper at room temperature if consumed within one week; alternatively freeze leftovers wrapped tightly individually if planning for later enjoyment within three months!

