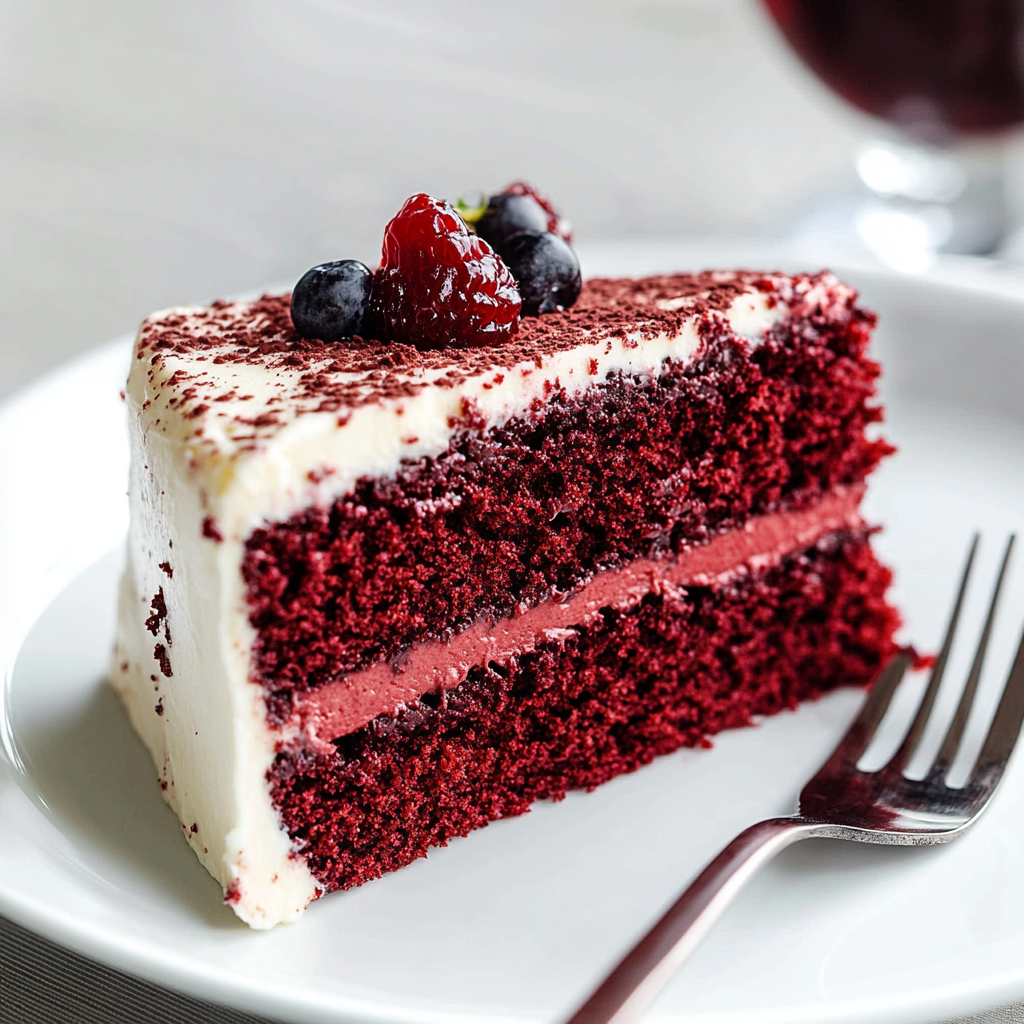
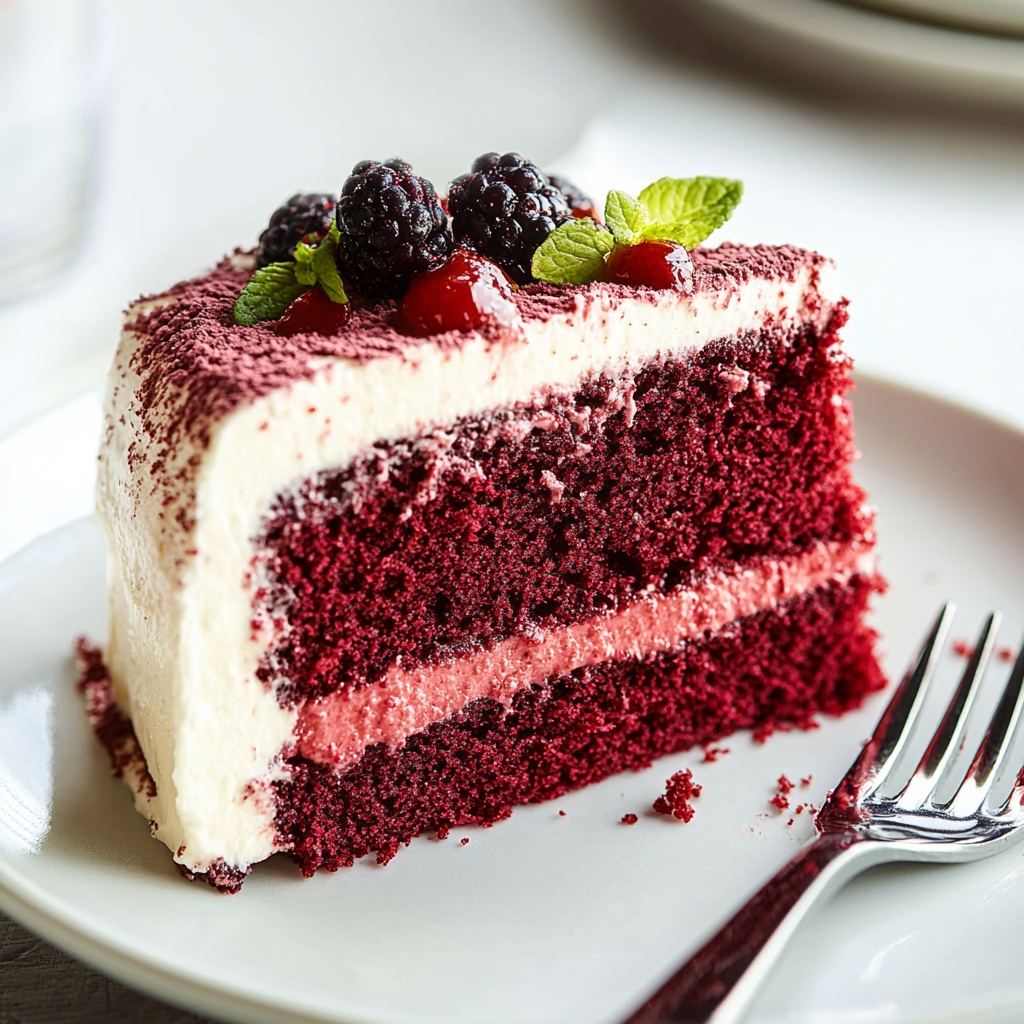
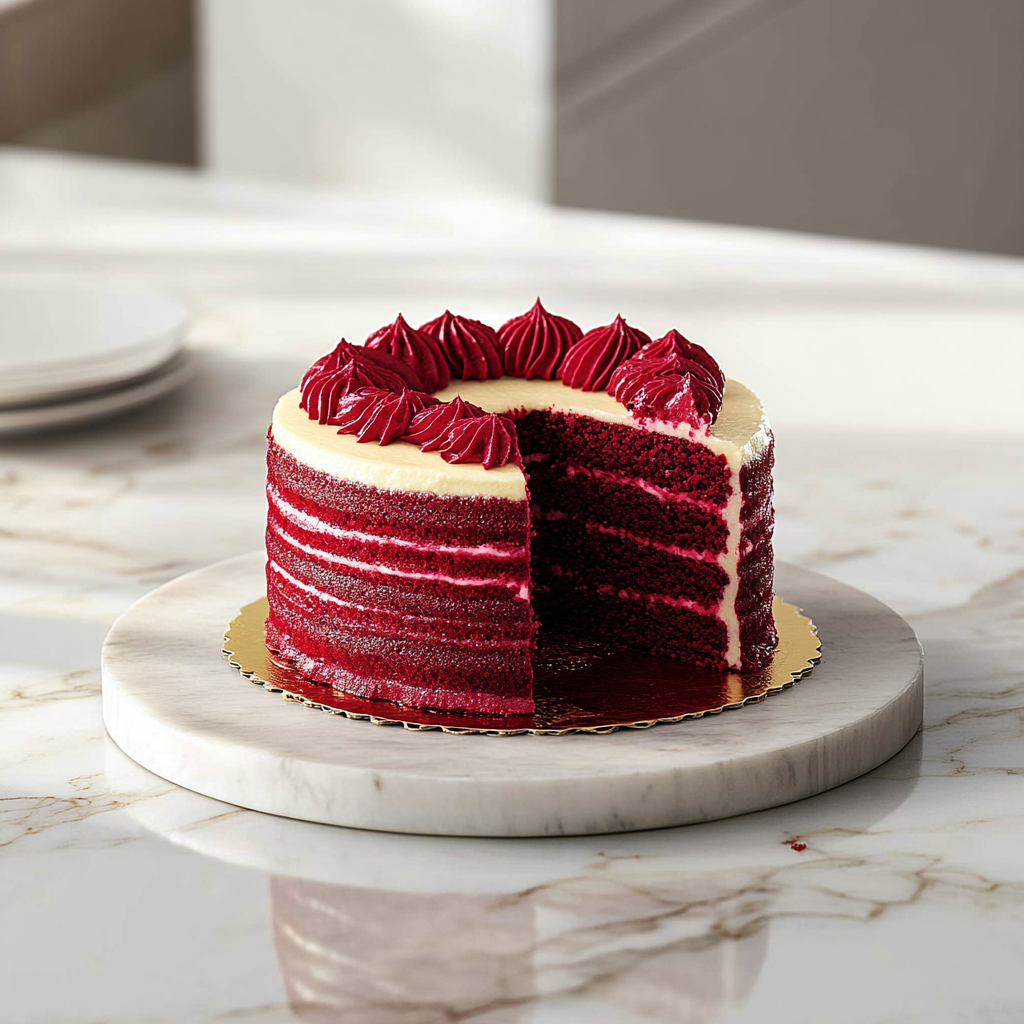
Red velvet cake is more than just a dessert; it’s a celebration on a plate. This iconic treat boasts a unique combination of flavors—rich cocoa mingles with buttermilk to create a moist and tender crumb, while the vibrant hue adds an element of surprise. Traditionally adorned with luxurious cream cheese frosting, this cake is perfect for birthdays, anniversaries, or any occasion that calls for something special. In this article, we will take you through the steps to bake the ultimate red velvet cake from scratch. You’ll learn about each ingredient’s role in crafting this masterpiece and get detailed instructions to ensure your success in the kitchen. Whether you’re a novice baker or an experienced chef seeking to impress guests with your skills, our recipe provides all the insights you need. Let’s dive into the world of baking as we transform simple ingredients into a show-stopping red velvet cake that will leave everyone asking for seconds!

Main Ingredients
All-Purpose Flour
All-purpose flour serves as the foundation for your red velvet cake. The gluten structure it provides gives the cake its desired texture. For this recipe, you’ll need 2 ½ cups of all-purpose flour. Make sure to sift it before measuring to avoid lumps and ensure even distribution throughout the batter. Using high-quality flour can significantly elevate your baking game.
Cocoa Powder
While not dominant in flavor compared to other ingredients, cocoa powder adds depth to the taste of your red velvet cake. You will need 1 tablespoon of unsweetened cocoa powder for this recipe. It’s essential to use unsweetened cocoa as sweetened varieties can alter the balance of flavors in your cake.
Sugar
Sugar not only sweetens your red velvet cake but also contributes to its moistness and texture. You’ll need 2 cups of granulated sugar for this recipe. Make sure to mix it thoroughly with other ingredients so it dissolves evenly during baking.
Vegetable Oil
Vegetable oil is preferred over butter in this recipe because it keeps the cake moist and tender without adding any additional flavor that could overshadow the chocolate notes. You’ll require 1 cup of vegetable oil. This ingredient helps achieve that classic soft crumb that makes red velvet irresistible.
Buttermilk
Buttermilk is essential for achieving the signature tanginess associated with red velvet cakes. It also reacts with baking soda to create leavening agents during baking, contributing to lift and fluffiness. You will need 1 cup of buttermilk; if you don’t have any on hand, you can make your own by adding one tablespoon of vinegar or lemon juice to regular milk.
Eggs
Eggs act as binding agents in your batter while also helping it rise during baking. For our recipe, three large eggs are required at room temperature. Ensure they are fully incorporated into the mixture for an even texture throughout.
Baking Soda
Baking soda is crucial for achieving that light and airy texture we desire in our cakes. You will need one teaspoon of baking soda in this recipe; when combined with acidic ingredients like buttermilk or vinegar, it creates carbon dioxide bubbles that help the batter rise.
Vanilla Extract
Vanilla extract enhances all flavors within your red velvet cake while lending a lovely aroma during baking. Use two teaspoons of pure vanilla extract in this recipe; it’s worth investing in high-quality extract to elevate your dessert experience.
Red Food Coloring
The vibrant color is what sets this classic dessert apart from others! You will need about two tablespoons of liquid red food coloring (or gel) for optimal results; adjust according to how deep you want the color to be.
Cream Cheese Frosting
Lastly, let’s not forget about frosting! A rich cream cheese frosting complements our red velvet perfectly; make sure you have softened cream cheese and butter ready when assembling your dessert later on.

How to Prepare Red Velvet Cake
Step 1: Preheat Your Oven
Start by preheating your oven to 350°F (175°C). This step is crucial because ensuring your oven reaches the correct temperature allows your batter to rise properly from the get-go. While waiting for it to heat up, prepare two round 9-inch baking pans by greasing them with cooking spray or butter followed by lining them with parchment paper on the bottom—this guarantees easy removal after baking!
Step 2: Mix Dry Ingredients
In a large mixing bowl, sift together all-purpose flour and cocoa powder using a fine mesh sieve—it’s important as it helps aerate both ingredients resulting in lighter flour consistency within your batter! Combine these dry components along with salt and set aside until needed later on.
Step 3: Blend Wet Ingredients
In another bowl (preferably larger), combine vegetable oil and granulated sugar using a whisk or electric mixer until well mixed—this should take about two minutes at medium speed if using an electric mixer! Next add eggs one at a time while continuing beating until fully incorporated before moving onto buttermilk followed by vanilla extract—mix until smooth without over-mixing which may lead us down an undesirable path regarding texture!
Step 4: Combine Mixtures
Now comes our exciting part! Gradually add dry ingredient mixture into wet components while alternating with buttermilk—start and finish with dry ingredients; doing so helps maintain moisture levels throughout process effectively! Beat gently just until fully blended—remember not overdo it! Lastly incorporate food coloring gradually until achieving desired shade of crimson happiness!
Step 5: Bake Your Cakes
Divide batter equally between prepared pans then place them carefully into preheated oven allowing them time—the recommended duration is around thirty minutes or until inserted toothpick comes out clean from center area! Once achieved take out pans letting them cool completely inside their molds before transferring onto wire racks so they can cool down completely prior frosting application!
Step 6: Prepare Cream Cheese Frosting
While cakes cool off prepare delightful cream cheese frosting by beating softened cream cheese along with softened butter using electric mixer till fluffy consistency arises—it takes roughly five minutes at medium speed here too! Add powdered sugar gradually while mixing then finally introduce remaining vanilla extract till everything blends harmoniously together forming creamy goodness ready atop luscious layers ahead!

Serving and Storing Tips
Serving Suggestions
When serving your beautiful red velvet cake, consider garnishing each slice with fresh berries or mint leaves for added color contrast against its rich crimson hue! Pairing slices alongside tea or coffee enhances overall experience beautifully elevating those delightful flavors present within every bite too! If hosting gatherings don’t hesitate serving individual portions topped generously allowing everyone enjoy their very own decadent piece without messiness involved.
Storage Guidelines
To keep leftovers fresh longer store uncut portions inside an airtight container placed within refrigerator shelf where temperatures remain consistent around forty degrees Fahrenheit—this ensures moisture retention whilst preventing unwanted drying out process taking place over time! If enjoying leftovers beyond three days consider freezing individual slices instead which allows maximum preservation ensuring tasty treats await whenever cravings arise again soon thereafter!
With these detailed steps and tips provided throughout our journey towards creating glorious homemade delights yours surely become standout options amongst fellow dessert enthusiasts around town thus spreading joy everywhere shared deliciousness goes celebrating life’s sweetest moments together simply irresistible indeed!
Mistakes to avoid:
Not Measuring Ingredients Accurately
One of the most common mistakes when baking red velvet cake is not measuring ingredients accurately. Precision is crucial in baking, as even a slight deviation can lead to undesirable results. For example, too much flour can make your cake dense, while too little can prevent it from rising properly. Always use a kitchen scale for dry ingredients and measuring cups for liquids to ensure accuracy. When you pack flour into a cup instead of spooning it in and leveling it off, you can end up with extra flour that will ruin your cake’s texture.
Overmixing the Batter
Another mistake to avoid is overmixing the batter once you’ve combined the wet and dry ingredients. Overmixing can lead to gluten development, which results in a tough cake instead of the tender crumb you desire. Mix until just combined; small lumps are okay. This keeps the texture light and airy, which is essential for a delightful red velvet cake.
Ignoring Oven Temperature
Baking at an incorrect temperature can ruin your red velvet cake. Always preheat your oven and use an oven thermometer to ensure it’s at the right temperature before placing your cake inside. If your oven runs hot or cold, it could lead to uneven baking or a cake that doesn’t rise properly. Follow recipe guidelines closely regarding temperature settings for optimal results.
Skipping Room Temperature Ingredients
Many bakers overlook the importance of using room temperature ingredients when making red velvet cake. Cold eggs or butter can create lumps in the batter and may prevent proper emulsification, affecting the overall texture. Allow all refrigerated ingredients to come to room temperature before mixing them together for a smoother batter.
Tips and tricks:
Use Quality Cocoa Powder
When making red velvet cake, quality matters—especially cocoa powder. Choose a high-quality unsweetened cocoa powder for rich flavor and color. The better your cocoa powder is, the more depth your cake will have. Brands that are Dutch-processed often yield a deeper color and flavor compared to their natural counterparts.
Experiment with Buttermilk Alternatives
If you don’t have buttermilk on hand, don’t fret! You can create a quick substitute by mixing milk with vinegar or lemon juice. This trick maintains the acidity level needed for that perfect red velvet flavor profile while ensuring tenderness in your cake. Just let it sit for about 5-10 minutes before using it in your recipe.
Add Vinegar for Moisture
Adding vinegar not only enhances the tanginess of red velvet cake but also helps maintain moisture content during baking. A small amount of white vinegar or apple cider vinegar creates an interesting flavor balance without overwhelming sweetness. This ingredient reacts with baking soda, giving your cake extra lift.
Let It Cool Completely Before Frosting
To achieve a flawless finish on your red velvet cake, allow it to cool completely before frosting. If you frost while warm, the icing may melt or slide off, ruining its presentation and taste. Cooling should take at least one hour—this patience will reward you with beautifully frosted layers that hold their shape.
Suggestions for red velvet cake:
Pair with Cream Cheese Frosting
Cream cheese frosting is the classic companion for red velvet cake due to its tangy flavor that complements the sweetness perfectly. Make sure to use softened cream cheese and butter for easy blending—this combination creates a smooth frosting that’s easy to spread or pipe onto your layers.
Experiment with Different Fillings
While traditional recipes call for cream cheese frosting between layers, don’t hesitate to experiment! Consider adding raspberry jam or chocolate ganache as fillings between layers of red velvet cakes for added flavor complexity that elevates this classic dessert.
Decorate with Fresh Berries
For a visually stunning presentation, top your frosted red velvet cake with fresh berries like strawberries or raspberries. Not only do they add vibrant color contrast, but their tartness balances out the sweetness of both the cake and frosting beautifully.
Serve with Vanilla Ice Cream
For an indulgent dessert experience, serve slices of red velvet cake alongside vanilla ice cream. The creamy texture melds wonderfully with each bite of soft cake while providing an extra layer of richness—perfect for any celebration!
FAQs for red velvet cake:
What is the origin of red velvet cake?
Red velvet cake has a rich and somewhat mysterious history. Many believe it originated in the United States during the early 20th century. The cake gained popularity in the 1920s, particularly in the South. Its unique color comes from cocoa powder and buttermilk, which react to create a reddish hue. Some say that it was originally known as “red devil’s food cake.” The recipe became widely known after being featured in a cookbook published by the Waldorf-Astoria Hotel in New York City during the 1920s. This luxurious dessert soon became a staple at special occasions and celebrations, symbolizing love and indulgence.
What are the main ingredients in red velvet cake?
The essential ingredients for red velvet cake include all-purpose flour, unsweetened cocoa powder, baking soda, sugar, buttermilk, vegetable oil, eggs, vinegar, and vanilla extract. The key to its signature color is typically red food coloring, which intensifies the hue. Many recipes also use cream cheese or buttercream frosting to add richness and flavor. The balance of these ingredients creates a moist texture with a subtle chocolate flavor that complements the tanginess of buttermilk. Ensure you measure each ingredient accurately to achieve the perfect consistency and taste in your red velvet cake.
How do I store red velvet cake?
Proper storage of red velvet cake is crucial for maintaining its freshness and flavor. If you have leftover slices, wrap them tightly in plastic wrap or store them in an airtight container at room temperature for up to two days. For longer storage, refrigerate the cake to extend its shelf life for about one week. If you want to keep it even longer, consider freezing individual slices or an entire layer of cake wrapped securely in plastic wrap and aluminum foil. To enjoy later, thaw it overnight in the refrigerator before serving. This way, you can savor your delicious creation whenever you’d like.
Can I make red velvet cake without food coloring?
Yes, you can make red velvet cake without food coloring if you prefer a more natural approach or want to avoid artificial additives. A popular alternative is using beet juice or beet powder to achieve a similar reddish hue while adding nutritional benefits. Another option is to simply reduce or eliminate the food coloring altogether; however, this will result in a more muted appearance rather than vibrant red layers. You will still get that delicious flavor profile with cocoa undertones and tangy buttermilk regardless of color choices.
What frosting pairs well with red velvet cake?
Cream cheese frosting is traditionally used on red velvet cakes due to its tangy flavor that complements the sweetness of the dessert beautifully. However, other frosting options can enhance your cake as well. Classic buttercream frosting works wonderfully if you’re looking for something sweeter and richer. For a lighter touch, consider whipped cream frosting or even mascarpone cheese frosting to provide a creamy texture without overwhelming sweetness. These frostings can be flavored with vanilla or lemon zest for an extra pop of flavor that elevates your red velvet experience.
Can I make cupcakes from red velvet cake batter?
Absolutely! Red velvet cupcakes are a delightful variation on this classic dessert. Simply prepare your favorite red velvet cake batter as usual and pour it into lined muffin tins instead of baking it as one large layer. Bake at 350°F (175°C) for approximately 18-20 minutes or until a toothpick inserted in the center comes out clean. Once cooled, top these cupcakes with cream cheese frosting or any preferred icing for an easy-to-serve treat perfect for parties or gatherings.
Print
red velvet cake
- Total Time: 50 minutes
- Yield: 12 people 1x
Description
Red velvet cake is a timeless classic that combines rich cocoa flavors with a vibrant crimson hue, making it a show-stopping dessert for any occasion. With its moist texture and tangy cream cheese frosting, each slice offers a delightful balance of sweetness and depth. This easy-to-follow recipe ensures success in the kitchen, whether you’re a novice or an experienced baker. Get ready to impress your guests with this beautiful cake that not only tastes divine but also looks stunning on any dessert table.
Ingredients
2 ½ cups all-purpose flour
1 tablespoon unsweetened cocoa powder
2 cups granulated sugar
1 cup vegetable oil
1 cup buttermilk
3 large eggs
1 teaspoon baking soda
2 teaspoons vanilla extract
2 tablespoons red food coloring
Cream cheese frosting (for topping)
Instructions
1. Preheat your oven to 350°F (175°C) and grease two 9-inch round cake pans.
2. In one bowl, sift together flour, cocoa powder, and salt. In another bowl, whisk oil and sugar until well combined, then add eggs one at a time, followed by buttermilk and vanilla.
3. Gradually combine dry and wet ingredients, alternating with the buttermilk. Mix until just incorporated, adding food coloring to reach desired shade.
4. Divide the batter between the prepared pans and bake for about 30 minutes or until a toothpick comes out clean.
5. Allow cakes to cool before frosting with cream cheese icing.
Notes
For an added flavor twist, incorporate a tablespoon of vinegar into the batter for moisture and tanginess. If you prefer natural coloring, consider using beet juice to achieve a similar vibrant effect.
- Prep Time: 20 minutes
- Cook Time: 30 minutes
Nutrition
- Calories: 350
- Sugar: 35g
- Fat: 15g
- Saturated Fat: 3g
- Carbohydrates: 50g
- Protein: 4g
- Cholesterol: 50mg
Red velvet cake stands out as an iconic dessert celebrated for its striking appearance and rich flavor profile. Its origins trace back to early 20th-century America, where it quickly became synonymous with special occasions and festive gatherings. Understanding its main ingredients—like cocoa powder, buttermilk, and vibrant food coloring—helps bakers create this beloved treat perfectly every time.
Storing leftover slices correctly ensures that everyone gets to enjoy this indulgent dessert over several days without compromising quality. Additionally, making variations such as beet-infused cakes or transforming batter into delightful cupcakes allows home bakers much creativity while preparing their sweet masterpieces.
Ultimately, whether enjoyed at birthdays or romantic dinners alike topped with classic cream cheese frosting or delightful buttercream alternatives—the charm of red velvet cake keeps our taste buds tingling long after we finish our last bite!


1 thought on “red velvet cake”