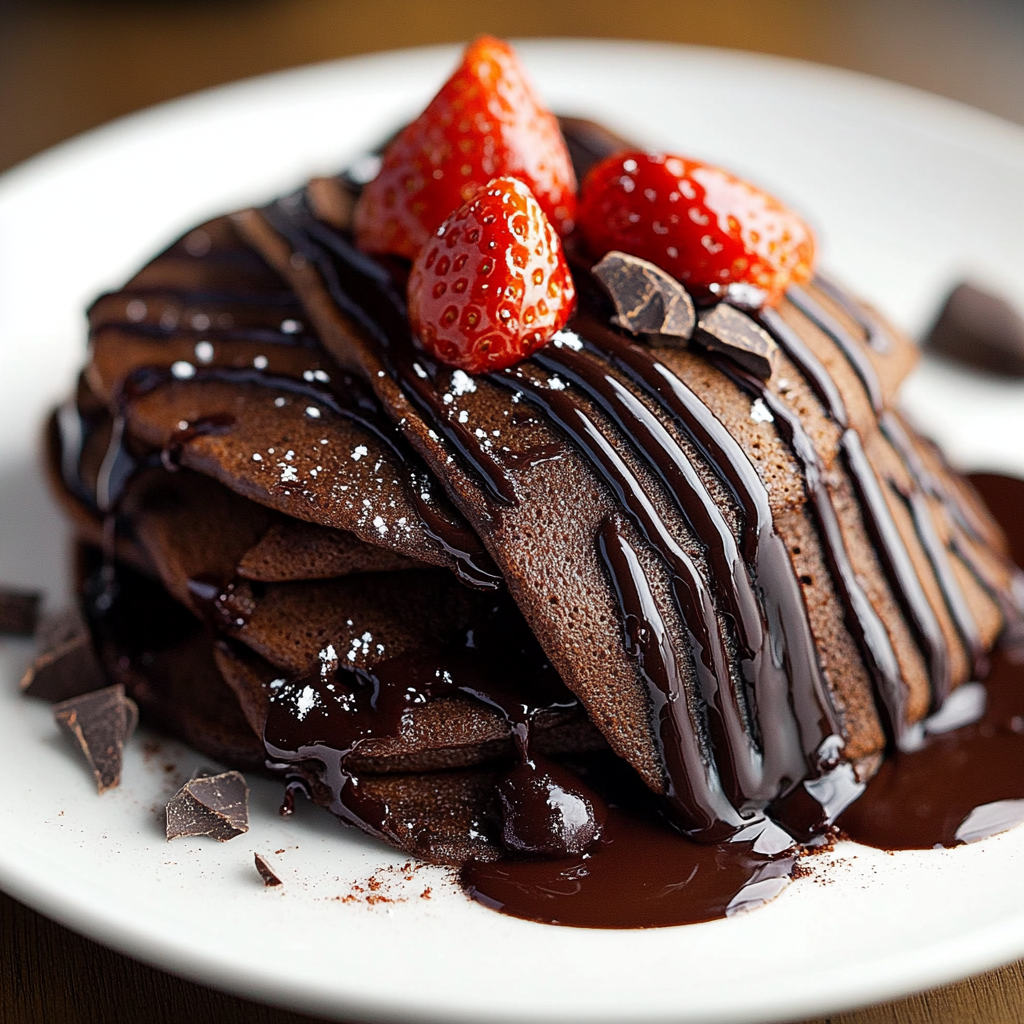
Chocolate crepes are a delightful treat that can transform any meal into a special occasion. These thin, delicate pancakes filled with rich chocolate flavor are perfect for breakfast, brunch, or even as a decadent dessert. Whether you want to impress your guests at a weekend gathering or indulge yourself on a quiet Sunday morning, this recipe will not disappoint. By following our simple steps, you’ll create light and fluffy crepes that can be filled with various delicious fillings like whipped cream, fresh fruits, or even more chocolate sauce.
In this article, we will explore the essential ingredients needed to make the perfect chocolate crepes. We’ll guide you through each step of the preparation process to ensure your success in the kitchen. Additionally, we will provide serving suggestions and storage tips to help you enjoy these delectable treats at their best. With just a few ingredients and some straightforward instructions, you can master the art of making homemade chocolate crepes. Let’s dive in and discover how easy it is to create this mouthwatering dish that everyone will love.
Main Ingredients
All-Purpose Flour
All-purpose flour serves as the base for your chocolate crepes. Approximately one cup is required for this recipe. This type of flour provides just the right amount of structure while still allowing the crepe to remain light and delicate. It absorbs moisture well and creates a smooth batter when mixed with other ingredients. If you’re looking for gluten-free options, consider using almond flour or gluten-free all-purpose flour as substitutes.
Unsweetened Cocoa Powder
For that rich chocolate flavor that defines these crepes, unsweetened cocoa powder is essential. You will need about two tablespoons for this recipe. Cocoa powder adds depth and intensity to the taste without adding extra sweetness. Be sure to choose high-quality cocoa powder for the best flavor profile; Dutch-processed cocoa can also add a distinct richness.
Eggs
Eggs play a crucial role in binding the ingredients together and providing structure to your crepes. You will need two large eggs for this recipe. They contribute moisture and allow the batter to form a silky texture. Fresh eggs yield the best results, so opt for organic or free-range eggs if possible.
Milk
Milk adds creaminess and helps achieve the perfect consistency in your batter. You will need about one cup of milk – whole milk works best due to its fat content, which contributes to tender crepes. However, feel free to use skim milk or plant-based alternatives if desired; just keep in mind that it may alter the final flavor slightly.
Sugar
Sugar adds a touch of sweetness to balance out the bitterness of cocoa powder. For this recipe, two tablespoons of granulated sugar work perfectly. You can adjust this amount according to your taste preferences; brown sugar can also be used here for added richness.
Vanilla Extract
Vanilla extract enhances the overall flavor profile of your chocolate crepes without overpowering the cocoa taste. Just one teaspoon is enough to elevate your dish significantly. Opt for pure vanilla extract over imitation for better quality and flavor.
Butter
Butter adds richness and aids in preventing sticking during cooking. You’ll need about two tablespoons of melted butter for this recipe. Using unsalted butter allows you better control over salt levels in your dish; however, if you only have salted butter on hand, simply reduce any additional salt called for.

How to Prepare Chocolate Crepes
Step 1: Make the Batter
To begin making your chocolate crepes, start by combining all dry ingredients in a mixing bowl – that’s your all-purpose flour, unsweetened cocoa powder, granulated sugar, and a pinch of salt if you’re using unsalted butter later on. Whisk these together until well combined; this helps prevent lumps from forming when moist ingredients are added.
In another bowl or measuring cup, whisk together your wet ingredients: eggs and milk until fully blended before adding melted butter (ensure it cools slightly before adding). Gradually pour this mixture into your dry ingredient bowl while continuously whisking until smooth – aim for no lumps! The batter should have a thin consistency similar to heavy cream; if it’s too thick after mixing everything together properly then add an extra splash of milk until achieved desired texture.
Once combined thoroughly cover with plastic wrap or let rest at room temperature while preparing non-stick skillet over medium heat (approximately 325°F/165°C). Preheating ensures even cooking without burning once ready!
Step 2: Cook Each Crepe
Now it’s time to start cooking! Lightly grease your preheated non-stick skillet with either cooking spray or melted butter—just enough so nothing sticks but not overly greasy! Pour approximately ¼ cup batter into skillet’s center; quickly swirl pan around gently creating an even layer over bottom surface—aiming for thinness here!
Allow each side approximately 1-2 minutes’ cook time until edges lift slightly & surface appears set—if bubbles form in center during cooking that’s great sign! Carefully flip using spatula & cook opposite side another minute until fully cooked through yet still soft & pliable (not crispy!). Repeat process until all batter used up stacking finished ones on plate keeping warm under kitchen towel while working through remaining batches!
Step 3: Fill Your Crepes
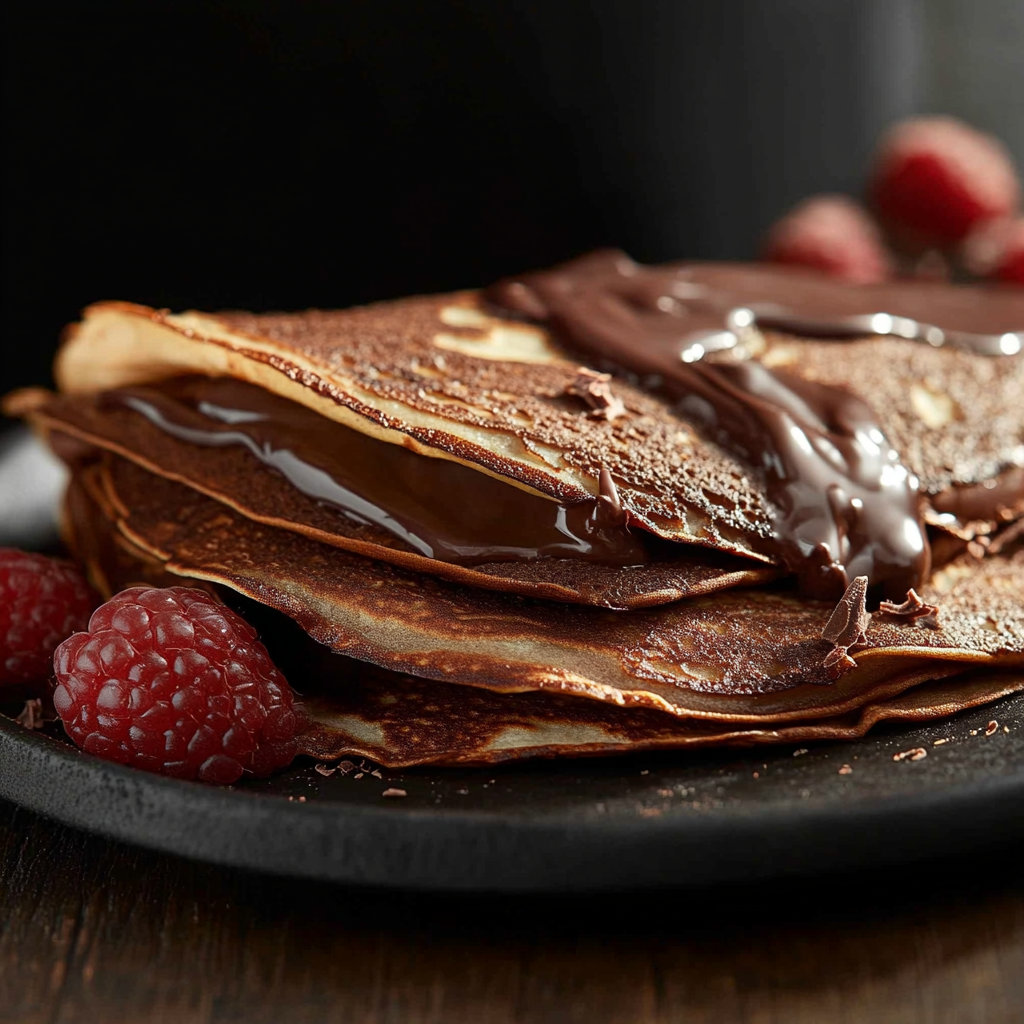
Once all have been cooked perfectly golden brown it’s finally time to fill those scrumptious creations! The beauty lies within customization based upon personal preference—you can fill them with whipped cream topped fresh berries drizzled with chocolate syrup perhaps? In fact go ahead get creative exploring different combinations like Nutella spread mixed banana slices or even savory options too!
To fill each prepared cooked crêpe simply place chosen filling across center then fold sides inward either half-moon shape folding from top downwards sealing contents inside securely—this way they won’t spill when served! Arrange beautifully onto platters garnishing additional toppings if desired showcasing presentation before digging into these heavenly delights!
Serving and Storing Tips
Serving Suggestions
Chocolate crepes shine brightest when served immediately after preparation while still warm! They can be plated individually alongside assorted toppings such as whipped cream dolloped atop fluffy mounds accompanied by fresh strawberries blueberries bananas sprinkled nuts shaved dark/milk chocolates even powdered sugar dusted lightly atop creating appealing presentation enhancing flavors visually enticing guests inviting them enjoy every bite!
Consider offering sauces alongside too—rich ganache drizzled generously makes wonderful addition elevating indulgence level significantly while contrasting textures between soft warm center crunchy toppings bring excitement palate pleasing delightfulness everyone loves! Create buffet-style serving stations where guests assemble own unique combos encouraging creativity fun experience sharing amazing food together celebrating flavors shared moments!
Storing Tips
If by chance any leftover deliciousness remains after hosting festivities don’t fret—they store nicely too allowing enjoyment later on! Allow cooled crêpes completely before stacking layers separated parchment paper preventing sticking then transfer into airtight container refrigerating maximum three days maintaining freshness quality flavors intact!
For longer storage options consider freezing unfilled crêpes instead placing between sheets parchment paper ensuring air-tight seals preventing freezer burn keeping them safe preserved until craving strikes again! Thaw overnight fridge once ready reheat frying pan briefly warming throughout enjoying fabulous treat once more without hassle preparation involved—it’s always worth having extra stash handy whenever sweet tooth cravings arise unexpectedly!
Enjoy creating delectable experiences memories crafted around delightful dishes like these irresistible chocolate crêpe creations!
Mistakes to avoid
Choosing the Wrong Flour
When preparing chocolate crepes, selecting the correct flour is crucial for achieving the desired texture. Using all-purpose flour may seem like a safe bet, but it can lead to dense and chewy crepes instead of light and delicate ones. Opting for a blend of all-purpose flour and cake flour often yields better results. Cake flour has a lower protein content, which creates a softer texture that is more suitable for crepes. Always sift your flour before measuring to prevent clumping, ensuring an even batter that cooks uniformly. Additionally, consider using gluten-free alternatives if you have dietary restrictions.
Ignoring Rest Time
Another common mistake is neglecting the resting period for the batter. Many home cooks rush straight to cooking without allowing the batter to rest. This step is vital as it allows the gluten to relax, resulting in tender and flexible crepes. Ideally, you should let your batter rest in the refrigerator for at least 30 minutes. If time permits, extending this resting time up to two hours can enhance the flavor and texture even further. During this time, any bubbles that formed while mixing will dissipate, leading to smoother crepes that cook evenly.
Cooking at Too High Heat
Cooking chocolate crepes on high heat can lead to burnt edges or uneven cooking. It’s essential to find a balance with your stovetop settings. Start with medium heat and adjust as necessary based on how your first crepe turns out. A hot skillet is ideal; however, if it’s too hot, you risk overcooking or undercooking parts of each crepe. Use a non-stick skillet or well-seasoned pan to ease flipping and prevent sticking. Patience is key during cooking; allow each side of the crepe around 1-2 minutes until lightly browned before flipping.
Not Using Enough Butter
Butter adds flavor and prevents sticking when cooking chocolate crepes; forgetting this essential ingredient can lead to frustration during the cooking process. Applying butter directly into the pan before pouring in your batter ensures that your crepes release easily once cooked. Use unsalted butter for better control over seasoning in your recipe. Additionally, you can brush a little melted butter between each crepe layer when stacking them after cooking; this not only enhances flavor but also keeps them from sticking together.
Tips and tricks
Use a Blender for Smooth Batter
To achieve perfectly smooth chocolate crepe batter, consider using a blender rather than whisking by hand. A blender effectively combines all ingredients while aerating the mixture evenly, resulting in a lump-free consistency that cooks beautifully. Simply add your wet ingredients first—like eggs and milk—followed by dry ingredients such as flour and cocoa powder—to ensure optimal mixing without creating excess air bubbles that could affect texture.
Experiment with Fillings
While chocolate crepes are delicious on their own, experimenting with various fillings can elevate your culinary experience significantly. Classic choices include whipped cream, fresh fruits like strawberries or bananas, or even ice cream for a decadent dessert twist. For those who prefer savory options, try adding cheese or sautéed vegetables for a unique brunch dish. Don’t hesitate to get creative; combining different flavors will surprise your palate and impress guests.
Use Proper Flipping Technique
Flipping chocolate crepes might initially seem challenging, but mastering this skill will enhance both presentation and taste. After cooking one side until golden brown (about 1-2 minutes), gently slide a spatula underneath the edge of the crepe and lift it slightly off the pan’s surface. With confidence, use your wrist’s flicking motion to flip; practice makes perfect! Alternatively, you can use two spatulas for added support if you’re worried about tearing them during this process.
Keep Crepes Warm
If you’re preparing multiple chocolate crepes at once, keeping them warm is essential for maintaining their softness before serving. Preheat your oven to around 200°F (93°C) and place a baking sheet inside lined with parchment paper. As you cook each crepe, transfer it onto the baking sheet in a single layer while keeping them covered with aluminum foil or another baking sheet on top—this way they stay warm without drying out.
Suggestions for Chocolate crepes
Pairing with Complementary Sauces
Enhancing your chocolate crepes goes beyond just fillings; sauces play an important role too! Consider drizzling rich ganache over each serving for an indulgent treat or opting for lighter fruit sauces like raspberry coulis that provide brightness against the rich chocolate flavor profile of the crepes themselves.
Presentation Matters
Presentation significantly impacts how people perceive food—even desserts! When serving your chocolate crepes on plates or platters—take time arranging them neatly rather than hastily piling them up randomly! Folded into quarters or rolled up elegantly adds sophistication while garnishing with fresh berries or mint leaves brings color contrast enhancing overall appeal visually.
Using Quality Ingredients
To make truly exceptional chocolate crepes starts with selecting quality ingredients such as high-grade cocoa powder which contributes depth of flavor alongside full-fat milk that enriches texture immensely! Investing in good-quality products pays off tenfold when tasting—the difference is palpable!
Serving Suggestions
Consider serving chocolate crepes alongside freshly brewed coffee or tea: these beverages complement dessert beautifully! Alternatively pair them with sparkling water infused with lemon slices providing refreshing palate cleansing between bites—a delightful experience awaits!
FAQs for Chocolate crepes :
What ingredients do I need to make chocolate crepes?
To create delightful chocolate crepes, you will need a few key ingredients. Start with all-purpose flour, which serves as the base for your crepe batter. You’ll also need unsweetened cocoa powder to infuse that rich chocolate flavor. Eggs are essential for binding the ingredients together and providing structure. Add milk, preferably whole or 2%, for a creamy texture. A pinch of salt enhances the flavors, while sugar adds a hint of sweetness. Finally, a splash of vanilla extract rounds out the taste. You can customize your chocolate crepes by adding fillings like whipped cream, fruit, or Nutella, making them versatile for breakfast or dessert.
How do I make the batter for chocolate crepes?
Making the batter for chocolate crepes is simple and quick. Begin by whisking together the dry ingredients in a mixing bowl: flour, cocoa powder, sugar, and salt. In another bowl, beat the eggs and mix in the milk and vanilla extract. Gradually combine the wet and dry ingredients until you achieve a smooth batter without lumps. Let it rest for about 30 minutes; this allows the gluten to relax and results in tender crepes. If you notice any lumps after resting, give it a quick stir before cooking. The rested batter ensures that your chocolate crepes will be light and perfect!
How do I cook chocolate crepes?
Cooking chocolate crepes requires a non-stick skillet or crepe pan for best results. Begin by heating your pan over medium heat and lightly greasing it with butter or oil to prevent sticking. Pour about 1/4 cup of batter into the center of the pan and quickly swirl it around to spread evenly across the surface. Cook for about 1-2 minutes until the edges appear set and lightly browned; then flip using a spatula and cook for an additional minute on the other side. Repeat this process with the remaining batter, stacking cooked crepes on a plate as you go. Your delicious chocolate crepes are now ready to be filled!
What are some popular fillings for chocolate crepes?
Chocolate crepes offer endless possibilities when it comes to fillings! Classic choices include whipped cream or crème fraîche for a light touch. For those craving something richer, try Nutella or melted chocolate spread – both pair beautifully with the chocolaty flavor of the crepe itself. Fresh fruits like strawberries, bananas, or raspberries provide freshness and balance out sweetness. You might also consider savory options such as mascarpone cheese with herbs if you’re looking for a unique twist on traditional sweet fillings. Experimenting with different fillings allows you to craft personalized treats that cater to your taste preferences.
Can I make chocolate crepes ahead of time?
Yes! You can certainly prepare chocolate crepes ahead of time, making them a convenient option for busy mornings or gatherings. Once cooked, stack your cooled crepes between layers of parchment paper to prevent sticking; then wrap them tightly in plastic wrap or store them in an airtight container in the refrigerator for up to three days. When ready to serve, simply reheat each one in a skillet over low heat—about 30 seconds per side should suffice—or pop them in the microwave briefly until warmed through. This way, you can enjoy fresh-tasting chocolate crepes without extensive preparation.
Are there gluten-free options for chocolate crepes?
Absolutely! Creating gluten-free chocolate crepes is easy with just a few adjustments to traditional recipes. Substitute all-purpose flour with gluten-free alternatives such as almond flour or coconut flour mixed with cornstarch or rice flour to achieve similar textures and flavors. Ensure that your cocoa powder is also gluten-free if you’re using processed products that could contain gluten contaminants. Follow standard instructions while preparing gluten-free batters but keep in mind that they may require slight tweaks in liquid measurements due to different absorbency levels among flours used.
Print
Chocolate Crepes
- Total Time: 30 minutes
- Yield: 8 servings
Description
Chocolate crepes are a delightful way to satisfy your sweet cravings, making them perfect for breakfast, brunch, or dessert. These thin, tender pancakes infused with rich cocoa flavor can be filled with an array of delicious options—think whipped cream, fresh fruits, or even a drizzle of chocolate sauce. The process is simple and rewarding, allowing you to impress friends and family with minimal effort. With just a few staple ingredients and easy preparation steps, you’ll master the art of creating these indulgent treats. Let’s get started on your journey to chocolatey bliss!
Ingredients
– 1 cup all-purpose flour (or gluten-free alternative)
– 2 tablespoons unsweetened cocoa powder
– 2 large eggs
– 1 cup milk (whole or plant-based)
– 2 tablespoons granulated sugar
– 1 teaspoon vanilla extract
– 2 tablespoons melted butter
Instructions
1. In a bowl, whisk together flour, cocoa powder, and sugar.
2. In another bowl, mix eggs and milk until combined. Add melted butter and vanilla.
3. Gradually pour the wet mixture into the dry ingredients while whisking until smooth.
4. Allow the batter to rest for at least 30 minutes.
5. Heat a non-stick skillet over medium heat and lightly grease it.
6. Pour about ¼ cup of batter into the pan, swirling to form a thin layer. Cook for 1-2 minutes until edges lift; flip and cook for another minute.
7. Repeat until all batter is used up.
Notes
– For an extra touch of indulgence, try filling crepes with Nutella or sautéed fruits.
– To keep crepes warm while cooking in batches, place them in an oven set to low heat.
- Prep Time: 10 minutes
- Cook Time: 20 minutes
Nutrition
- Calories: 150
- Sugar: 2g
- Fat: 5g
- Carbohydrates: 23g
- Protein: 4g
Chocolate crepes are not only delicious but also incredibly versatile and easy to prepare at home! With their rich flavor profile stemming from simple ingredients like flour, cocoa powder, eggs, milk, sugar, and vanilla extract, these treats can satisfy any sweet tooth craving. Whether enjoyed as breakfast topped with fresh fruit or transformed into an elegant dessert filled with whipped cream or Nutella, they cater perfectly to various occasions.
By following straightforward techniques—like allowing your batter to rest—you will yield tender and flavorful results every time you cook them up! Feel free to experiment with an array of fillings based on personal preferences while ensuring they remain delightful each time you indulge.
So whether you’re planning brunch or looking for dessert inspiration after dinner—a stack of warm homemade chocolate crepes awaits! Enjoy them fresh off the skillet alongside loved ones; these treats promise smiles all around while offering satisfaction at any meal of choice!