There’s something magical about the sweet aroma of melting chocolate wafting through the kitchen. Imagine biting into a crunchy bar filled with a perfect balance of textures and flavors. This is the world of homemade crunch bars, where every bite transports you back to childhood bliss. When I first made these treats, I felt like Willy Wonka in my own kitchen—without the golden tickets but with plenty of chocolate!

If you’re like me and have an insatiable sweet tooth but zero baking skills (seriously, my oven is more of a decoration), this recipe will become your go-to. The best part? You can whip it up in under 30 minutes and enjoy them right away! So grab your apron (or just roll up your sleeves) because we are diving into the delightful world of homemade crunch bars.
Why You'll Love This Recipe
- These homemade crunch bars require minimal effort but deliver maximum flavor satisfaction.
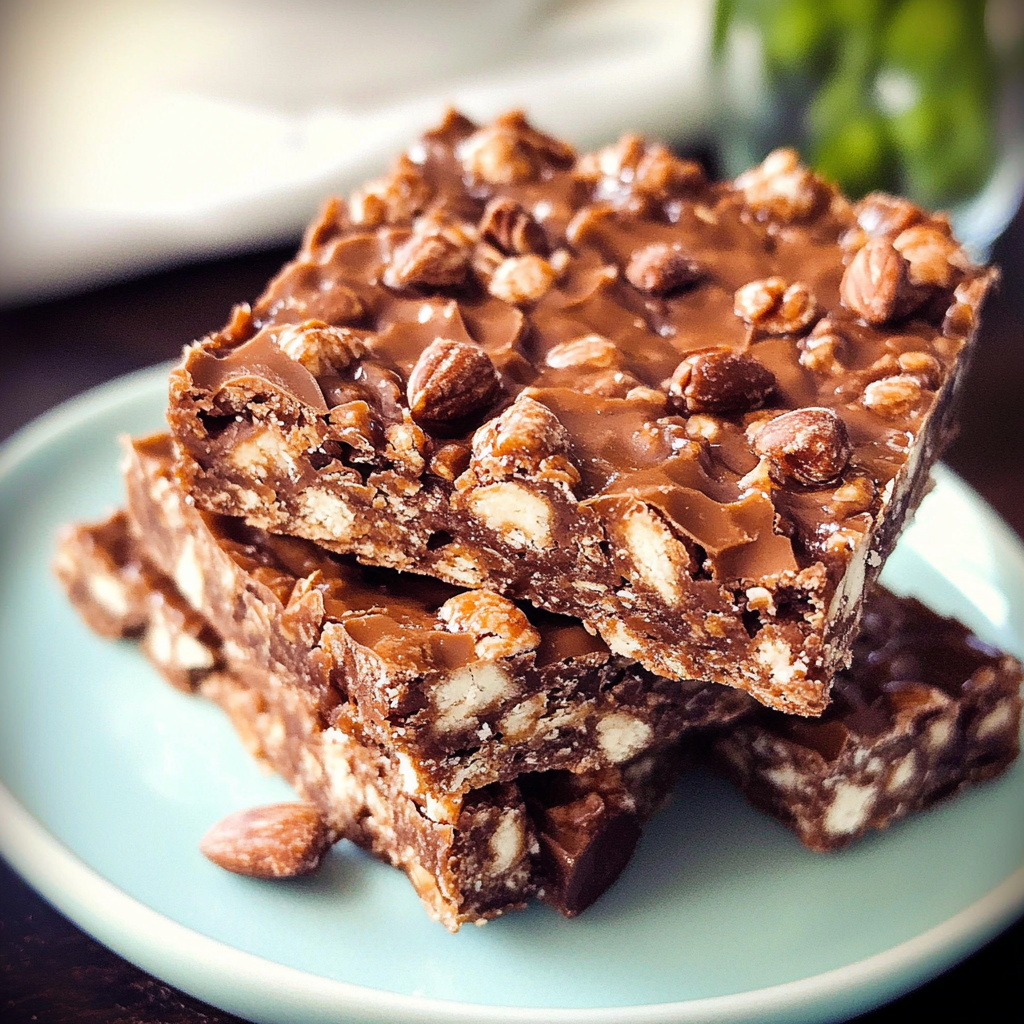
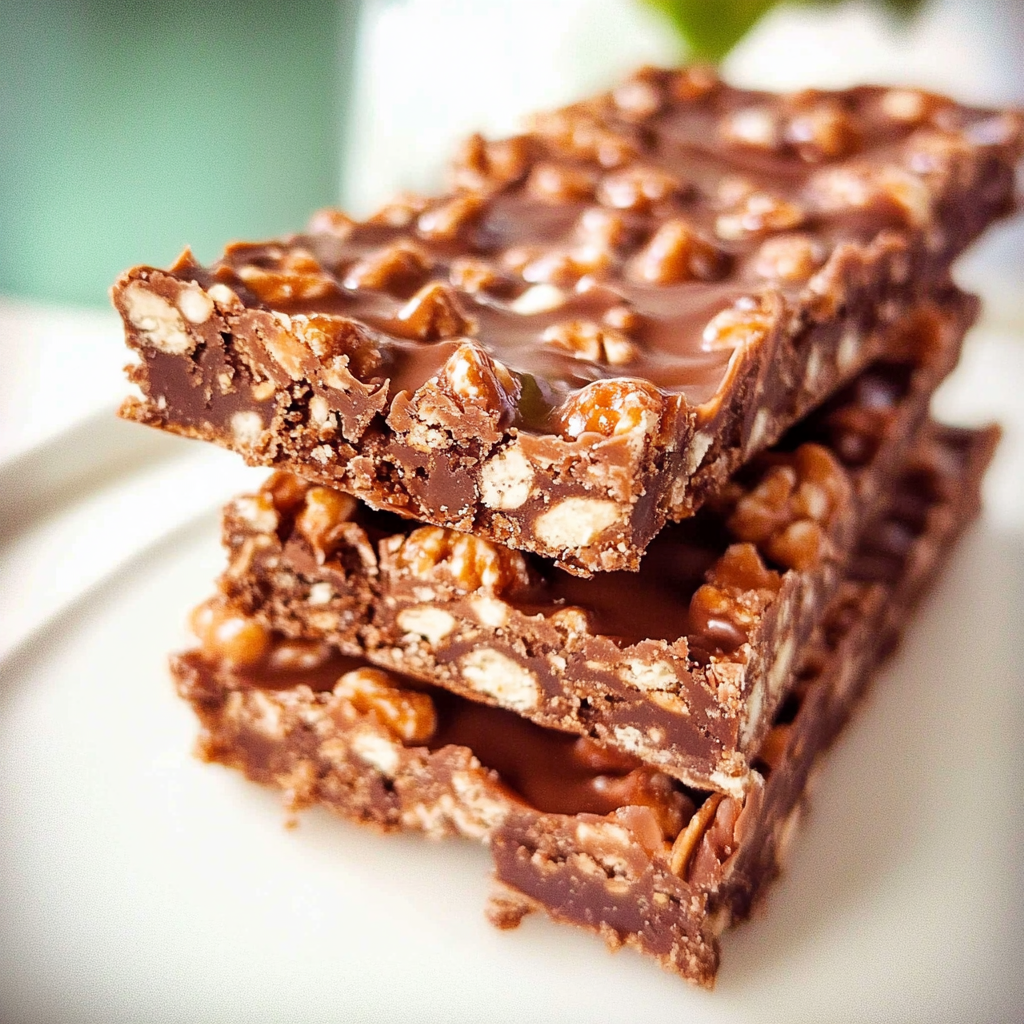
- The combination of creamy chocolate and crispy rice cereal creates a delightful texture that keeps you coming back for more.
- They’re perfect for sharing at parties or keeping all to yourself—no judgment here.
- You can customize your bars by adding nuts or dried fruit for extra flavor and nutrition.
I remember the first time I brought these crunch bars to a family gathering. My cousin Sarah took one bite and exclaimed that they were better than store-bought candy! It was such a hit that I had to share the recipe before everyone started asking me for the secret sauce…or should I say secret crunch?

Essential Ingredients
Here’s what you’ll need to make this delicious dish:
- Chocolate Chips: Semi-sweet or milk chocolate works best; choose high-quality chips for rich flavor.
- Peanut Butter: Creamy or crunchy—it adds richness; make sure it’s smooth for easy mixing.
- Crispy Rice Cereal: Look for classic brands; they’re essential for that satisfying crunch.
- Butter: Unsalted butter is preferred; it balances flavors without adding extra saltiness.
- Vanilla Extract: Pure vanilla extract enhances sweetness; avoid imitation for the best results.
The full ingredients list, including measurements, is provided in the recipe card directly below.
Let’s Make It Together
Prep Your Workspace: Start by gathering all your ingredients and tools. You’ll need a microwave-safe bowl, a spatula, and an 8×8-inch baking dish lined with parchment paper.
Melt the Chocolate Mixture: In your microwave-safe bowl, combine chocolate chips and peanut butter. Microwave in 30-second intervals until melted and smooth—don’t burn it! Stir well after each interval.
Add Cereal Bliss: Once melted, fold in the crispy rice cereal gently. This step is crucial; you want to coat every piece without crushing them into oblivion.
Spread Into Dish: Pour your mixture into the lined baking dish. Use your spatula to spread it evenly and press down firmly so they hold together beautifully once set.
Chill Until Firm: Pop the dish into the fridge for about 30 minutes or until firm. Patience is key here—resist nibbling while you wait!
Slice & Serve!: Once set, remove from the fridge and lift out using the parchment paper. Slice into squares or rectangles—whatever shape says “delicious” to you—and enjoy!
These homemade crunch bars are not just treats; they’re a doorway to childhood memories filled with laughter and joy. Whether you’re making them for yourself or sharing with friends, each crunchy bar brings comfort wrapped in nostalgia—a true classic that never gets old!
You Must Know
- Homemade Crunch Bars are a delightful treat that combines crispy texture with rich chocolate.
- Experimenting with different toppings can create a unique twist on this classic favorite.
- They make for a great snack or dessert, perfect for sharing with friends or family.
- Don’t forget to get creative with flavors and add your personal touch!
Perfecting the Cooking Process
Start by melting the chocolate and peanut butter together, then mix in the crunchy ingredients for an even blend.
Add Your Touch
Consider swapping peanut butter for almond butter or adding dried fruit for extra flavor.
Storing & Reheating
Store your Homemade Crunch Bars in an airtight container at room temperature for up to a week.
Chef's Helpful Tips
- Use high-quality chocolate for a richer taste; it makes a noticeable difference in flavor.
- Ensure your mixture is well-combined to prevent uneven texture in your bars.
- Chill the bars thoroughly before cutting them to achieve neat, clean edges when serving.
I’ll never forget the first time I made these bars; my friends devoured them in minutes and begged for the recipe!
FAQ
How long do Homemade Crunch Bars last?
Homemade Crunch Bars typically last about one week if stored properly.
Can I use different types of chocolate?
Absolutely! Dark, milk, or white chocolate all work well for these bars.
What can I add to my Homemade Crunch Bars?
Consider adding nuts, seeds, or dried fruits for added texture and flavor.
Easy Homemade Crunch Bars Recipe
- Total Time: 30 minutes
- Yield: About 12 servings
Description
Indulge in the nostalgia of your childhood with these Homemade Crunch Bars! In just 30 minutes, you can whip up a delightful treat that combines creamy chocolate, crunchy rice cereal, and a hint of peanut butter. Perfect for sharing or devouring solo (we won’t judge), these bars are the ultimate no-bake dessert that will have your friends begging for seconds—and the recipe!
Ingredients
- Chocolate chips
- Peanut butter
- Crispy rice cereal
- Unsalted butter
- Vanilla extract
Instructions
- Prepare your workspace by gathering all ingredients and lining an 8×8-inch baking dish with parchment paper.
- In a microwave-safe bowl, combine chocolate chips and peanut butter. Microwave in 30-second intervals until melted, stirring well after each interval.
- Gently fold in crispy rice cereal until evenly coated.
- Pour the mixture into the prepared baking dish and press down firmly to compact.
- Chill in the fridge for about 30 minutes or until firm.
- Remove from the dish using parchment paper and slice into bars.
- Prep Time: 10 minutes
- Cook Time: 20 minutes
- Category: Dessert
- Method: No-bake
- Cuisine: American
Nutrition
- Serving Size: 1 serving
- Calories: 150
- Sugar: 9g
- Sodium: 60mg
- Fat: 8g
- Saturated Fat: 3g
- Unsaturated Fat: 4g
- Trans Fat: 0g
- Carbohydrates: 18g
- Fiber: 0g
- Protein: 2g
- Cholesterol: 5mg