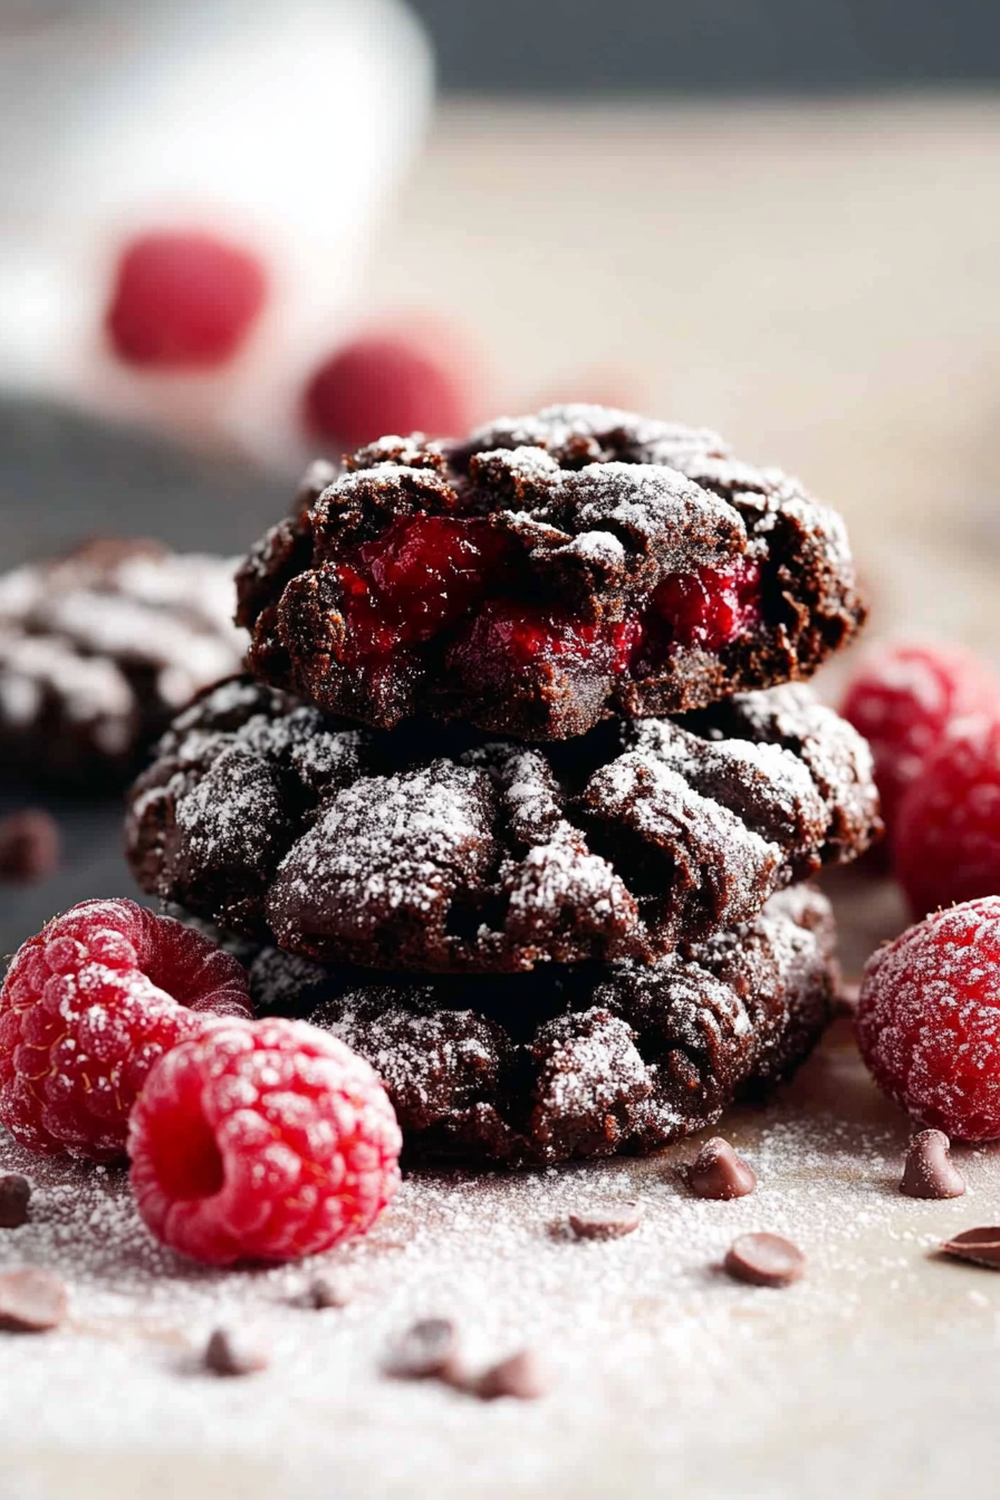
If you are searching for a delightful treat that combines the richness of chocolate with the tartness of fresh raspberries, then look no further than these Chocolate Raspberry Crinkles. This delectable cookie recipe offers a perfect balance of flavors and textures that will satisfy your sweet cravings. The combination of gooey chocolate and fruity raspberry creates a unique dessert experience that is both indulgent and refreshing.
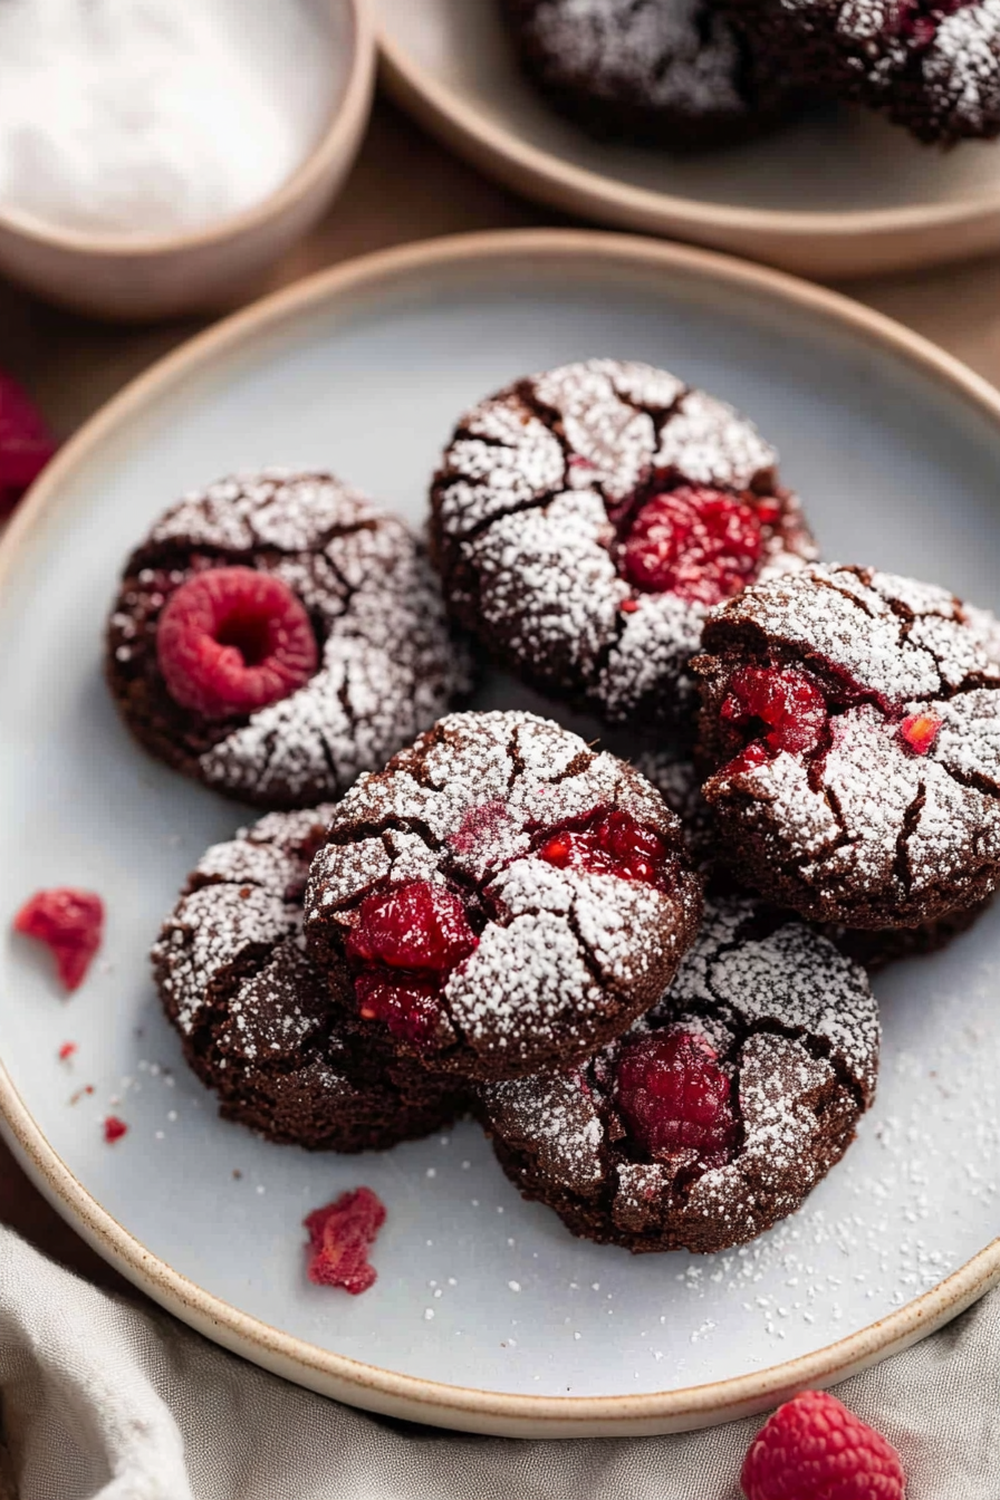
These crinkle cookies are easy to make and require simple ingredients commonly found in most kitchens. They feature a beautiful cracked surface that hints at the soft, chewy interior waiting inside. Whether you are hosting a gathering or simply wishing to treat yourself, these cookies are bound to impress everyone who tries them.
In this article, we will guide you through the essential ingredients needed to make these delightful treats, provide step-by-step instructions for preparation, and share tips on serving and storing your stunning Chocolate Raspberry Crinkles. Join us on this culinary adventure and discover just how easy it is to create this mouthwatering dessert that will leave your taste buds dancing with joy!
Main Ingredients
All-Purpose Flour
To achieve the perfect texture in your Chocolate Raspberry Crinkles, you’ll need 1 cup of all-purpose flour. This ingredient provides structure to the cookies while keeping them soft and chewy inside. When measuring flour, it’s important to spoon it into your measuring cup rather than scooping directly from the bag. Scooping can compress the flour and lead to using too much, resulting in dense cookies.
Unsweetened Cocoa Powder
Next up is 1/3 cup of unsweetened cocoa powder. This ingredient is crucial as it gives the cookies their rich chocolate flavor and dark color. Opt for high-quality cocoa powder for the best results. Unsweetened cocoa powder adds depth without additional sweetness; therefore, it balances perfectly with the raspberries’ tanginess.
Granulated Sugar
You will also need 1 cup of granulated sugar to sweeten your dough. The sugar not only adds sweetness but also contributes to the texture by helping the cookies spread during baking. When combined with butter or oil in your dough, sugar creates a beautiful crumb structure that results in chewy yet tender cookies.
Fresh Raspberries
For those juicy bursts of flavor, use 1 cup of fresh raspberries. These berries add natural sweetness along with a slightly tart note that complements the chocolate wonderfully. Ensure you wash and dry them gently before adding them to your cookie dough so they don’t release excess moisture during baking.
Eggs
You will require 2 large eggs in this recipe. Eggs act as binding agents that help hold all ingredients together while providing moisture and richness to the cookies. Be sure to bring them to room temperature before mixing; this allows for better incorporation into the dough.
Baking Powder
Don’t forget about 1 teaspoon of baking powder! This leavening agent helps create a lighter texture by allowing air bubbles to form while baking. It’s essential for achieving those lovely cracked tops characteristic of crinkle cookies.
Powdered Sugar
Finally, you’ll need about 1/4 cup of powdered sugar for dusting your finished cookies before baking them. This not only enhances their presentation but also adds a touch of sweetness on top once baked.
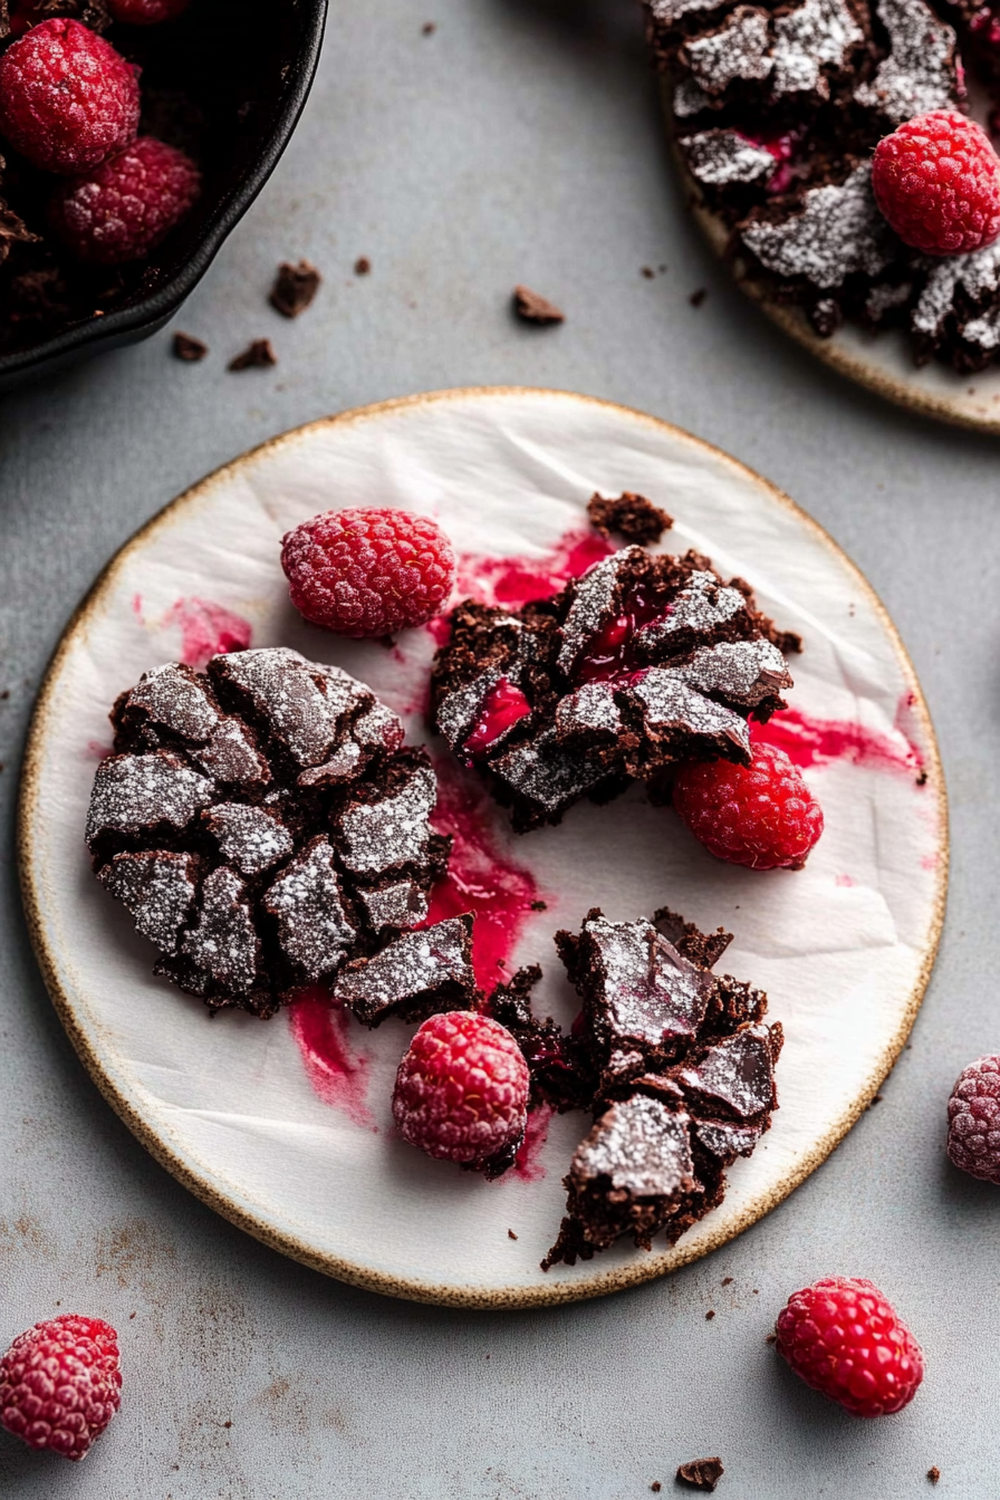
How to Prepare Chocolate Raspberry Crinkles
Step One: Prepare Your Dough Mixture
Begin by preheating your oven to 350°F (175°C). While your oven heats up, grab a large mixing bowl and combine your dry ingredients first—sift together all-purpose flour, unsweetened cocoa powder, baking powder, and salt (if using). Whisk thoroughly until there are no lumps.
In another bowl, cream together softened butter (about half a cup) and granulated sugar until light and fluffy—this should take around two minutes with an electric mixer on medium speed or about five minutes if you’re doing it by hand. Once creamed properly, add in your eggs one at a time while mixing well after each addition until fully incorporated; this ensures even blending throughout.
Now gradually incorporate your dry mixture into this wet mixture using low speed on your mixer or folding gently with a spatula if mixing by hand—be careful not to overmix as this could lead to tougher cookies! Once just combined (it’s okay if there are still some streaks), fold in those luscious fresh raspberries gently so they remain whole rather than crushed—this will give bite-sized bursts of flavor when they’re baked!
Step Two: Chill Your Dough
After preparing your dough mixture successfully comes an important step: chilling! Transfer it into an airtight container or wrap tightly in plastic wrap; refrigerate for at least thirty minutes up until two hours maximum; this chilling period allows flavors to meld beautifully while also firming up consistency which makes scooping easier later on.
This downtime is ideal for cleaning up any mess made during preparation as well as gathering supplies such as parchment paper lined onto baking sheets ready for when it’s time—this way everything’s set up perfectly once done chilling!
Step Three: Scoop & Shape
Once chilled adequately remove from fridge—a good sign would be if it feels firmer but still slightly tacky—not overly sticky though! Use either a cookie scoop or tablespoon measure portion out small mounds (about one tablespoon) onto prepared sheets spaced about two inches apart; they don’t spread too much but give enough room between them just in case!
After shaping all mounds onto sheets dust generously over each mound with powdered sugar; this signature topping helps create those beautiful crinkle marks during baking process giving each cookie character! You can even roll them lightly by hand beforehand if desired—the more powdered sugar used here means bigger cracks formed later!
Step Four: Bake & Cool
With everything ready now it’s time for action! Place trays in preheated oven carefully; bake for around ten-fifteen minutes depending upon size—you’ll know they’re done when edges appear set while centers look slightly underbaked still which is desired effect! Allow cooling completely on wire racks afterwards so bottoms won’t steam leaving soggy finish behind.
Once cooled down fully enjoy right away warm from oven alongside glass milk—or store leftovers conveniently within airtight container keeping freshness intact through few days ahead!
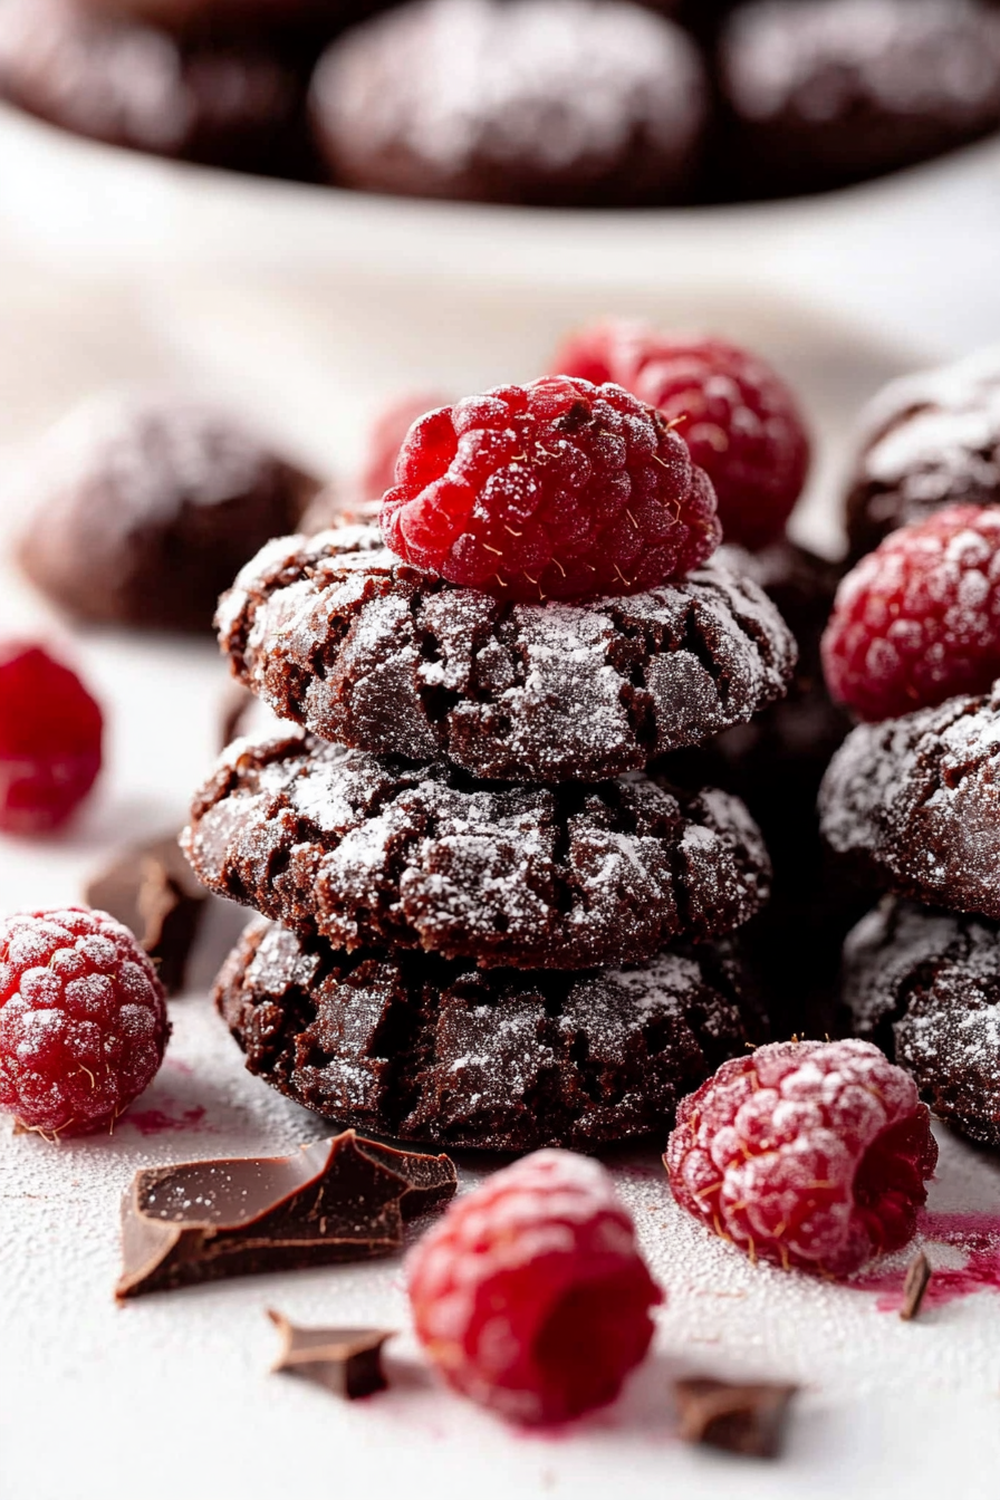
Serving and Storing Tips
Serving Suggestions
When it comes time to serve these divine Chocolate Raspberry Crinkles consider pairing them alongside complementary items like vanilla ice cream scoops or whipped cream dollops atop each plate—they add elegance while enhancing indulgence factor altogether! You might even drizzle melted dark chocolate over top just before serving as final touch inviting guests’ eyes drawn toward dessert table immediately.
For gatherings consider placing several dozen onto decorative platters garnished fresh mint leaves nearby elevating presentation significantly without extra effort involved—no one will resist reaching out grabbing one (or two) after seeing such beautiful setup displayed artfully!
These delightful treats can also be enjoyed warm straight from oven; however should you have leftovers ensure they’re stored properly cool completely first followed by transferring into airtight containers preventing moisture loss keeping them fresher longer too!
Storing Tips
To maximize longevity store any remaining crinkle cookies within sealed containers at room temperature away from direct sunlight ideally consuming within three-four days maximum unless frozen instead extending shelf life significantly longer—up towards three months successfully preserving taste quality achieved during initial bakes if done correctly!
If freezing keep separated layers using parchment paper between each layer preventing sticking together making retrieval easier later on whenever cravings arise unexpectedly! Simply thaw overnight inside refrigerator before enjoying again bringing back soft chewy goodness reminiscent original flavors experienced first time around every bite indulged thereafter reminding eaters why they fell head over heels initially!
Mistakes to avoid
When baking Chocolate Raspberry Crinkles, several common mistakes can lead to unsatisfactory results. One major mistake is not properly measuring your ingredients. Baking is a science, and precision is key. Always use a kitchen scale or measuring cups to ensure accuracy. If you eyeball the amounts, the balance of wet and dry ingredients may be off, leading to cookies that are either too dry or too gooey.
Another frequent error occurs during the mixing process. Overmixing your dough can result in tough cookies. When combining the ingredients, mix until just combined. This helps maintain the tender texture that makes Chocolate Raspberry Crinkles so delightful. Conversely, under-mixing can also pose problems, as you might end up with uneven distribution of chocolate and raspberry flavors.
Temperature plays a crucial role in baking as well. Many bakers forget to let their butter soften adequately before creaming it with sugar. Properly softened butter incorporates air into the mixture, resulting in lighter cookies. Additionally, chilling your dough for at least 30 minutes is essential for achieving that perfect crinkle effect during baking. If you skip this step, your cookies may spread too much.
Finally, don’t overlook oven calibration. An oven that’s too hot can lead to burnt edges while leaving the centers raw. Use an oven thermometer to ensure your appliance operates at the correct temperature. By avoiding these common pitfalls, you can create delicious Chocolate Raspberry Crinkles that are sure to impress.
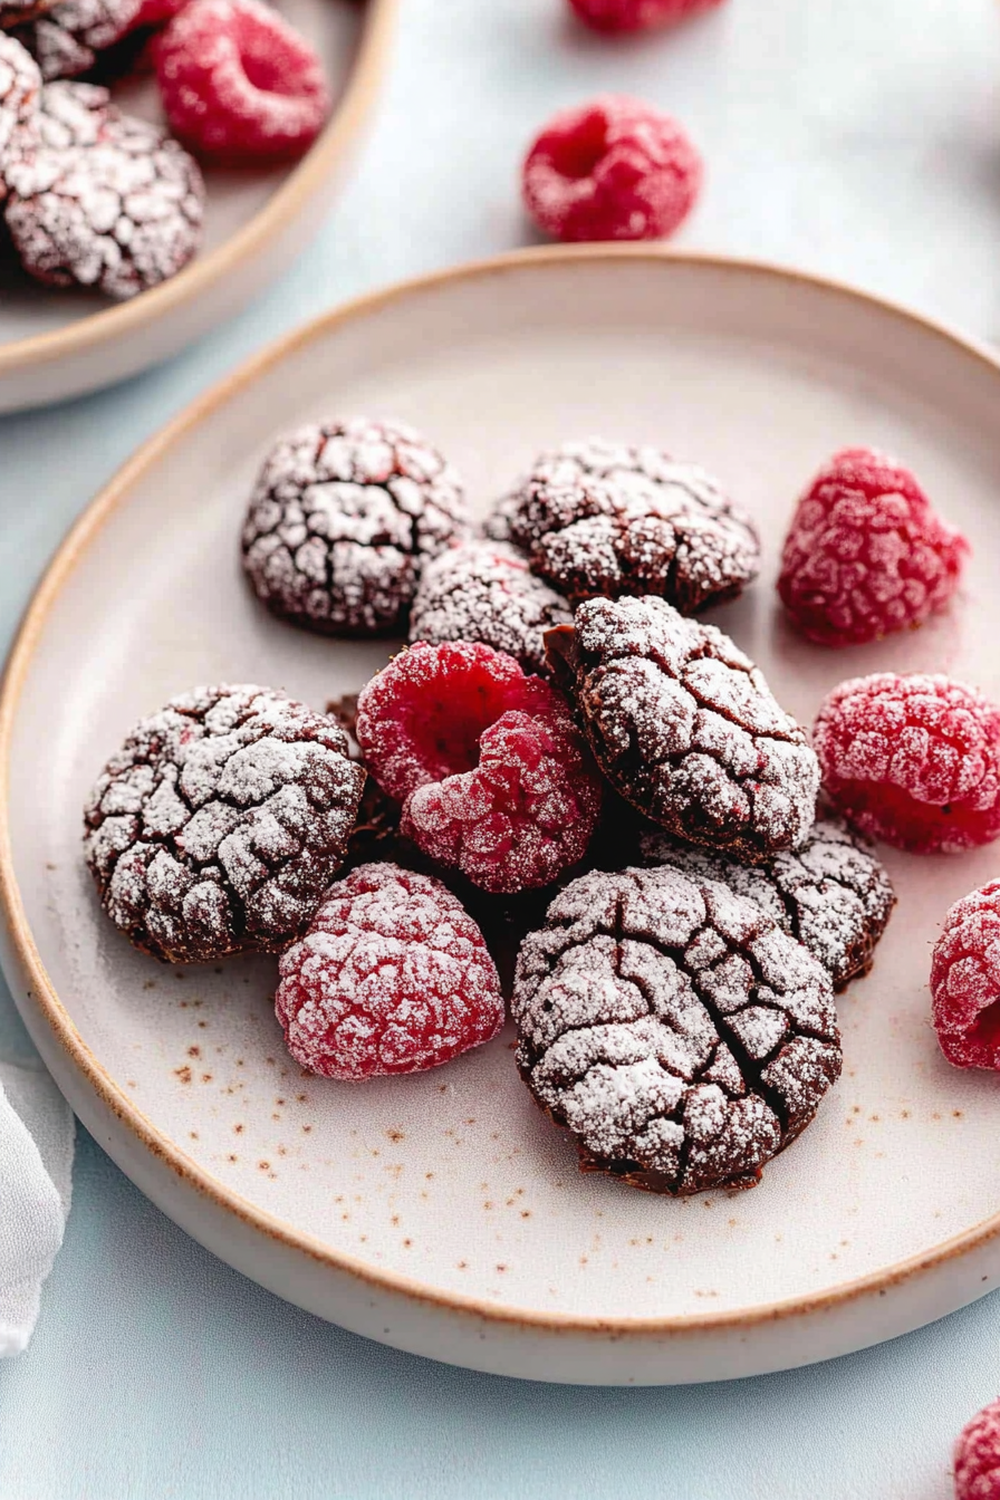
Tips and tricks
To perfect your Chocolate Raspberry Crinkles, consider implementing several tips and tricks that enhance both taste and texture. Start with high-quality cocoa powder and dark chocolate. The flavor of your cookies will significantly improve when you use premium ingredients; thus making them richer and more indulgent.
Incorporating fresh raspberries instead of frozen ones can elevate your recipe further. Fresh raspberries provide a burst of flavor that complements the rich chocolate perfectly. If using frozen raspberries, make sure to thaw them thoroughly and drain any excess liquid to avoid soggy cookies.
Experimenting with different sugars can also yield delightful results. While granulated sugar is standard, using brown sugar adds moisture and a hint of caramel flavor that enhances the overall profile of your Chocolate Raspberry Crinkles. Mixing both sugars gives you the benefits of each.
Another important tip is to pay attention to baking time and cooling methods. Remove the cookies from the oven when they are slightly underbaked; they will continue cooking on the tray as they cool down. For even better texture, transfer them onto a wire rack after about 5 minutes on the baking sheet.
Lastly, don’t forget about presentation! Dusting your baked cookies with powdered sugar right before serving adds an elegant touch and highlights their crinkled surface beautifully.
Suggestions for Chocolate Raspberry Crinkles
When preparing Chocolate Raspberry Crinkles, there are several suggestions that can enhance both flavor and presentation. One effective suggestion is to add a pinch of sea salt on top just before baking. This simple addition elevates sweetness while providing a delightful contrast against the rich chocolate base.
Consider adding nuts such as chopped walnuts or pecans for an added crunch in every bite if you’re open to variations in texture. Not only do they contribute nutritional value, but they also introduce another layer of flavor that complements the sweetness of chocolate and tartness of raspberries.
For those looking for a gluten-free option, substituting all-purpose flour with almond flour or gluten-free blends works surprisingly well in this recipe while maintaining its delicious taste profile.
Additionally, pairing these cookies with ice cream creates a stunning dessert experience that’s perfect for gatherings or special occasions—try serving them warm alongside vanilla or raspberry sorbet for a delightful contrast!
Explore various ways to package these treats if you’re giving them as gifts or party favors—beautifully wrapped boxes or mason jars filled with these delectable cookies make lovely presents that showcase creativity.
Finally, don’t hesitate to modify this recipe by incorporating other fruits like strawberries or cherries for varied flavors throughout different seasons!
FAQs
What makes Chocolate Raspberry Crinkles different from regular chocolate cookies?
Chocolate Raspberry Crinkles stand out due to their unique combination of flavors and textures; they feature rich chocolate paired with fresh raspberry accents that provide tartness against sweetness. The crinkled appearance comes from rolling dough balls in powdered sugar before baking; this technique reveals beautiful patterns reminiscent of snow-dusted landscapes when baked correctly!
Can I use frozen raspberries instead of fresh ones?
Yes! You can use frozen raspberries when making Chocolate Raspberry Crinkles; however, ensure you thaw them first and drain any excess liquid before mixing them into your batter. This prevents excess moisture from affecting cookie consistency during baking; thus ensuring optimal texture without compromising flavor!
How do I store leftover Chocolate Raspberry Crinkles?
Store leftover Chocolate Raspberry Crinkles in an airtight container at room temperature for up to five days! To maintain freshness longer than this period—placing them in the refrigerator works well too—but remember they may lose some softness over time due cold storage conditions.
Can I freeze Chocolate Raspberry Crinkles?
Absolutely! To freeze these delicious treats safely—allow them cool completely after baking then place them into an airtight freezer bag or container separated by parchment paper layers between each cookie batch! They should keep well for up two months; simply thaw at room temperature when ready enjoy again!
Why did my Chocolate Raspberry Crinkles not crinkle?
If your Chocolate Raspberry Crinkles did not develop their signature crinkle pattern while baking—it could be due insufficient chilling time prior rolling into balls! Chilling allows fats solidify which helps create those beautiful cracks on top once baked—so always chill dough appropriately before proceeding!
What type of cocoa powder should I use?
For best results in making rich-flavored Chocolate Raspberry Crinkles—opt for unsweetened cocoa powder rather than Dutch-processed! This type retains acidity necessary balancing flavors between sweet and tart elements inherent within this recipe creating harmonious deliciousness!
Print
Chocolate Raspberry Crinkles
- Total Time: 27 minutes
- Yield: 24 cookies 1x
Description
Indulge in the perfect balance of rich chocolate and tart raspberry flavors with these soft and chewy crinkle cookies. Perfect for holidays or anytime you want a decadent treat!
Ingredients
- 1 1/4 cups all-purpose flour
- 1/2 cup cocoa powder
- 1 tsp baking powder
- 1/4 tsp salt
- 1/2 cup unsalted butter, softened
- 3/4 cup granulated sugar
- 1 large egg
- 1 tsp vanilla extract
- 1/2 tsp raspberry extract
- 1/4 cup raspberry preserves
- 1/2 cup powdered sugar (for coating)
Instructions
- Mix Dry Ingredients:
- In a bowl, whisk together flour, cocoa powder, baking powder, and salt. Set aside.
- Prepare Wet Ingredients:
- In a mixing bowl, cream butter and granulated sugar until light and fluffy. Add the egg, vanilla extract, raspberry extract, and raspberry preserves. Mix until well combined.
- Combine & Chill Dough:
- Gradually add the dry ingredients to the wet mixture and mix until a soft dough forms. Cover and refrigerate for 1–2 hours, or until firm.
- Form & Coat Cookies:
- Preheat oven to 350°F (175°C). Line baking sheets with parchment paper. Roll the dough into 1-inch balls, then coat each ball generously in powdered sugar.
- Bake:
- Place cookies 2 inches apart on the prepared baking sheet. Bake for 10–12 minutes, or until the edges are set and the tops have a crinkled appearance.
- Cool & Serve:
- Let cookies cool on the baking sheet for 5 minutes before transferring them to a wire rack. Serve and enjoy!
Notes
- Add a few fresh raspberries or drizzle melted chocolate over the top for an elegant touch.
- Store in an airtight container for up to 5 days.
- Prep Time: 15 minutes
- Cook Time: 12 minutes
Nutrition
- Calories: 120
- Sugar: 10g
- Fat: 6g
- Carbohydrates: 15g
- Fiber: 1g
- Protein: 1.5g
In conclusion, mastering Chocolate Raspberry Crinkles involves understanding key aspects such as common mistakes to avoid while implementing useful tips and suggestions along the way enhances overall enjoyment during preparation process! Remember precise measurements greatly affect outcomes—be attentive particularly when mixing until combined properly ensuring even distribution throughout batter.
Using high-quality ingredients elevates flavors significantly improving taste profiles; experimenting innovative variations keeps things exciting encourages culinary creativity resulting delightful surprises time after time!
Whether enjoyed alone or shared among family friends—these scrumptious cookies offer something everyone loves indulging in sweet satisfaction derived from perfect blend rich chocolate complemented vibrant raspberry bursts! Don’t forget store leftovers appropriately extend freshness maximize enjoyment long after initial baking experience completes!

