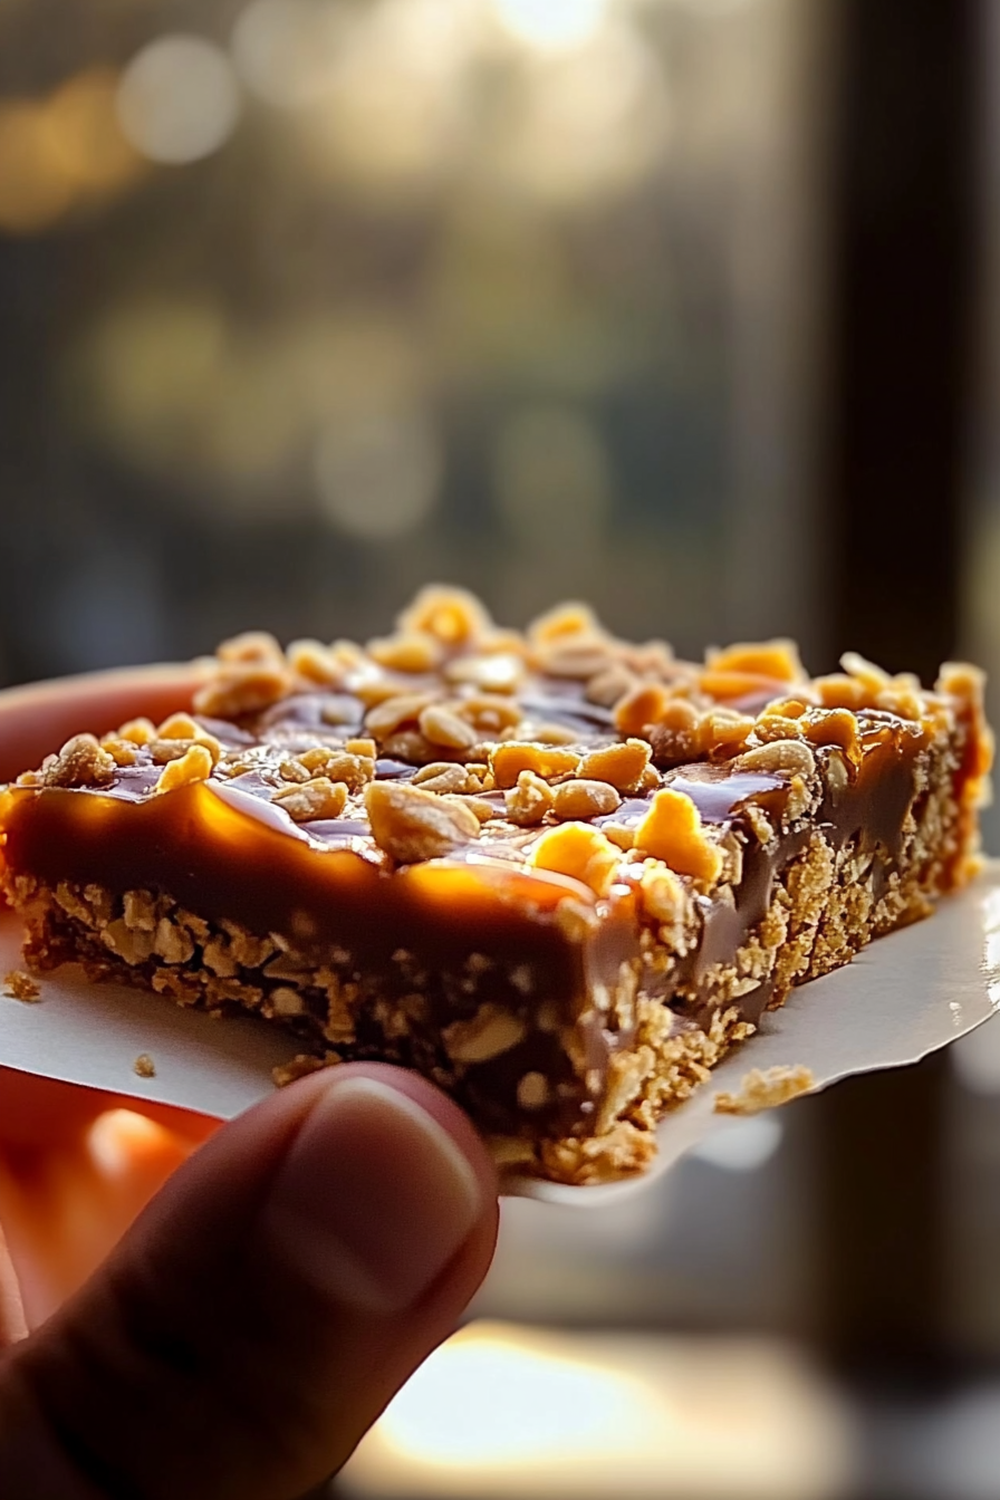
If you have a sweet tooth and love the delightful combination of chocolate and caramel, you are in for a treat with our Crunchy Butterfinger Caramel Bars. This recipe captures the essence of comfort food while offering a scrumptious experience that is both indulgent and satisfying. With layers of buttery caramel, crispy peanut butter crunch, and rich chocolate coating, these bars are perfect for any occasion—be it a cozy night in or a festive gathering.
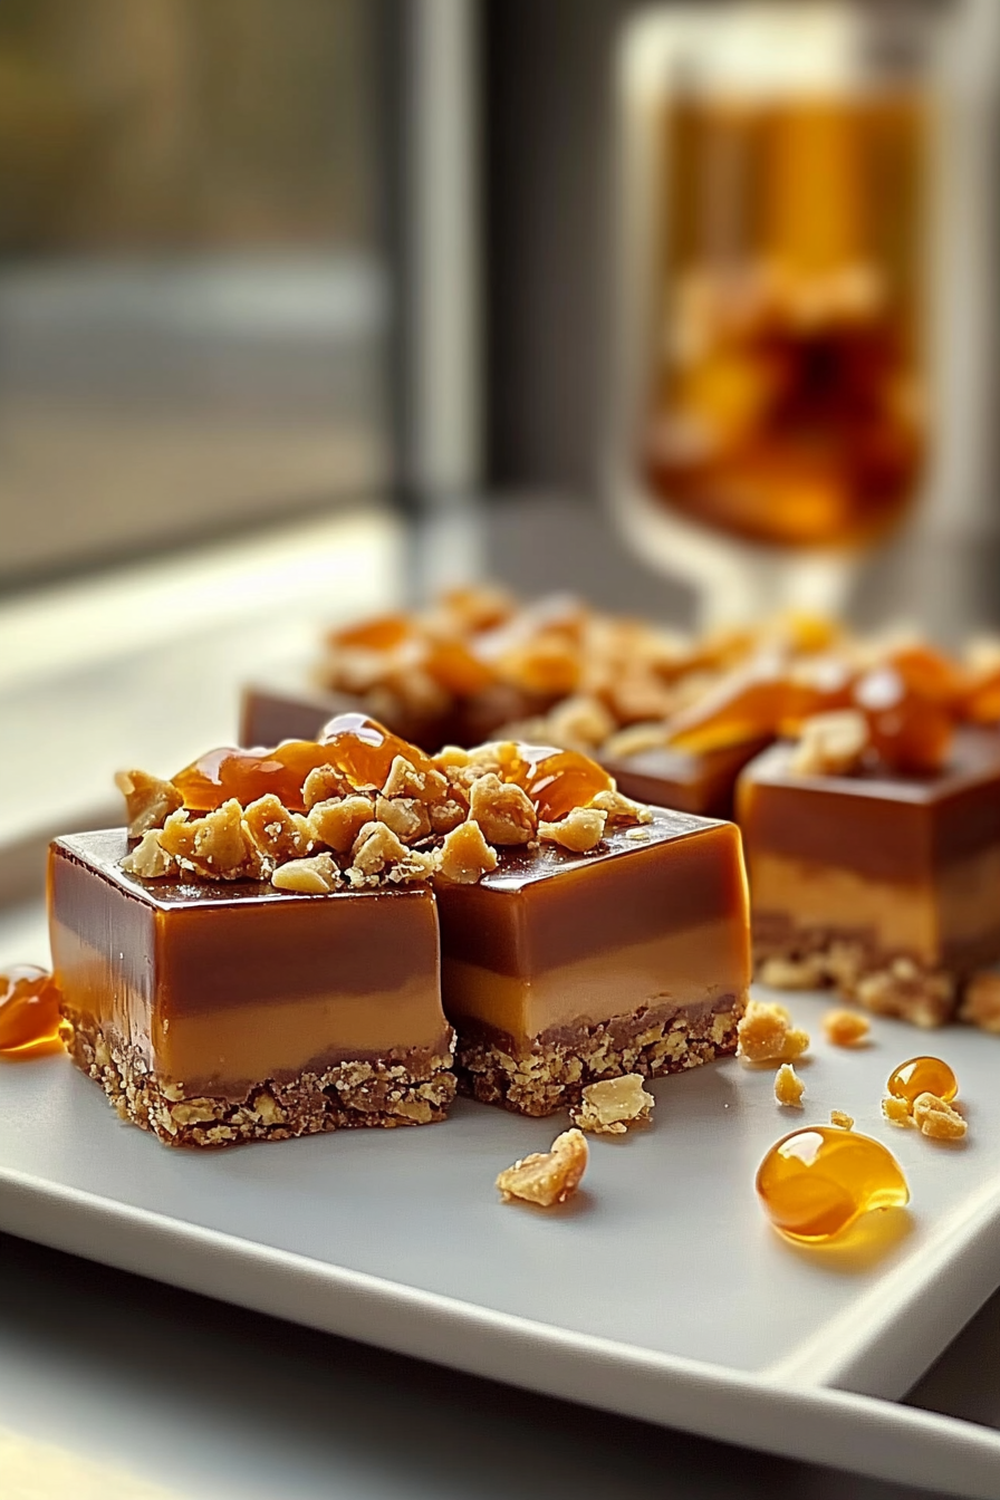
The beauty of these Crunchy Butterfinger Caramel Bars lies not only in their irresistible flavor but also in their simplicity. You can whip them up easily at home with just a few ingredients. Whether you are looking to impress guests or simply satisfy your family’s cravings, this recipe will surely become one of your favorites. Plus, they make excellent gifts wrapped up in a cute box or bag.
In this article, we’ll walk you through the essential ingredients you’ll need and provide step-by-step instructions to ensure your success. With just one bite, you will understand why these crunchy treats are a hit among friends and family alike. Let’s dive into the details so you can start creating this delightful dessert right away!
Main Ingredients
Chocolate Graham Crackers
Chocolate graham crackers form the base of our Crunchy Butterfinger Caramel Bars. They provide a sweet and slightly nutty flavor that blends perfectly with the other ingredients. For this recipe, you’ll need about 1 ½ cups of crushed chocolate graham crackers. When crushed finely, they create a firm crust that holds everything together while adding an enjoyable crunch.
Unsalted Butter
Unsalted butter is crucial for achieving that rich flavor and creamy texture in our bars. You’ll need ½ cup (one stick) melted unsalted butter to bind the crust ingredients together and enhance the overall taste. Using unsalted butter allows you to control the saltiness of your dessert better than using salted butter would.
Sweetened Condensed Milk
Sweetened condensed milk adds sweetness and creaminess to our Crunchy Butterfinger Caramel Bars. For this recipe, use one 14-ounce can of sweetened condensed milk to create a luscious layer that complements the crunchy elements beautifully. Its thick consistency helps bind the layers together while providing that signature caramel-like texture.
Peanut Butter
Peanut butter provides an additional flavor dimension and contributes to the chewy texture of our bars. Use 1 cup of creamy peanut butter for optimal results; it melts down nicely without separating when heated. The peanut buttery goodness pairs wonderfully with chocolate and caramel flavors.
Candy Bar Topping
The star of our dessert—the Crunchy Butterfinger candy bar topping—adds that distinctive crunch and intense flavor we all love! You’ll need about 2 cups of chopped Butterfinger candy bars to sprinkle on top before baking. This key ingredient is what gives our bars their name and elevates them from ordinary treats to something extraordinary.
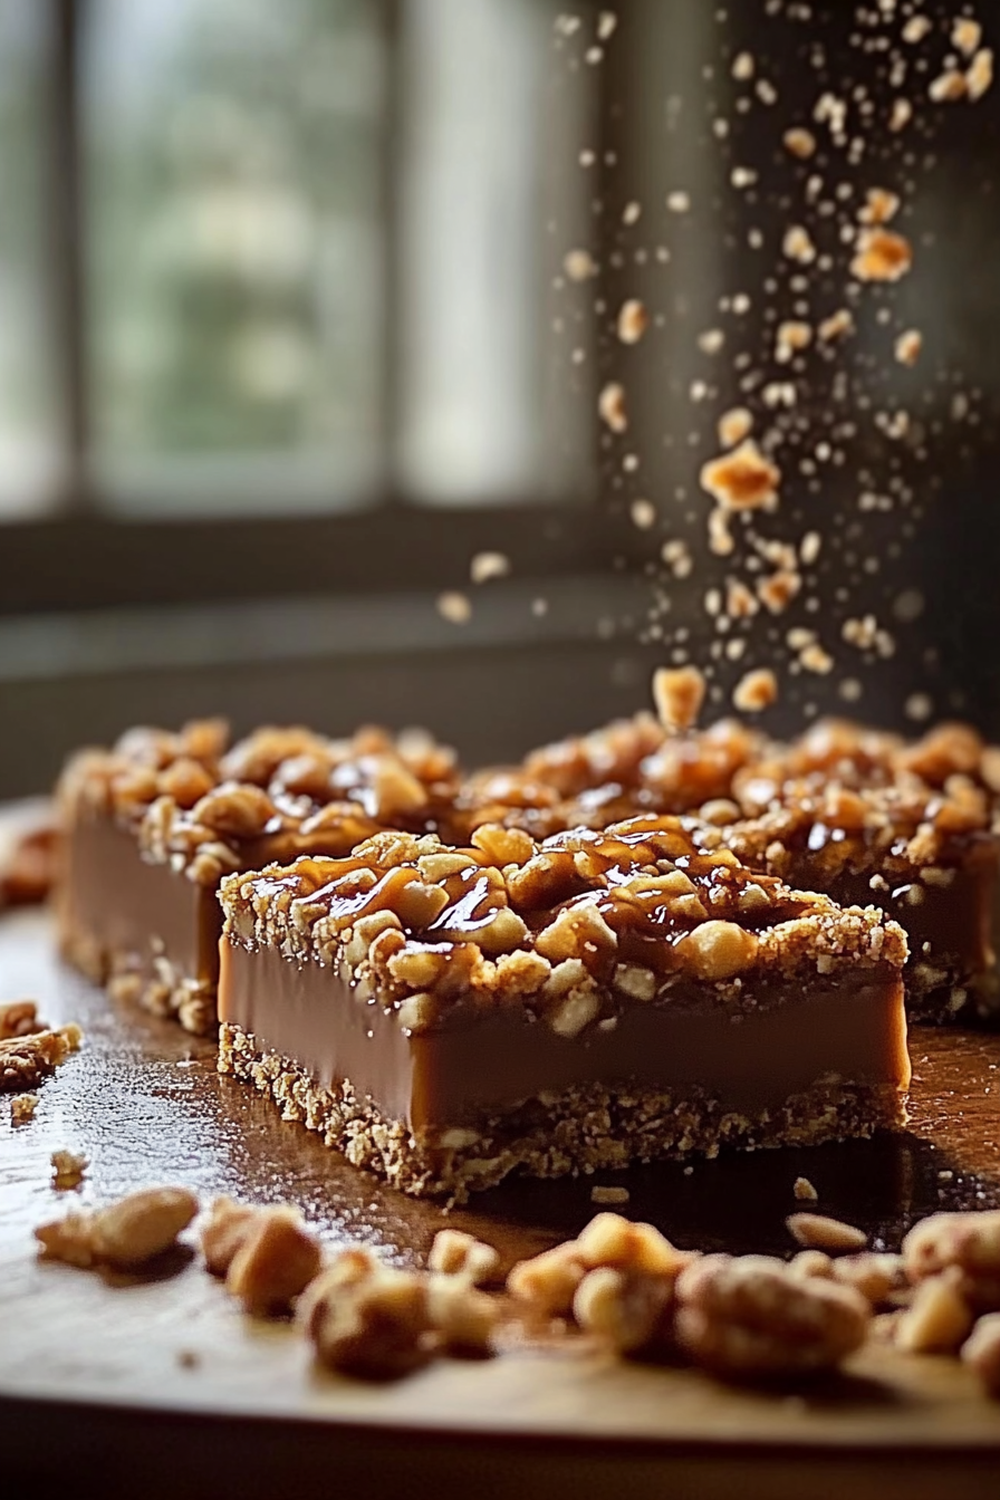
How to Prepare Crunchy Butterfinger Caramel Bars
Step 1: Prepare Your Baking Dish
Begin by preheating your oven to 350°F (175°C). While it heats up, take an 8-inch square baking dish or an equivalent size dish lined with parchment paper for easy removal later on. Ensure that the parchment paper hangs over the edges slightly; this will help lift out your finished product effortlessly once cooled.
Step 2: Make The Crust
In a medium bowl, combine 1 ½ cups of crushed chocolate graham crackers with ½ cup melted unsalted butter until well mixed. The mixture should resemble wet sand when properly combined; if too dry add a touch more melted butter until it holds together nicely without being greasy.
Once ready, pour this mixture into your prepared baking dish and press down firmly using either your hands or a flat-bottomed measuring cup until evenly distributed across the bottom layer—aiming for firmness without over-compressing it which could lead to dryness after baking.
Bake this crust in your preheated oven for about 10 minutes or until just starting to turn golden brown. Remove from heat but allow it to cool while you prepare the next layer!
Step 3: Create The Filling
While your crust cools down slightly, grab another mixing bowl! Pour one can (14 ounces) of sweetened condensed milk into it along with 1 cup creamy peanut butter—mix these two together until perfectly blended without lumps remaining.
After blending well add in approximately two cups worth (or more if desired!) chopped Butterfinger candy pieces then fold gently so as not to break apart too much candy coating during mixing process—this way every bite will be packed full of deliciousness!
Spread this filling evenly over your cooled chocolate graham cracker crust ensuring it reaches all corners—use an offset spatula or back side of spoon if necessary for smooth distribution before popping back into oven again at same temperature (350°F) for approximately 15-18 minutes until set but still slightly gooey underneath its surface layer—you want those flavors mingling together nicely!
Step 4: Finish With A Chocolate Layer
For an indulgent finish melt around eight ounces semi-sweet chocolate chips either over double boiler method stirring frequently until fully melted or microwaving them incrementally checking every thirty seconds, so they don’t scorch!
Once melted pour evenly atop baked filling allowing gravity help spread outwards towards edges—gently use spatula help cover entire surface area leaving no gaps behind! Return entire dish back into hot oven just long enough (around five minutes) warm everything through melting top layer further which makes cutting easier once cooled down completely afterward!
Let everything cool down completely at room temperature then refrigerate until chilled throughout (about two hours minimum) before cutting into squares—you may want warm slightly beforehand so they’re easier break apart, but each bite will be filled rich layers bursting flavors!
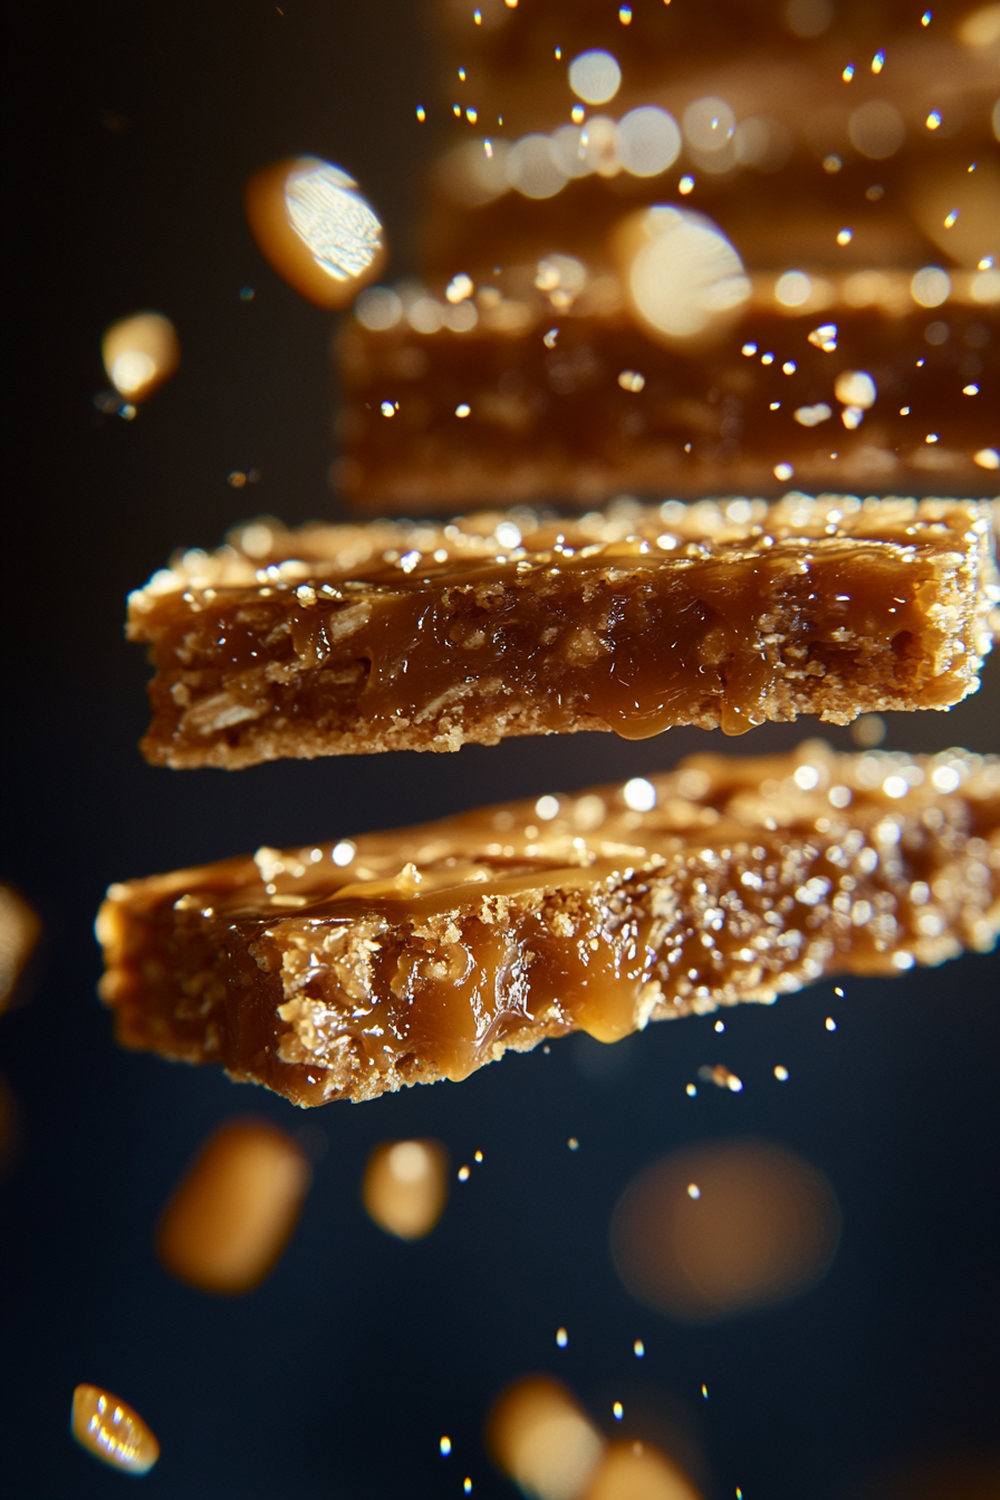
Serving and Storing Tips
Serving Suggestions
These Crunchy Butterfinger Caramel Bars make fantastic desserts for any gathering! Consider serving them at birthday parties or holiday events where guests enjoy sweet treats—they’re sure to be crowd-pleasers every time! For presentation purposes cut neatly into uniform squares placing each piece onto decorative plates garnished fresh mint leaves alongside small dollops whipped cream if desired adds extra flair visually appealing touch!
You might also consider pairing these delectable bites with coffee or milkshakes as part afternoon snack options treat yourself family after school activities! Add some colorful sprinkles atop before serving brings vibrant look captures attention instantly while enhancing overall experience indulging everyone involved enjoying their favorite flavors combined perfectly within single bite!
Storage Instructions
To store leftover Crunchy Butterfinger Caramel Bars keep them sealed tightly within airtight container stored refrigerator where they will remain fresh up-to week maximum duration—though I highly doubt they’ll last long because everyone loves indulging themselves deliciousness found inside each square piece offered generously here today!
For longer-term storage options feel free freeze individual pieces frozen wax paper between layers preventing sticking together making retrieval easy whenever cravings strike unexpectedly later on! Just thaw overnight fridge prior consuming enjoying best quality possible without compromising taste texture whatsoever even after freezing process completed successfully yielding delightful results every time enjoyed relishing moment savoring delicious treat created lovingly from scratch following simple steps outlined above throughout article today!
Mistakes to avoid
When preparing Crunchy Butterfinger Caramel Bars, it’s essential to avoid common mistakes that can lead to unsatisfactory results. One significant mistake is not measuring ingredients accurately. Baking is a science, every gram counts. Using too much or too little of an ingredient can alter the texture and flavor of your bars. For instance, if you don’t measure the butter correctly, your bars may end up too greasy or dry. Always use a kitchen scale for precise measurements to ensure consistency in your baking.
Another common error is skipping the chilling step after preparing the base. Allowing the mixture to cool before adding toppings helps maintain structure and prevents them from sinking into the batter. If you skip this step, your bars may end up mushy and less appealing. Be patient and give your mixture time to set properly before layering on the caramel and Butterfinger bits.
Lastly, overbaking is a frequent pitfall that can ruin your Crunchy Butterfinger Caramel Bars. Keep a close eye on your baking time and perform a toothpick test towards the end of the suggested baking period. If it comes out clean or with just a few crumbs clinging to it, remove the bars from the oven promptly. Overbaked bars can turn hard and lose their chewy texture, making them less enjoyable.
Tips and tricks
To achieve perfect Crunchy Butterfinger Caramel Bars, consider these effective tips and tricks. Start by using high-quality chocolate for melting. The type of chocolate you choose significantly influences the final taste of your bars. Opt for semi-sweet or milk chocolate chips that melt smoothly and complement the sweetness of caramel without overpowering it.
Additionally, ensure that you line your baking pan with parchment paper before pouring in your mixture. This simple trick makes it easier to remove the bars once they have cooled completely. It also helps prevent sticking, which can lead to broken pieces when trying to cut them into squares.
Another essential tip is to allow adequate cooling time after baking. While it may be tempting to dig in right away, letting your Crunchy Butterfinger Caramel Bars cool completely ensures they firm up nicely. This cooling period enhances both texture and flavor as all layers meld together beautifully.
Finally, don’t hesitate to experiment with additional toppings or variations in flavors! Consider adding nuts like crushed peanuts or experimenting with different types of candy for unique twists on this classic recipe.
Suggestions for Crunchy Butterfinger Caramel Bars
For an enhanced experience while enjoying your Crunchy Butterfinger Caramel Bars, consider these suggestions that elevate their appeal. First, pairing these bars with a scoop of vanilla ice cream creates an indulgent dessert that balances sweetness with creaminess perfectly. The contrast between cold ice cream and warm caramel adds another layer of delight.
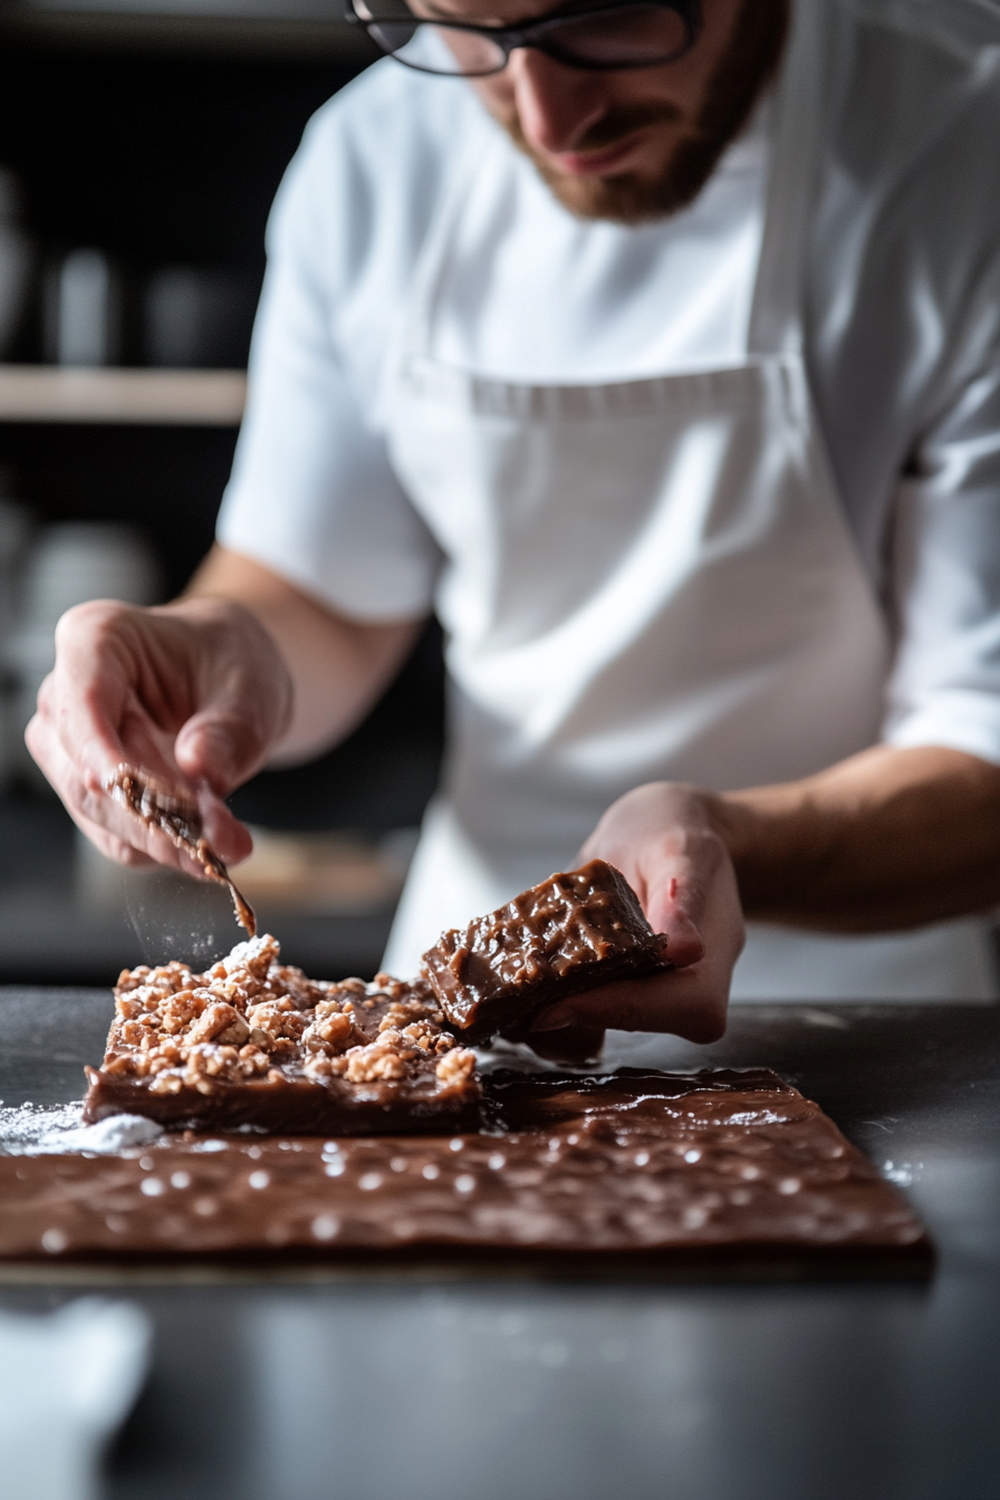
Moreover, serving them with a drizzle of melted chocolate on top not only adds visual appeal but also intensifies flavor richness. Simply melt some chocolate chips in a microwave-safe bowl and drizzle it over cut squares right before serving for that extra touch.
Consider packaging these delightful treats as gifts during holidays or special occasions! Cut them into neat squares, place them in decorative boxes lined with parchment paper, and tie with ribbons for a charming presentation that friends and family will appreciate.
Lastly, if you’re feeling adventurous, try creating variations! Swap out traditional Butterfinger pieces for other crunchy candies like Reese’s Pieces or even pretzel bits for added saltiness against sweetness—endless possibilities await!
FAQs
What are Crunchy Butterfinger Caramel Bars?
Crunchy Butterfinger Caramel Bars are delicious, layered treats made from a buttery base topped with melted caramel and crushed Butterfinger candy pieces. They offer a delightful combination of textures—crunchy on top and chewy in every bite—making them perfect for dessert lovers.
Can I use other candy instead of Butterfingers?
Yes! You can easily substitute Butterfingers with other candies like Reese’s Peanut Butter Cups or Snickers for different flavors in your Crunchy Butterfinger Caramel Bars. Just be sure to chop them finely so they distribute evenly throughout the dessert.
How do I store leftover Crunchy Butterfinger Caramel Bars?
To keep your remaining Crunchy Butterfinger Caramel Bars fresh, store them in an airtight container at room temperature if consumed within a few days; otherwise, refrigerate them to prolong freshness up to one week!
Can I freeze these bars?
Absolutely! Freezing is a great way to preserve Crunchy Butterfinger Caramel Bars for later enjoyment. Cut them into squares first; then place wax paper between layers inside an airtight container before freezing—enjoy whenever cravings strike!
What should I do if my bars are too sticky?
If you find that your Crunchy Butterfinger Caramel Bars turn out too sticky after cooling down completely, try refrigerating them briefly before cutting into portions—it will help firm up any excess moisture making cutting easier!
Can I add nuts to this recipe?
Certainly! Feel free to include chopped nuts such as pecans or walnuts along with the crushed candy topping on top of each layer when preparing your Crunchy Butterfinger Caramel Bars; it’ll add extra crunchiness while enhancing overall flavor profiles!
Print
Crunchy Butterfinger Caramel Bars
- Total Time: 2 hours 15 minutes
- Yield: 12 bars 1x
Description
Crunchy Butterfinger Caramel Bars are a delightful mix of crispy textures and gooey caramel goodness. Perfect for parties or a quick sweet treat!
Ingredients
- 1 cup crushed graham crackers
- 1/4 cup unsalted butter (melted)
- 1/2 cup caramel sauce
- 1 cup crushed Butterfinger candies
- 1/2 cup semi-sweet chocolate chips
- 1/4 cup heavy cream
Instructions
- Prepare the Crust: Combine crushed graham crackers and melted butter in a bowl. Press the mixture into a parchment-lined 8×8-inch pan. Chill for 10 minutes.
- Add Caramel Layer: Pour caramel sauce evenly over the crust. Sprinkle crushed Butterfinger candies on top.
- Melt Chocolate: Heat chocolate chips and heavy cream together in a microwave-safe bowl until smooth. Drizzle over the candy layer.
- Chill and Slice: Refrigerate for at least 2 hours. Slice into bars and serve.
Notes
- Use homemade caramel sauce for a richer flavor.
- Store in an airtight container in the fridge for up to 5 days.
- For extra crunch, sprinkle some chopped nuts on top.
- Prep Time: 15 minutes
- Cook Time: 2 hours (chilling time)
Nutrition
- Calories: 220
- Sugar: 25g
- Fat: 11g
- Carbohydrates: 30g
- Protein: 2g
Making perfect Crunchy Butterfinger Caramel Bars involves attention to detail and following correct methods while avoiding common pitfalls during preparation. Accurate measurements are crucial for consistent results while allowing adequate cooling time contributes significantly towards achieving desirable textures within each bite.
Employing tips such as using high-quality ingredients elevates flavors further into indulgence territory—experimenting with variations allows personalization catering specifically toward individual preferences too!
Storing leftovers properly ensures you enjoy these delightful treats longer without sacrificing quality over time—and remember sharing these scrumptious creations makes anyone’s day brighter! Whether enjoyed solo alongside ice cream or gifted beautifully packaged during special occasions—these bars promise satisfaction every time they’re made!

