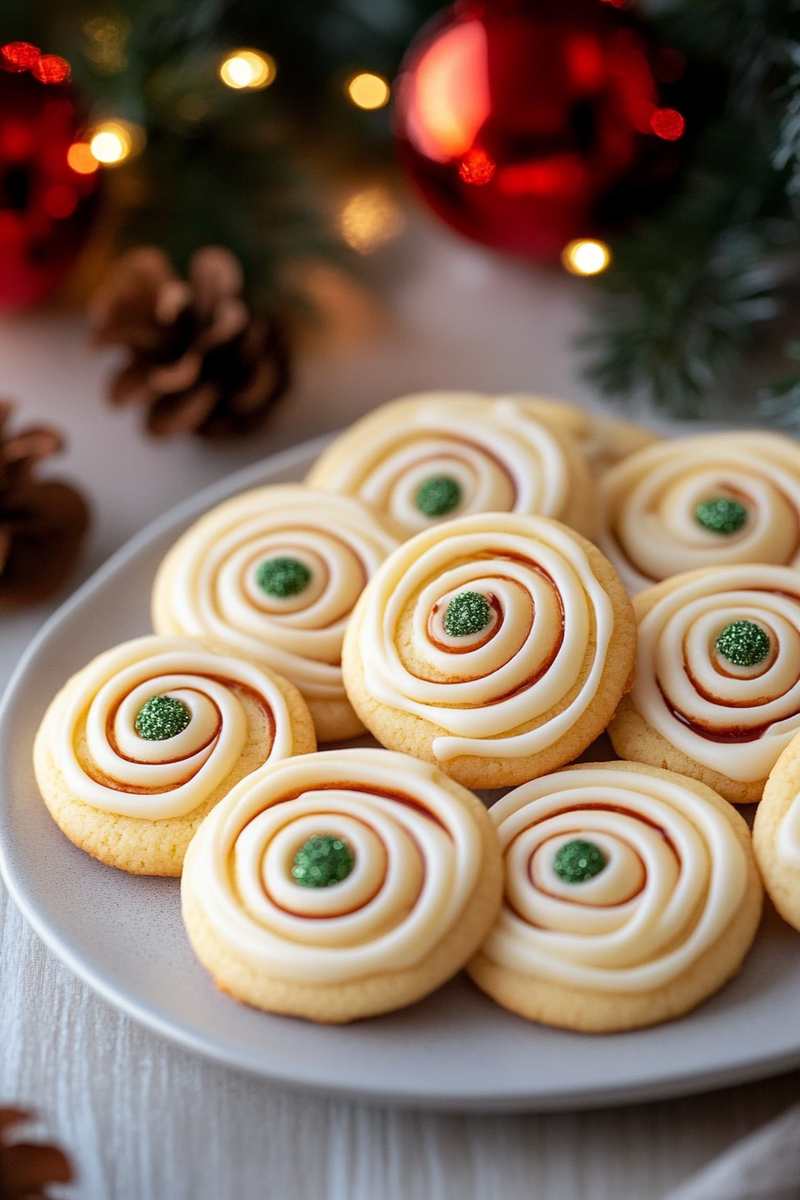
The holiday season brings a unique warmth and joy that is often best expressed through baking. One of the most delightful treats to grace your cookie platter this year is the Christmas Swirl Butter Cookies. These cookies not only taste heavenly but also bring a pop of color to your festive celebrations. Imagine biting into a soft, buttery cookie with hints of vanilla and vibrant swirls of red and green—this is exactly what these cookies offer.
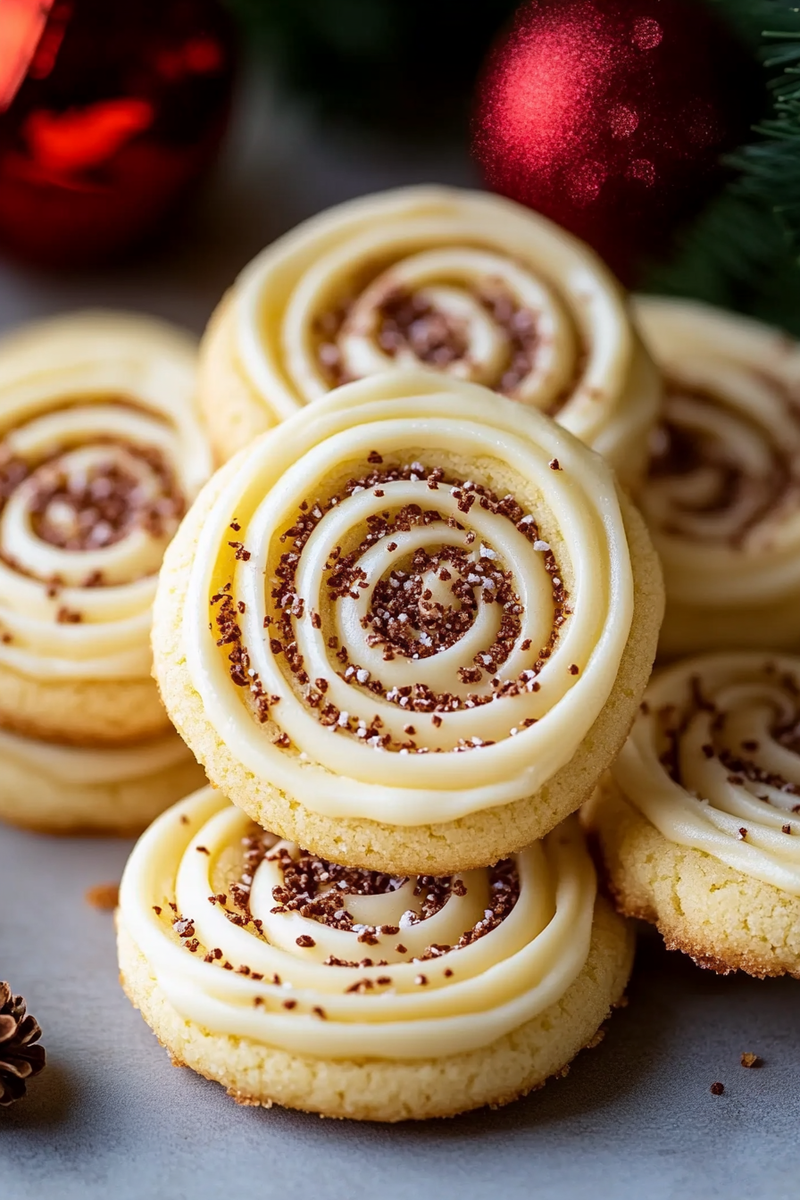
Baking these cookies is an enjoyable activity that can involve the whole family. Children love helping to mix and swirl the colorful dough while adults appreciate the simple yet satisfying preparation process. The resulting cookies are perfect for sharing at holiday parties or packing into gift boxes for friends and loved ones.
With their stunning appearance and rich flavor, Christmas Swirl Butter Cookies will surely become a favorite in your home. They embody everything that makes the holidays special: sweetness, joy, and togetherness. So roll up your sleeves, gather your ingredients, and let’s embark on this delicious journey to create the ultimate festive treat.
Main Ingredients
Unsalted Butter
Unsalted butter serves as the primary fat in our Christmas Swirl Butter Cookies recipe. You will need one cup (226 grams) of room-temperature unsalted butter for optimal blending with sugar and other ingredients. Using unsalted butter allows you to control the saltiness of your cookies more effectively than salted varieties would.
Granulated Sugar
To achieve that sweet buttery flavor, you will require one cup (200 grams) of granulated sugar. This ingredient is essential as it not only sweetens the cookies but also helps in creating a soft texture. The sugar will blend with butter during creaming, contributing to a light and fluffy batter.
Powdered Sugar
In addition to granulated sugar, you will use half a cup (60 grams) of powdered sugar. This ingredient adds extra sweetness while enhancing the cookie’s texture, making them melt-in-your-mouth delicious. Powdered sugar also provides a smooth consistency that helps bind all components together harmoniously.
All-Purpose Flour
For structure, you’ll need two cups (240 grams) of all-purpose flour. This ingredient forms the base of your cookie dough and ensures that your cookies hold their shape while baking without becoming too dense or crumbly.
Vanilla Extract
A teaspoon (5 milliliters) of pure vanilla extract will elevate your cookie’s flavor profile significantly. It infuses a warm aroma that complements the buttery base beautifully. Opt for pure vanilla over imitation for a more authentic taste.
Food Coloring
Red and green food coloring are vital for achieving those beautiful swirls characteristic of these cookies. You’ll need gel or liquid food coloring based on preference; just make sure they are safe for consumption since they add visual appeal without altering flavor.
Baking Powder
You will also need half a teaspoon (2 grams) of baking powder to help leaven the dough slightly during baking. This ingredient gives your cookies just enough rise to maintain their softness while ensuring they do not spread too much on the baking sheet.
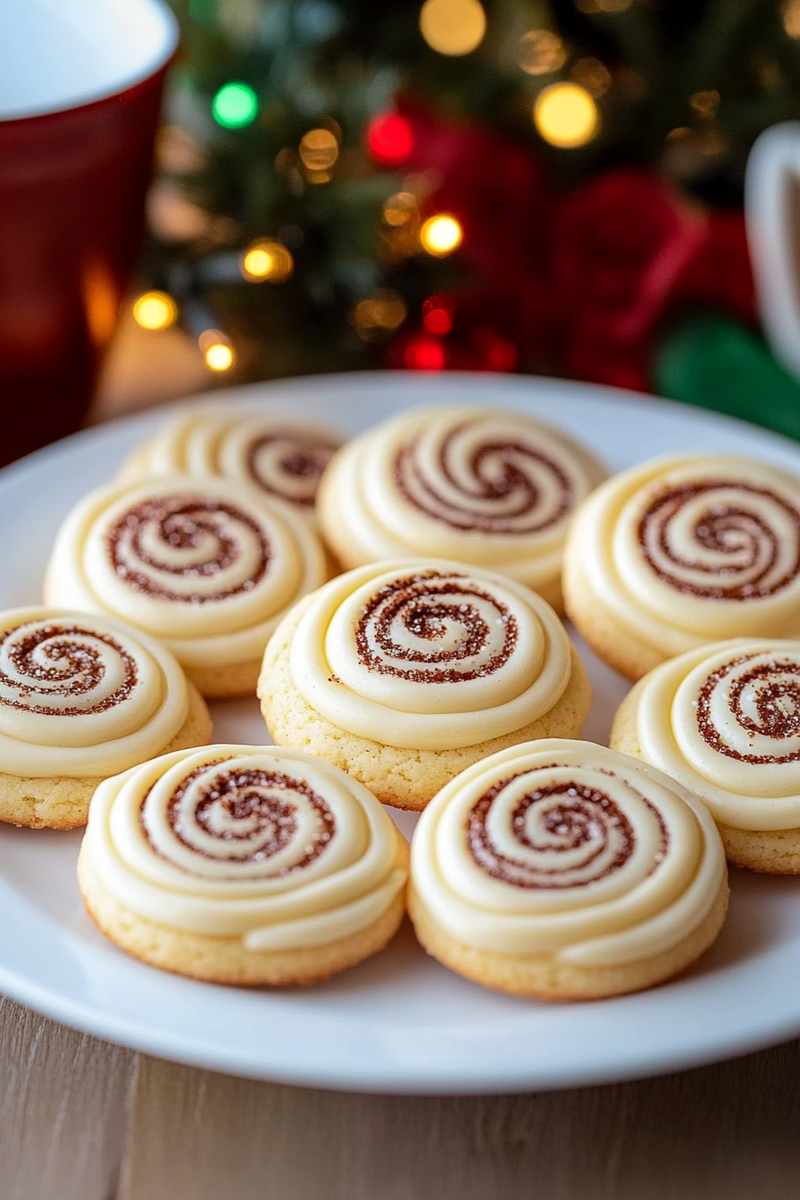
How to Prepare Christmas Swirl Butter Cookies
Step 1: Creaming Butter and Sugars
Start by preheating your oven to 350°F (175°C). While it warms up, take out a large mixing bowl and add one cup of room-temperature unsalted butter along with one cup of granulated sugar and half a cup of powdered sugar. Using an electric mixer on medium speed, cream these ingredients together until you achieve a light and fluffy texture—approximately 3-5 minutes should suffice.
Creaming is crucial because it incorporates air into the mixture, which contributes to a light cookie structure after baking. Make sure to scrape down the sides of your bowl occasionally with a spatula to ensure even mixing.
Once fully combined, add in one teaspoon of vanilla extract and continue mixing until just incorporated. This step enhances flavor substantially; therefore, don’t rush it!
Step 2: Adding Dry Ingredients
In another bowl, whisk together two cups of all-purpose flour and half a teaspoon of baking powder until well blended. Gradually add this dry mixture into your creamed butter-sugar blend using low speed on your mixer to avoid any mess or flour clouds in your kitchen.
Mix until just combined; be cautious not to overmix as this could lead to tough cookies instead of soft ones! At this point, divide the dough evenly into two separate bowls—each portion should roughly weigh about 400 grams if you want precision.
Step 3: Coloring Your Dough
Now comes the fun part! Depending on how vibrant you want each color swirled into your cookies, add several drops (about 5-7) of red food coloring into one bowl along with green food coloring into another bowl.
Using rubber gloves or clean hands (to avoid staining), knead each colored dough separately until you achieve even color distribution throughout each batch—this may take about 1-2 minutes per batch depending on how intense you desire the colors!
Step 4: Creating Your Cookie Swirls
Once both colored doughs are ready, prepare a piece of parchment paper or wax paper on your countertop surface for rolling out later stages easily without sticking issues later! Start by taking equal portions from both colors—around one tablespoon each—and rolling them into small balls.
Next comes swirling! Gently roll both colored balls together in your palms until they form an elongated log shape—try alternating how many times you roll each color so they create beautiful spirals rather than solid sections when baked!
Once formed into logs measuring about 6 inches long each—wrap them tightly in plastic wrap before placing them in refrigerate for at least 30 minutes; this helps set their shapes better once baked!
Step 5: Baking Your Cookies
After chilling time has elapsed!, remove logs from plastic wrap carefully cutting them into slices approximately half an inch thick using a sharp knife—place onto prepared baking sheets lined with parchment paper leaving enough space between pieces as some spread slightly during cooking!
Bake these beauties in preheated oven for around 10-12 minutes or until edges turn lightly golden brown but centers remain soft—that’s where all magic happens! Allow cooling completely before indulging yourself with these delightful treats!
Serving and Storing Tips
Serving Suggestions
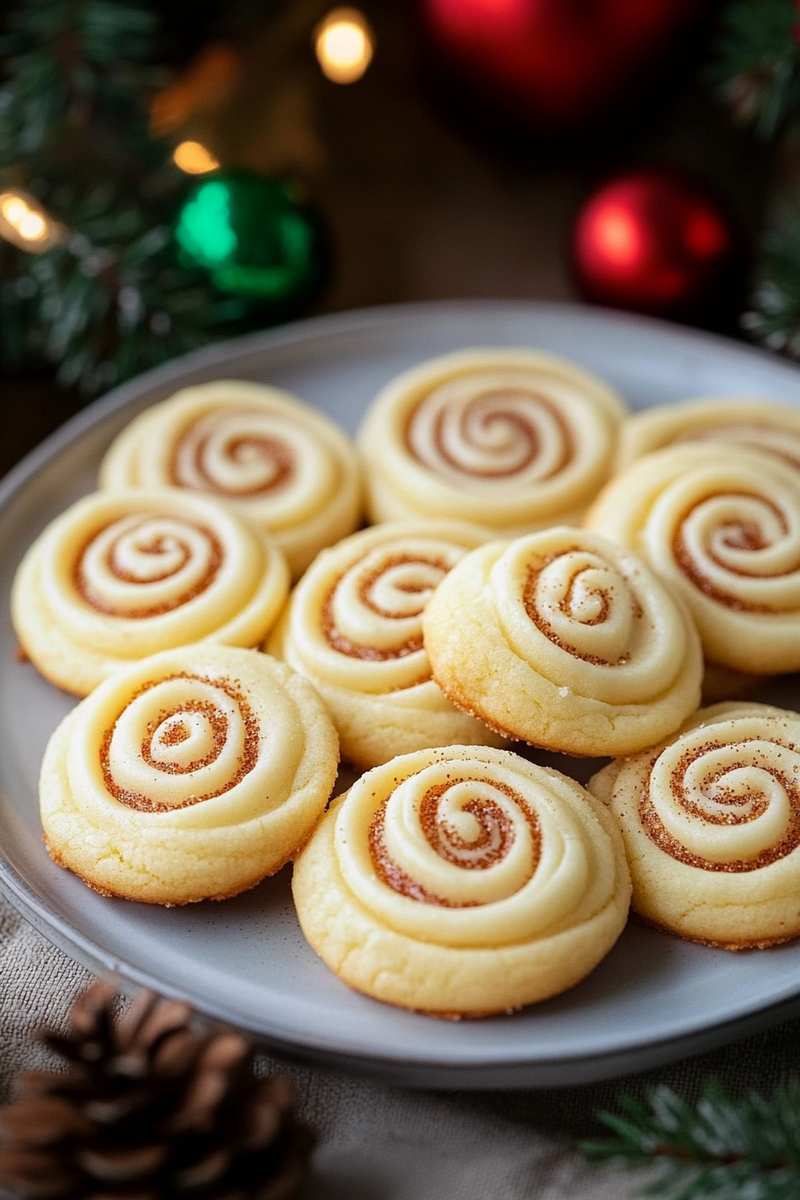
Christmas Swirl Butter Cookies are visually stunning yet deliciously simple! When serving them at holiday gatherings or events consider arranging them on festive platters adorned with seasonal decor—a sprinkle of powdered sugar on top can enhance its wintery aesthetic too!
Pairing these colorful delights alongside hot cocoa or spiced cider creates an inviting atmosphere perfect for cozy family gatherings around fireplace while enjoying quality time together—it’s heartwarming moments like these that truly capture essence behind traditions celebrated during holidays!
Consider incorporating variety by adding some additional toppings like chocolate drizzles or crushed peppermint candies atop cooled cookie surfaces—they’ll add extra crunchiness along with burst-of-flavor surprises within every bite taken!
Storing Guidelines
To keep those delicious swirls fresh longer store them properly using airtight containers—the best way would be layering parchment paper between layers if stacking multiple rows inside container prevents sticking issues! Keep stored at room temperature away from direct sunlight up-to-one-week maximum freshness retained through keeping moisture locked-in securely inside container itself!
Alternatively freezing leftover batches available too; simply wrap individual pieces tightly in plastic wraps followed by aluminum foil before placing inside freezer bags labeled correctly—these can stay fresh frozen-up-to-three months! Thawing process involves letting sit-out room temperature prior indulging goodness again after long wait patiently endured before tasting again!
By following these tips you’ll ensure that every bite remains delectable whether enjoyed immediately after baking or saved later down line when cravings strike unexpectedly during winter nights ahead!
Mistakes to avoid
When baking Christmas Swirl Butter Cookies, certain mistakes can lead to disappointing results. One common error is not measuring ingredients accurately. Baking is a science, and even a slight deviation in ingredient quantities can affect the texture and flavor of your cookies. Use a kitchen scale for precise measurements, especially for flour and sugar.
Another mistake is overmixing the dough. While it’s tempting to ensure everything is well combined, overmixing can lead to tough cookies. Mix just until the ingredients are incorporated, allowing for a tender texture that melts in your mouth.
Chilling the dough is often overlooked but essential for achieving the perfect swirl effect. If you skip this step, the dough may spread too much during baking, ruining the beautiful swirls you worked hard to create. Aim to chill the dough for at least an hour before rolling it out.
Using stale or expired ingredients can also compromise your cookies’ flavor. Always check expiration dates on your baking supplies, particularly butter and vanilla extract, as they significantly impact taste.
Finally, neglecting to preheat your oven could lead to uneven baking. An adequately preheated oven ensures that cookies bake uniformly and develop a lovely golden color. Always allow your oven to reach the desired temperature before placing your trays inside.
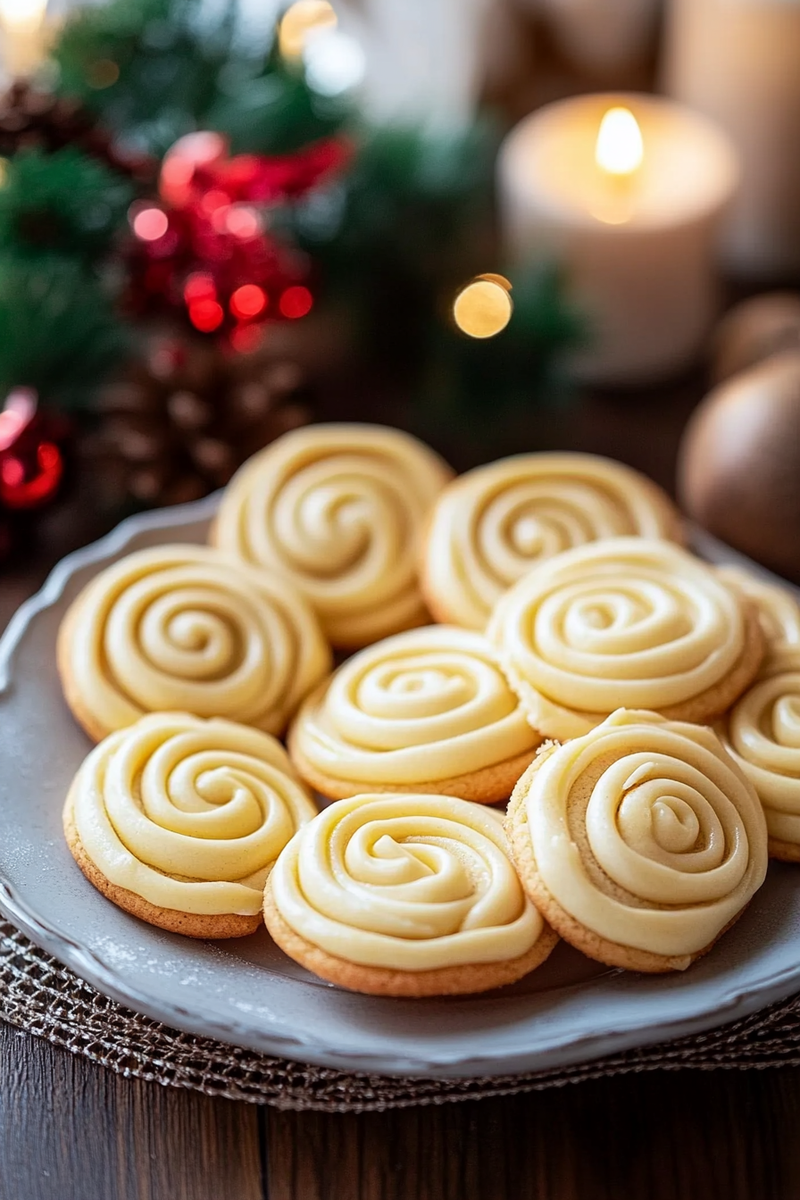
Tips and tricks
To elevate your Christmas Swirl Butter Cookies, follow these tips and tricks for optimal results. First, choose high-quality butter as it significantly influences flavor and texture. Select unsalted butter so you can control the salt content more effectively.
Incorporate different flavors into your cookie dough by adding extracts such as almond or peppermint alongside traditional vanilla extract. This will give your cookies a festive twist that complements the holiday spirit beautifully.
When rolling out your dough, use parchment paper instead of flour to prevent sticking and maintain the vibrant colors of your swirls. This method keeps your colors intact while ensuring easy transfer onto baking sheets.
Consider using gel food coloring for brighter swirls compared to traditional liquid coloring. Gel food coloring does not alter the dough’s consistency and provides vivid colors that pop against the buttery background.
After baking, let your cookies cool on wire racks rather than directly on baking sheets. This prevents them from becoming soggy and maintains their delightful crunchiness while allowing air circulation.
Lastly, store any leftover cookies in an airtight container at room temperature to keep them fresh longer. You can also freeze unbaked cookie dough for up to three months; simply thaw it in the fridge when you’re ready to bake a fresh batch of Christmas Swirl Butter Cookies.
Suggestions for Christmas Swirl Butter Cookies
Creating stunning Christmas Swirl Butter Cookies involves some creative suggestions that enhance both appearance and taste. First, consider experimenting with various color combinations for your swirls—red and green are classic holiday colors that evoke festive cheer but don’t hesitate to try blues or purples for a modern twist.
Incorporating crushed candies such as peppermint or holiday-themed sprinkles can add extra flair to your cookies after baking them. Sprinkle these toppings on slightly cooled cookies while they are still soft; this way, they’ll adhere better without falling off when you serve them.
For an added layer of flavor, think about mixing chopped nuts like pecans or walnuts into half of your dough before swirling it together with colored portions. This adds texture and makes each bite excitingly different while maintaining the buttery taste everyone loves.
If you’re making these cookies as gifts or treats for gatherings, consider packaging them in clear cellophane bags tied with festive ribbons or decorative boxes adorned with holiday themes. A thoughtful presentation elevates their appeal and makes them perfect for sharing during celebrations.
Additionally, serving these delightful cookies alongside hot cocoa or spiced cider creates a cozy atmosphere during winter gatherings. Pairing treats with beverages enhances flavors while providing warmth on chilly days—an excellent way to celebrate with family and friends!
Lastly, think about creating themed cookie platters featuring various cookie shapes decorated similarly to match your Christmas Swirl Butter Cookies’ festive aesthetics! Mixing different textures and flavors encourages everyone at gatherings to enjoy a variety of delicious treats while showcasing your baking skills.
FAQs
What is the best way to store Christmas Swirl Butter Cookies?
Storing Christmas Swirl Butter Cookies properly ensures they remain fresh and delicious longer. Place cooled cookies in an airtight container lined with parchment paper between layers to prevent sticking. Store them at room temperature away from direct sunlight or heat sources for optimal freshness up to one week.
If you want extended storage options, consider freezing baked cookies instead! Individually wrap each cookie in plastic wrap before placing them in freezer-safe bags or containers—this helps preserve their quality until you’re ready to enjoy them again!
Can I use margarine instead of butter in this recipe?
While margarine can be used as a substitute for butter in many recipes—including Christmas Swirl Butter Cookies—it may alter both flavor and texture slightly due to its water content compared with regular butter’s fat composition. If you choose margarine, select one labeled “stick” rather than “tub” since stick margarine has less moisture overall.
Keep in mind that using high-quality butter gives these cookies their signature rich taste! For best results—and if dietary restrictions allow—consider sticking with unsalted butter whenever possible!
How do I achieve vibrant swirls in my cookies?
Achieving vibrant swirls requires attention during both preparation and rolling processes! Start by dividing prepared cookie dough into portions based on desired colors; then add gel food coloring sparingly until reaching ideal shades without altering consistency too much!
When rolling out combined portions together into a log shape before chilling helps maintain distinct colors after slicing! The key lies in gentle handling—avoid overworking colored sections while keeping edges clean—this ensures striking visual effects upon cutting into baked goods!
Can I make these cookies gluten-free?
Absolutely! To create gluten-free versions of Christmas Swirl Butter Cookies successfully utilize certified gluten-free flour blends designed specifically for baking purposes as substitutes instead of traditional wheat-based flours—ensure all other ingredients comply too!
Experimentation may be necessary since different brands vary widely regarding absorption rates; adjust liquid ratios accordingly until achieving desired consistency resembling classic recipes—don’t hesitate trying alternative flavors along way!
What type of decorations work best?
When decorating Christmas Swirl Butter Cookies after cooling down completely consider using royal icing (for intricate designs) or simply sprinkling edible glitter atop warm surfaces right before they firm up! Crushed candies like peppermint offer festive touches alongside colorful sprinkles enhancing visual appeal!
Feel free getting creative mixing textures/colors—but remember avoid overly heavy toppings which could weigh down delicate pastries ruining original designs when served guests!
Can I double this recipe easily?
Certainly! Doubling recipes often leads delightful outcomes especially festive occasions where sharing baked goods brings joy among loved ones! Just ensure having ample space mixing/kneading larger batches thoroughly avoiding overflow issues!
Keep track proportions precisely throughout process allowing consistent results each time—this guarantees no surprising variations arise between multiple rounds indulging scrumptious treats together friends family alike during celebrations!
In summary, creating delectable Christmas Swirl Butter Cookies requires attention to detail—avoiding common mistakes like inaccurate measurements or overmixing ensures successful outcomes every time! Utilize tips such as choosing quality ingredients while incorporating festive flavors through swirling techniques enhances overall enjoyment during holiday celebrations.

