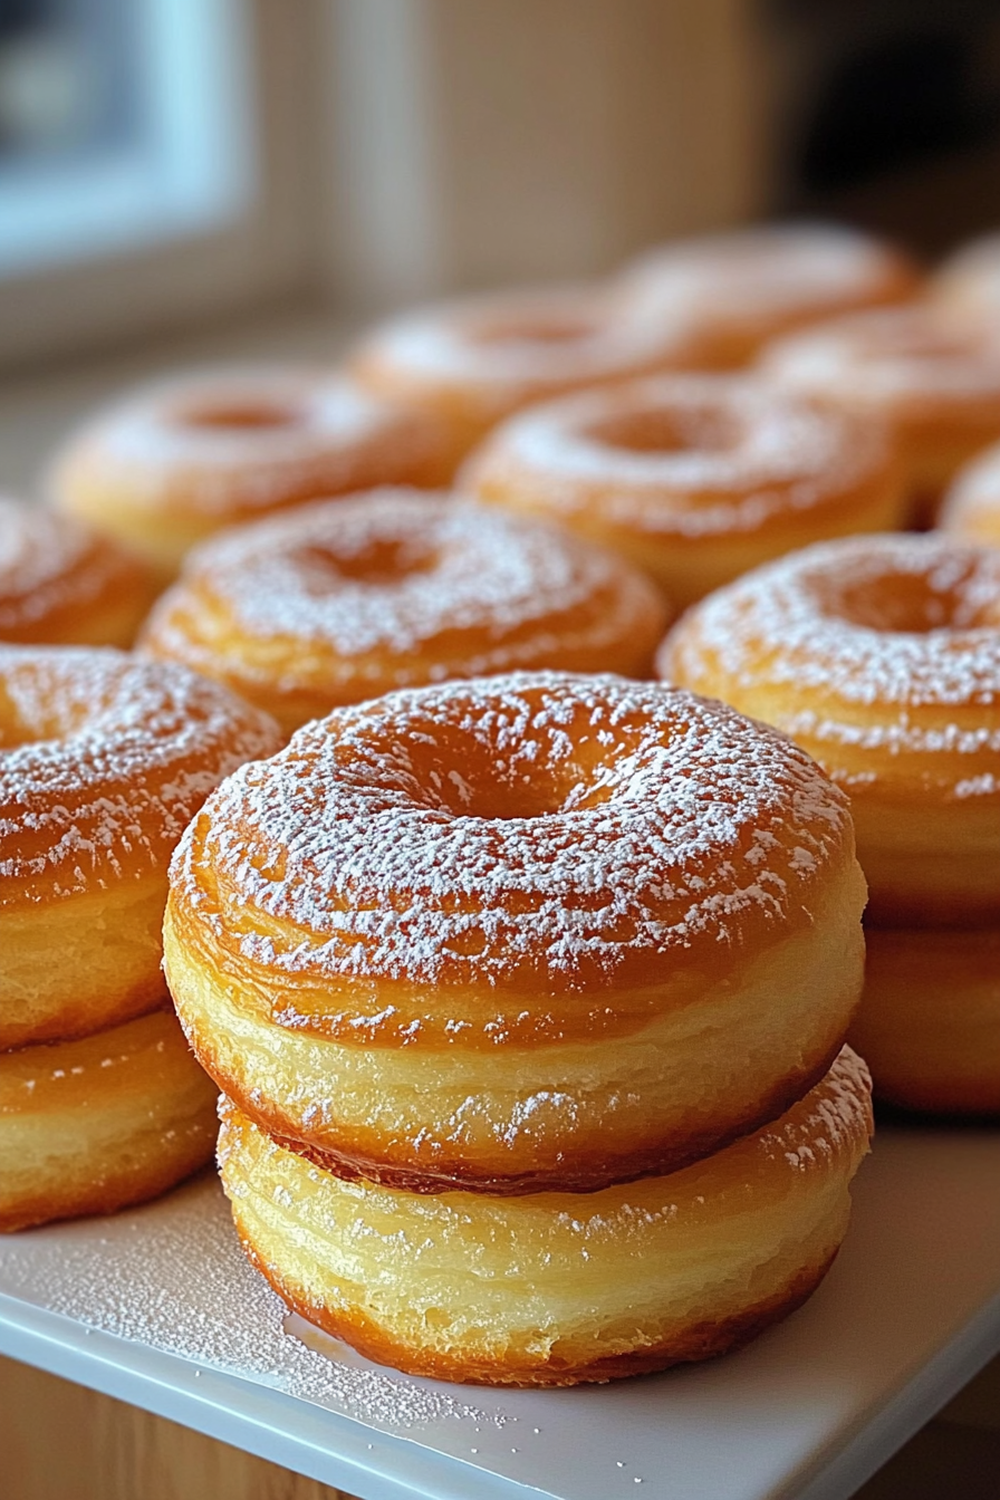
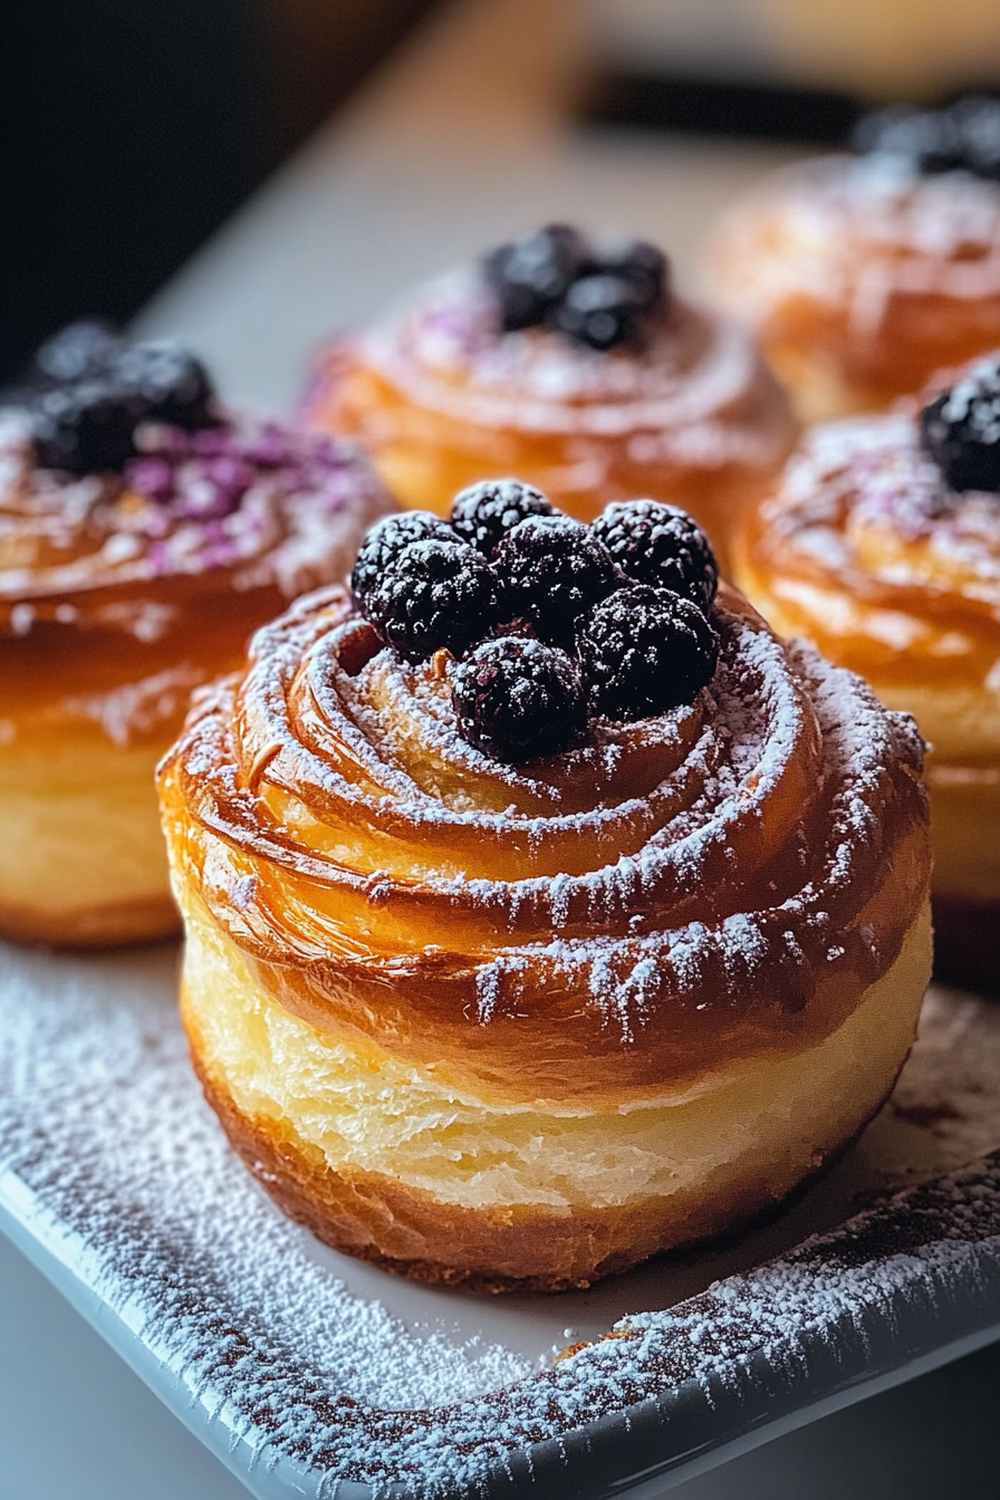
If you are craving a pastry that combines the best of a croissant and a muffin, look no further than delicious cruffins. These delightful treats are flaky, buttery, and filled with sweet surprises that will have you reaching for more. Originating from the innovative minds of bakers who wanted to create something special, cruffins have quickly become a favorite in cafes and homes alike. They are not only delicious but also surprisingly easy to make at home.

In this article, we will guide you through the process of making your very own delicious cruffins from scratch. Whether you want to prepare them for a weekend brunch or impress guests at a gathering, this recipe is sure to delight everyone. We’ll cover everything from the core ingredients needed to create these delectable pastries to step-by-step instructions on how to prepare them perfectly. Plus, we’ll share some serving suggestions and storing tips to help you enjoy your cruffins even longer. So grab your apron and let’s dive into this exciting baking adventure!
Main Ingredients
All-Purpose Flour
All-purpose flour is the foundation of our delicious cruffins. It provides the structure necessary for creating those flaky layers that we all love. For this recipe, you’ll need about 4 cups (500 grams) of all-purpose flour. The protein content in all-purpose flour strikes a perfect balance between tenderness and chewiness in the final product.
Unsalted Butter
Butter plays a critical role in achieving that rich flavor and flaky texture in your cruffins. We recommend using 1 cup (226 grams) of unsalted butter at room temperature for this recipe. By using unsalted butter, you can control the saltiness of the dough better than if you were to use salted butter.
Sugar
To add sweetness to your delicious cruffins, you will need 1 cup (200 grams) of granulated sugar. Sugar not only enhances the flavor but also contributes to browning during baking. If you prefer a more complex flavor profile, consider substituting half of the granulated sugar with brown sugar.
Milk
Milk is essential for binding ingredients together and providing moisture in your dough. You will need 1 cup (240 milliliters) of whole milk for this recipe. Whole milk adds richness compared to lower-fat options, contributing to a tender crumb.
Yeast
Yeast is what gives our delicious cruffins their lightness and rise. You will need 2 teaspoons (7 grams) of active dry yeast for this recipe. Make sure your yeast is fresh for optimal results; expired yeast may not provide enough leavening power.
Eggs
Eggs contribute to both flavor and structure in our dough while also enriching it further. You will need 2 large eggs for this recipe—one for the dough and one for egg wash before baking. This egg wash creates a beautiful golden crust on your finished pastries.
Filling Ingredients
You can get creative with fillings! Popular choices include chocolate chips or fruit preserves; however, feel free to experiment with flavors that excite you! You’ll typically need about 1 cup (200 grams) of filling per batch.
Let’s Make It
Prepare the Dough
Start by mixing your dry ingredients in a large bowl—this includes the all-purpose flour, sugar, salt (optional), and yeast. Ensure that these ingredients are well combined before making a well in the center where you’ll add the wet ingredients: milk and eggs. Stir gently until combined; it should be sticky but manageable.
Next, knead your dough on a lightly floured surface for about 5-10 minutes until it becomes smooth and elastic. If your dough feels too sticky while kneading, sprinkle small amounts of flour as needed without overdoing it.
Once kneaded properly, shape it into a ball and place it in an oiled bowl covered with plastic wrap or a kitchen towel. Allow it to rise in a warm area until doubled in size—this usually takes about an hour depending on room temperature.
Roll Out the Dough
After letting your dough rise sufficiently, punch it down gently to release air bubbles formed during fermentation. Transfer it onto a floured surface again and roll it out into a rectangle approximately ¼ inch thick.
Now it’s time for layering with butter! Take your softened unsalted butter (about ¾ cup or 170 grams) and spread it evenly over two-thirds of the rolled-out dough rectangle while leaving one edge unbuttered—this will help seal later on.
Fold the unbuttered portion over one-third like folding a letter so that all layers are stacked neatly together then roll out again into another rectangle about ¼ inch thick before repeating this buttering-and-folding process one more time.
Cut & Fill
Once you’ve completed layering twice successfully roll out again into another rectangle approximately ½ inch thick before cutting into squares measuring around three inches per side—this should yield around twelve squares depending on how precise your cuts are!
Now comes adding those delightful fillings! Place about one tablespoon worth of chosen filling in the center of each square followed by folding up each corner towards its center creating little pockets filled with goodness pinch edges tightly so nothing leaks out during baking!
Second Rise & Bake
Arrange these filled pockets upright inside greased muffin tins allowing adequate space between them as they will expand during their second rise which takes roughly thirty minutes covered lightly with kitchen cloth until puffed up noticeably before moving onto preheating oven at375°F (190°C).
Once ready let’s bake! Place them carefully onto prepared oven racks ensuring adequate airflow around tins while keeping an eye out—as they’ll take about twenty-five minutes until golden brown on top aroma fills kitchen tempting taste buds everywhere!
Serving and Storing Tips
Serving Suggestions
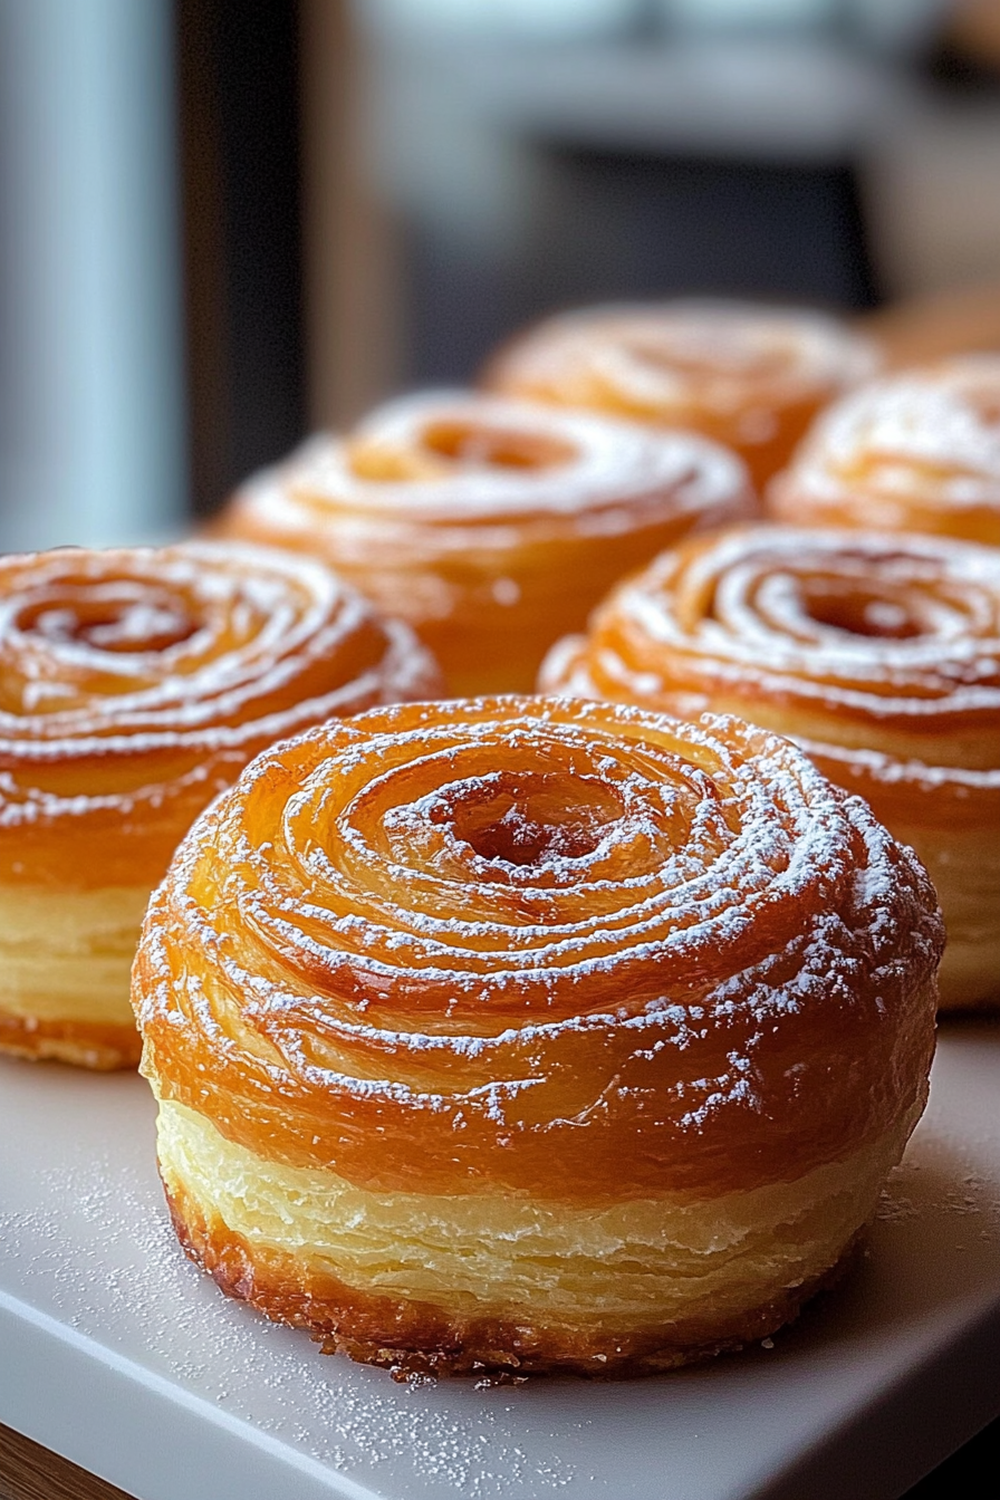
Delicious cruffins can be served warm straight from the oven or allowed to cool slightly before indulging in their flaky glory! To elevate your presentation further consider dusting them lightly with powdered sugar or drizzling chocolate sauce atop each pastry making them irresistible additions at brunch gatherings or dessert tables alike!
Pair these indulgent pastries perfectly alongside fresh fruit salads whipped cream dollops specialty coffees teas ensuring every bite savored fully while enhancing flavors experienced within every layer bite into blissful combination tastes textures offered through unique creations crafted lovingly by yourself!
Storing Leftovers
If by chance any remain after feasting don’t fret! Proper storage ensures enjoyment lasts longer than just one occasion! Allow leftover cruffins completely cool down first then store within airtight containers placed inside refrigerator lasting up seven days max depending upon environmental factors affecting freshness retention times observed naturally occurring around baked goods commonly found throughout kitchens everywhere!
For extended storage options freezing offers excellent alternative maintain quality enjoyed originally made freshness retained longer periods safely enjoyed later dates when cravings strike unexpectedly simply reheat briefly microwave oven restoring warmth aroma experienced upon initial creation making every bite feel fresh new again despite being frozen prior!
By following these guidelines closely anyone can successfully create scrumptious batches beautiful flaky deliciousness known lovingly across many cultures enjoy indulging magical moments shared friends family loved ones alike experiencing joy simple pleasures life has offer through delightful experiences brought forth culinary masterpieces like homemade savory sweetened treats known collectively under title “delicious cruffins”!
Tips and tricks
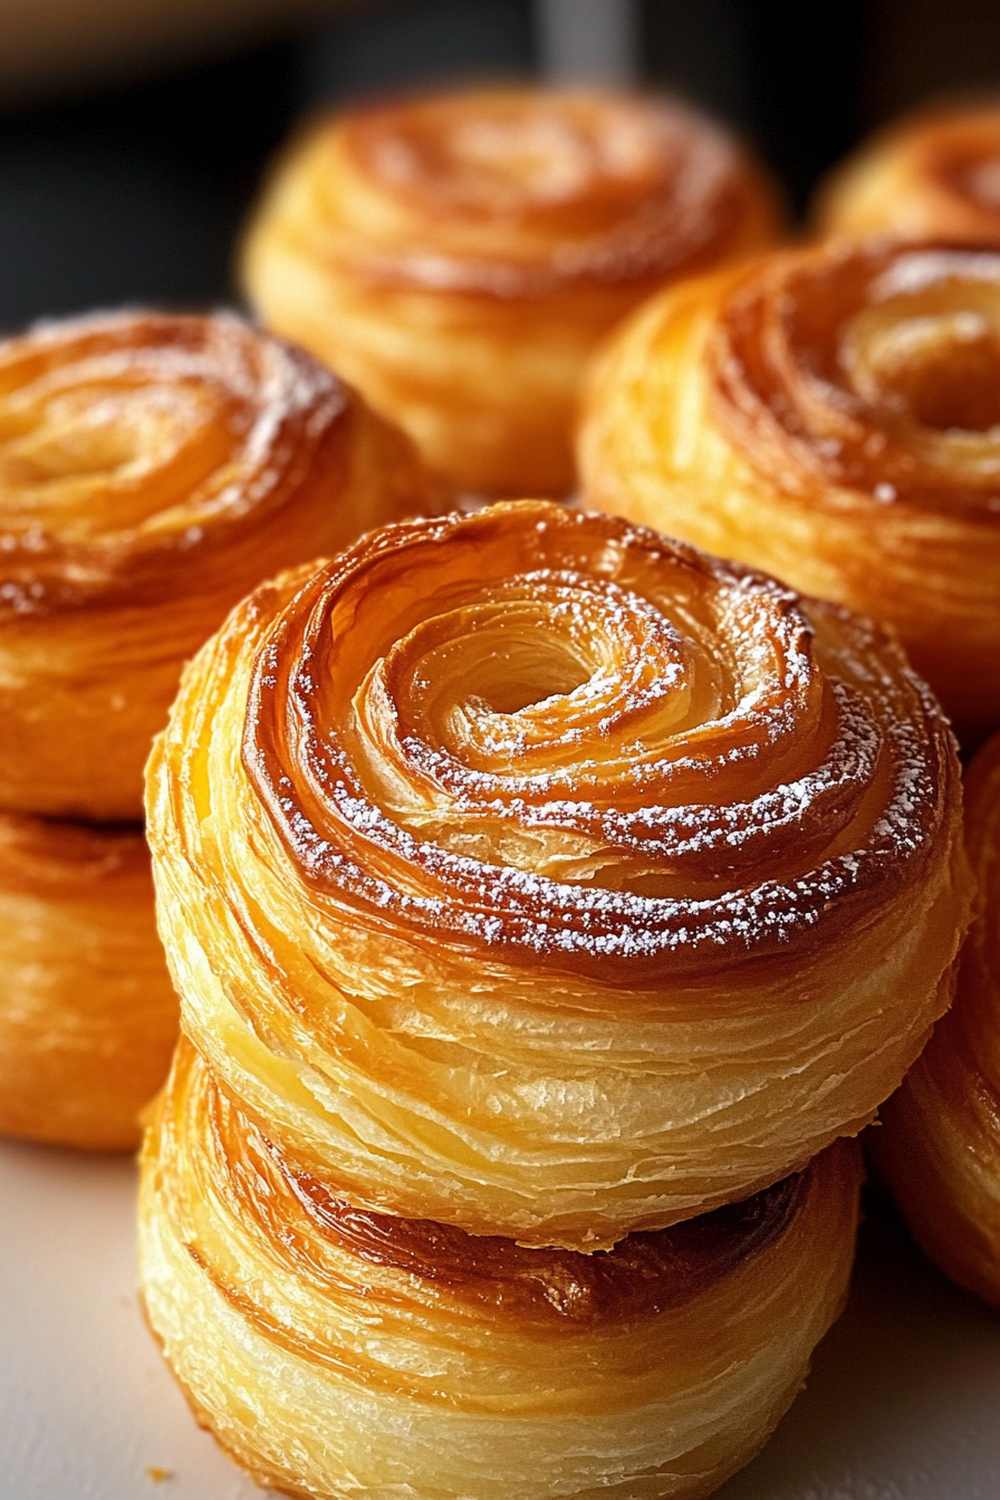
To master the art of crafting delicious cruffins, consider these essential tips and tricks. First, focus on temperature control when working with butter and dough. Using cold butter helps create distinct layers in your dough, which is key for achieving that signature flakiness. If your kitchen is warm, consider chilling your ingredients before starting or working in small batches to keep everything cool.
Another valuable tip is to experiment with various fillings for your cruffins. While classic options like chocolate or cinnamon sugar are delightful, don’t hesitate to get creative! Try fruit preserves, cream cheese, or even savory options like pesto or cheese blends. Mixing flavors can take your delicious cruffins from ordinary to extraordinary.
Additionally, consider using silicone molds for baking instead of traditional muffin tins. Silicone molds allow for easier release and help maintain shape during baking. They also enable even heat distribution which is essential for achieving consistent results with each batch of delicious cruffins.
Lastly, pay attention to baking times and temperatures as they can vary based on your oven’s characteristics. It’s vital to monitor your cruffins closely during baking since ovens often have hot spots. You’ll know they’re done when they turn golden brown and a toothpick inserted comes out clean—this ensures that you’ve achieved perfectly baked delicious cruffins every time!
FAQs
How do I store leftover Delicious Cruffins?
To store leftover delicious cruffins properly, place them in an airtight container at room temperature if you plan on consuming them within two days; this helps maintain their freshness without drying them out. If you anticipate needing more time before enjoying them again, consider freezing them instead! Wrap each cooled cruffin tightly in plastic wrap followed by aluminum foil before placing them in a freezer-safe bag. This method prevents freezer burn while preserving flavor over time—defrost them overnight in the fridge when you’re ready for another treat!
Can I make Delicious Cruffins ahead of time?
Yes! Preparing delicious cruffins ahead of time is entirely feasible by following specific steps carefully. You can prepare the dough up until the point where it needs to be shaped into individual pieces but stop short of final proofing before baking; refrigerate overnight instead! When you’re ready to bake them fresh in the morning or later on, simply let them rise at room temperature until doubled before proceeding as usual—it’s an excellent way to enjoy freshly baked treats without all morning effort.
What fillings work best for Delicious Cruffins?
The versatility of delicious cruffins allows you ample room for creativity regarding fillings! Traditional choices include chocolate spread—which melts beautifully—or cinnamon-sugar mixtures providing sweetness paired nicely with butter layers! Fruit preserves like raspberry or apricot offer tartness contrasting perfectly against rich pastry flavors as well! For something savory try combinations such as goat cheese mixed herbs tossed together; these unexpected twists surprise taste buds delightfully!
Can I reheat Delicious Cruffins?
Reheating leftover delicious cruffins is easy and straightforward! For best results preheat an oven set between 350°F (175°C) warming gradually without drying out flaky layers too much allowing gentle heat to permeate entire pastry evenly throughout giving crispness back again within few minutes successfully restoring initial delightful state prior consumption once more enjoyed thereafter together friends’ family members alike happily gathered around table sharing moments created through scrumptious bites everywhere!
PrintDelicious Cruffins
- Total Time: 40 minutes
- Yield: 12 cruffins 1x
Description
Cruffins are a delicious cross between croissants and muffins, featuring flaky layers of buttery, cinnamon-sugar goodness. Perfect for breakfast or dessert, these sweet treats are easy to make and irresistibly tasty. Warm from the oven, they’re a delight with a cup of coffee or tea!
Ingredients
- 1 sheet of puff pastry
- 1/4 cup sugar
- 1 tablespoon ground cinnamon
- 1/4 cup melted butter
- 1/4 cup powdered sugar (for dusting)
- 1 teaspoon vanilla extract (optional)
Instructions
- Preheat your oven to 375°F (190°C).
- Roll out the puff pastry on a floured surface.
- Mix sugar and cinnamon in a bowl and sprinkle it over the pastry.
- Brush with melted butter, then roll the dough up tightly.
- Cut the rolled dough into 12 equal pieces.
- Grease a muffin tin and place each piece into a muffin cup.
- Bake for 20-25 minutes or until golden brown and puffed.
- Let cool slightly, then dust with powdered sugar and vanilla extract (if desired).
- Serve warm and enjoy!
Notes
- For a special twist: You can add a spoonful of fruit preserves or Nutella to the center of each cruffin before rolling them up for added flavor.
- Make it your own: Swap cinnamon for other spices like cardamom or nutmeg to change the flavor profile.
- Storage: Store leftover cruffins in an airtight container at room temperature for up to 2 days. They are best enjoyed fresh but can also be reheated in the oven for 5 minutes to regain their crispness.
- Prep Time: 15 minutes
- Cook Time: 25 minutes
Nutrition
- Serving Size: 1 cruffin
- Calories: 190 kcal
- Sugar: 11g
- Sodium: 60mg
- Fat: 10g
- Saturated Fat: 5g
- Unsaturated Fat: 3g
- Trans Fat: 0g
- Carbohydrates: 24g
- Fiber: 1g
- Protein: 2g
- Cholesterol: 15mg


