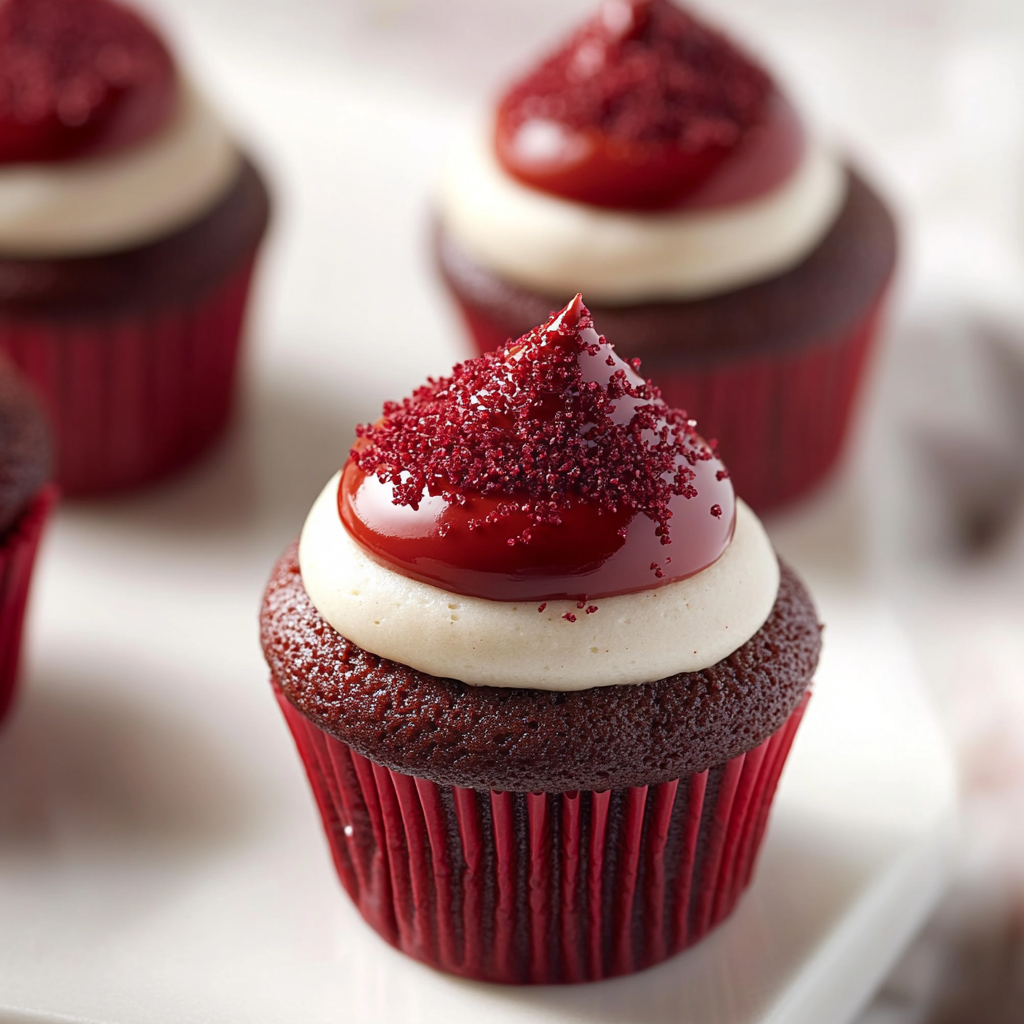
Red velvet cupcakes are a delightful treat that perfectly balances sweetness with a hint of cocoa flavor. These iconic desserts are not only visually stunning with their rich red color but also incredibly moist and fluffy. With their signature cream cheese frosting, they make an impressive addition to any celebration or simply as an indulgent snack. Whether you’re planning a birthday party or just want to brighten your day, this recipe for red velvet cupcakes is sure to impress.
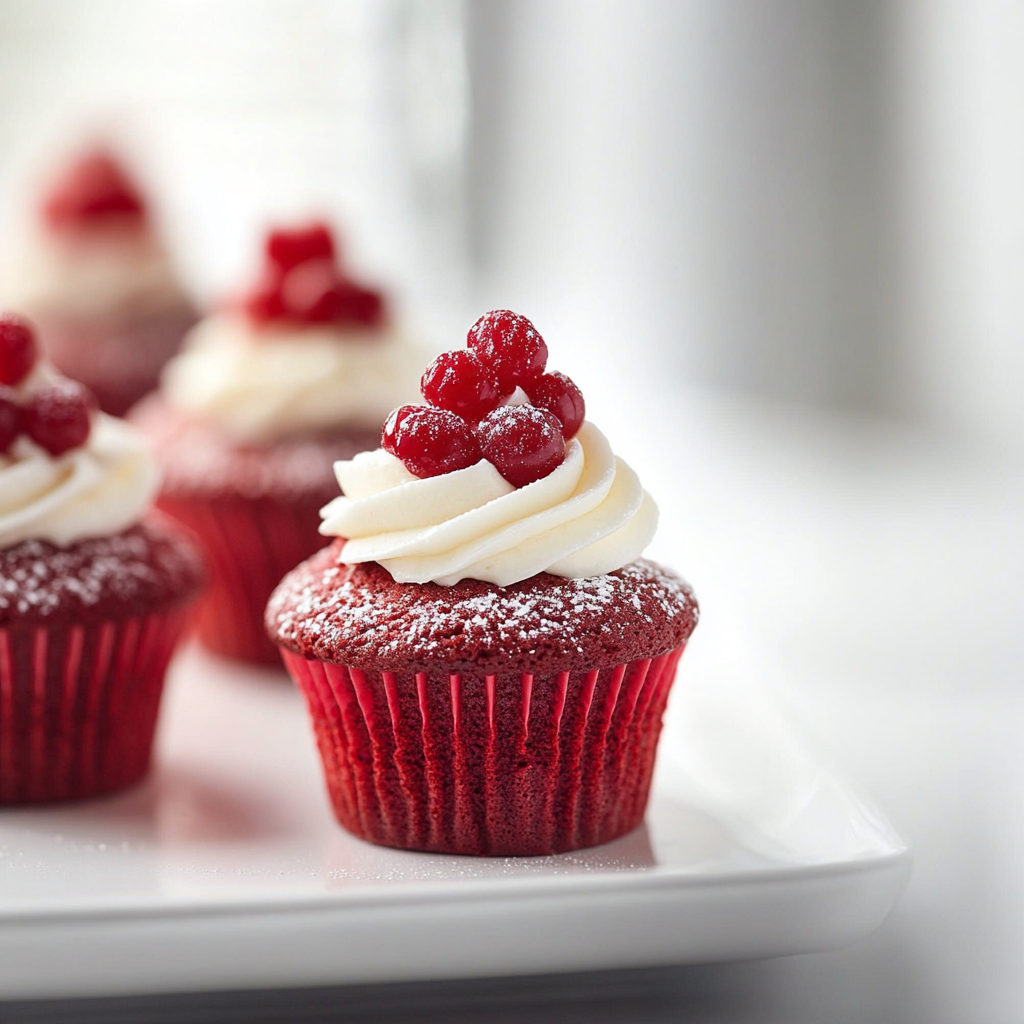
In this article, we will explore the ingredients needed to create these delicious treats and provide a step-by-step guide on how to prepare them from scratch. You’ll learn tips on serving and storing your cupcakes to keep them fresh and flavorful. Follow along as we dive into the world of baking with these irresistible red velvet cupcakes that everyone will love!
Main Ingredients
All-Purpose Flour
All-purpose flour is the foundation of our red velvet cupcakes. It provides structure while maintaining a delicate crumb. For this recipe, you will need 2 cups of all-purpose flour. Using a fine-milled flour ensures that your cupcakes rise beautifully and have a light texture.
Granulated Sugar
Granulated sugar sweetens our cupcakes and contributes to their tender texture. You will require 1 ½ cups of granulated sugar for this recipe. The sugar not only adds sweetness but also helps in creating that desired moisture when baked.
Unsweetened Cocoa Powder
A small amount of unsweetened cocoa powder enhances the chocolate flavor in our red velvet cupcakes without overpowering them. You will need 1 tablespoon of cocoa powder for a subtle richness. Make sure to use high-quality cocoa powder for the best results.
Baking Soda
Baking soda acts as a leavening agent that helps our cupcakes rise beautifully. For this recipe, use 1 teaspoon of baking soda. It reacts with the acidic ingredients in the batter to create carbon dioxide bubbles, making your cupcakes light and fluffy.
Vegetable Oil
Vegetable oil keeps our red velvet cupcakes moist and tender. You’ll need 1 cup of vegetable oil for this recipe. This fat source adds richness without weighing down the batter compared to butter.
Buttermilk
Buttermilk adds moisture and tanginess to our cupcake batter while also contributing to its tenderness. Use 1 cup of buttermilk in this recipe. If you don’t have buttermilk on hand, you can easily substitute it by mixing milk with vinegar or lemon juice.
Eggs
Eggs provide structure and stability in our red velvet cupcake recipe while enriching the flavor profile. Use two large eggs for binding all ingredients together effectively while also adding richness.
Vanilla Extract
Vanilla extract enhances the overall flavor of our red velvet batter. You’ll need 1 teaspoon of pure vanilla extract for this recipe. Opting for pure vanilla rather than imitation will yield a more aromatic result.
Red Food Coloring
The vibrant color of these cupcakes comes from red food coloring; it’s what makes them so visually appealing! Use 2 tablespoons of liquid red food coloring in your batter for that classic crimson hue.
Cream Cheese Frosting
No red velvet cupcake is complete without its luscious cream cheese frosting! To prepare it, you’ll need cream cheese, butter, powdered sugar, and vanilla extract – each element plays a crucial role in achieving that smooth texture and delightful taste.
How to Prepare Red Velvet Cupcakes
Step One: Preheat Your Oven
Begin by preheating your oven to 350°F (175°C). Preheating ensures even cooking throughout your batch of red velvet cupcakes. While waiting for your oven to heat up, prepare your cupcake pan by lining it with paper liners or greasing it lightly with non-stick spray.
Step Two: Mix Dry Ingredients
In a medium-sized bowl, sift together the all-purpose flour, cocoa powder, baking soda, and a pinch of salt (optional). Sifting helps eliminate lumps while providing an even distribution of dry ingredients throughout your batter. Set aside this mixture; we will add it later as part of combining our wet ingredients into one cohesive mixture.
Step Three: Combine Wet Ingredients
In another larger bowl or stand mixer bowl, whisk together vegetable oil and granulated sugar until fully combined—about two minutes at medium speed should suffice here! Then add eggs one at a time followed by cold buttermilk along with vanilla extract until everything is smoothly mixed together.
Step Four: Add Food Coloring
Once all wet ingredients are blended perfectly well like a creamy sauce consistency—this is where you can add the star ingredient! Slowly stir in your two tablespoons of liquid red food coloring until fully incorporated within the batter giving it that signature hue we all adore!
Step Five: Combine Dry & Wet Mixtures
Now it’s time! Gradually fold your dry ingredient mix into the wet mixture using either spatula or wooden spoon—be careful not too over-mix because we want those fluffy textures intact! Just mix until no flour streaks remain visible ensuring everything blends seamlessly.
Step Six: Fill Cupcake Liners
Using an ice cream scoop or spoon (about two-thirds full), carefully fill each lined compartment in the cupcake pan with prepared batter ensuring consistency across all portions—this way they bake evenly without overflowing during cooking!
Step Seven: Bake & Cool
Once filled correctly place them gently into preheated oven allowing them around 20-25 minutes depending on individual oven temperatures; check doneness via toothpick test—inserted toothpick should come out clean when removed from center point once done! Remove from oven let cool completely before frosting!
Step Eight: Prepare Cream Cheese Frosting
While waiting on cooling time prepare your luscious cream cheese frosting by whisking softened cream cheese along with softened butter until smooth then gradually incorporate powdered sugar followed by teaspoon pure vanilla extract—a quick whip should do wonders here yielding silky-smooth results ready for spreading atop cooled treats!
Serving and Storing Tips
Serving Suggestions
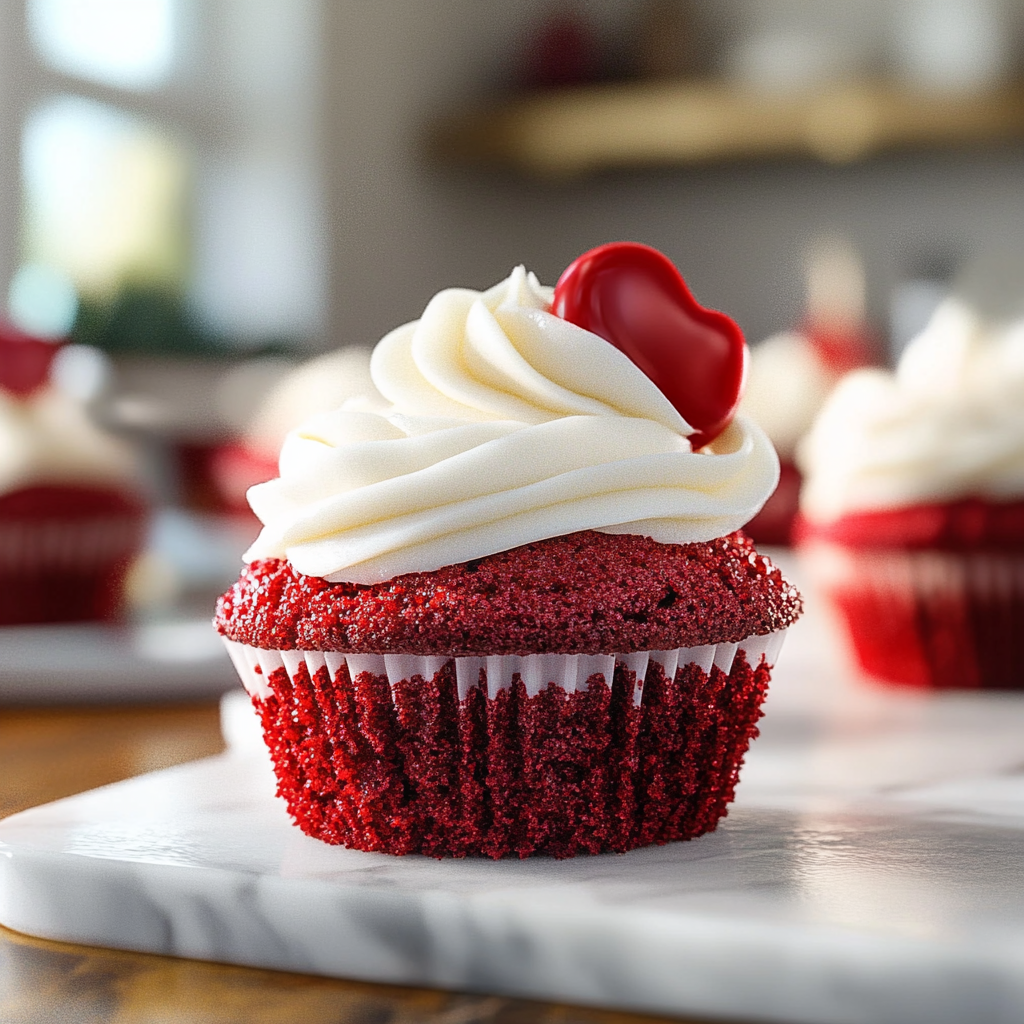
When serving your delectable red velvet cupcakes consider presenting them on elegant platters garnished with fresh berries or edible flowers—these little touches elevate visual appeal significantly! For casual gatherings simply arrange them neatly onto serving trays ensuring guests can easily help themselves without fuss making every event feel special!
To enhance flavors further pairing them alongside rich coffee or chilled milk complements nicely balancing sweetness beautifully—it’s delightful combination everyone enjoys indulging in whether hosting parties or cozy family nights alike!
Storing Leftovers
If you have leftovers (which may be unlikely!), storing properly extends freshness significantly! Store cooled unfrosted ones inside airtight containers at room temperature lasting around three days—if frosted consume within two days maximum as cream cheese tends spoil quickly leaving no room errors here!
For longer preservation refrigerate up-to one week frosted if necessary; however try avoid freezing since thawing alters textures adversely—enjoy fresh whenever possible instead savoring every bite just made them worthy celebrations daily!
With these tips at hand you’re fully equipped enjoy making scrumptious batches anytime desired indulging taste buds completely satisfying cravings effortlessly through delightful experience preparing fabulous treats like these marvelous creations known simply as “red velvet cupcakes”.
Mistakes to avoid
Overmixing the Batter
Overmixing the batter is a common mistake when making red velvet cupcakes. When you mix too much, you develop gluten in the flour, which leads to dense and tough cupcakes instead of light and fluffy ones. To achieve the perfect texture, mix your ingredients just until combined. Remember that it’s okay if there are a few lumps left in the batter. This will help maintain the softness and provide that melt-in-your-mouth quality that everyone loves in red velvet cupcakes.
Using Cold Ingredients
Baking requires precision, and using cold ingredients can affect your results significantly. For red velvet cupcakes, ensure your eggs and butter are at room temperature before you start mixing them. Cold ingredients don’t incorporate well, leading to uneven baking and a less desirable texture. To bring your eggs to room temperature quickly, place them in a bowl of warm water for about ten minutes before adding them to your mixture. Also, allow your butter to sit out for about 30 minutes prior to baking.
Skipping the Baking Powder or Soda
Another mistake is skipping the leavening agents like baking powder or baking soda. These ingredients are essential for creating that light, airy texture in red velvet cupcakes. Make sure to measure accurately; too little will result in flat cupcakes while too much can lead to an unpleasant taste. Always check the expiration dates on your baking powder or soda as expired leavening agents won’t provide enough lift. Incorporate these carefully into your dry ingredients before mixing with wet ones for best results.
Ignoring Oven Temperature
Oven temperature plays a crucial role in baking success, especially for delicate recipes like red velvet cupcakes. An oven that is too hot can cause the edges to bake too quickly while leaving the center undercooked. Conversely, an oven that is not hot enough may result in denser cupcakes. Always preheat your oven before placing your cupcake tray inside, and consider using an oven thermometer to ensure accuracy. Baking at 350°F (175°C) is ideal for achieving perfectly baked red velvet cupcakes.
Tips and tricks
Use Quality Cocoa Powder
The quality of cocoa powder you use can significantly affect the flavor of your red velvet cupcakes. Opt for high-quality unsweetened cocoa powder for rich chocolate notes that pair beautifully with the tangy cream cheese frosting commonly used on these cupcakes. Look for brands that offer pure cocoa without additives or fillers for the best results. Consider sifting your cocoa powder before adding it to avoid clumps and ensure even distribution throughout the batter.
Incorporate Vinegar
Adding vinegar is a traditional component of red velvet recipes, as it enhances both flavor and color. A small amount of white vinegar or apple cider vinegar reacts with baking soda to create carbon dioxide bubbles—this helps lift your cupcakes while also giving them a subtle tanginess that balances perfectly with sweetness. Don’t skip this step! Just a teaspoon or two mixed into your wet ingredients can elevate your red velvet cupcakes from ordinary to extraordinary.
Opt for Buttermilk
Using buttermilk instead of regular milk adds moisture and acidity to your batter, resulting in softer and richer red velvet cupcakes. The acidity reacts with baking soda, improving leavening and contributing to a tender crumb texture. If you don’t have buttermilk on hand, you can easily make a substitute by combining one cup of milk with one tablespoon of lemon juice or vinegar—let it sit for about five minutes before using it in your recipe.
Experiment with Food Coloring
Food coloring is essential for achieving that iconic deep crimson hue associated with red velvet cupcakes. While traditional recipes call for liquid food coloring, you might want to experiment with gel food coloring instead; it offers more vibrant colors without adding extra liquid that could alter the batter’s consistency. Start with a small amount—usually between one teaspoon to one tablespoon—and add more until you reach your desired shade of red.
Suggestions for red velvet cupcakes
Pair with Cream Cheese Frosting
One of the best pairings for red velvet cupcakes is classic cream cheese frosting. The rich tanginess complements the sweet flavor perfectly while adding creamy texture on top of each cupcake. To achieve smooth frosting, beat softened cream cheese and butter together until fluffy before gradually incorporating powdered sugar—this ensures easy spreading without any lumps! Feel free to add vanilla extract for additional flavor; just remember less is more when it comes to enhancing those beautiful red velvet flavors.
Add Chocolate Chips
For an extra twist on traditional red velvet cupcakes, consider folding chocolate chips into the batter before baking them off! Semi-sweet chocolate chips create delicious pockets of melty chocolate within each bite while still allowing those signature flavors from cocoa powder to shine through; they add complexity without overwhelming sweetness! Use about half a cup per dozen; this way they won’t dominate but will still provide delightful surprises throughout every cupcake.
Decorate Creatively
Let’s not forget about presentation! Decorating your red velvet cupcakes creatively can elevate their appeal significantly—consider topping them with festive sprinkles or edible glitter during holidays or special occasions! Alternatively, pipe decorative swirls on top using star tips for elegant finishes; consider contrasting colors like white frosting against vibrant red cake bases—this creates stunning visual impact! Don’t shy away from experimenting: edible flowers or fruit garnishes also make gorgeous additions suited perfectly alongside rich flavors inherent in these delightful treats.
Serve Freshly Baked
To enjoy red velvet cupcakes at their best, serve them freshly baked! The delightful aroma wafting through your kitchen will entice everyone around you while providing optimal textures when served warm right out of the oven; letting them cool completely enhances their flavor profile as well but try not waiting too long until indulging yourself—or sharing—with friends! If you’ve made extras (which often happens), store remaining ones in an airtight container at room temperature up until three days later—the flavors develop further over time while still maintaining freshness!
FAQs for red velvet cupcakes:
What are red velvet cupcakes made of?
Red velvet cupcakes are made from a simple batter that combines flour, cocoa powder, sugar, baking soda, and buttermilk. The unique ingredient that gives them their signature color is red food coloring. Some recipes also include a touch of vinegar to enhance the flavor and create a moist texture. The frosting is typically cream cheese-based, providing a tangy contrast to the sweet cupcake. The combination of these ingredients results in a rich, velvety texture that melts in your mouth. They are perfect for any occasion, whether it’s a birthday party or a holiday celebration.
How do I store red velvet cupcakes?
To keep your red velvet cupcakes fresh, store them in an airtight container at room temperature for up to three days. If you want them to last longer, consider refrigerating them; they can stay fresh for about a week when kept cold. Be sure to let the cupcakes come to room temperature before serving if they were refrigerated. To maintain their texture and flavor, avoid freezing them unless necessary. If you choose to freeze red velvet cupcakes, wrap each one individually in plastic wrap and place them in a freezer-safe container. Thaw them in the refrigerator overnight before enjoying.
Can I make red velvet cupcakes without food coloring?
Yes, you can make red velvet cupcakes without food coloring! While traditional recipes call for red dye to achieve their vibrant color, there are natural alternatives available. You can use beet juice or beet powder as substitutes for food coloring. These options not only impart a reddish hue but also add nutritional benefits. Keep in mind that the final color may not be as vivid as using artificial dye. However, the flavor profile will remain similar to classic red velvet cupcakes, ensuring you still enjoy this delightful treat.
What is the best frosting for red velvet cupcakes?
The best frosting for red velvet cupcakes is cream cheese frosting. Its tangy flavor complements the sweetness of the cupcake beautifully. Additionally, cream cheese frosting has a smooth and creamy texture that pairs perfectly with the moistness of the cupcake itself. To make this frosting, beat together softened cream cheese and butter until smooth, then gradually add powdered sugar and vanilla extract until well combined. For an extra twist, consider adding a hint of lemon zest for added brightness. This classic pairing enhances both the presentation and taste of your red velvet treats.
Can I use gluten-free flour for red velvet cupcakes?
Absolutely! You can use gluten-free flour to make delicious red velvet cupcakes suitable for those with gluten sensitivities or celiac disease. Many gluten-free flour blends work well in baking and can replace all-purpose flour in most recipes on a one-to-one basis. Look for blends that contain xanthan gum or add it separately to help achieve the desired texture and rise in your cupcakes. Keep an eye on baking times as gluten-free baked goods can sometimes take longer to cook through fully compared to traditional versions.
How long do I bake red velvet cupcakes?
Red velvet cupcakes typically require about 18-20 minutes of baking time at 350°F (175°C). However, it’s essential to check them around the 15-minute mark since oven temperatures can vary widely. To test if they are done, insert a toothpick into the center of one cupcake; if it comes out clean or with just a few crumbs attached, they’re ready! Overbaking can lead to dry cupcakes, so monitor them closely toward the end of baking time.
Print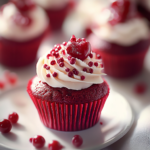
red velvet cupcakes
- Total Time: 35 minutes
- Yield: 12 servings
Description
Red velvet cupcakes are a show-stopping dessert that combines a rich flavor profile with a stunning presentation. These moist, fluffy treats are infused with a hint of cocoa and beautifully topped with luscious cream cheese frosting, making them the perfect indulgence for any celebration or a delightful everyday snack. Whether you’re hosting a party or simply treating yourself, red velvet cupcakes are sure to impress with their vibrant color and decadent taste.
Ingredients
– 2 cups all-purpose flour
– 1 ½ cups granulated sugar
– 1 tablespoon unsweetened cocoa powder
– 1 teaspoon baking soda
– 1 cup vegetable oil
– 1 cup buttermilk
– 2 large eggs
– 1 teaspoon vanilla extract
– 2 tablespoons red food coloring
Instructions
1. Preheat your oven to 350°F (175°C) and line a cupcake pan with liners.
2. In one bowl, sift together flour, cocoa powder, baking soda, and salt. In another bowl, whisk oil and sugar until combined; add eggs, buttermilk, and vanilla.
3. Stir in red food coloring. Gradually fold in the dry ingredients until just combined.
4. Fill cupcake liners two-thirds full and bake for 20-25 minutes or until a toothpick comes out clean.
5. Allow to cool before frosting with cream cheese frosting.
Notes
For an extra twist, add chocolate chips to the batter or experiment with natural food coloring alternatives like beet juice for a unique touch.
- Prep Time: 15 minutes
- Cook Time: 20 minutes
Nutrition
- Calories: 280
- Fat: 14g
- Carbohydrates: 35g
- Protein: 3g
In summary, red velvet cupcakes are not only visually appealing but also offer a unique blend of flavors that many adore. Their rich history and delightful taste make them perfect for various celebrations or even just as an indulgent treat during any time of year. From understanding how these iconic desserts are made to discovering storage tips and potential substitutions like gluten-free options or natural food coloring alternatives, we hope this guide has equipped you with valuable insights into creating your own batch at home.
To achieve success with your baking endeavors, remember that using quality ingredients is crucial as they contribute significantly to flavor and texture outcomes. Pairing these scrumptious treats with classic cream cheese frosting elevates their appeal further while providing balance between sweetness and tanginess—a true match made in dessert heaven! Whether you’re new to baking or an experienced pastry chef looking to refine your skills, making irresistible red velvet cupcakes should undoubtedly be on your culinary agenda.

