Ingredients
Method
Prepare the Crust
- In a mixing bowl, combine the graham cracker crumbs, granulated sugar, and melted butter. Mix until the crumbs are evenly coated and resemble wet sand. This will help the crust hold together when pressed into the jars.
- Divide the crust mixture evenly among the jars, pressing it down firmly with the back of a spoon to create an even layer. This forms the base of your cheesecake.
Make the Cheesecake Filling
- In a separate mixing bowl, beat the softened cream cheese with an electric mixer until smooth and creamy. This step is crucial to avoid lumps in your filling.
- Add the granulated sugar and vanilla extract to the cream cheese, and continue to beat until well combined.
- In another bowl, whip the heavy cream until stiff peaks form. This will give your cheesecake a light and airy texture.
- Gently fold the whipped cream into the cream cheese mixture using a spatula. Be careful not to deflate the whipped cream; this keeps the filling light.
- Add the lemon juice and fold it in until just combined. The lemon juice adds a nice tang and balances the sweetness.
Assemble the Cheesecake Jars
- Spoon the cheesecake filling evenly into the jars over the crust layer. Use the spatula to smooth the top for a neat presentation.
- Cover the jars with lids or plastic wrap and refrigerate for at least 4 hours, or overnight if possible. This allows the flavors to meld and the filling to set properly.
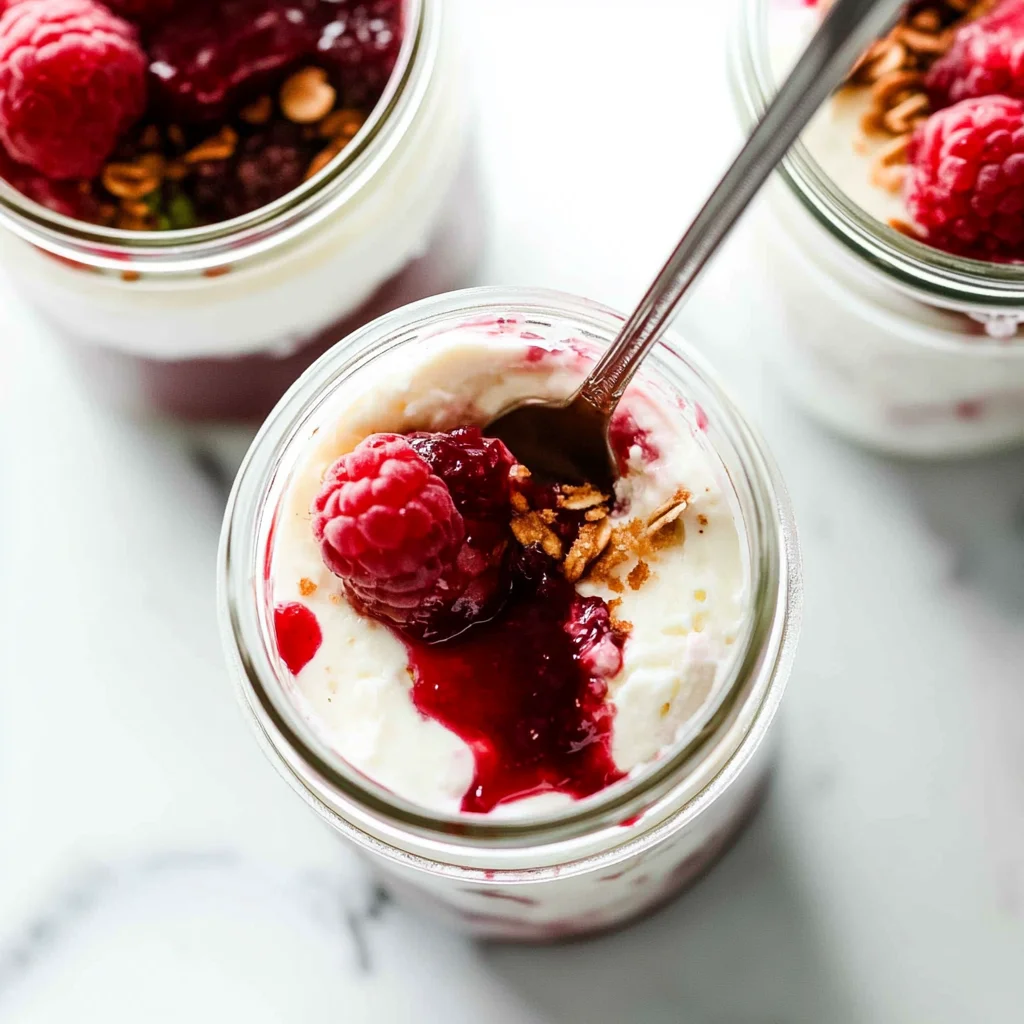
Serve and Garnish
- Before serving, top each jar with fresh berries and a sprig of mint for a pop of color and flavor.
- Enjoy your delicious no-bake cheesecake jars chilled for the best experience!
Nutrition
Notes
For best results, ensure all dairy ingredients are at room temperature before starting. This helps achieve a smooth filling. You can customize the toppings with your favorite fruits or sauces.