Ingredients
Method
Method
- Preheat the oven to 350°F (175°C). Grease two 9-inch (23 cm) round cake pans. Line the bottoms with parchment paper, then lightly grease the parchment.
- In a large mixing bowl, whisk together the flour, granulated sugar, cocoa powder, baking soda, baking powder, and salt. Break up any cocoa lumps and make sure the leavening is evenly distributed.
- In a medium bowl, whisk the eggs, buttermilk, oil, and vanilla until smooth and evenly blended.
- Pour the wet ingredients into the dry ingredients: Whisk gently until the flour is mostly incorporated. The batter will be thick at this stage, and a few small dry streaks are acceptable.
- Slowly pour in the hot coffee while whisking: Continue mixing until the batter is smooth and evenly chocolate-colored. The finished batter will be thin and pourable; this is expected.
- Pour the batter evenly between the prepared pans: Each pan should contain approximately the same amount so the layers bake at an even rate. Tap the pans gently on the counter to release large air bubbles.
- Bake on the center rack for 28 to 32 minutes. The layers are done when the tops spring back lightly, the edges begin to pull away from the pans, and a toothpick inserted in the center comes out clean or with a few moist crumbs.
- Place the pans on wire racks and cool for 15 minutes. Run a thin knife around the edges if needed, then invert the layers onto the racks. Remove the parchment and turn the cakes right side up.
- Let the cake layers cool for approximately 1 hour 30 minutes, or until they feel completely cool in the center. Frosting warm layers will melt the buttercream.
- Place the softened butter in a large mixing bowl. Beat on medium speed for 2 to 3 minutes, until pale, smooth, and creamy. Scrape down the bowl.
- Add the powdered sugar and cocoa powder in three additions, mixing on low speed after each addition. The mixture will look dry and crumbly before the cream is added.
- Add 1/3 cup (80 ml) of the heavy cream, the vanilla, and the salt. Beat on low until combined, then increase to medium-high and beat for 2 minutes. Add the remaining cream, 1 tablespoon (15 ml) at a time, only as needed. The buttercream should be smooth, fluffy, and easy to spread while still holding soft peaks.
- If the cake layers have noticeably domed tops, use a serrated knife to trim them level. Brush away loose crumbs before assembling.
- Place one cake layer on a cake plate: Spread approximately 1 cup of buttercream evenly over the top, stopping just short of the edge.
- Place the second cake layer on top, with its flattest side facing upward. Spread a thin layer of buttercream over the top and sides to trap loose crumbs. Refrigerate for 15 minutes if the cake feels unstable, then cover it with the remaining buttercream.
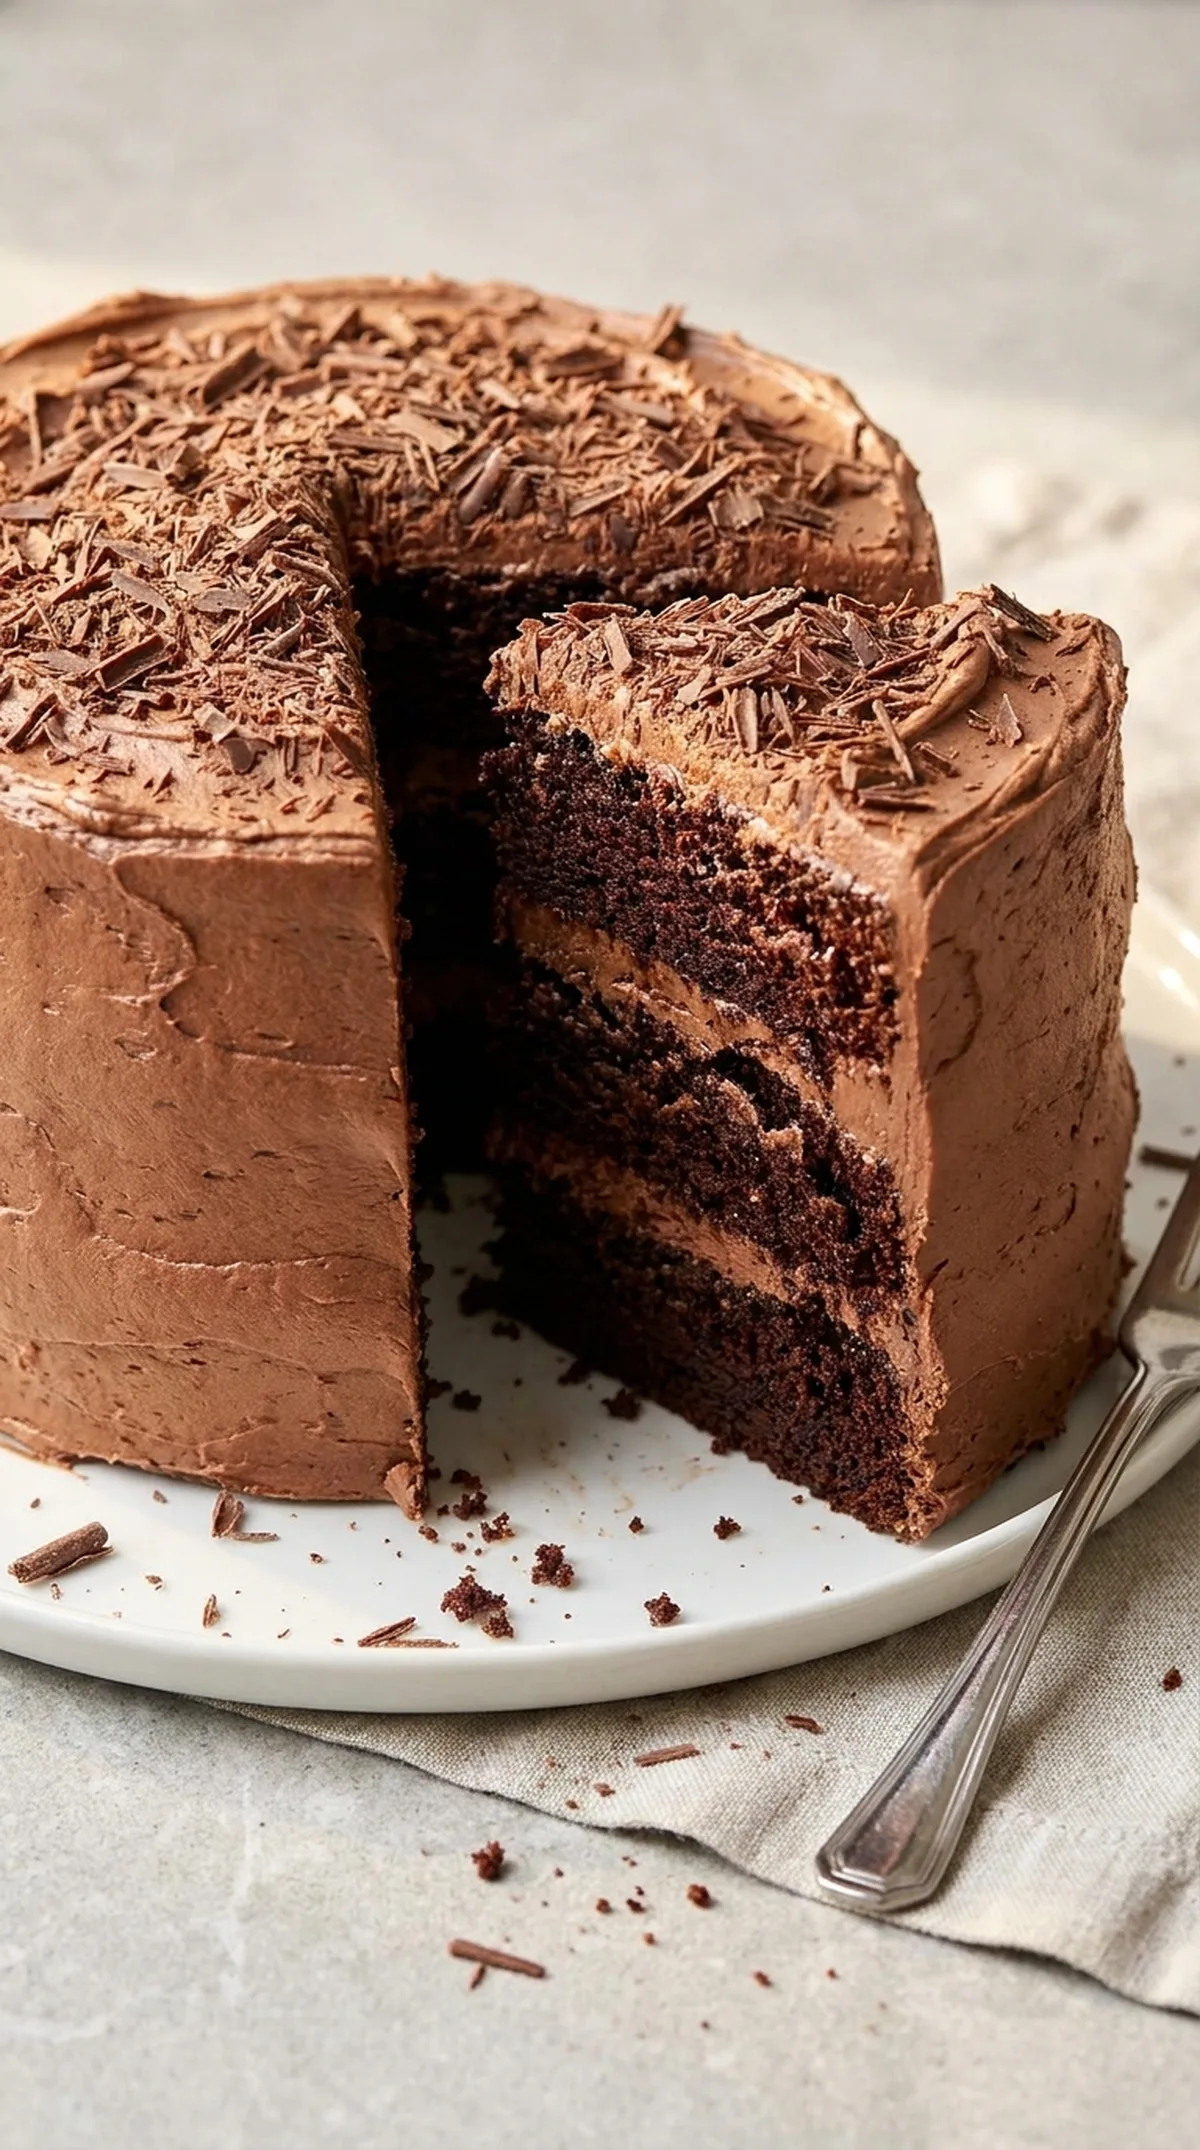
- Garnish with shaved semisweet chocolate, if using: Let the cake stand for about 15 minutes before slicing if it has been chilled. Cut into 12 slices with a sharp knife, wiping the blade between cuts.