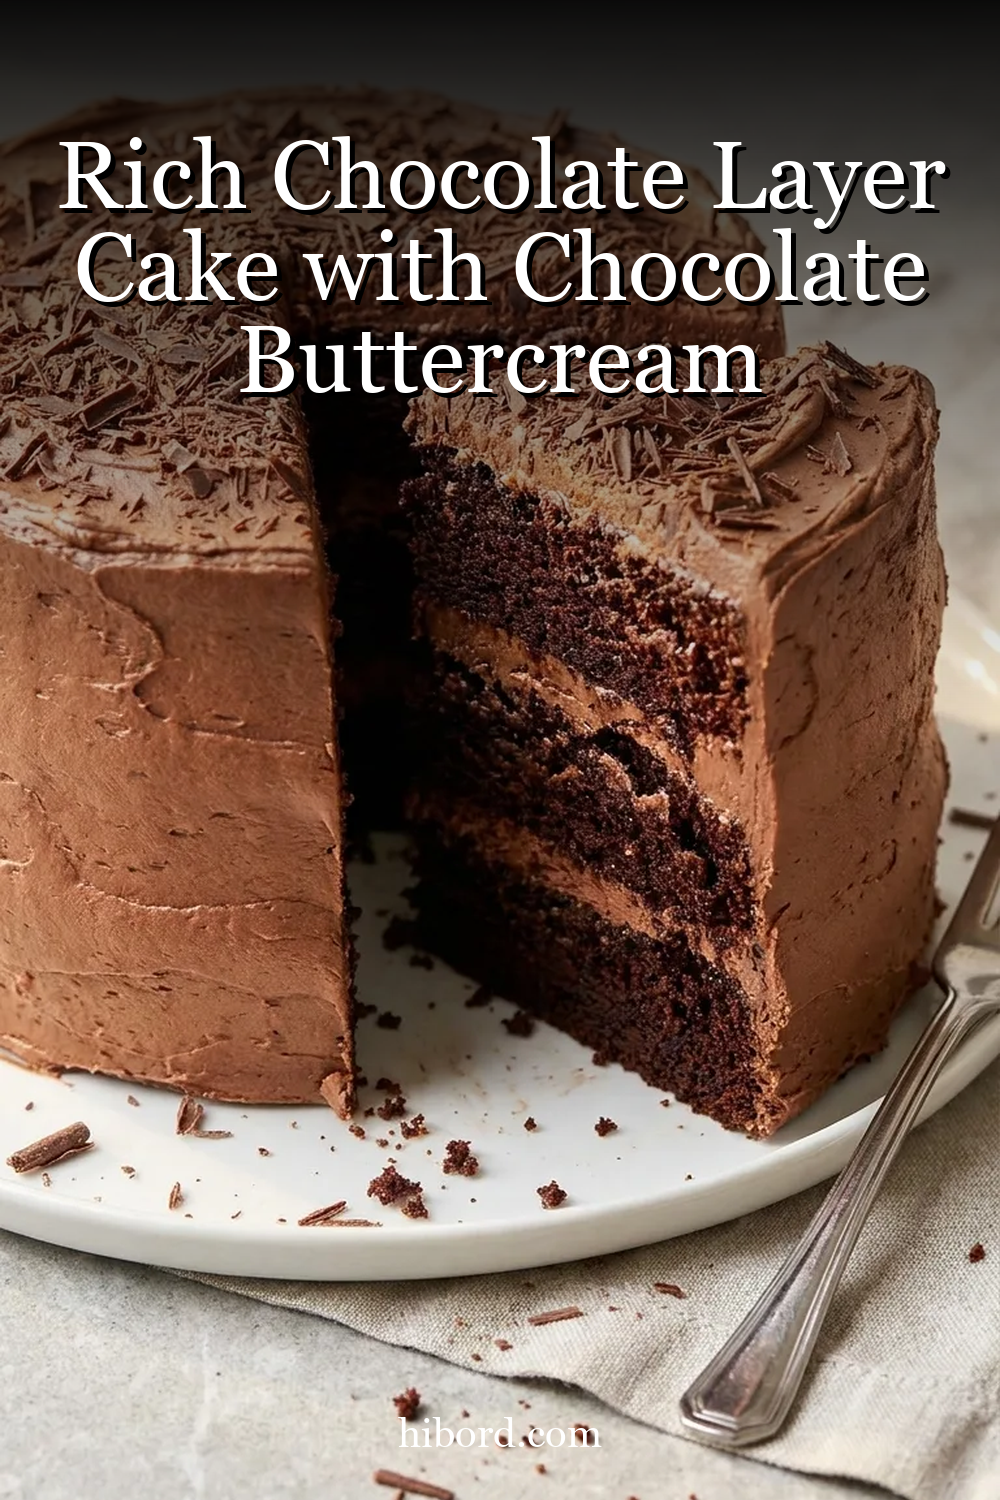
Chocolate Cake should be deeply flavored, moist, and tender without feeling heavy or oily. This version pairs two soft cocoa cake layers with a smooth chocolate buttercream that is rich enough to complement the cake while still being easy to spread.
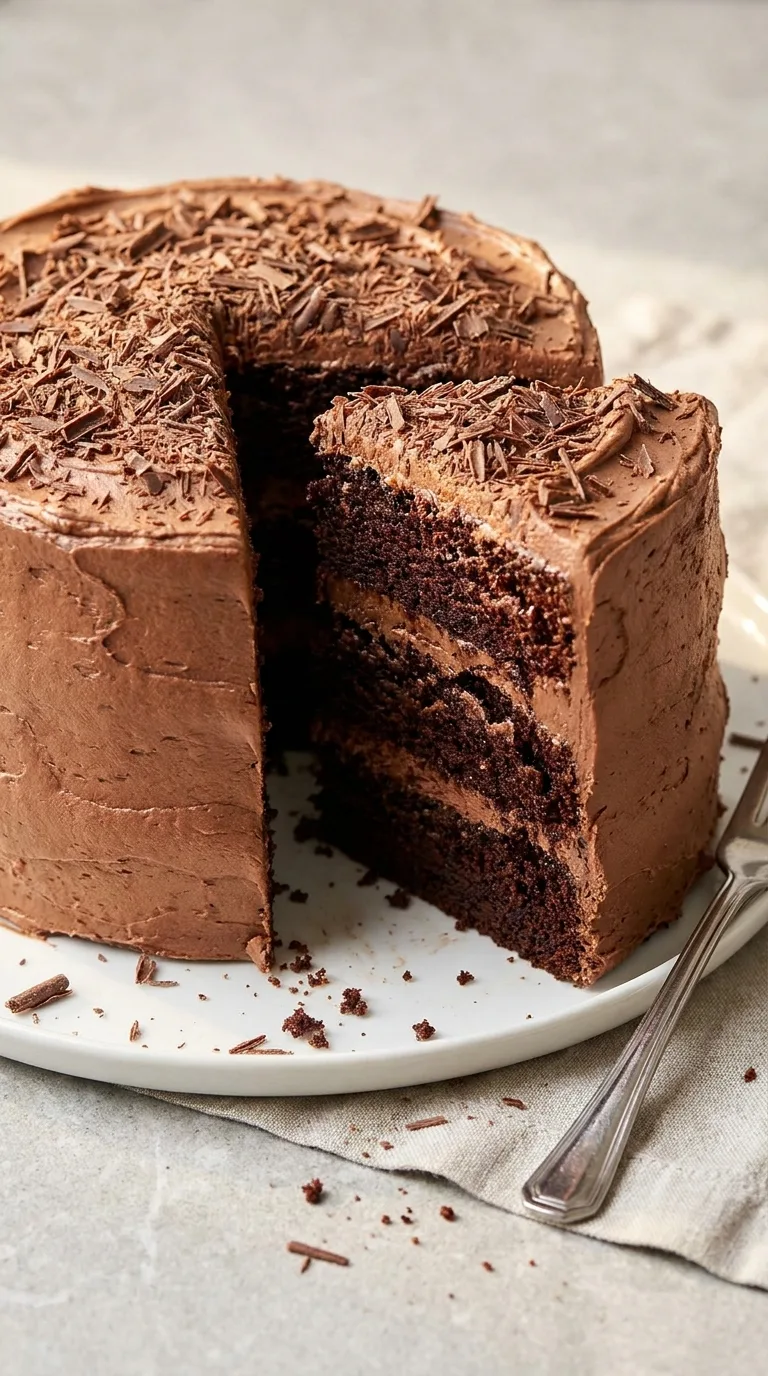
The batter is intentionally thin because hot coffee provides moisture and strengthens the chocolate flavor. Bake the layers in two 9-inch pans, then let them cool completely before frosting so the buttercream stays smooth and the layers do not slide.
Recipe at a Glance
- Prep Time: 35 minutes
- Cook Time: 30 minutes
- Additional Time: 2 hours
- Total Time: 3 hours 5 minutes
- Yield: One 9-inch layer cake, 12 slices
- Difficulty: Intermediate
Why You'll Love This Recipe
- Natural cocoa powder provides concentrated chocolate flavor and reacts with the baking soda to help the layers rise.
- Buttermilk adds acidity and moisture, producing a soft crumb without making the cake dense.
- Hot coffee blooms the cocoa powder, deepening its flavor while creating a fluid batter that bakes into tender layers.
- Oil stays liquid at room temperature, helping the cake remain moist even after refrigeration.
- Cooling the layers completely before assembly prevents the buttercream from melting and keeps the finished cake stable.
Equipment Needed
- Two 9-inch (23 cm) round cake pans, about 2 inches (5 cm) deep
- Parchment paper
- Nonstick baking spray or softened butter for greasing
- Large mixing bowl
- Medium mixing bowl
- Whisk
- Flexible spatula
- Electric hand mixer or stand mixer with paddle attachment
- Wire cooling racks
- Offset spatula
- Serrated knife, optional, for leveling the layers
- Cake plate or cake stand
Ingredients You'll Need
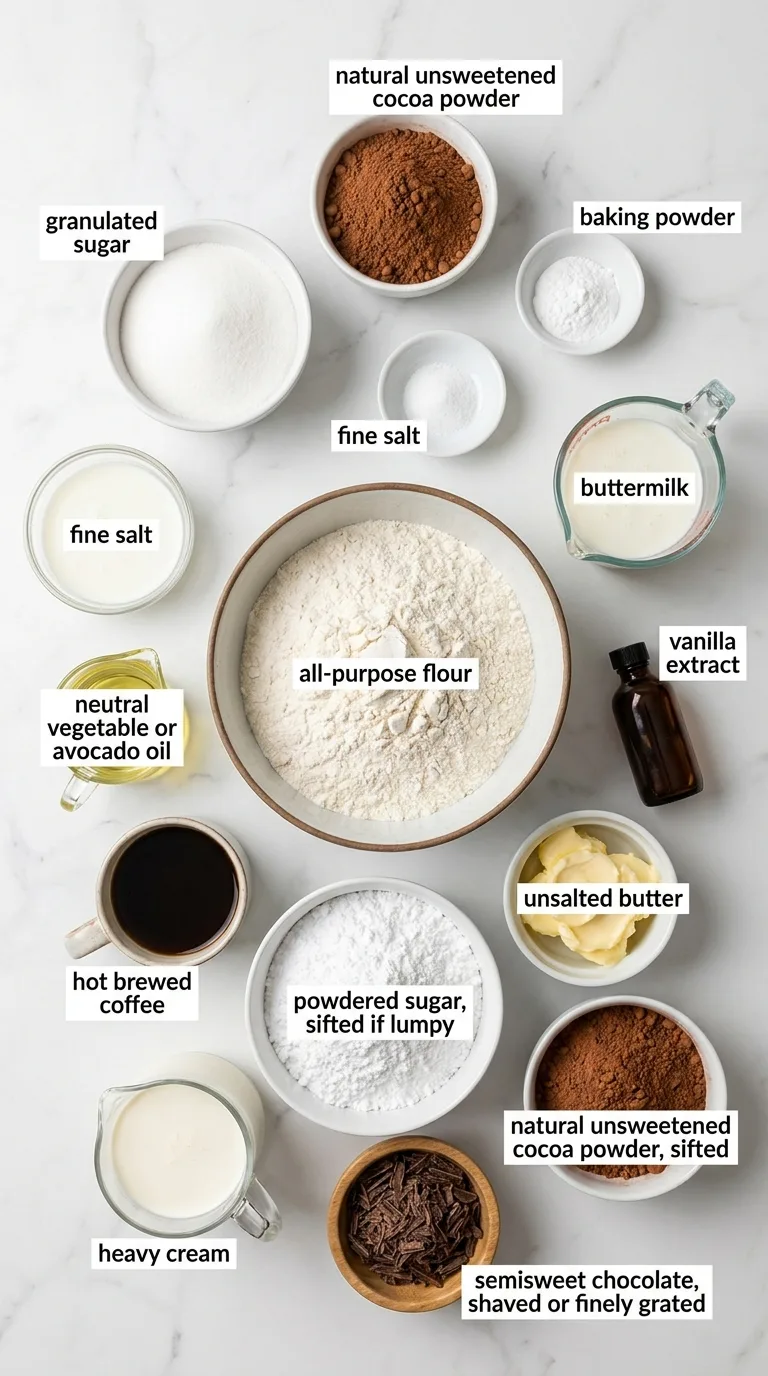
For the Chocolate Cake
- 📌 2 cups (240 g) all-purpose flour
- 📌 1 3/4 cups (350 g) granulated sugar
- 📌 3/4 cup (65 g) natural unsweetened cocoa powder
- 📌 2 teaspoons baking soda
- 📌 1 teaspoon baking powder
- 📌 1 teaspoon fine salt
- 📌 2 large eggs, at room temperature
- 📌 1 cup (240 ml) buttermilk, at room temperature
- 📌 1/2 cup (120 ml) neutral vegetable or avocado oil
- 📌 2 teaspoons (10 ml) vanilla extract
- 📌 1 cup (240 ml) hot brewed coffee
For the Chocolate Buttercream
- 📌 1 1/4 cups (285 g) unsalted butter, softened
- 📌 4 cups (480 g) powdered sugar, sifted if lumpy
- 📌 3/4 cup (65 g) natural unsweetened cocoa powder, sifted
- 📌 1/2 cup (120 ml) heavy cream, divided
- 📌 2 teaspoons (10 ml) vanilla extract
- 📌 1/4 teaspoon fine salt
Optional Garnish
- 📌 1 ounce (28 g) semisweet chocolate, shaved or finely grated, optional
How to Make Rich Chocolate Layer Cake with Chocolate Buttercream
Prepare the Oven and Pans
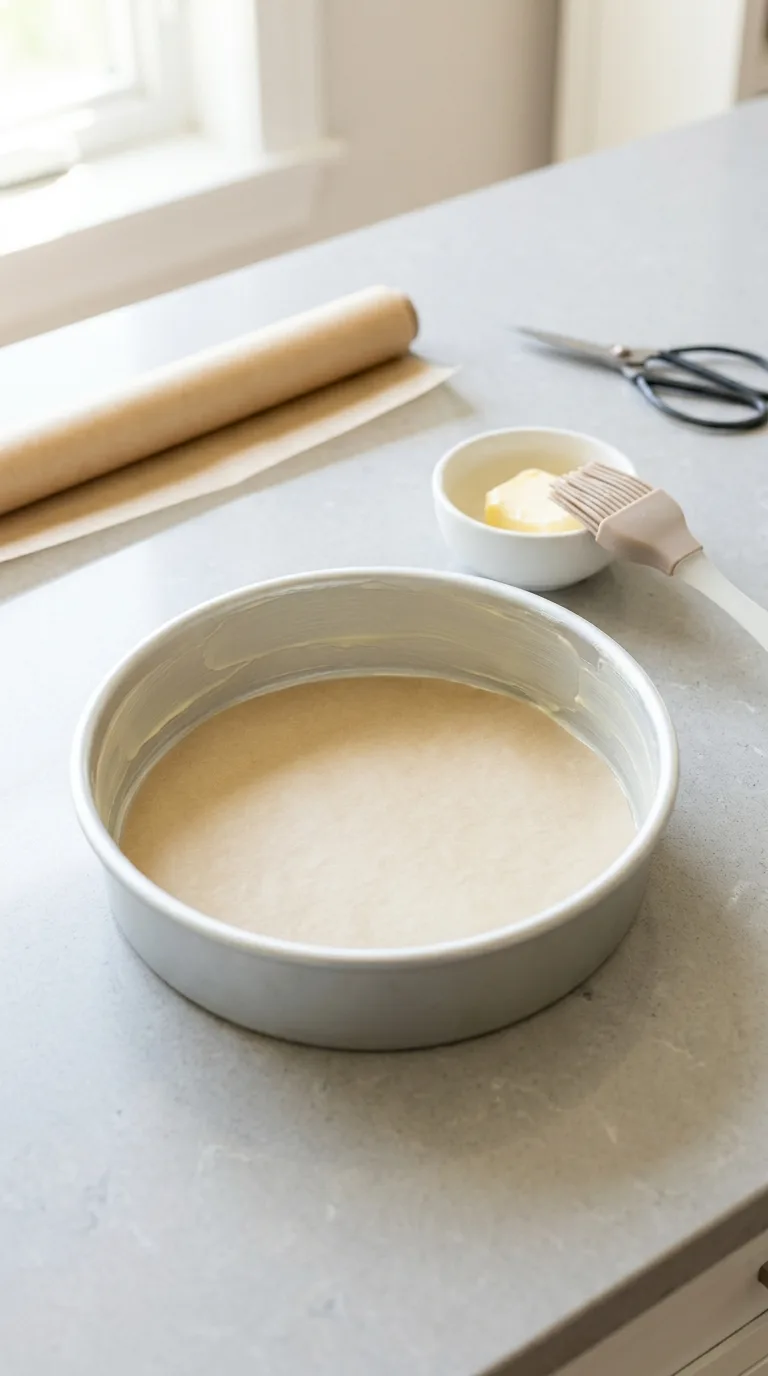
Preheat the oven to 350°F (175°C). Grease two 9-inch (23 cm) round cake pans. Line the bottoms with parchment paper, then lightly grease the parchment. This ensures that the cake layers release easily after baking.
Combine the Dry Ingredients
In a large mixing bowl, whisk together the flour, granulated sugar, cocoa powder, baking soda, baking powder, and salt. Break up any cocoa lumps and make sure the leavening is evenly distributed. This step is crucial for achieving a uniform rise in the cake.
Mix the Wet Ingredients
In a medium bowl, whisk the eggs, buttermilk, oil, and vanilla until smooth and evenly blended. Combining these ingredients thoroughly ensures that the batter will be consistent and well-flavored.
Begin the Batter
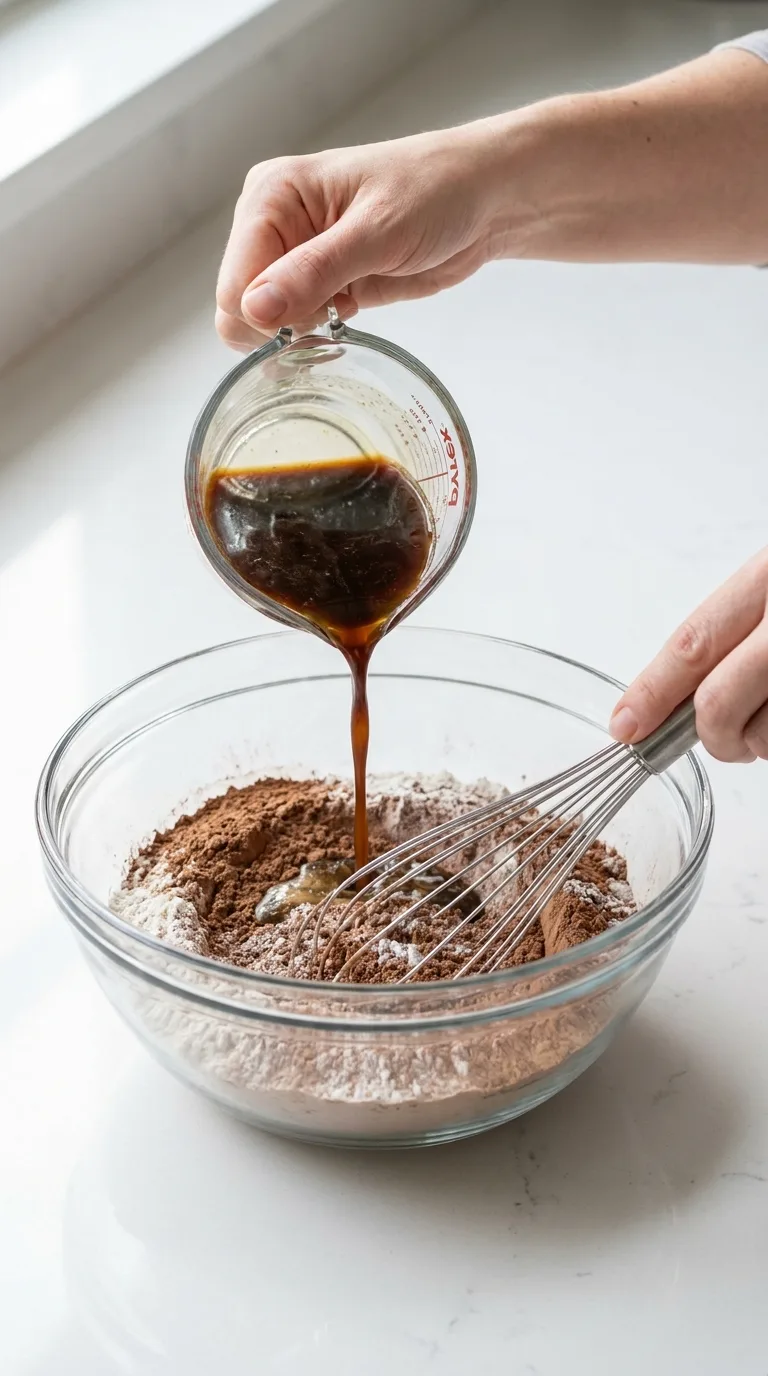
Pour the wet ingredients into the dry ingredients. Whisk gently until the flour is mostly incorporated. The batter will be thick at this stage, and a few small dry streaks are acceptable. This gradual mixing helps prevent overworking the flour, which can lead to a dense cake.
Add the Hot Coffee
Slowly pour in the hot coffee while whisking. Continue mixing until the batter is smooth and evenly chocolate-colored. The finished batter will be thin and pourable; this is expected. The hot coffee enhances the chocolate flavor and contributes to the cake’s moist texture.
Divide the Batter
Pour the batter evenly between the prepared pans. Each pan should contain approximately the same amount so the layers bake at an even rate. Tap the pans gently on the counter to release large air bubbles, which helps prevent holes in the finished cake.
Bake the Cake Layers
Bake on the center rack for 28 to 32 minutes. The layers are done when the tops spring back lightly, the edges begin to pull away from the pans, and a toothpick inserted in the center comes out clean or with a few moist crumbs. This timing ensures that the cake layers are perfectly baked without being dry.
Cool in the Pans
Place the pans on wire racks and cool for 15 minutes. Run a thin knife around the edges if needed, then invert the layers onto the racks. Remove the parchment and turn the cakes right side up. Allowing the cakes to cool slightly in the pans helps them retain their shape.
Cool Completely
Let the cake layers cool for approximately 1 hour 30 minutes, or until they feel completely cool in the center. Frosting warm layers will melt the buttercream, so this step is essential for a clean finish.
Whip the Butter
Place the softened butter in a large mixing bowl. Beat on medium speed for 2 to 3 minutes, until pale, smooth, and creamy. Scrape down the bowl. Properly whipped butter is key to achieving a light and fluffy buttercream.
Add the Sugar and Cocoa
Add the powdered sugar and cocoa powder in three additions, mixing on low speed after each addition. The mixture will look dry and crumbly before the cream is added. This gradual incorporation helps prevent a sugar cloud and ensures a smooth frosting.
Finish the Buttercream
Add 1/3 cup (80 ml) of the heavy cream, the vanilla, and the salt. Beat on low until combined, then increase to medium-high and beat for 2 minutes. Add the remaining cream, 1 tablespoon (15 ml) at a time, only as needed. The buttercream should be smooth, fluffy, and easy to spread while still holding soft peaks.
Level the Layers if Needed
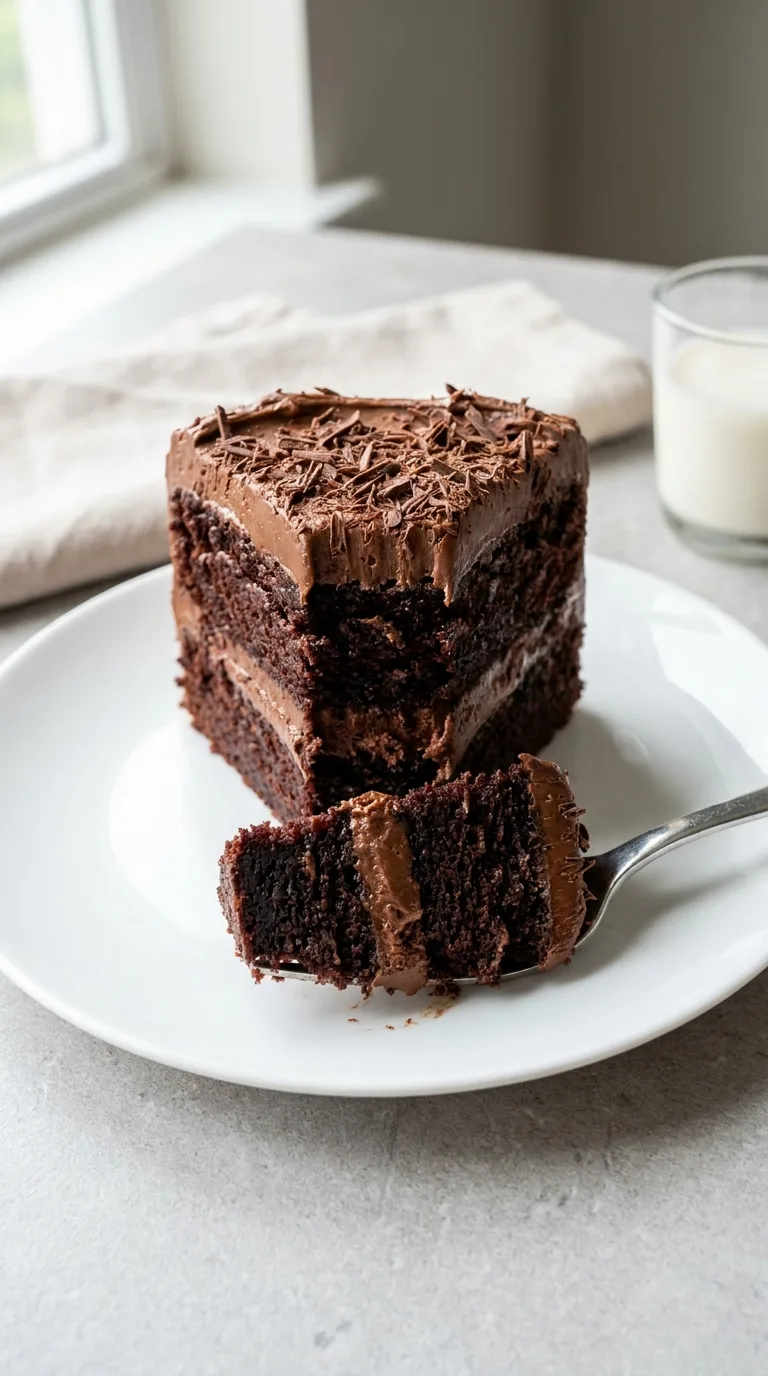
If the cake layers have noticeably domed tops, use a serrated knife to trim them level. Brush away loose crumbs before assembling. Leveling the layers ensures a stable cake and a professional appearance.
Fill the Cake
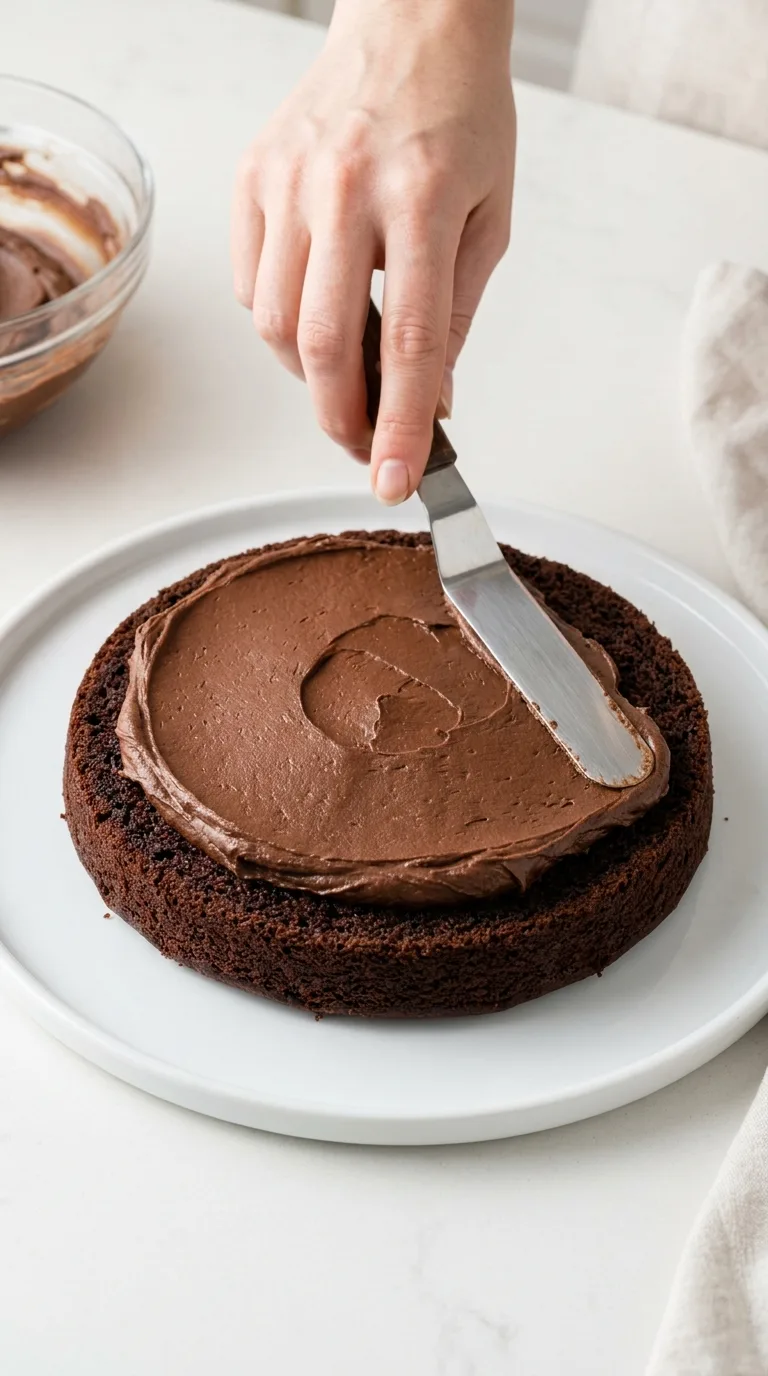
Place one cake layer on a cake plate. Spread approximately 1 cup of buttercream evenly over the top, stopping just short of the edge. This layer of frosting acts as a glue to hold the layers together.
Stack and Frost
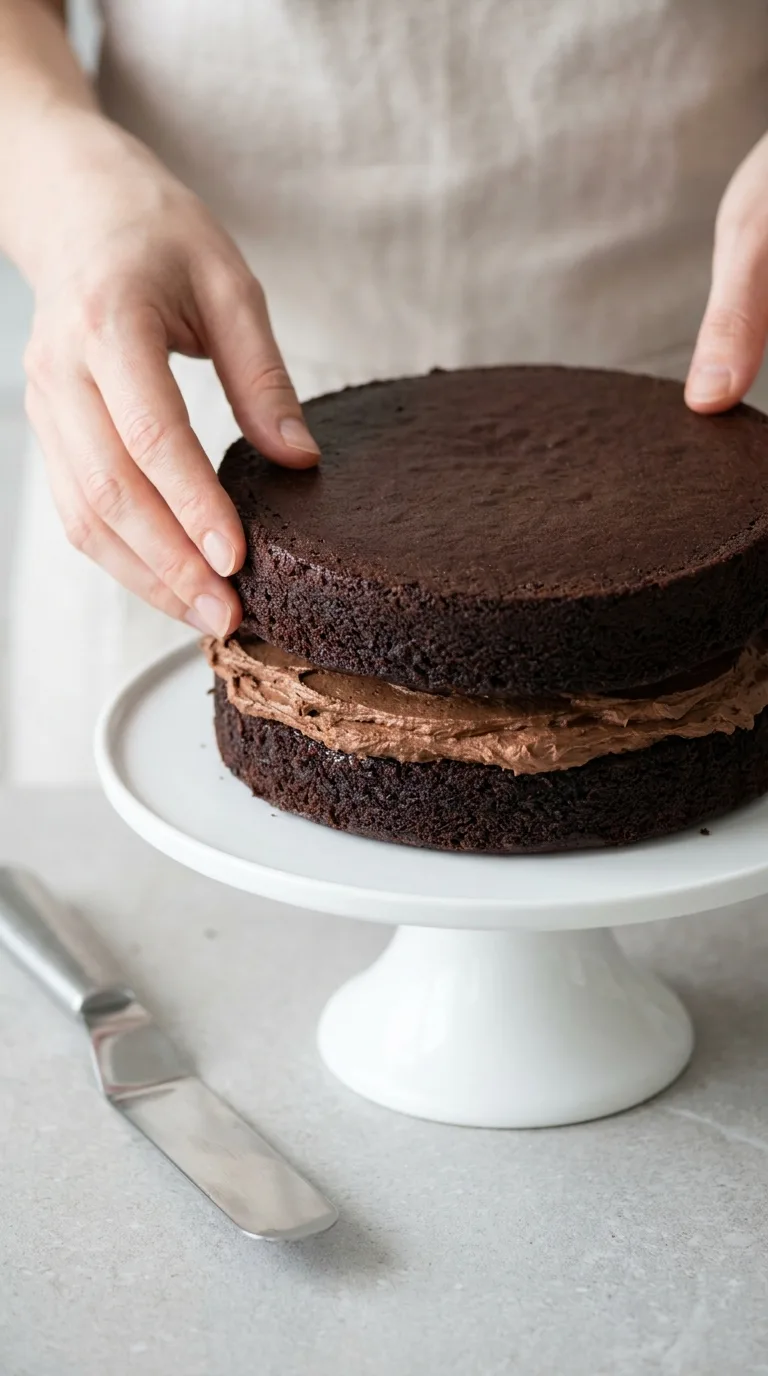
Place the second cake layer on top, with its flattest side facing upward. Spread a thin layer of buttercream over the top and sides to trap loose crumbs. Refrigerate for 15 minutes if the cake feels unstable, then cover it with the remaining buttercream. This crumb coat helps create a smooth final layer.
Finish and Serve
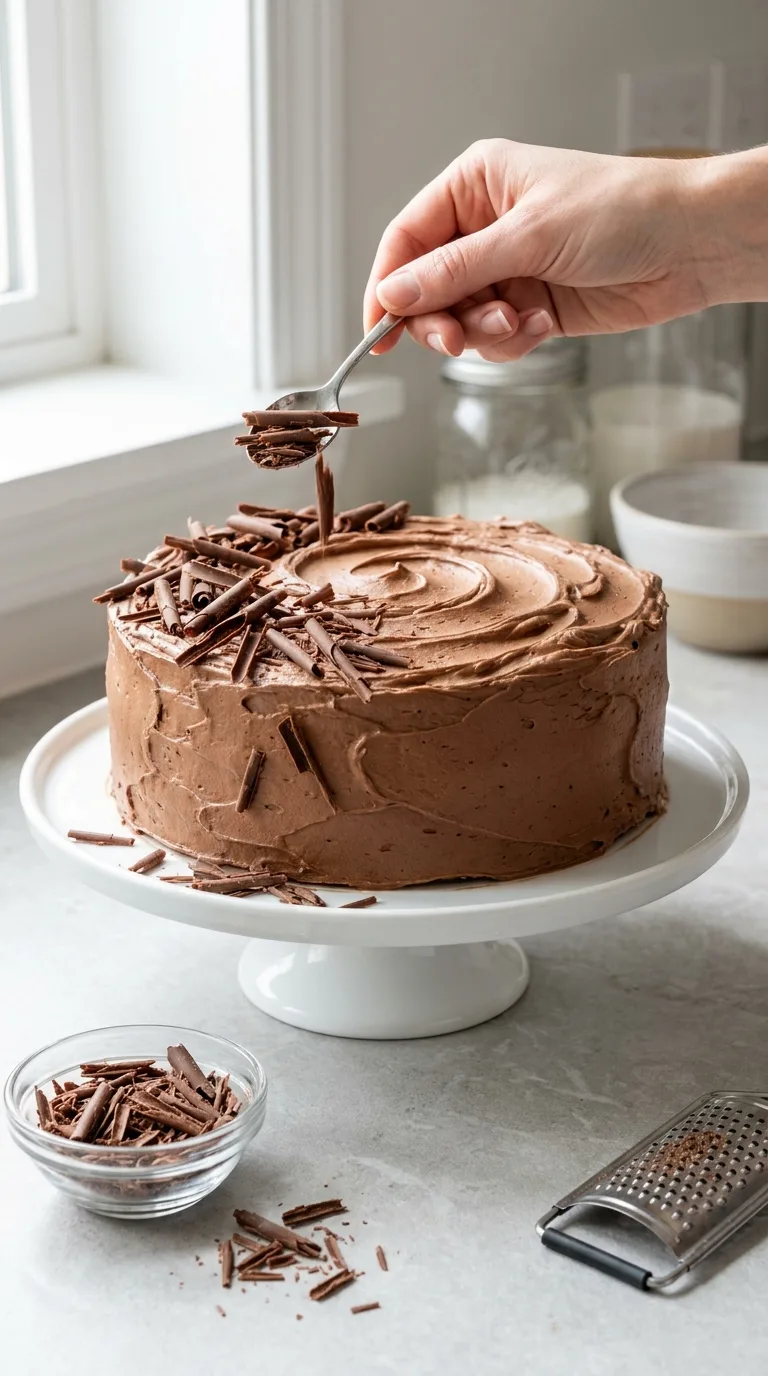
Garnish with shaved semisweet chocolate, if using. Let the cake stand for about 15 minutes before slicing if it has been chilled. Cut into 12 slices with a sharp knife, wiping the blade between cuts to maintain clean edges. This final touch enhances presentation and makes serving easier.
Tips for Success
- Spoon the flour into the measuring cup and level it rather than scooping directly from the container, which can compact the flour and produce a dry cake.
- Use room-temperature eggs and buttermilk so the batter blends evenly without causing the oil to separate.
- Do not reduce the coffee simply because the batter looks thin. The full amount is needed for the intended moisture and texture.
- Begin checking the cakes at 28 minutes. Overbaking can dry the edges before the centers appear noticeably overdone.
- Make sure the butter is softened but not greasy or partially melted. Butter that is too warm produces loose frosting.
- Apply a thin crumb coat before the final buttercream layer for cleaner sides and fewer visible cake crumbs.
Storage, Freezing, and Make-Ahead Instructions
Store the frosted Chocolate Cake in a covered cake container at cool room temperature for up to 1 day. For longer storage, refrigerate it for up to 5 days. Let refrigerated slices stand at room temperature for 20 to 30 minutes before serving so the buttercream and cake can soften.
To freeze unfrosted layers, cool them completely and wrap each layer tightly in two layers of plastic wrap. Place them in a freezer-safe bag or container and freeze for up to 2 months. Thaw the wrapped layers overnight in the refrigerator, then bring them to room temperature before frosting.
The fully frosted cake can also be frozen for up to 1 month. Freeze it uncovered until the buttercream is firm, then wrap it carefully and place it in a cake container. Thaw overnight in the refrigerator and remove the wrapping before bringing the cake to room temperature.
The cake layers can be baked up to 2 days ahead. Wrap the completely cooled layers tightly and keep them at room temperature for 1 day or refrigerate them for up to 2 days. The buttercream can be refrigerated in an airtight container for up to 4 days. Bring it to room temperature and beat briefly before using.
FAQ
Can I make Chocolate Cake ahead of time?
Yes. Bake the layers up to 2 days ahead and store them tightly wrapped. The fully assembled cake can also be refrigerated overnight, then brought closer to room temperature before serving.
Why did my chocolate cake sink in the center?
The oven door may have been opened too early, the cake may have been underbaked, or the baking soda and baking powder may have been measured incorrectly. Avoid opening the oven during the first 24 minutes and bake until the center springs back lightly.
Can I bake this recipe in a 9 x 13-inch pan?
Yes. Grease and line a 9 x 13-inch (23 x 33 cm) pan, then bake at 350°F (175°C) for approximately 32 to 38 minutes. Begin checking early and remove the cake when a toothpick shows only a few moist crumbs.
Can I make this cake without coffee?
Yes. Replace the hot coffee with an equal amount of hot water. The cake will still have a strong chocolate flavor, although it may taste slightly less intense.
Why is my chocolate buttercream too thick?
The butter may be too cool, or the frosting may need more cream. Beat it for another minute, then add the reserved heavy cream 1 tablespoon (15 ml) at a time until it becomes smooth and spreadable.
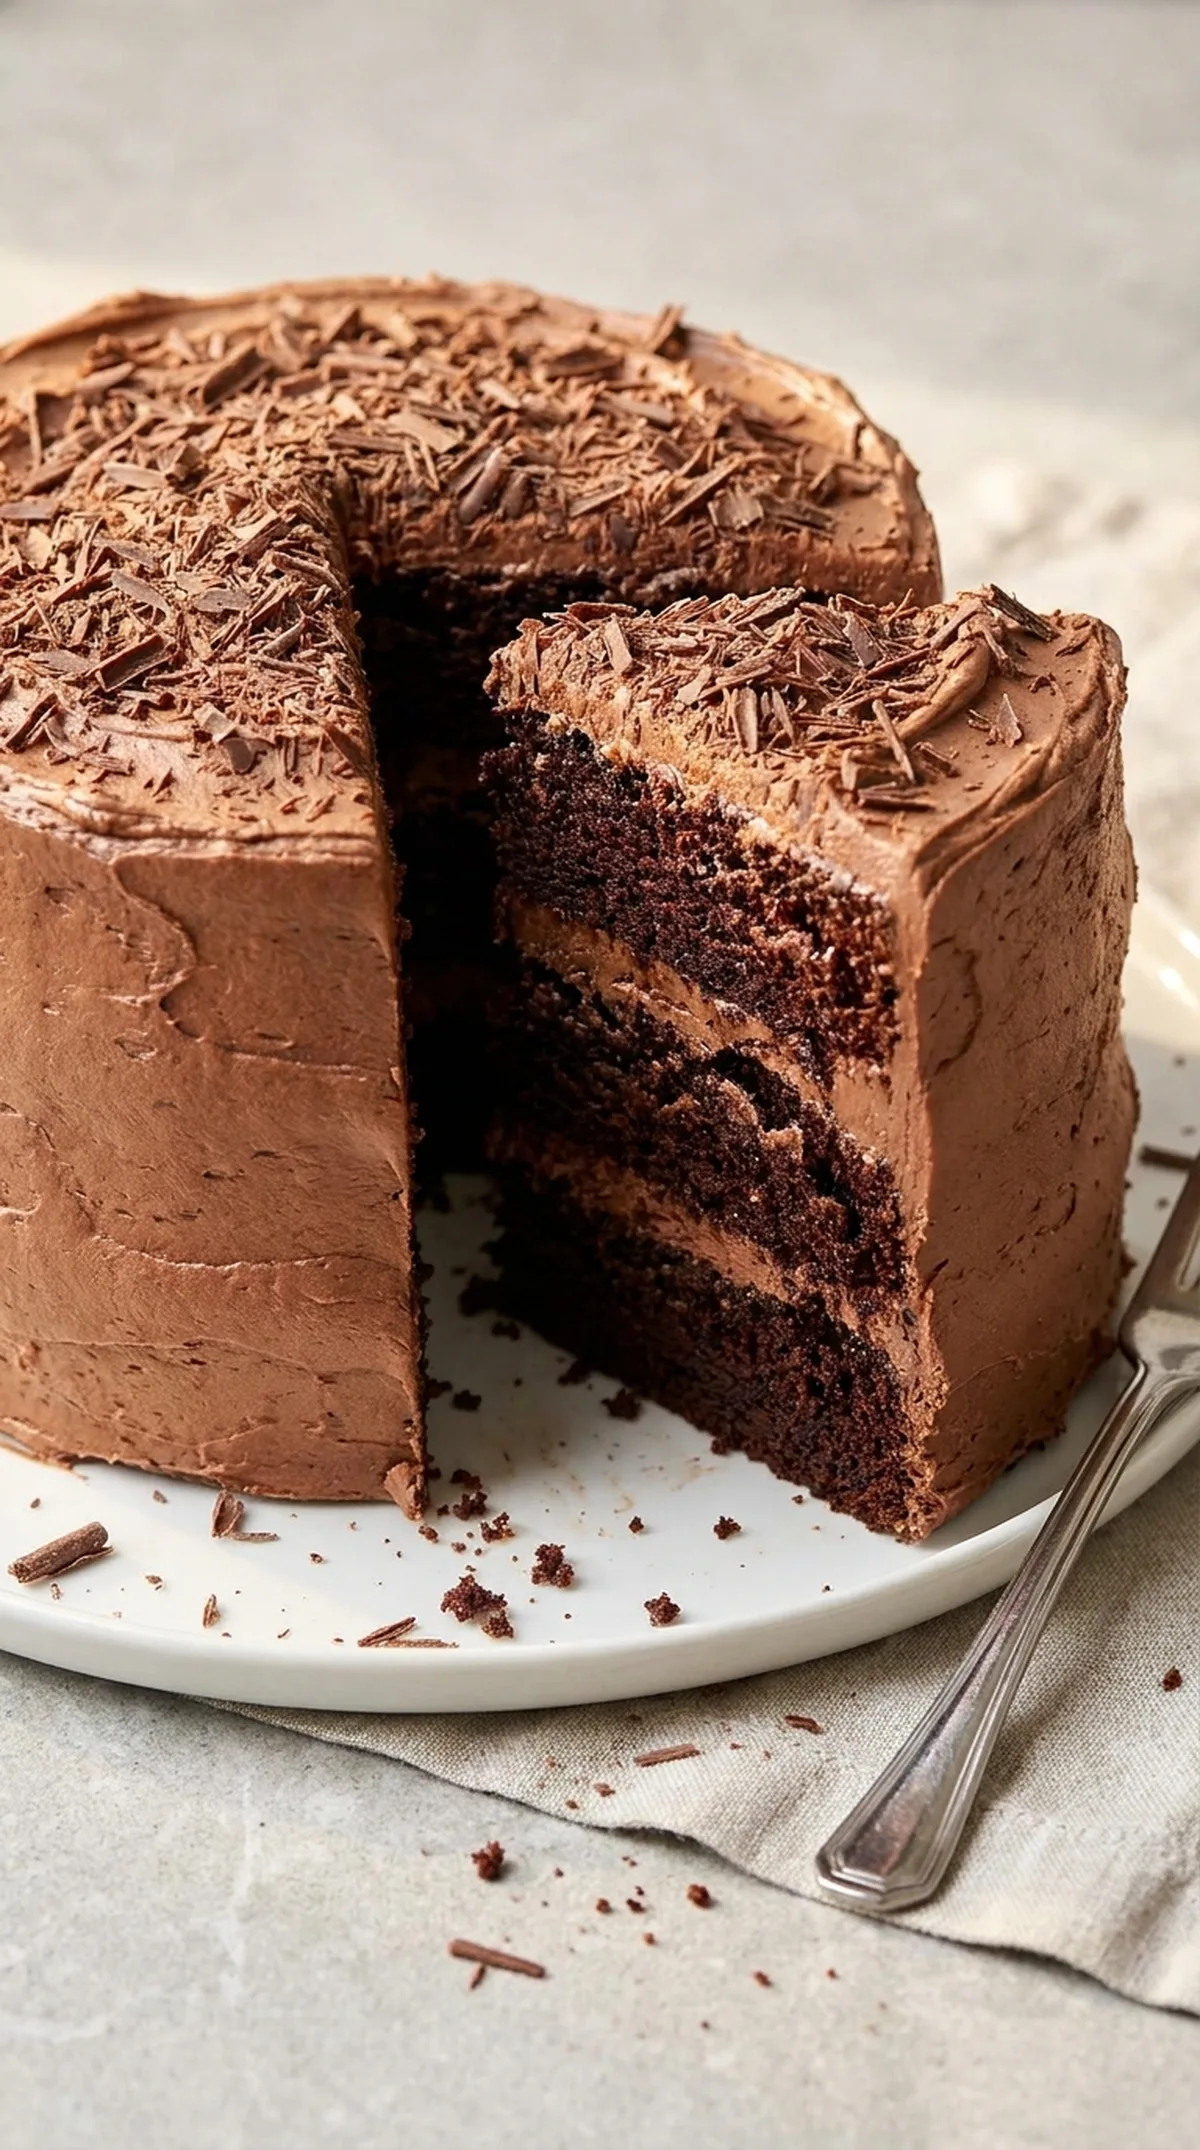
Ingredients
Method
- Preheat the oven to 350°F (175°C). Grease two 9-inch (23 cm) round cake pans. Line the bottoms with parchment paper, then lightly grease the parchment.
- In a large mixing bowl, whisk together the flour, granulated sugar, cocoa powder, baking soda, baking powder, and salt. Break up any cocoa lumps and make sure the leavening is evenly distributed.
- In a medium bowl, whisk the eggs, buttermilk, oil, and vanilla until smooth and evenly blended.
- Pour the wet ingredients into the dry ingredients: Whisk gently until the flour is mostly incorporated. The batter will be thick at this stage, and a few small dry streaks are acceptable.
- Slowly pour in the hot coffee while whisking: Continue mixing until the batter is smooth and evenly chocolate-colored. The finished batter will be thin and pourable; this is expected.
- Pour the batter evenly between the prepared pans: Each pan should contain approximately the same amount so the layers bake at an even rate. Tap the pans gently on the counter to release large air bubbles.
- Bake on the center rack for 28 to 32 minutes. The layers are done when the tops spring back lightly, the edges begin to pull away from the pans, and a toothpick inserted in the center comes out clean or with a few moist crumbs.
- Place the pans on wire racks and cool for 15 minutes. Run a thin knife around the edges if needed, then invert the layers onto the racks. Remove the parchment and turn the cakes right side up.
- Let the cake layers cool for approximately 1 hour 30 minutes, or until they feel completely cool in the center. Frosting warm layers will melt the buttercream.
- Place the softened butter in a large mixing bowl. Beat on medium speed for 2 to 3 minutes, until pale, smooth, and creamy. Scrape down the bowl.
- Add the powdered sugar and cocoa powder in three additions, mixing on low speed after each addition. The mixture will look dry and crumbly before the cream is added.
- Add 1/3 cup (80 ml) of the heavy cream, the vanilla, and the salt. Beat on low until combined, then increase to medium-high and beat for 2 minutes. Add the remaining cream, 1 tablespoon (15 ml) at a time, only as needed. The buttercream should be smooth, fluffy, and easy to spread while still holding soft peaks.
- If the cake layers have noticeably domed tops, use a serrated knife to trim them level. Brush away loose crumbs before assembling.
- Place one cake layer on a cake plate: Spread approximately 1 cup of buttercream evenly over the top, stopping just short of the edge.
- Place the second cake layer on top, with its flattest side facing upward. Spread a thin layer of buttercream over the top and sides to trap loose crumbs. Refrigerate for 15 minutes if the cake feels unstable, then cover it with the remaining buttercream.
- Garnish with shaved semisweet chocolate, if using: Let the cake stand for about 15 minutes before slicing if it has been chilled. Cut into 12 slices with a sharp knife, wiping the blade between cuts.