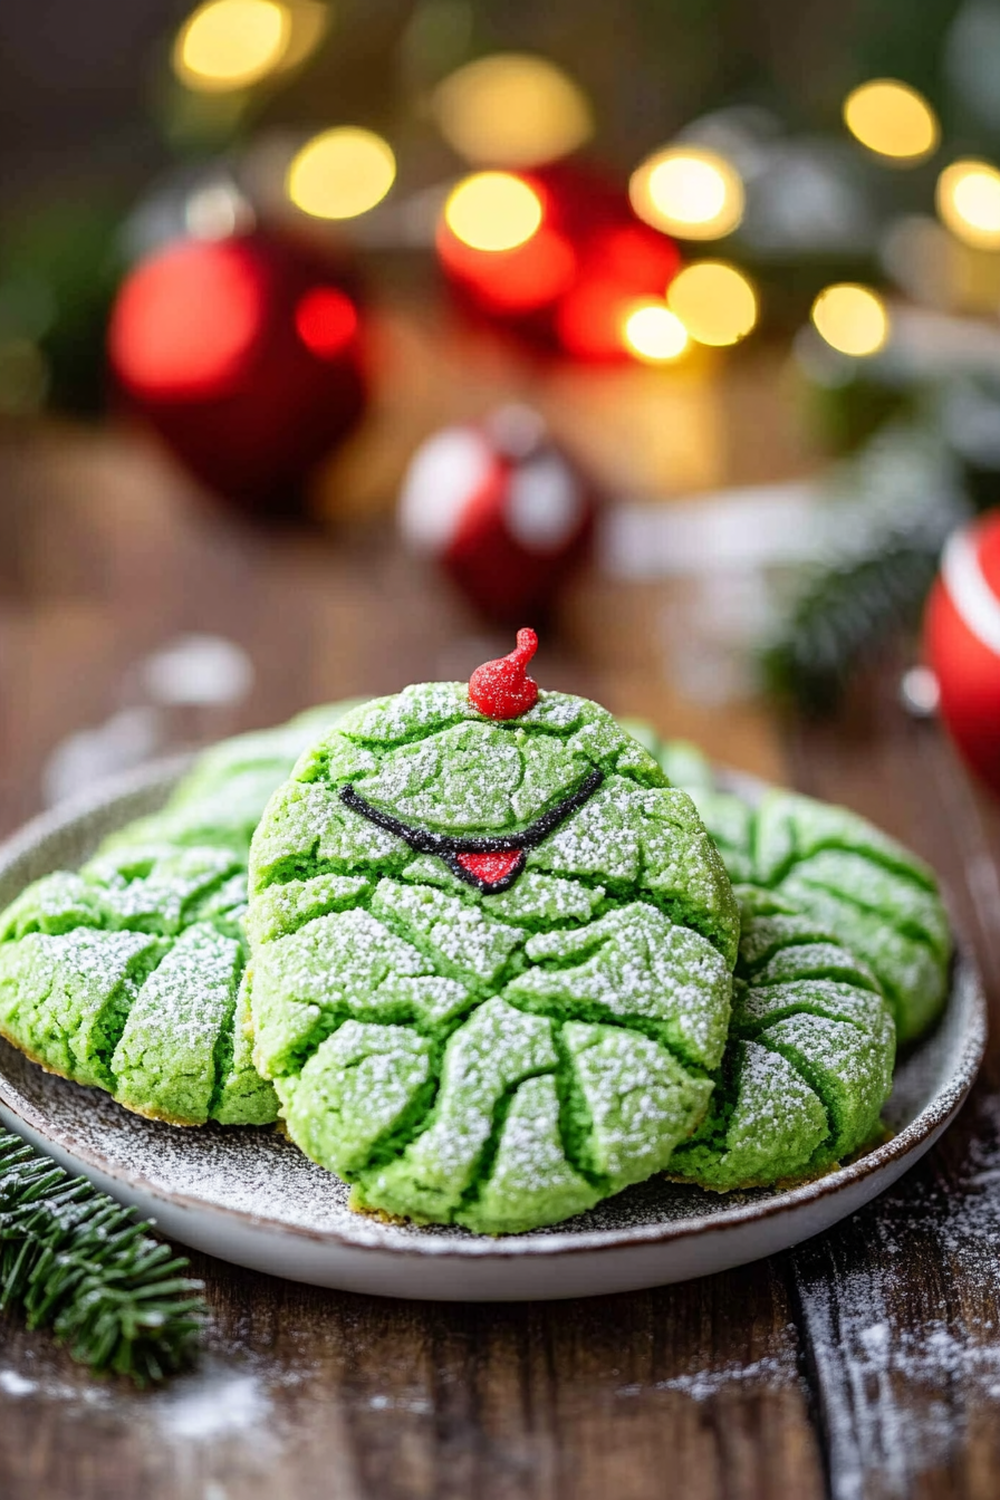
The holidays are a time for joy, laughter, and of course, delicious treats. One of the most beloved sweets during this festive season is none other than the delightful Grinch Crinkle Cookies. These vibrant green cookies are not just visually appealing; they also pack a punch of flavor and texture that will leave everyone craving more. With their soft center and slightly crispy exterior coated in powdered sugar, these cookies embody the spirit of the holidays while paying homage to Dr. Seuss’s famous character.
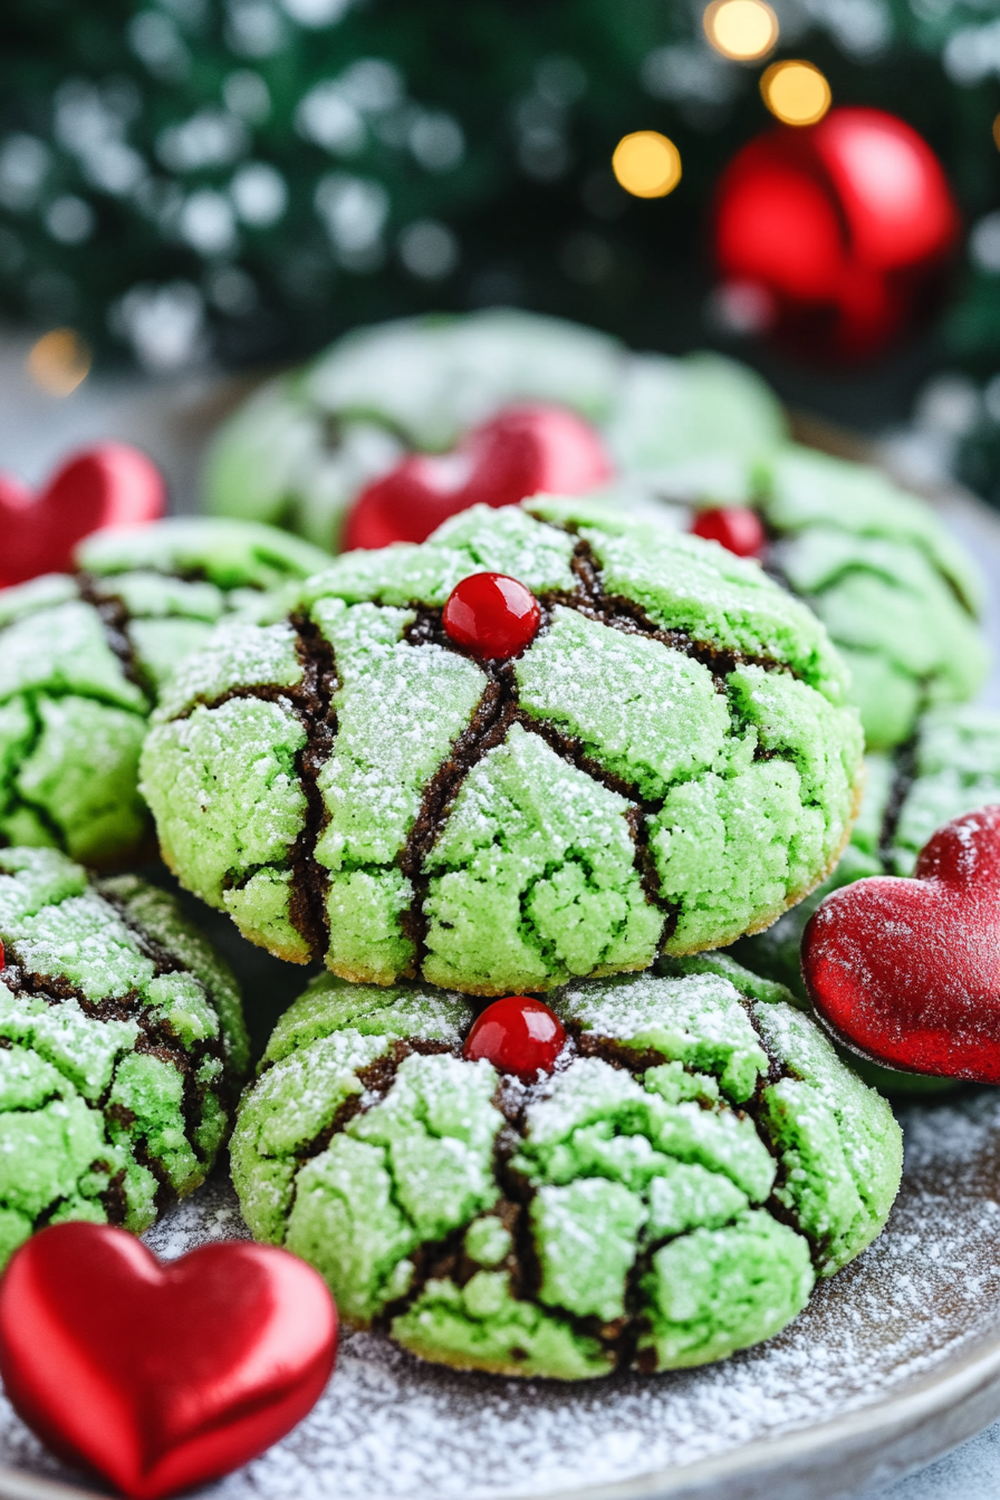
In this article, we’ll guide you through creating your very own batch of Grinch Crinkle Cookies that will impress family and friends alike. Whether you’re hosting a holiday gathering or simply looking to spread some festive cheer, these cookies are sure to be a hit. Plus, with simple ingredients and straightforward instructions, you’ll find that baking these cookies is as enjoyable as eating them! So preheat your oven, gather your ingredients, and get ready to make some unforgettable Grinch Crinkle Cookies that bring a smile to everyone’s face.
Main Ingredients
All-Purpose Flour
All-purpose flour serves as the backbone of your Grinch Crinkle Cookies. For this recipe, you will need 2 cups (240 grams) of all-purpose flour. This ingredient provides structure to the cookies while allowing them to maintain a soft texture on the inside. Make sure to measure your flour correctly; too much can lead to dry cookies.
Granulated Sugar
Sugar is essential for sweetness in these cookies. You will need 1 cup (200 grams) of granulated sugar for this recipe. This ingredient not only sweetens but also contributes to the cookie’s chewy texture by helping retain moisture during baking.
Brown Sugar
Using 1/2 cup (100 grams) of packed brown sugar adds depth and richness to the flavor profile of your Grinch Crinkle Cookies. The molasses in brown sugar gives a hint of caramel flavor while making the cookies even chewier.
Unsalted Butter
For this recipe, use 1/2 cup (115 grams) of unsalted butter at room temperature. Butter adds richness and flavor while ensuring that the cookies have a tender crumb. Be sure to let it soften before mixing so it incorporates evenly into the batter.
Eggs
You’ll need 2 large eggs for binding the ingredients together and adding moisture. Eggs play a vital role in providing structure while also enhancing the overall flavor of your Grinch Crinkle Cookies.
Green Food Coloring
To achieve that signature Grinchy green color, add about 1-2 teaspoons of green food coloring based on your desired hue. This ingredient makes your cookies visually appealing and adds fun to your holiday baking.
Baking Powder
You’ll need 2 teaspoons of baking powder for leavening purposes in this recipe. Baking powder helps create that airy texture that makes each bite delightful.
Vanilla Extract
Adding 1 teaspoon of pure vanilla extract enhances the flavor profile significantly by providing a warm undertone that complements the sweetness beautifully.
Powdered Sugar
For rolling your cookie dough balls before baking, you’ll need about 1 cup (120 grams) of powdered sugar. This ingredient not only adds sweetness but also creates that signature crinkled appearance once baked.
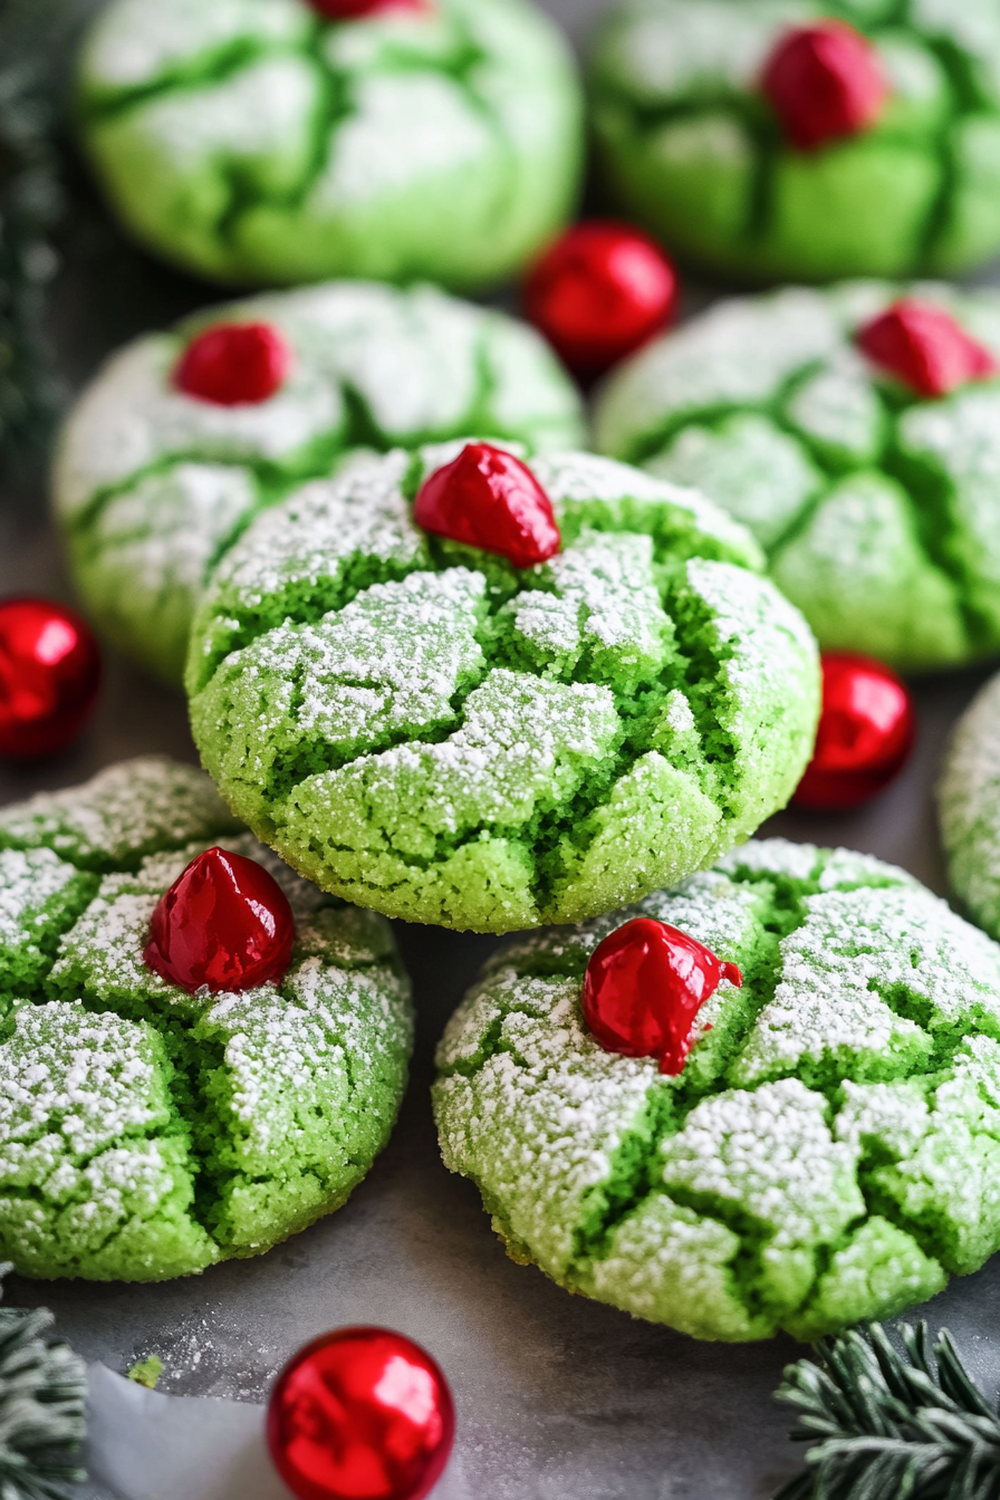
How to Prepare Grinch Crinkle Cookies
Step 1: Preheat Your Oven
Start by preheating your oven to 350°F (175°C). It’s important to preheat because this ensures even cooking throughout when you place your cookie dough inside later on. While the oven is heating up, prepare two baking sheets by lining them with parchment paper or silicone mats; this will prevent sticking and make cleanup easier.
Step 2: Mix Dry Ingredients
In a medium bowl, whisk together your all-purpose flour and baking powder until well combined—this helps distribute the leavening agent evenly throughout the mixture. Set it aside as you prepare your wet ingredients; having separated dry ingredients makes for better incorporation into the dough later on.
Step 3: Cream Butter and Sugars
In a large mixing bowl using an electric mixer or stand mixer fitted with a paddle attachment, combine your room temperature unsalted butter along with both granulated sugar and brown sugar. Beat them together on medium speed until light and fluffy—about 3-4 minutes should suffice here! This step is crucial as it incorporates air into the mixture which aids in achieving soft cookies.
Step 4: Add Eggs and Vanilla
Once creamed nicely together, add in your eggs one at a time while mixing continuously until fully incorporated before adding another egg—this ensures proper blending without overmixing! Don’t forget to include vanilla extract at this stage too; give everything another good mix until smooth.
Step 5: Incorporate Food Coloring
Now comes an exciting part—adding green food coloring! Start with one teaspoon first then mix thoroughly; check if you like how vibrant it looks or add more if desired until reaching that perfect “Grinchy” hue! Take care not to over-mix as we want our dough ready soon!
Step 6: Combine Wet & Dry Mixtures
Slowly pour in those dry ingredients from earlier into wet mixture gradually while stirring gently on low speed until just combined—do not overwork here! The result should be thick yet manageable cookie dough without any visible streaks from flour remaining behind!
Step 7: Chill Dough If Necessary
Depending on how warm your kitchen is currently due to heated appliances running or climate conditions outside—chilling may be an option worth considering before proceeding further! Wrap dough tightly in plastic wrap if needed then refrigerate anywhere between half an hour up till two hours maximum—this prevents spreading during baking which leads towards thicker softer results once done!
Step 8: Form Cookie Balls & Roll In Powdered Sugar
Once dough’s set either way take teaspoons’ worth—or use scoopers if available—and roll them into balls about one inch wide each before rolling each ball generously through powdered sugar coating all sides completely—this creates those beautiful cracks once baked!
Step 9: Bake Your Delicious Treats
Place rolled balls onto prepared sheets spaced apart giving room since they will spread upon heat exposure—bake elapsed time should be around ten minutes only! Keep an eye out during last few minutes watching closely until edges turn slightly golden yet centers remain soft still—a sure sign they’re ready!
Step 10: Cool Down Before Serving!
After pulling trays out allow cooling down first few minutes directly upon sheets then transfer over onto wire racks allowing further cooling efforts until completely set—this lets flavors meld beautifully together giving optimal enjoyment later!
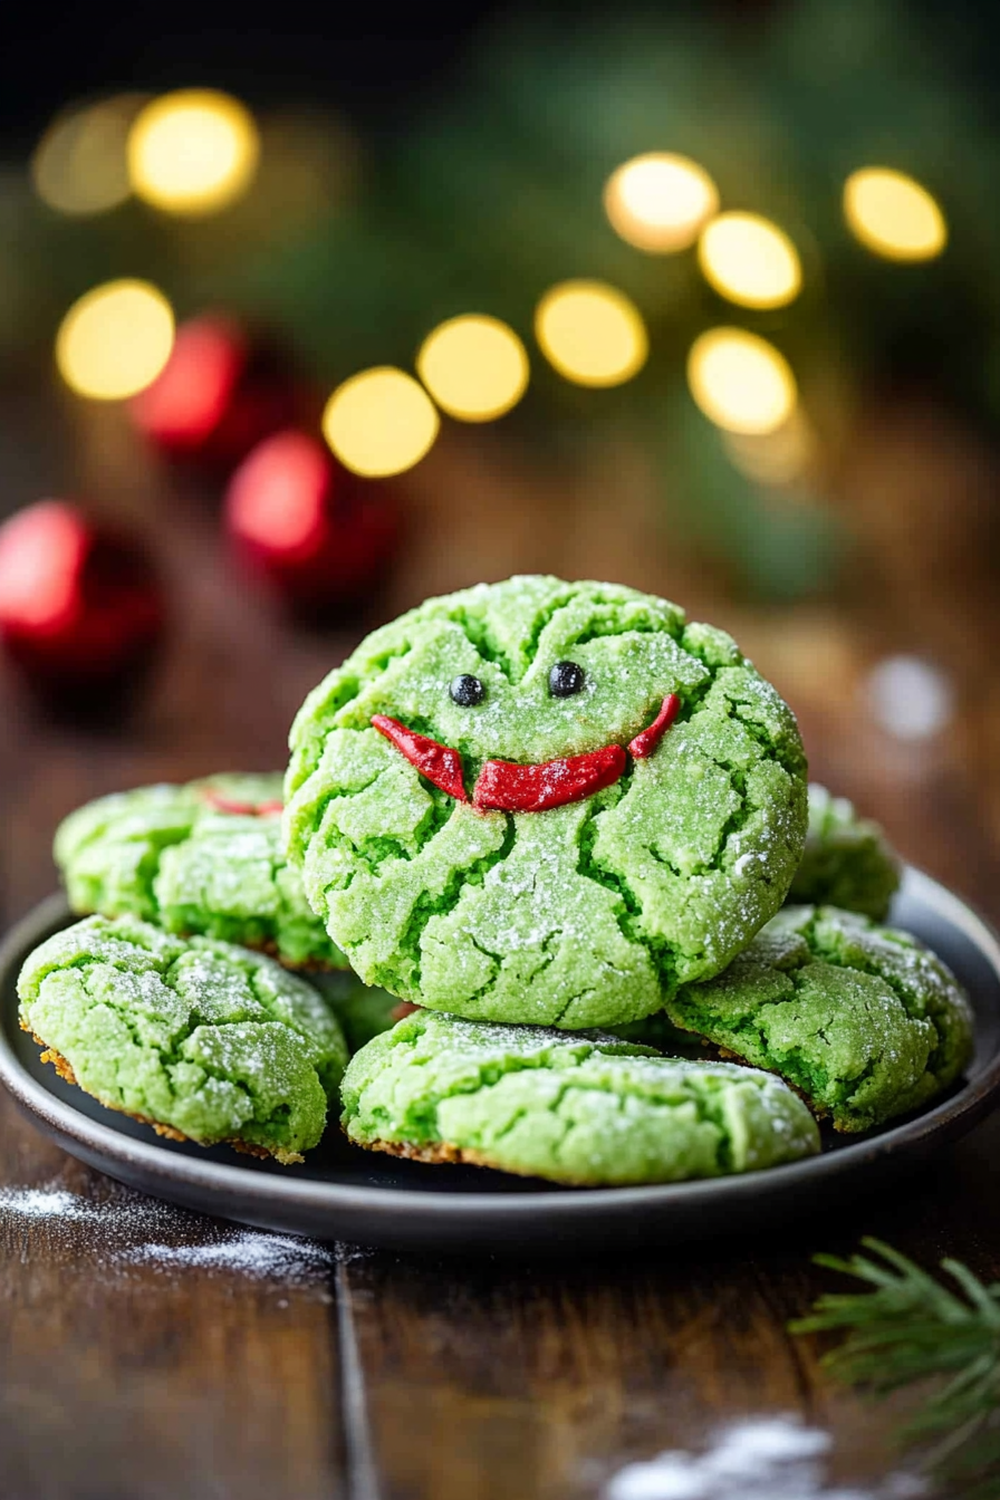
Serving and Storing Tips
Serving Suggestions
When it comes time for serving those scrumptious Grinch Crinkle Cookies think creatively regarding presentation options available! They would pair perfectly alongside hot cocoa or even coffee making delightful additions during gatherings hence why consider arranging them nicely onto festive platters garnished perhaps with candy canes or sprigs from holly adding seasonal charm all around!
Additionally feel free customizing servings based on personal preferences such as drizzling melted chocolate atop cooled varieties providing extra indulgence factor! Alternatively package several into clear bags tied tightly featuring ribbons resembling gifts themselves showcasing thoughtful gestures towards loved ones too—it makes wonderful homemade gifts during holidays!
Storing Your Cookies
If there happen leftovers after indulging don’t worry—you can easily store any remaining uncooked batches too! To keep freshly baked versions stored effectively ensure placing within airtight containers layering parchment paper between rows preventing stickiness occurring when piled closely together over time reducing chances mishandling regarding breakage occurring unintentionally later down line too!
For longer shelf life consider freezing cookie dough prior baking process itself instead since frozen forms stay fresh longer preserving flavors intact—the best method involves wrapping tightly in plastic wrap followed by placing inside freezer-safe bags labeled clearly indicating date stored carefully noting how long kept ideally within three months timeframe maximum thereafter freshness begins declining gradually thereafter affecting quality severely thus recommend consuming quicker rather than delaying unnecessarily long period overall keeping taste paramount always enjoying every last bite possible ahead!
With these tips under consideration now go ahead bake up some incredible batches successfully enjoy delightful moments shared around table full joy laughter surrounded friends family celebrating wondrous season ahead making memories unforgettable lasting forevermore through lovely treats enjoyed heartily throughout festivity times ahead truly enriching experience altogether bringing smiles every single time indeed cherished fondly always remembered warmly within hearts forevermore!
Mistakes to avoid
One common mistake when baking Grinch Crinkle Cookies is not measuring ingredients accurately. Baking is a science, and precise measurements can make or break your cookies. Use a kitchen scale for dry ingredients and liquid measuring cups for wet ingredients. This will ensure consistency in texture and taste.
Another mistake is overmixing the dough. When you mix the cookie dough too much, it can develop gluten, leading to tough cookies instead of soft and chewy ones. Mix just until the ingredients are combined. You want to see a few flour streaks; this means you’re on the right track.
Not chilling the dough is another pitfall. Chilling your Grinch Crinkle Cookie dough allows the flavors to meld and helps control spread during baking. Aim for at least 30 minutes in the fridge before scooping onto your baking sheet. This simple step can elevate your cookies from good to great.
Using expired or low-quality ingredients can ruin your batch of cookies too. Always check expiration dates on baking powder, soda, and vanilla extract. Fresh ingredients ensure that your cookies rise well and have a vibrant flavor, which is essential for making delicious Grinch Crinkle Cookies.
Lastly, skipping parchment paper or silicone mats may lead to uneven baking or sticking. These liners help with easy release and promote even cooking. If you want perfectly baked cookies without mess, invest in some quality baking liners to prevent sticking.
Tips and tricks
To achieve perfect Grinch Crinkle Cookies, start by using room temperature eggs and butter. Allowing these ingredients to sit out for about 30 minutes before mixing makes them easier to incorporate into the dough, leading to a smoother mix and better texture.
Incorporating high-quality cocoa powder into your cookie mix is another vital tip. Opt for Dutch-processed cocoa for a deeper color and richer flavor that complements the green crinkle effect beautifully. This small change can make a significant difference in taste.
Consider rolling your cookie balls in granulated sugar before dusting them with powdered sugar for an extra sweet crunch on the outside. This method adds texture while enhancing the visual appeal of your Grinch Crinkle Cookies, making them even more festive.
Using gel food coloring instead of liquid coloring can also create a more vibrant green hue that doesn’t affect the dough’s moisture content as much. Gel colors are more concentrated and provide a richer color without thinning out your cookie batter.
Finally, pay attention to baking times and temperatures. Every oven behaves differently; thus, keep an eye on your cookies as they bake to prevent overcooking or underbaking. Remove them when they look slightly underbaked; they will continue cooking after being removed from the oven.
Suggestions for Grinch Crinkle Cookies
A great suggestion for enhancing your Grinch Crinkle Cookies is adding peppermint extract alongside vanilla extract in your recipe. This addition gives a festive twist that pairs nicely with chocolate flavors, creating a delightful holiday treat.
Experimenting with toppings can also take your cookies to new heights! Consider adding crushed candy canes or chocolate chips into the dough for added texture and flavor bursts in each bite. These toppings give an extra holiday flair while enhancing visual appeal.
Another suggestion is trying different types of powdered sugar coatings before serving them up on holiday platters. You could mix powdered sugar with edible glitter or colored sugar to create dazzling effects that will impress guests during festive gatherings.
If you’re looking for storage tips after making these delightful treats, consider freezing individual cookie portions instead of keeping them all together in one container. Place rolled cookie balls on a baking sheet lined with parchment paper until frozen solid then transfer them into freezer-safe bags. This will allow you to bake fresh cookies anytime without starting from scratch!
Lastly, when gifting these cookies during the holidays, consider packaging them creatively! Use festive tins or clear cellophane bags tied with colorful ribbons that match their vibrant appearance; this thoughtful presentation adds charm to any gift while showcasing how special they are!
FAQs
What are Grinch Crinkle Cookies?
Grinch Crinkle Cookies are festive treats inspired by Dr. Seuss’s beloved character, The Grinch! These brightly colored green cookies feature a rich chocolate flavor complemented by their iconic crinkled tops dusted with powdered sugar. They are perfect for holiday gatherings because they bring joy both visually and taste-wise!
How do I achieve a perfect crinkle effect?
To achieve that signature crinkle effect on Grinch Crinkle Cookies, it’s essential to chill the dough before baking thoroughly! The chilling process prevents excessive spreading during baking while allowing those lovely cracks to form as they rise in the oven—a crucial step in creating visually appealing cookies!
Can I substitute any ingredients?
Yes! You can substitute certain ingredients when making Grinch Crinkle Cookies if needed—such as using dairy-free butter alternatives for vegan options or gluten-free flour blends instead of traditional flour—just be sure these substitutes do not compromise overall texture or flavor!
How should I store my Grinch Crinkle Cookies?
Storing these delightful treats requires proper techniques: keep uneaten cookies in an airtight container at room temperature for up to five days! Alternatively, freeze baked cookies between layers of parchment paper inside an airtight bag if you want longer shelf life – they’ll remain fresh up until three months!
Can I add other flavors?
Absolutely! While traditional recipes focus on chocolate flavor paired with vibrant greens from food coloring—feel free to explore new combinations! Adding peppermint extract enhances their holiday spirit while incorporating nuts like walnuts or pecans provides additional crunchiness—experiment based on personal preferences!
Is there a way I can make these healthier?
You may adjust certain aspects of this recipe if you’re looking for healthier versions: consider replacing half of each cup of sugar with natural sweeteners like honey or maple syrup! Additionally swapping out all-purpose flour with whole wheat flour increases fiber content without sacrificing taste—enjoy guilt-free indulgence!
Print
Grinch Crinkle Cookies
- Total Time: 20 minutes
- Yield: 20 cookies 1x
Description
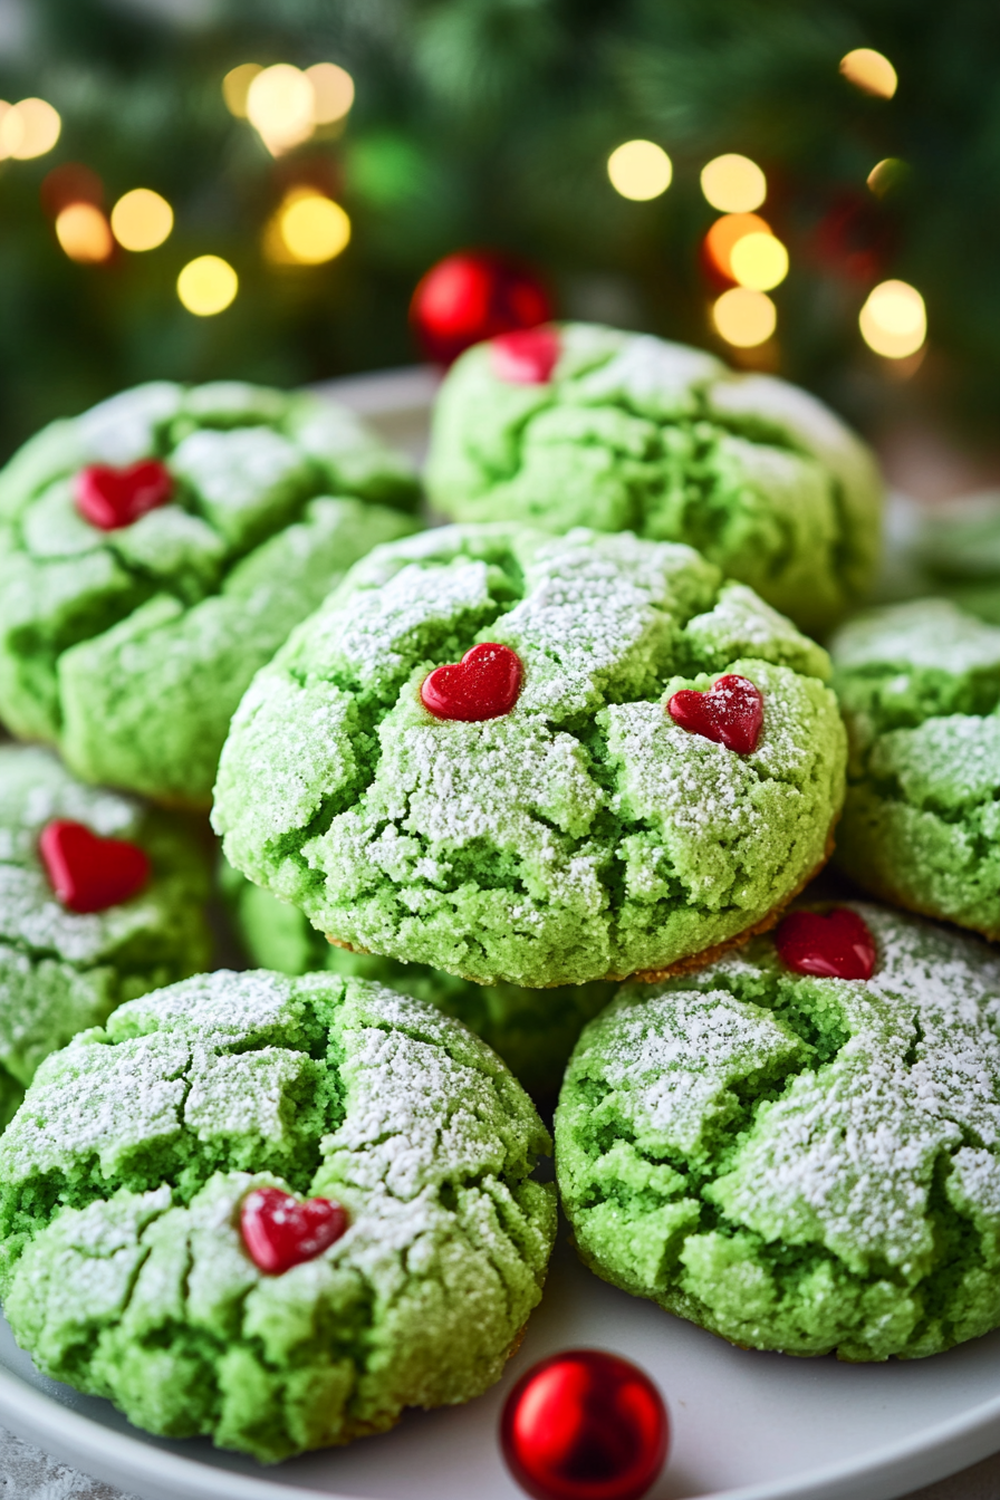
These adorable Grinch Crinkle Cookies are soft, chewy, and infused with a hint of vanilla. Their vibrant green hue and red heart-shaped sprinkle make them a festive holiday treat!
Ingredients
- 1 box white cake mix
- 2 large eggs
- 1/3 cup vegetable oil
- Green gel food coloring
- ½ cup powdered sugar
- Red heart-shaped sprinkles
Instructions
- Mix the Dough:
- Preheat oven to 350°F (175°C). Line a baking sheet with parchment paper.
- In a large bowl, combine cake mix, eggs, and vegetable oil. Stir until smooth.
- Add green gel food coloring until the desired Grinch green color is achieved.
- Shape & Coat:
- Scoop tablespoon-sized dough balls and roll them in powdered sugar until fully coated.
- Place the balls 2 inches apart on the prepared baking sheet.
- Bake:
- Bake for 8–10 minutes, or until the edges are set and the cookies have crinkled.
- Remove from the oven and immediately press a red heart sprinkle onto the top of each cookie.
- Cool & Serve:
- Allow the cookies to cool on the baking sheet for 5 minutes, then transfer to a wire rack. Serve and enjoy!
Notes
- For a deeper flavor, add 1 teaspoon of vanilla extract or almond extract to the dough.
- Store cookies in an airtight container for up to 5 days.
- To prevent sticky hands, chill the dough for 15 minutes before shaping.
- Prep Time: 10 minutes
- Cook Time: 10 minutes
Nutrition
- Calories: 120
- Sugar: 14g
- Sodium: 140mg
- Fat: 4g
- Carbohydrates: 18g
- Protein: 1g
Making Grinch Crinkle Cookies is not just about following a recipe; it’s about understanding key techniques that elevate this delightful treat into something truly special during holiday festivities! Avoid common mistakes like improper ingredient measurement or neglecting necessary chilling time—both crucial steps towards achieving those beautiful cracks atop every cookie!
Remember helpful tips such as utilizing room temperature components while experimenting creatively with toppings uniquely tailored according to personal preference—the beauty lies within individualizing each batch! Lastly embrace various storage solutions ensuring maximum freshness whether enjoyed immediately after baking or saved up until gifting season arrives!
By following these guidelines closely—as well as addressing frequently asked questions—you’ll guarantee success when crafting irresistible Grinch Crinkle Cookies sure-to-impress friends and family alike throughout joyful celebrations ahead!

