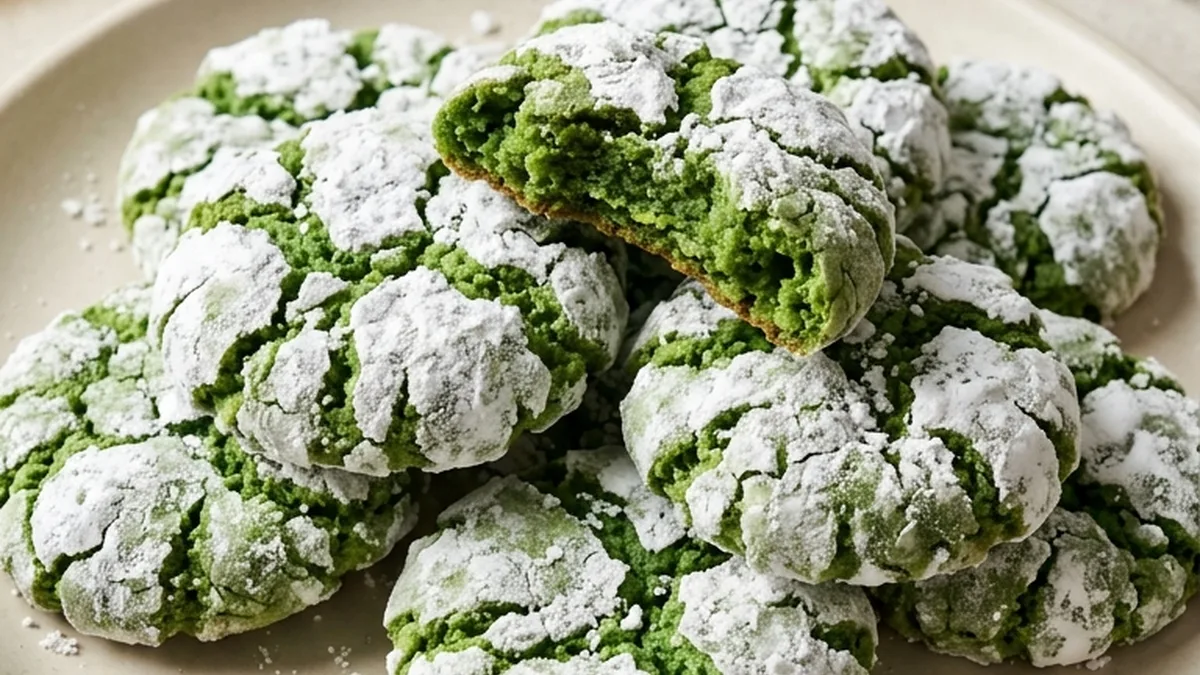
The holidays are a time for joy, laughter, and of course, delicious treats. One of the most beloved sweets during this festive season is none other than the delightful Grinch Crinkle Cookies. These vibrant green cookies are not just visually appealing; they also pack a punch of flavor and texture that will leave everyone craving more.
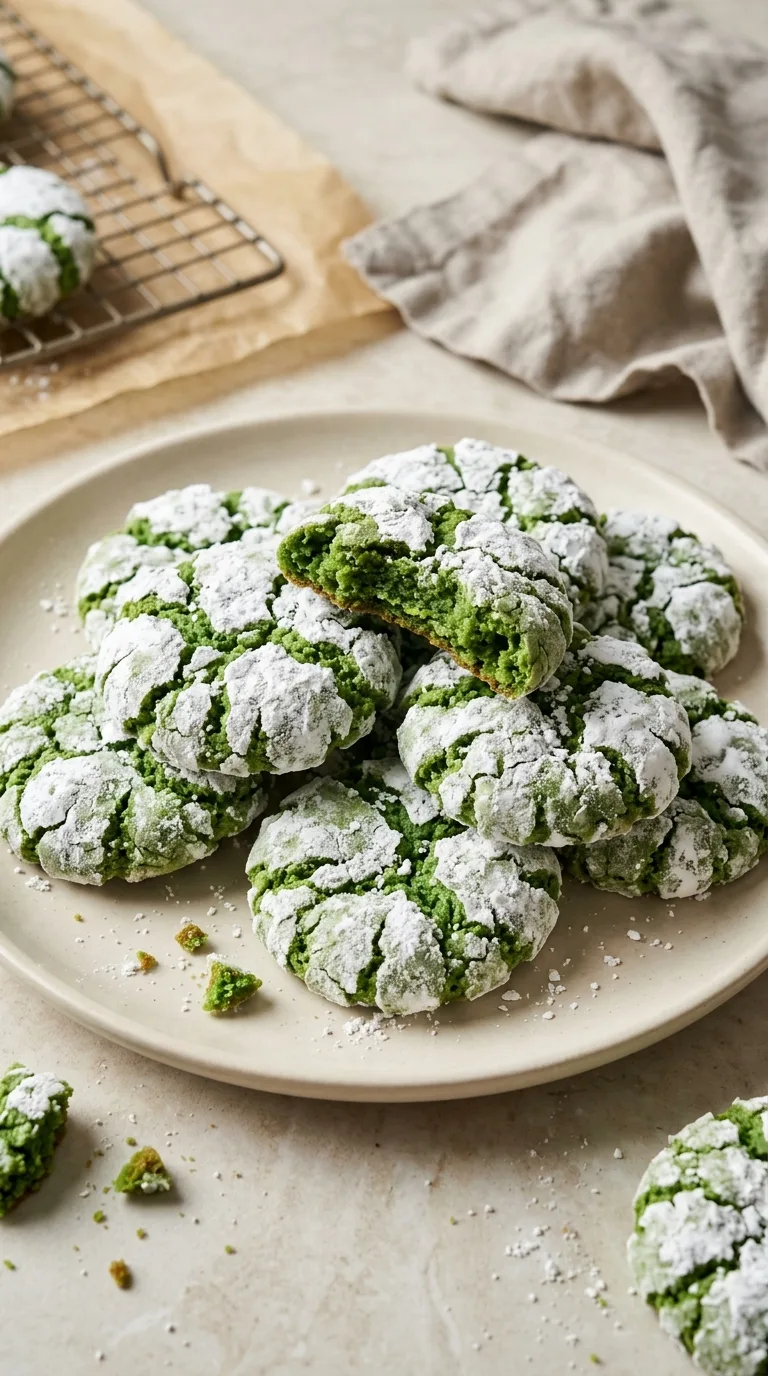
With their soft center and slightly crispy exterior coated in powdered sugar, these cookies embody the spirit of the holidays while paying homage to Dr. Seuss’s famous character. In this article, we’ll guide you through creating your very own batch of Grinch Crinkle Cookies that will impress family and friends alike.
Recipe at a Glance
- Prep Time: 20 minutes
- Cook Time: 10 minutes
- Total Time: 30 minutes
- Yield: About 24 cookies
- Category: Dessert
- Cuisine: American
- Cooking Method: Baking
- Difficulty: Easy
What Makes This Recipe Work
- Using both granulated and brown sugar creates a chewy texture and rich flavor.
- Chilling the dough prevents spreading, resulting in thicker cookies.
- Rolling in powdered sugar before baking gives the cookies their signature crinkle appearance.
- Room temperature ingredients blend more smoothly, ensuring even texture.
Tools for This Recipe
- Mixing bowls
- Electric mixer or stand mixer
- Baking sheets
- Parchment paper or silicone mats
- Cookie scoop or tablespoon
- Wire rack for cooling
Ingredient Notes

- ️ 2 cups (240 grams) all-purpose flour: Provides structure and texture.
- ️ 1 cup (200 grams) granulated sugar: Sweetens and helps retain moisture.
- ️ 1/2 cup (100 grams) packed brown sugar: Adds depth and chewiness.
- ️ 1/2 cup (115 grams) unsalted butter, room temperature: Adds richness and tenderness.
- ️ 2 large eggs: Binds ingredients and adds moisture.
- ️ 1-2 teaspoons green food coloring: Provides the signature Grinch color.
- ️ 2 teaspoons baking powder: Leavens the cookies for a light texture.
- ️ 1 teaspoon pure vanilla extract: Enhances overall flavor.
- ️ 1 cup (120 grams) powdered sugar: Used for rolling the cookie dough.
Step-by-Step Method
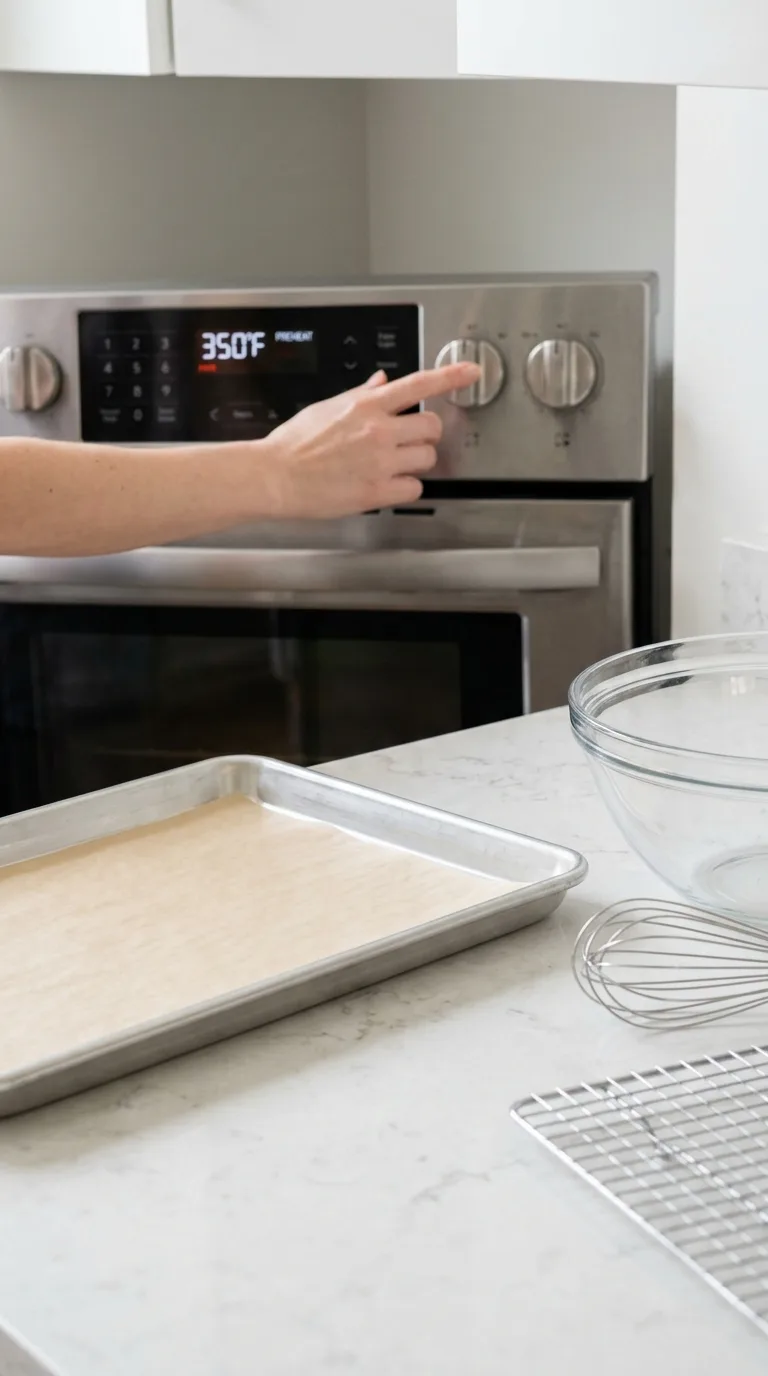
- Preheat your oven to 350°F (175°C) and line two baking sheets with parchment paper.

- In a medium bowl, whisk together the all-purpose flour and baking powder until well combined.
- In a large mixing bowl, cream the unsalted butter, granulated sugar, and brown sugar together until light and fluffy, about 3-4 minutes.
- Add the eggs one at a time, mixing until fully incorporated before adding the next. Stir in the vanilla extract.
- Add green food coloring, starting with 1 teaspoon, and mix until you achieve the desired hue.
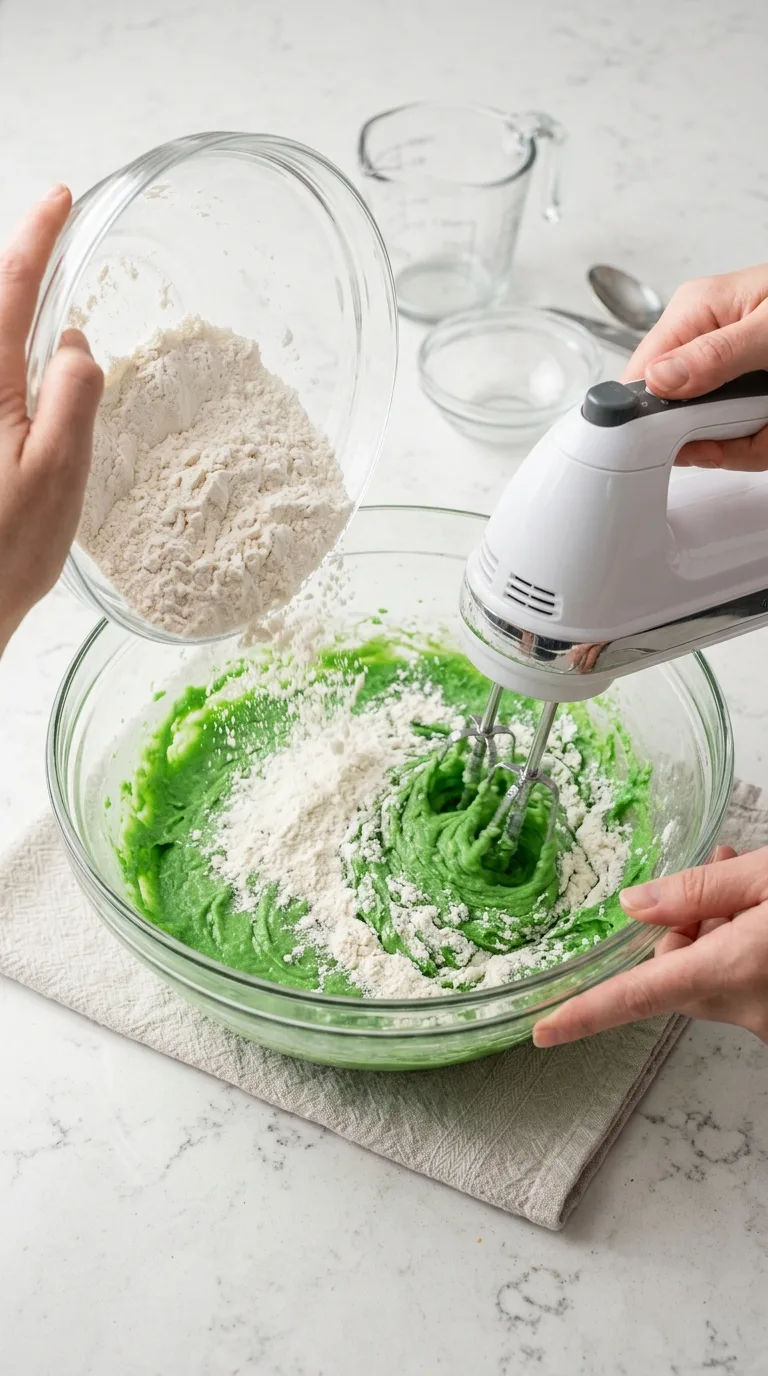
- Gradually mix the dry ingredients into the wet mixture until just combined; do not overmix.
- If the dough is warm, wrap it in plastic wrap and refrigerate for 30 minutes to 2 hours to prevent spreading.
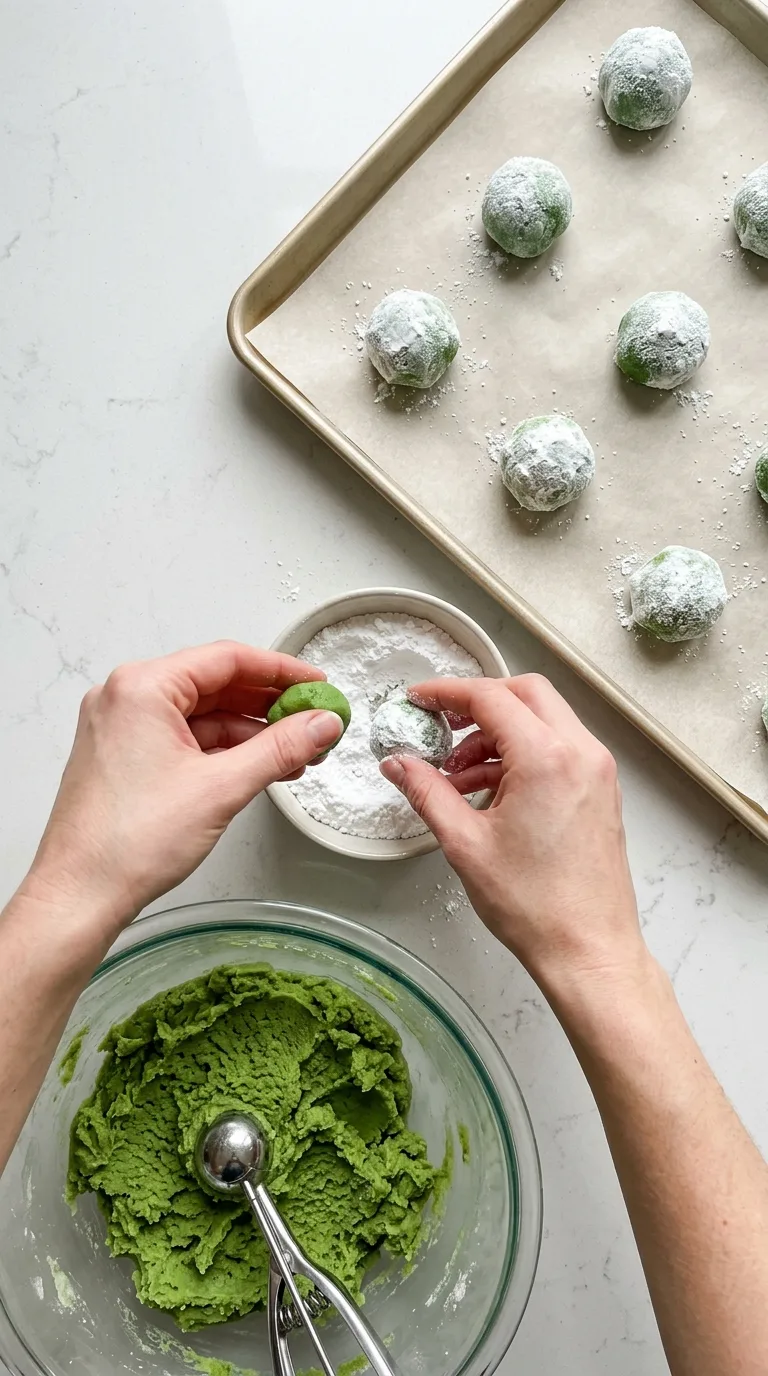
- Form the dough into 1-inch balls and roll each ball in powdered sugar until fully coated.
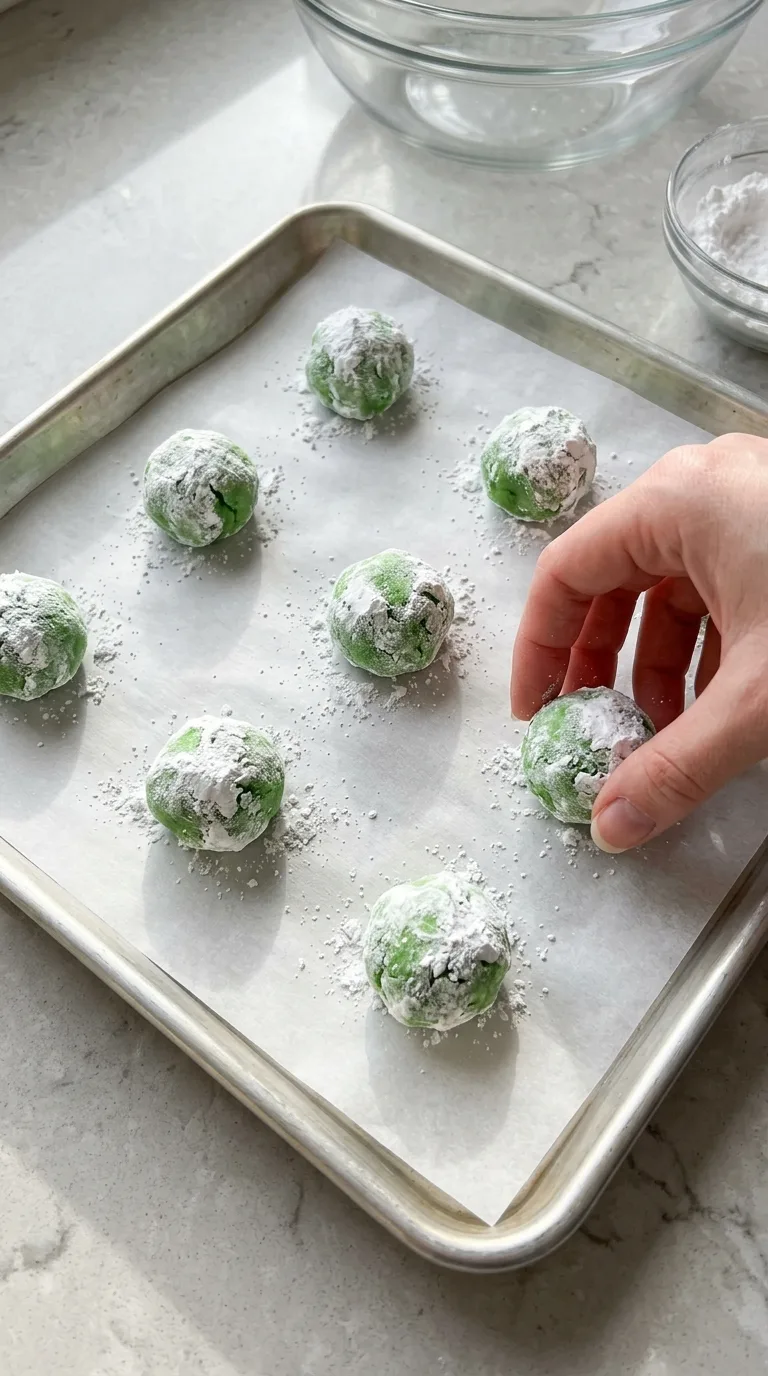
- Place the cookie balls on the prepared baking sheets, spaced apart, and bake for about 10 minutes, until the edges are slightly golden but the centers remain soft.
- Allow the cookies to cool on the baking sheets for a few minutes before transferring them to a wire rack to cool completely.

Make-Ahead and Storage Notes
- Store baked cookies in an airtight container at room temperature for up to one week.
- Unbaked cookie dough can be frozen for up to three months; wrap tightly in plastic wrap and place in a freezer-safe bag.
- For best results, chill the dough before baking to maintain thickness and prevent spreading.

FAQ
Can I use a different type of food coloring?
Yes, gel food coloring works well and provides a vibrant color without affecting the dough's moisture.
What can I do if my cookies spread too much?
Ensure your dough is chilled before baking, and avoid overmixing to prevent gluten development.
How can I make these cookies more festive?
Consider adding crushed candy canes or chocolate chips to the dough for added flavor and texture.
Can I substitute the butter with margarine?
Yes, margarine can be used, but it may slightly alter the flavor and texture of the cookies.
What should I do if my cookies are too dry?
Ensure accurate measurements and avoid overbaking, as both can lead to dry cookies.
Grinch Crinkle Cookies
Ingredients
Method
- Start by preheating your oven to 350°F (175°C). It’s important to preheat because this ensures even cooking throughout when you place your cookie dough inside later on. While the oven is heating up, prepare two baking sheets by lining them with parchment paper or silicone mats; this will prevent sticking and make cleanup easier.
- Mix Dry Ingredients: In a medium bowl, whisk together your all-purpose flour and baking powder until well combined—this helps distribute the leavening agent evenly throughout the mixture. Set it aside as you prepare your wet ingredients; having separated dry ingredients makes for better incorporation into the dough later on.
- Cream Butter and Sugars: In a large mixing bowl using an electric mixer or stand mixer fitted with a paddle attachment, combine your room temperature unsalted butter along with both granulated sugar and brown sugar. Beat them together on medium speed until light and fluffy—about 3-4 minutes should suffice here! This step is crucial as it incorporates air into the mixture which aids in achieving soft cookies.
- Add Eggs and Vanilla: Once creamed nicely together, add in your eggs one at a time while mixing continuously until fully incorporated before adding another egg—this ensures proper blending without overmixing! Don’t forget to include vanilla extract at this stage too; give everything another good mix until smooth.
- Incorporate Food Coloring: Now comes an exciting part—adding green food coloring! Start with one teaspoon first then mix thoroughly; check if you like how vibrant it looks or add more if desired until reaching that perfect “Grinchy” hue! Take care not to over-mix as we want our dough ready soon!
- Combine Wet & Dry Mixtures: Slowly pour in those dry ingredients from earlier into wet mixture gradually while stirring gently on low speed until just combined—do not overwork here! The result should be thick yet manageable cookie dough without any visible streaks from flour remaining behind!
- Chill Dough If Necessary: Depending on how warm your kitchen is currently due to heated appliances running or climate conditions outside—chilling may be an option worth considering before proceeding further! Wrap dough tightly in plastic wrap if needed then refrigerate anywhere between half an hour up till two hours maximum—this prevents spreading during baking which leads towards thicker softer results once done!
- Form Cookie Balls & Roll In Powdered Sugar: Once dough’s set either way take teaspoons’ worth—or use scoopers if available—and roll them into balls about one inch wide each before rolling each ball generously through powdered sugar coating all sides completely—this creates those beautiful cracks once baked!
- Bake Your Delicious Treats: Place rolled balls onto prepared sheets spaced apart giving room since they will spread upon heat exposure—bake elapsed time should be around ten minutes only! Keep an eye out during last few minutes watching closely until edges turn slightly golden yet centers remain soft still—a sure sign they’re ready!
- Cool Down Before Serving!. After pulling trays out allow cooling down first few minutes directly upon sheets then transfer over onto wire racks allowing further cooling efforts until completely set—this lets flavors meld beautifully together giving optimal enjoyment later!