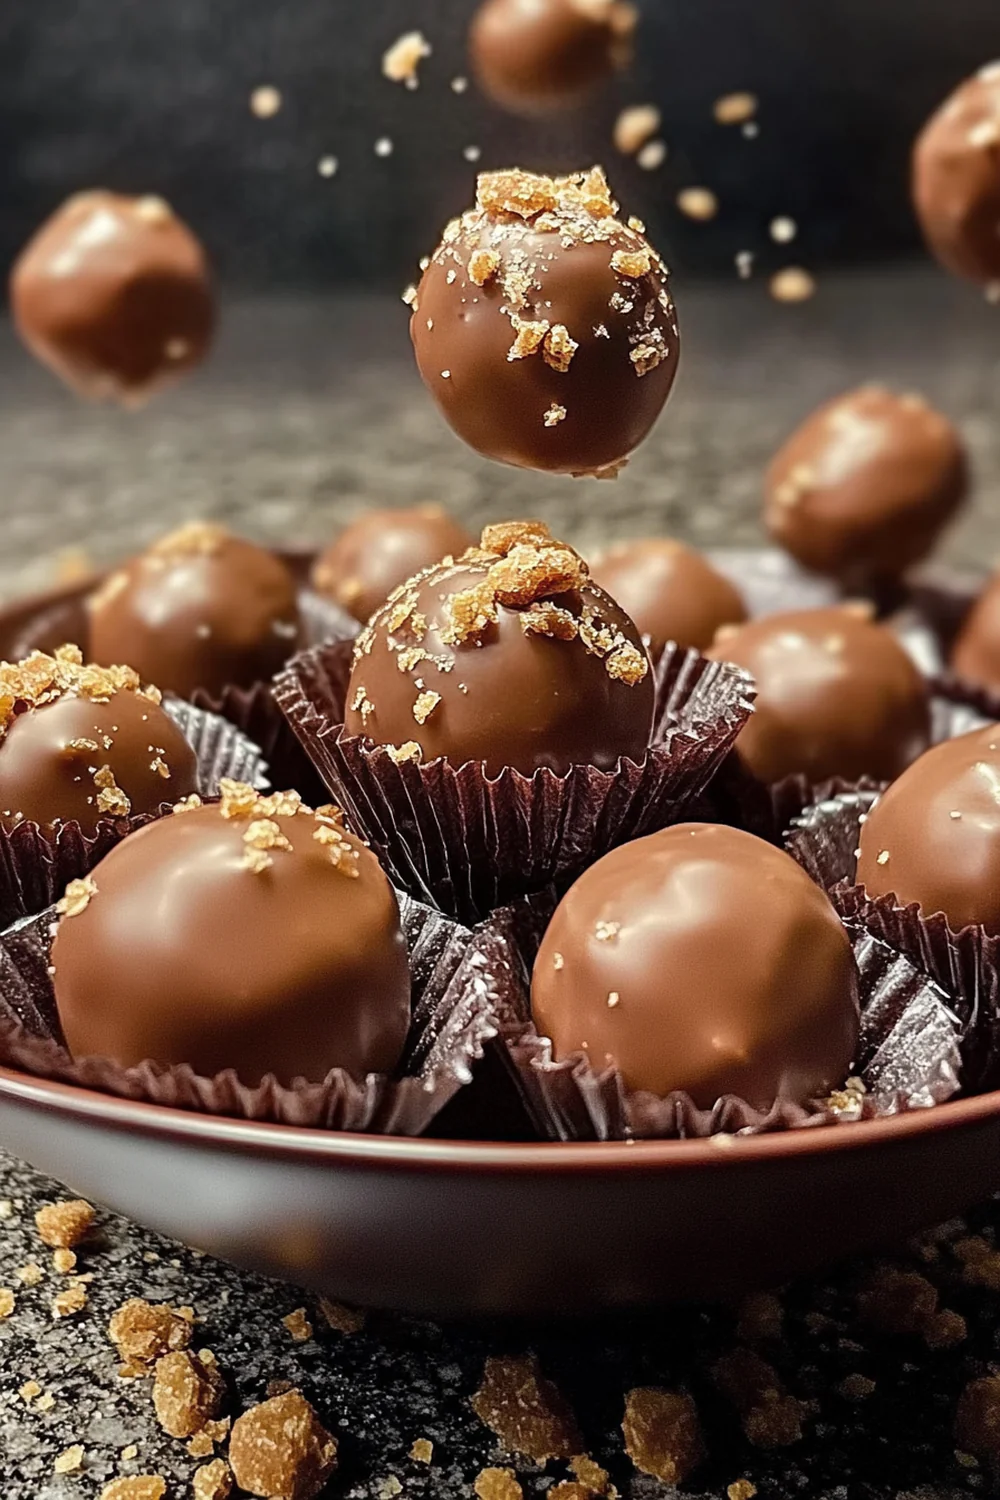
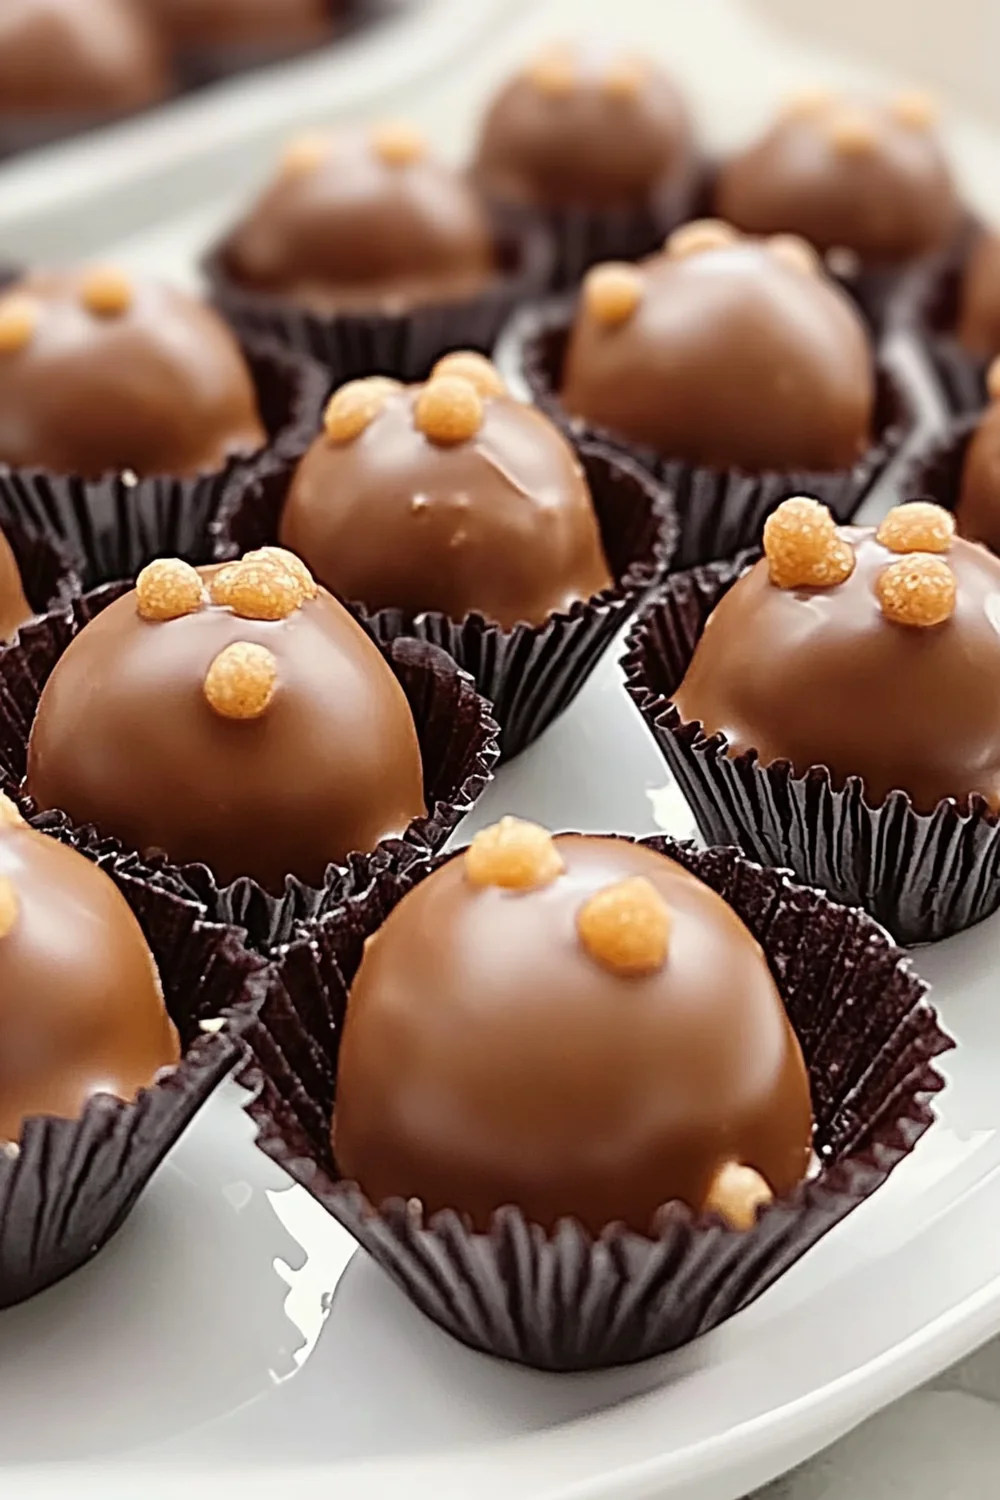
If you’re looking for a delightful treat that combines the creamy goodness of peanut butter with the satisfying crunch of chocolate, then Butterfinger Balls are your answer. These indulgent bites are not only simple to make but also a crowd-pleaser at any gathering. Perfect for parties, family gatherings, or just a sweet snack at home, these little balls of joy will make your taste buds dance with happiness. With minimal ingredients and no baking required, you can whip up these delectable treats in no time.

The best part? You can customize them to suit your taste. Whether you like them drizzled with chocolate or rolled in crushed nuts or sprinkles, the options are endless! In this article, we will guide you through the process of creating these fantastic Butterfinger Balls step by step, ensuring that even novice bakers can join in on the fun. Get ready to impress your friends and family with this easy recipe that is sure to become a favorite!
Main Ingredients
Peanut Butter
Peanut butter serves as the base of our Butterfinger Balls. You’ll need about one cup of creamy peanut butter for this recipe. Choose a high-quality brand that contains only peanuts and salt for the best flavor. The creaminess of the peanut butter adds a velvety texture to the filling and helps bind all ingredients together. If you’re allergic to peanuts or prefer a different flavor profile, feel free to substitute with almond or cashew butter.
Graham Crackers
You will require approximately two cups of finely crushed graham crackers. These give our treats their signature crunch and sweetness while adding stability to each ball. When selecting graham crackers, opt for honey-flavored varieties for an added layer of taste. Crushing them into fine crumbs is essential; otherwise, the texture may be uneven when mixing.
Powdered Sugar
You’ll need about one cup of powdered sugar to balance out the flavors and provide sweetness to the mixture. This ingredient helps achieve that classic candy-like sweetness while keeping the balls moist without being overly sticky. Be sure to sift it before use to avoid lumps in your mixture.
Chocolate Coating
For coating your Butterfinger Balls, you’ll need around 12 ounces of semi-sweet chocolate chips. Melting these chips creates a luscious outer layer that enhances both appearance and flavor. You can also experiment with dark or white chocolate depending on your preferences. Ensure you have a microwave-safe bowl or double boiler ready for smooth melting.
Optional Toppings
Consider using crushed nuts or sprinkles as optional toppings for an added crunch or visual appeal. About half a cup should suffice if you choose to add toppings; select your favorites such as chopped almonds or colorful sprinkles to enhance presentation.

How to Prepare Butterfinger Balls
Step 1: Prepare Your Ingredients
Begin by gathering all your ingredients on a clean workspace—this ensures efficiency during preparation. Start by measuring out one cup of creamy peanut butter into a mixing bowl followed by two cups of finely crushed graham crackers and one cup of powdered sugar. Take note that proper measurement is crucial; too much graham cracker can lead to dry balls while insufficient powdered sugar might result in overly sticky ones.
Step 2: Mix the Base
Using a sturdy spatula or wooden spoon, combine all ingredients in your mixing bowl until well incorporated; this should take about 5-7 minutes. Make sure there are no dry pockets remaining from the graham crackers or powdered sugar mixture—the consistency should be thick yet moldable enough for rolling into balls.
Once mixed thoroughly, it’s helpful if you scrape down the sides occasionally during mixing so everything blends uniformly without leaving any residue behind.
Step 3: Roll Into Balls
After achieving an even mixture, it’s time to shape it into bite-sized portions! Using your hands (lightly greased if needed), scoop out approximately one tablespoon worth of dough and roll it between your palms until it forms a smooth ball. Repeat this process until all mixture has been shaped; you should yield around 20-24 balls depending on size preference.
Place each rolled ball onto parchment-lined baking sheets spaced evenly apart; chilling them briefly in the refrigerator will help firm up their shape before coating them in chocolate.
Step 4: Melt Chocolate
While your formed balls chill in the fridge, melt 12 ounces of semi-sweet chocolate chips in either a microwave-safe bowl (in increments of 30 seconds) or over low heat using a double boiler method until completely smooth—stirring frequently prevents burning! If desired, add two teaspoons of coconut oil during melting which will yield extra shine once cooled.
Step 5: Coat Each Ball
Once melted properly and still warm yet manageable enough not burn fingers—remove chilled balls from refrigerator carefully dipping each one into melted chocolate using forks allows excess coating drip off easily before transferring back onto prepared baking sheets for setting purposes! Feel free sprinkle toppings while coating is still wet if desired!

Serving and Storing Tips
Serving Suggestions
Butterfinger Balls can be served immediately after they have set fully on parchment paper—allowing around 30 minutes at room temperature works wonders here! For special occasions like holidays or gatherings consider presenting them beautifully arranged on platters garnished with fresh fruit slices nearby which adds color contrast appealingly alongside tasty treats!
Additionally—you might want to experiment smaller variations such as mini versions perfect party finger foods where guests grab-and-go without fussing over plates! Just remember adjusting sizes accordingly while keeping proportions consistent so everyone enjoys equal servings during festivities!
Storing Properly
Storing leftover Butterfinger Balls is straightforward; simply place them inside an airtight container lined with wax paper between layers preventing sticking together if necessary! They can be kept refrigerated up-to two weeks comfortably allowing ample time enjoy delightful snacks whenever cravings strike! Alternatively freezing option exists too—just extend cooling period longer before placing container inside freezer ensuring freshness remains intact until future indulgence occurs!
These fantastic bites bring joy not only through flavors but also through convenient preparation methods making them accessible even novice bakers alike! Enjoy creating memorable moments sharing delicious experiences loved ones cherish forevermore!
Mistakes to avoid
When making Butterfinger Balls, it’s easy to overlook some key aspects that can impact the final result. One common mistake is not properly crushing the Butterfinger candies. Ensuring that they are finely crushed will help achieve a uniform texture and allow the mixture to bind properly. If the pieces are too large, your balls may fall apart or have an uneven distribution of flavor.
Another mistake is skipping the chilling step after mixing the ingredients. Chilling your mixture for at least 30 minutes allows it to firm up, making it easier to roll into balls. If you skip this step, you’ll find that the mixture is too soft and sticky, leading to messy hands and irregular shapes.
Using low-quality chocolate for coating can also ruin your Butterfinger Balls. Opt for high-quality chocolate chips or melting chocolate as they not only taste better but also provide a smooth coating. Cheap chocolate tends to seize up or become grainy when melted, compromising the overall appearance and taste of your treats.
Failing to use proper storage methods can lead to dried-out or stale Butterfinger Balls over time. Ensure they are stored in an airtight container in a cool place or refrigerate them if you’re planning to keep them for an extended period. This helps maintain their freshness and deliciousness.
Lastly, don’t rush the rolling process. Take your time to form uniform balls; this ensures even coating with chocolate and a more attractive presentation. By avoiding these mistakes, you will create delightful Butterfinger Balls that everyone will love.

Tips and tricks
For perfect Butterfinger Balls, follow these essential tips and tricks that will take your candy-making skills to the next level. Start by using room-temperature cream cheese when mixing with crushed Butterfingers. This allows for easier blending and a smoother texture without lumps. Cold cream cheese can make it difficult to combine evenly, resulting in a less creamy filling.
Incorporating different flavors into your Butterfinger Balls can elevate their taste profile. Consider adding a pinch of sea salt or a splash of vanilla extract to enhance the sweetness of the Butterfingers and cream cheese combination. Experimenting with flavor additions opens up opportunities for unique twists on this classic treat.
To achieve a glossy finish on your chocolate coating, temper your chocolate before dipping each ball. Tempering involves melting chocolate at specific temperatures to stabilize it, resulting in a shiny appearance once cooled. This process also makes your chocolate coating snap when bitten into, enhancing the overall experience of enjoying your Butterfinger Balls.
If you’re looking to add a fun decorative touch, consider rolling the finished balls in crushed nuts or sprinkles before serving them. This not only adds texture but also makes them visually appealing, turning them into an eye-catching dessert ideal for parties or gatherings.
Lastly, don’t forget about portion control! When rolling your Butterfinger Balls, aim for uniform sizes so that each bite offers consistency in flavor and texture. Using a small cookie scoop can help you achieve this easily while ensuring even cooking times if you decide to bake any variations in future recipes.
Suggestions for Butterfinger Balls
When preparing Butterfinger Balls, there are several suggestions you might find helpful for optimizing both preparation and enjoyment of this treat. First and foremost, consider experimenting with various coatings beyond traditional chocolate; white chocolate or colorful candy melts can create visually stunning treats that appeal to children and adults alike.
Adding toppings can enhance both flavor and visual appeal; sprinkle crushed graham crackers on top for added crunch or drizzle melted colored chocolate over the balls for an artistic touch. These little details can transform simple treats into impressive desserts suitable for any occasion.
Think about introducing different fillings within your Butterfinger Balls too! For instance, try adding mini marshmallows or peanut butter chips into the mixture before rolling them out; this creates surprise flavors that might delight those indulging in these sweets.
If you’re preparing these candies as gifts, consider packaging them creatively—using decorative boxes with window panes allows recipients to see what’s inside while adding an extra layer of charm. Pairing them with homemade cards detailing ingredients creates a thoughtful gift option during holidays or celebrations.
Lastly, remember that dietary preferences matter! If you’re catering to gluten-free guests or those who avoid dairy products, substitute ingredients accordingly—use gluten-free cookies instead of standard ones or opt for non-dairy cream cheese alternatives without sacrificing flavor!

FAQs
What are Butterfinger Balls made of?
Butterfinger Balls are primarily made from crushed Butterfinger candies mixed with cream cheese until smooth and combined well! The mixture is then rolled into small balls before being coated in melted chocolate for that delicious signature treat you love!
How do I store leftover Butterfinger Balls?
To effectively store leftover Butterfinger Balls, place them in an airtight container either at room temperature (if consumed within two days) or refrigerate them if keeping longer than that! Ensure they’re separated by parchment paper, so they don’t stick together while stored!
Can I freeze Butterfinger Balls?
Yes! You can freeze Butterfinger Balls without losing flavor; simply arrange them on a baking sheet lined with parchment paper until frozen solid before transferring them into an airtight freezer-safe container! They remain fresh up to three months when frozen properly!
What’s the best way to melt chocolate?
The best way involves gently heating chopped chocolate over low heat using either double boiler methods (two pots stacked) or microwave heating at short intervals (about 20 seconds), stirring frequently until fully melted without burning!
Can I use peanut butter instead of cream cheese?
While traditional recipes call for cream cheese due its creamy consistency paired well with crushed candy bars—peanut butter could serve as an alternative ingredient providing richer flavor! Adjust quantities accordingly based on desired texture since peanut butter tends thicker than typical cream cheese mixtures!
How long do I need to chill my mixture?
Chilling time typically ranges between 30-60 minutes depending on humidity levels in your kitchen environment—this allows enough time for mixtures become firmer making rolling easier ensuring perfect shape formation without excessive stickiness occurring during handling processes!


