If you’re searching for a delightful treat that combines the rich flavors of chocolate and peanut butter, look no further than these irresistible Butterfinger bliss balls. These easy-to-make snacks are perfect for satisfying your sweet tooth while providing a quick energy boost. The best part? They require no baking! Made with wholesome ingredients like oats, nut butter, and crushed Butterfinger candy bars, these bliss balls are a crowd-pleaser. Whether you want an on-the-go snack or a special dessert for gatherings, they fit the bill perfectly.
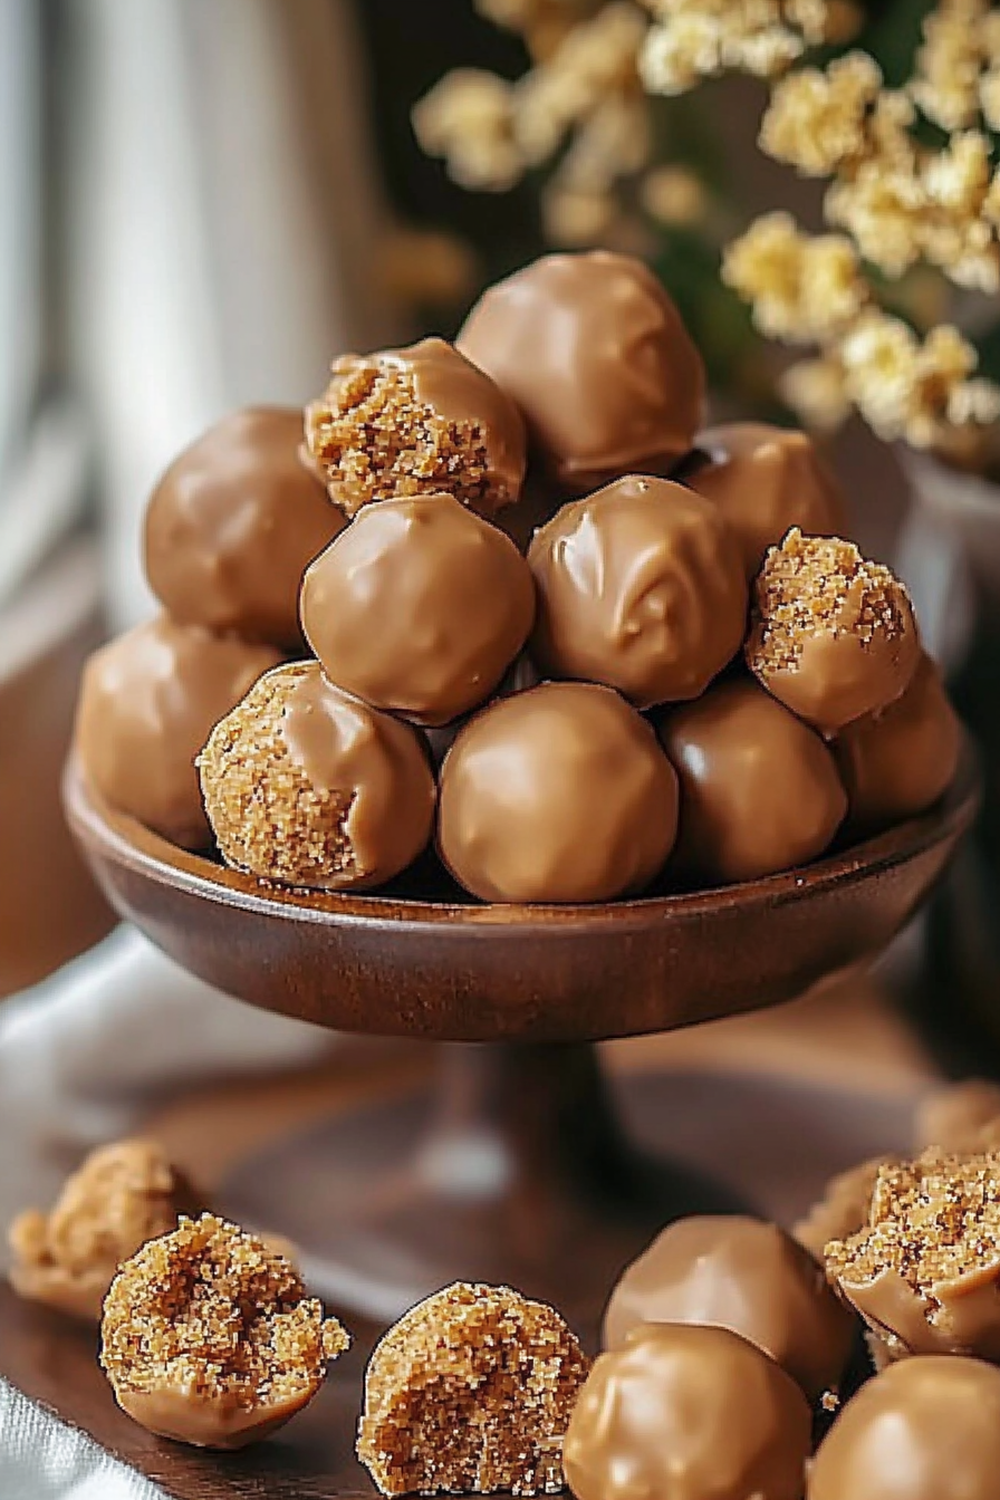
In this recipe, we’ll guide you through creating these delicious bites that offer a unique combination of flavors and textures. The crunchiness of the Butterfinger pairs beautifully with the creaminess of nut butter, creating a heavenly taste experience in every bite. Plus, they’re customizable—add your favorite nuts or seeds to make them your own! Get ready to impress family and friends with your culinary skills as you whip up these irresistible Butterfinger bliss balls in no time.
Main Ingredients
Rolled Oats
Rolled oats are the base ingredient in our irresistible Butterfinger bliss balls. They provide fiber and help bind all the ingredients together without adding too many calories. For this recipe, you’ll need 1 cup of rolled oats. These oats give the bliss balls their chewy texture while also offering essential nutrients that keep you energized throughout the day.
Peanut Butter
Peanut butter is another vital ingredient that adds creaminess and flavor to these bliss balls. You’ll need ½ cup of creamy peanut butter for this recipe. It not only enhances the taste but also provides healthy fats and protein. Choose natural peanut butter without added sugars for a healthier option.
Crushed Butterfingers
The star ingredient that makes these bliss balls truly irresistible is crushed Butterfinger candy bars. You will need around 3-4 fun-sized bars or about ½ cup of crushed candies. The combination of chocolate and peanut buttery goodness will make your taste buds dance with joy!
Honey or Maple Syrup
To sweeten your bliss balls naturally and help bind the ingredients together, you’ll need ¼ cup of honey or maple syrup. Both options work well; choose honey for a classic taste or maple syrup for a vegan alternative. This ingredient brings just the right amount of sweetness without being overpowering.
Vanilla Extract
Adding flavor depth is crucial in any recipe; that’s where vanilla extract comes into play. Use 1 teaspoon of pure vanilla extract to enhance all the other flavors in your irresistible Butterfinger bliss balls. It adds warmth and richness that complements the sweetness of the candy.
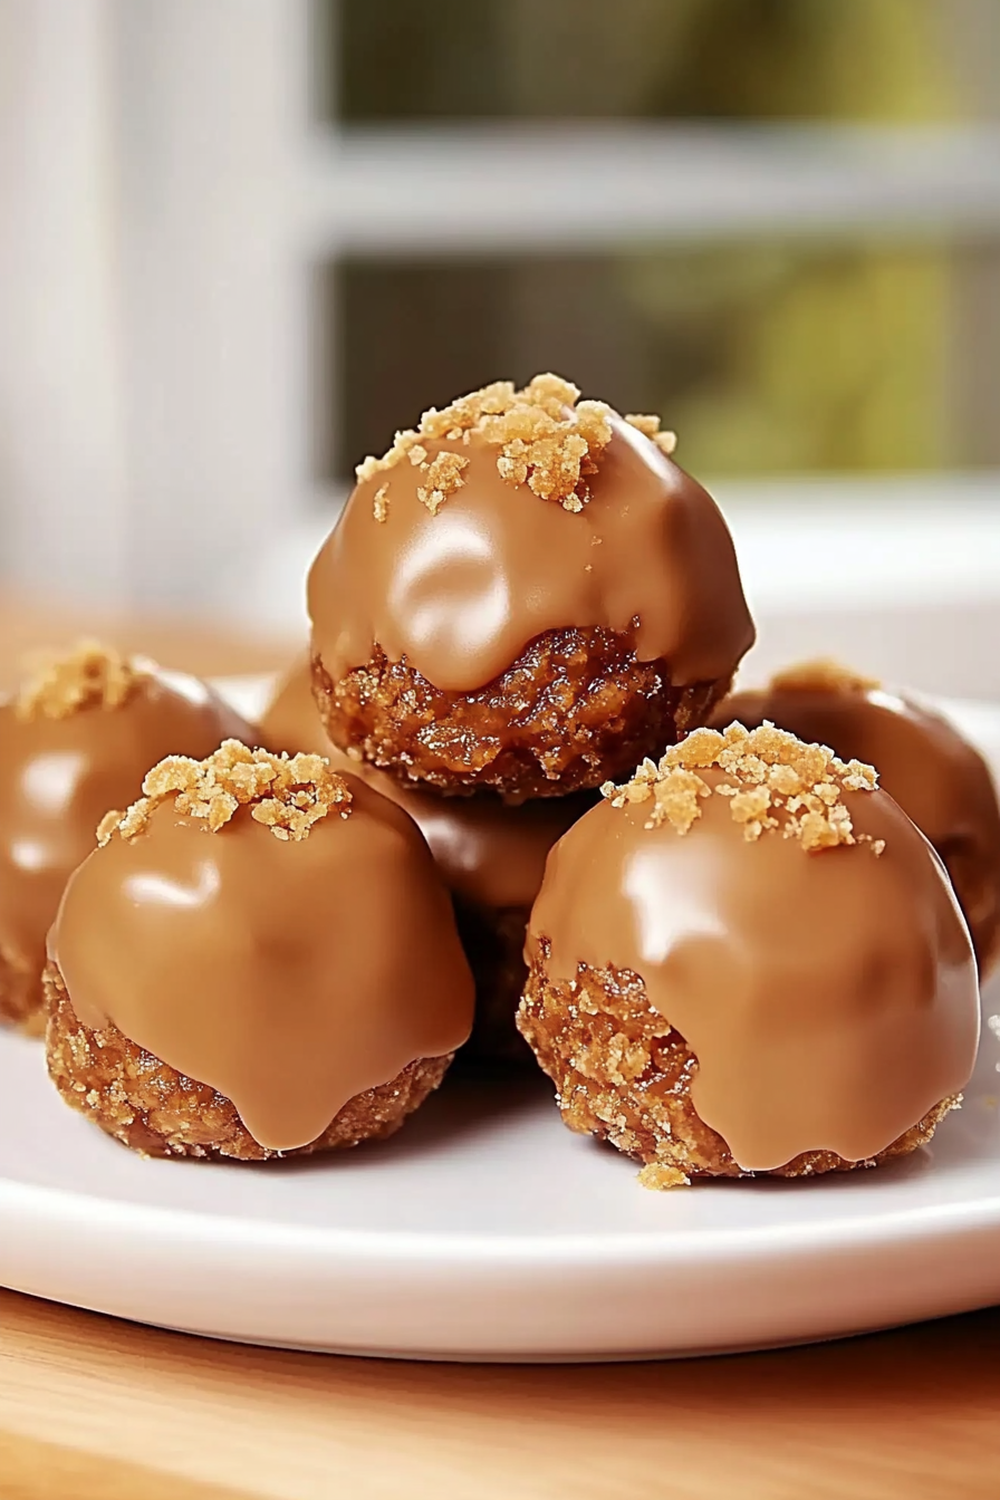
How to Prepare Irresistible Butterfinger Bliss Balls
Step 1: Gather Your Ingredients
Before diving into cooking, ensure you have all your ingredients ready at hand. Measure out 1 cup of rolled oats, ½ cup of peanut butter, approximately ½ cup of crushed Butterfinger candy bars (3-4 fun-sized bars), ¼ cup of honey or maple syrup, and 1 teaspoon of vanilla extract. Having everything prepped will streamline your process and make it easier to combine everything efficiently.
Step 2: Mix Dry Ingredients
Start by placing the rolled oats in a large mixing bowl. If you desire an extra crunch in your bliss balls, consider blending some oats into oat flour using a food processor before adding them to the bowl; however, this is optional. Then add in the crushed Butterfingers to bring an exciting crunch factor into your mixture!
Step 3: Combine Wet Ingredients
In another bowl or measuring cup, mix together the peanut butter, honey (or maple syrup), and vanilla extract until well combined. Make sure there are no lumps in your mixture since it needs to blend easily with dry ingredients later on.
Step 4: Mix Everything Together
Pour the wet mixture into the dry ingredients bowl gradually while stirring with a spatula or wooden spoon until everything merges perfectly into one cohesive dough-like consistency. If it feels too sticky after mixing thoroughly try adding more oats until achieving desired texture.
Step 5: Shape Into Balls
Now it’s time to create those perfect bite-sized treats! Using clean hands (or wearing gloves if preferred), scoop out small portions from the mixed dough—about one tablespoon each—and roll them between your palms until they form smooth spherical shapes resembling traditional energy bites.
Step 6: Chill & Set
Once you’ve shaped all your bliss balls, place them onto a parchment-lined tray or plate for easy access later on! Pop them into the refrigerator for at least half an hour so they can firm up nicely before enjoying those delectable treats!
Step7 : Enjoy!
After chilling time has passed enjoy indulging yourself guilt-free while savoring every rich bite filled with delightful flavors provided by these irresistible creations! Share them with friends or keep them handy as snacks throughout busy days ahead!
Serving and Storing Tips
Serving Suggestions
These irresistible Butterfinger bliss balls can be served as snacks at parties or enjoyed individually when craving something sweet yet nutritious! Consider pairing these delights with fresh fruit like apple slices for extra freshness—a perfect balance between indulgence & health! Additionally presenting them on festive platters garnished alongside dark chocolate chips elevates their visual appeal during holiday gatherings making everyone excited about trying out such scrumptious bites!
Storing Your Bliss Balls
To maintain freshness after preparing these delightful treats store them correctly! Place cooled bliss balls inside an airtight container lined with parchment paper separating layers if needed among multiple batches preventing sticking together during storage time! Store within refrigerator where they’ll stay fresh up until two weeks ensuring availability whenever cravings arise throughout busy schedules ahead!
By following these simple steps & storing techniques anyone can indulge guilt-free anytime whilst keeping life deliciously enjoyable through homemade goodies like our beloved Irresistible Butterfinger Bliss Balls!
Mistakes to avoid
When making Irresistible Butterfinger Bliss Balls, there are common pitfalls that can affect the final taste and texture. One mistake is using the wrong type of nut butter. Opting for a runny or overly processed nut butter can lead to a mixture that is too sticky or too dry. Choose a natural, creamy variety for the perfect consistency.
Another mistake is not chilling the mixture before forming the balls. Chilling allows the ingredients to meld together and makes it easier to handle. If you skip this step, you may find that your bliss balls are too soft to hold their shape after rolling.
Overmixing is also a frequent error. While it’s tempting to blend everything until perfectly smooth, doing so can result in a less appealing texture. Instead, mix just until combined for a delightful crunch.
Additionally, neglecting to measure ingredients accurately can lead to inconsistencies in flavor and texture. Always use measuring cups and spoons for precision. Lastly, don’t forget about storage. Storing your bliss balls improperly can result in them becoming stale or losing flavor. Use an airtight container and keep them refrigerated for optimal freshness.
Tips and tricks
To achieve the best results with your Irresistible Butterfinger Bliss Balls, consider these tips and tricks. Start by selecting high-quality ingredients. The flavor of your bliss balls depends heavily on ingredients like chocolate chips and nut butters, so choose options that are fresh and tasty.
Experiment with add-ins for unique flavors or textures. Consider adding shredded coconut, chia seeds, or even a pinch of sea salt to enhance the overall experience of your bliss balls. This not only adds nutritional value but makes each bite more exciting.
The process of rolling your bliss balls can become messy if not managed well. To make this easier, lightly grease your hands with coconut oil before rolling. This prevents sticking and ensures a smooth finish on each ball.
If you’re preparing a large batch, consider freezing some of the bliss balls for later enjoyment. They hold up well in the freezer and make for quick snacks whenever you need them. Just remember to separate layers with parchment paper for easy access.
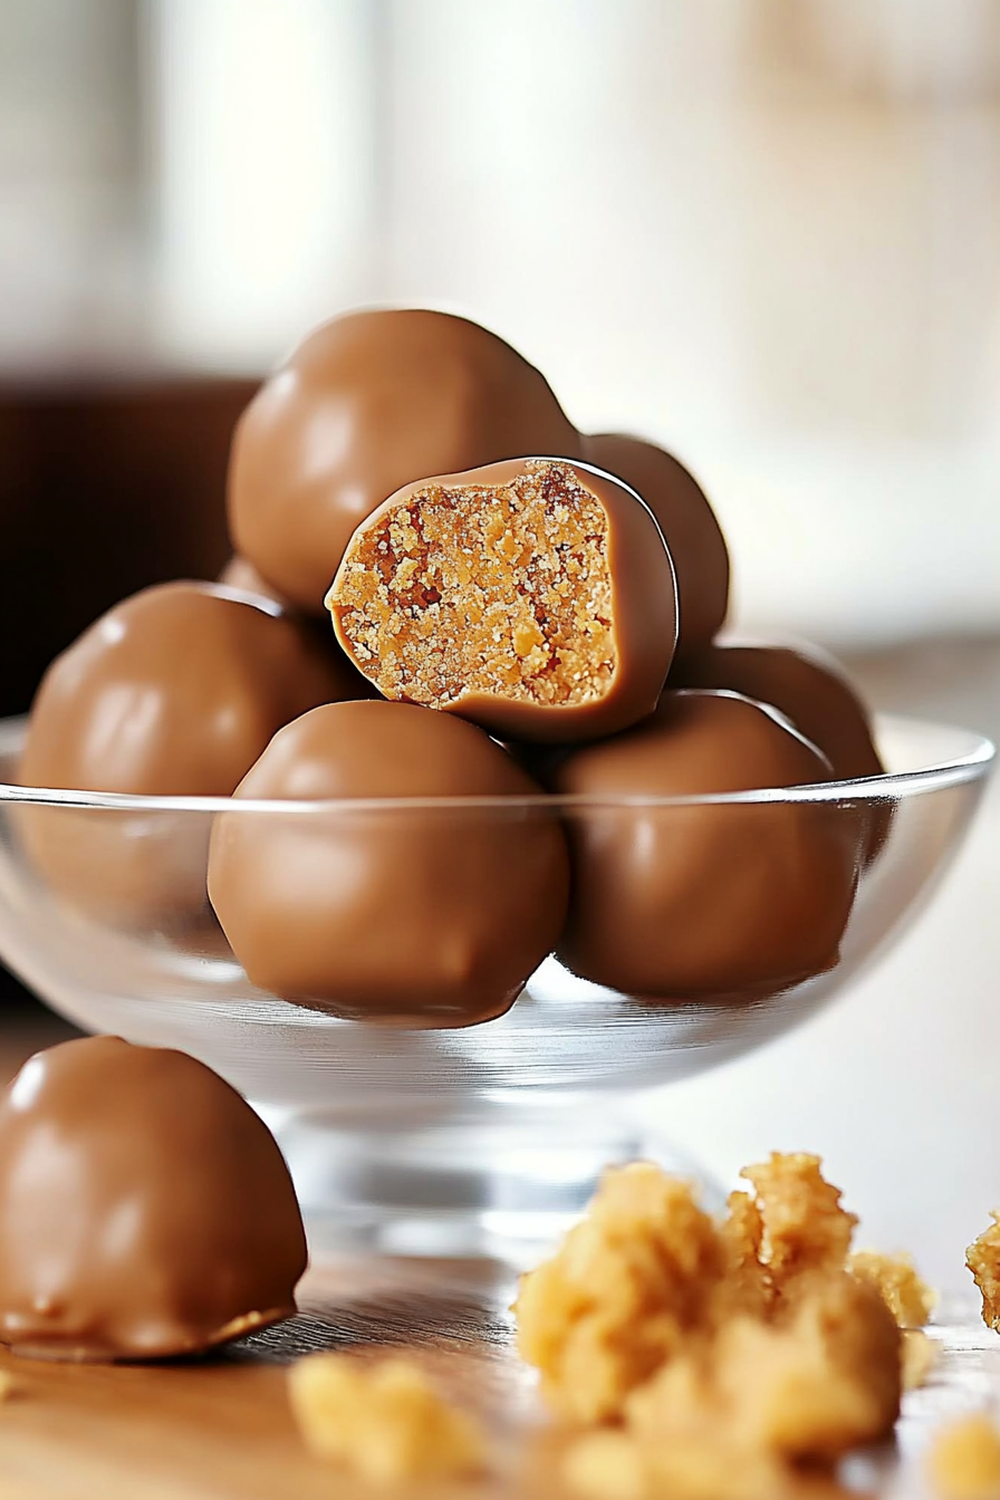
Lastly, presentation matters! Arrange your Irresistible Butterfinger Bliss Balls on a beautiful plate or in a clear jar when serving at gatherings or parties. A visually appealing display can elevate these treats from simple snacks to show-stopping desserts.
Suggestions for Irresistible Butterfinger Bliss Balls
For those looking to customize their Irresistible Butterfinger Bliss Balls further, here are some suggestions that can enhance both flavor and nutrition profiles. First, consider using different types of nut butter such as almond or cashew butter instead of peanut butter. Each option will impart its unique flavor while still maintaining that rich creaminess essential to bliss balls.
You could also experiment with various sweeteners if you want to adjust sweetness levels naturally. Honey, maple syrup, or agave nectar can be used as alternatives to granulated sugar while providing additional moisture.
Incorporating protein powder into your recipe is another excellent way to boost nutritional value without sacrificing taste. Choose flavors like vanilla or chocolate that complement the existing ingredients beautifully.
For those who enjoy added texture, think about folding in crushed nuts or seeds right before rolling into balls. This not only adds crunch but also enhances the overall mouthfeel of the bliss balls.
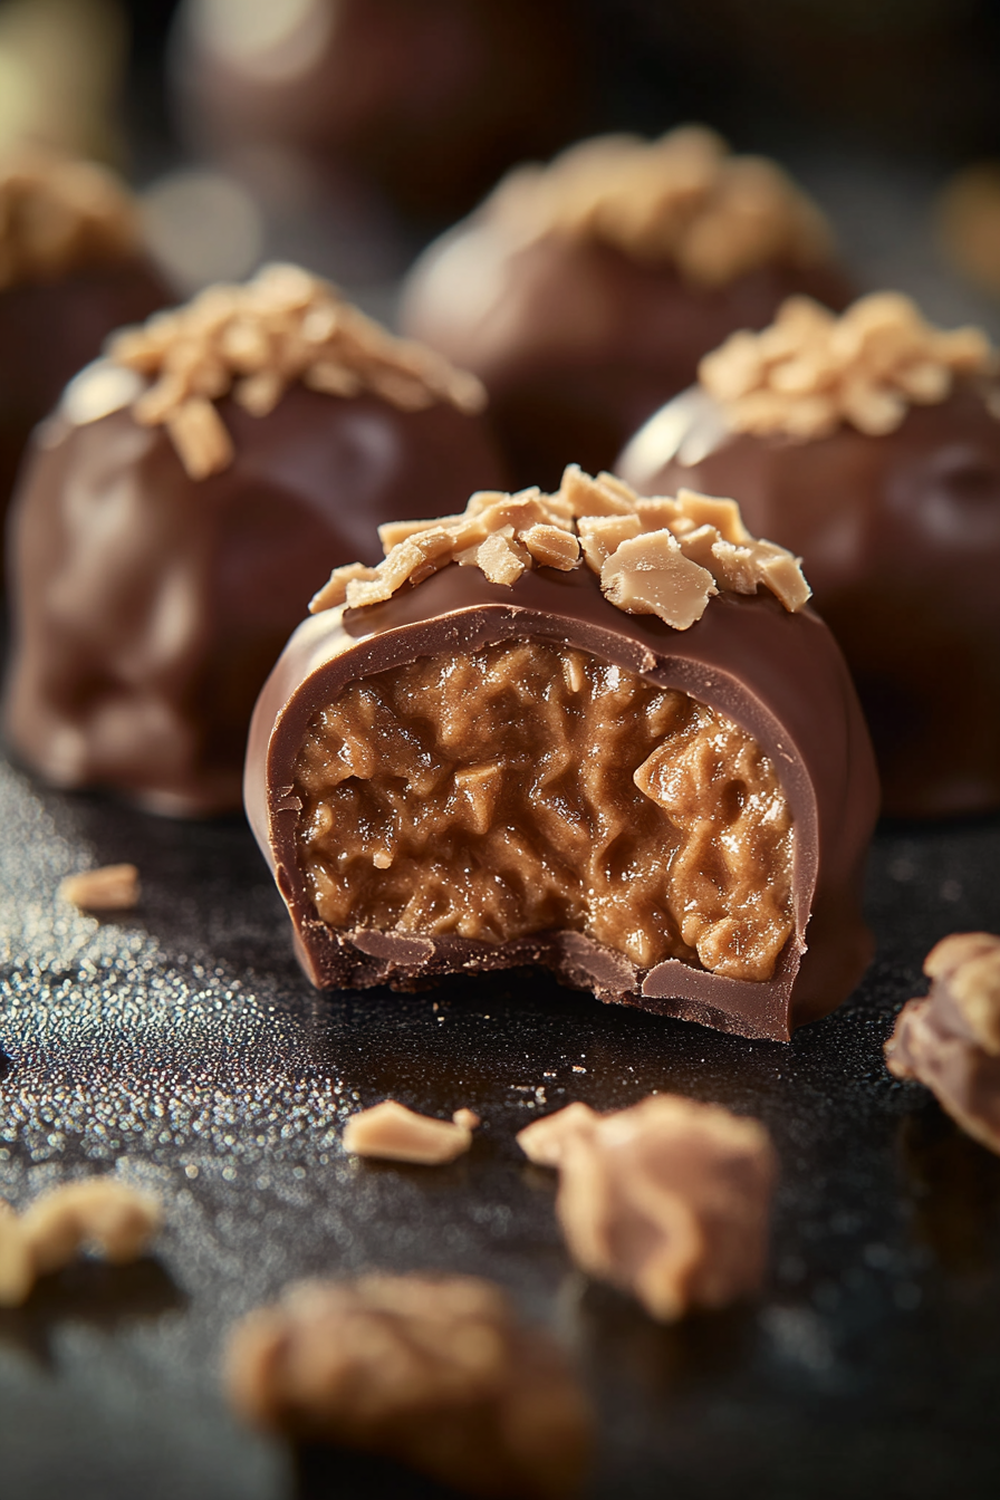
Lastly, don’t hesitate to dip your finished bliss balls into melted dark chocolate for an indulgent touch! This added layer will not only make them visually stunning but also increase their richness—perfect for those special occasions when you want something extra indulgent.
FAQs
What are Irresistible Butterfinger Bliss Balls?
Irresistible Butterfinger Bliss Balls are delectable no-bake treats made primarily from nut butter, oats, and chocolate elements that replicate the iconic Butterfinger candy bar flavor profile. These bites are rich in taste yet simple to prepare—just mix ingredients together, roll into small balls, and chill! They serve as perfect snacks or desserts when cravings hit without compromising on health benefits since they often include wholesome ingredients like oats and nut butter.
How do I store my Irresistible Butterfinger Bliss Balls?
Storing your Irresistible Butterfinger Bliss Balls correctly ensures they stay fresh longer! Use an airtight container for storage; this will help maintain their texture while preventing them from absorbing odors from other foods in your refrigerator or pantry. Ideally, keep them refrigerated where they can last about one week; however, if you decide to freeze some batches for later enjoyment, place parchment paper between layers before sealing them in a freezer-safe container!
Can I make these bliss balls vegan?
Absolutely! To create vegan-friendly Irresistible Butterfinger Bliss Balls simply substitute any honey used as a sweetener with maple syrup or agave nectar instead; both options provide natural sweetness without animal products involved! Additionally ensure you’re using dairy-free chocolate chips if included since many varieties contain milk derivatives—be sure always read labels carefully while shopping!
How do I make these gluten-free?
Making Irresistible Butterfinger Bliss Balls gluten-free is quite straightforward! Ensure all ingredients—including oats—are certified gluten-free products before mixing together; many standard oat brands may have been processed alongside wheat items leading cross-contamination risks otherwise present in regular oat versions available widely elsewhere! By sourcing proper alternatives ahead you’ll enjoy these treats worry-free!
Are there any substitutions I can make?
Certainly! There’s plenty of room for creativity when crafting Irresistible Butterfinger Bliss Balls! For instance swap peanut butter out entirely using almond/cashew variations instead depending upon personal preferences/taste buds’ desires! Additionally feel free play around with sweeteners too—honey/maple syrup/agave nectar all work beautifully whereas protein powders/nut/seed additions create interesting textures while enhancing flavors further!
Can kids help make these treats?
Definitely! Making Irresistible Butterfinger Bliss Balls provides an excellent opportunity for children’s involvement during preparation stages—it’s fun & engaging letting them assist mixing together ingredients under close supervision! Rolling into small bite-sized shapes allows little ones showcase creativity which fosters excitement around healthy snacking habits building lifelong positive relationships surrounding food choices made throughout life journey—and who wouldn’t love indulging afterward?
Print
Irresistible Butterfinger Bliss Balls
- Total Time: 15 minutes
- Yield: Makes 20 bliss balls 1x
Description
Enjoy these no-bake Butterfinger Bliss Balls—sweet, crunchy, and packed with peanut butter flavor. Perfect for snacking or sharing!
Ingredients
- 1 cup crushed Butterfinger candy bars 🍬
- 1 1/2 cups graham cracker crumbs 🍪
- 1/2 cup peanut butter 🥜
- 1/4 cup softened cream cheese 🧀
- 1 cup powdered sugar 🍭
- 1/2 cup melted chocolate (for coating) 🍫
Instructions
- Mix Ingredients: Combine crushed Butterfinger, graham crumbs, peanut butter, cream cheese, and powdered sugar into a smooth dough.
- Roll into Balls: Scoop and roll the mixture into 1-inch balls.
- Coat with Chocolate: Dip each ball into melted chocolate and place on a parchment-lined tray.
- Chill: Refrigerate for 30 minutes to set.
- Serve: Enjoy as a snack or dessert!
Notes
- Substitute crushed Butterfinger with other candy bars if desired.
- Store in an airtight container in the fridge for up to 5 days.
- Great for parties, holidays, or gifting! 🎁
- Prep Time: 15 minutes
- Cook Time: 0 minutes (no-bake recipe)
Nutrition
- Serving Size: Makes 20 bliss balls
- Calories: 120 kcal
- Sugar: 10g
- Fat: 6g
- Carbohydrates: 15g
- Protein: 2g
In summary, creating Irresistible Butterfinger Bliss Balls is both enjoyable and rewarding when done right by avoiding common mistakes while employing helpful tips along the way! Focus on selecting high-quality ingredients—this makes all difference regarding taste profiles achieved through thoughtful combinations crafted within recipes shared here today! Remember key pointers such as chilling mixtures beforehand; ensuring accurate measurements throughout processes taken & considering alternative add-ins/substitutions available should inspire new culinary creations emerge effortlessly during future attempts made toward improving beloved snack options enjoyed regularly by friends/family alike!
Whether you’re making these delightful treats as after-school snacks or party desserts—they’re bound captivate palates everywhere leaving everyone craving seconds immediately after first bites taken into consideration every aspect discussed above ensures perfect balance between convenience/nutrition delivered effectively every time prepared thereafter—so go ahead indulge guilt-free knowing how much love effort went into constructing each delicious bite-sized piece crafted lovingly through practice shared here today!

