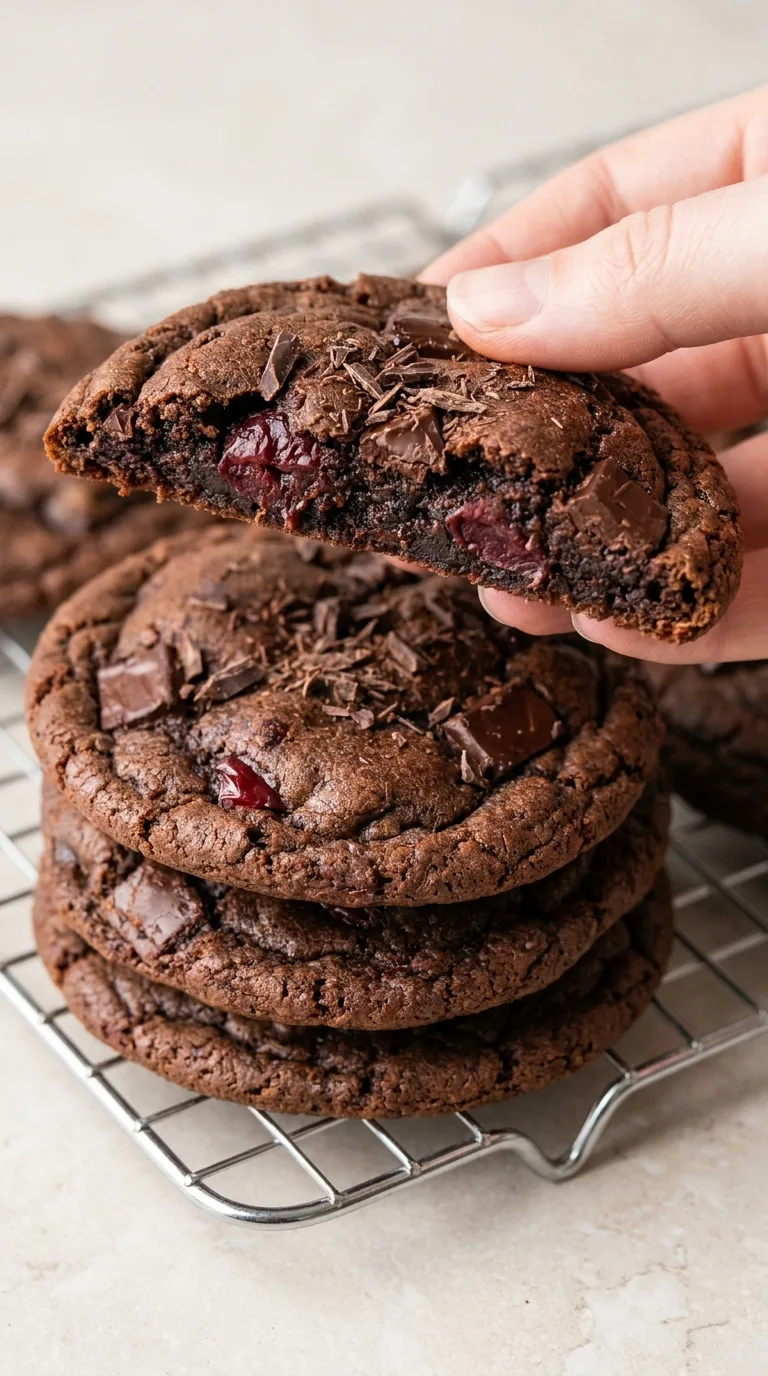
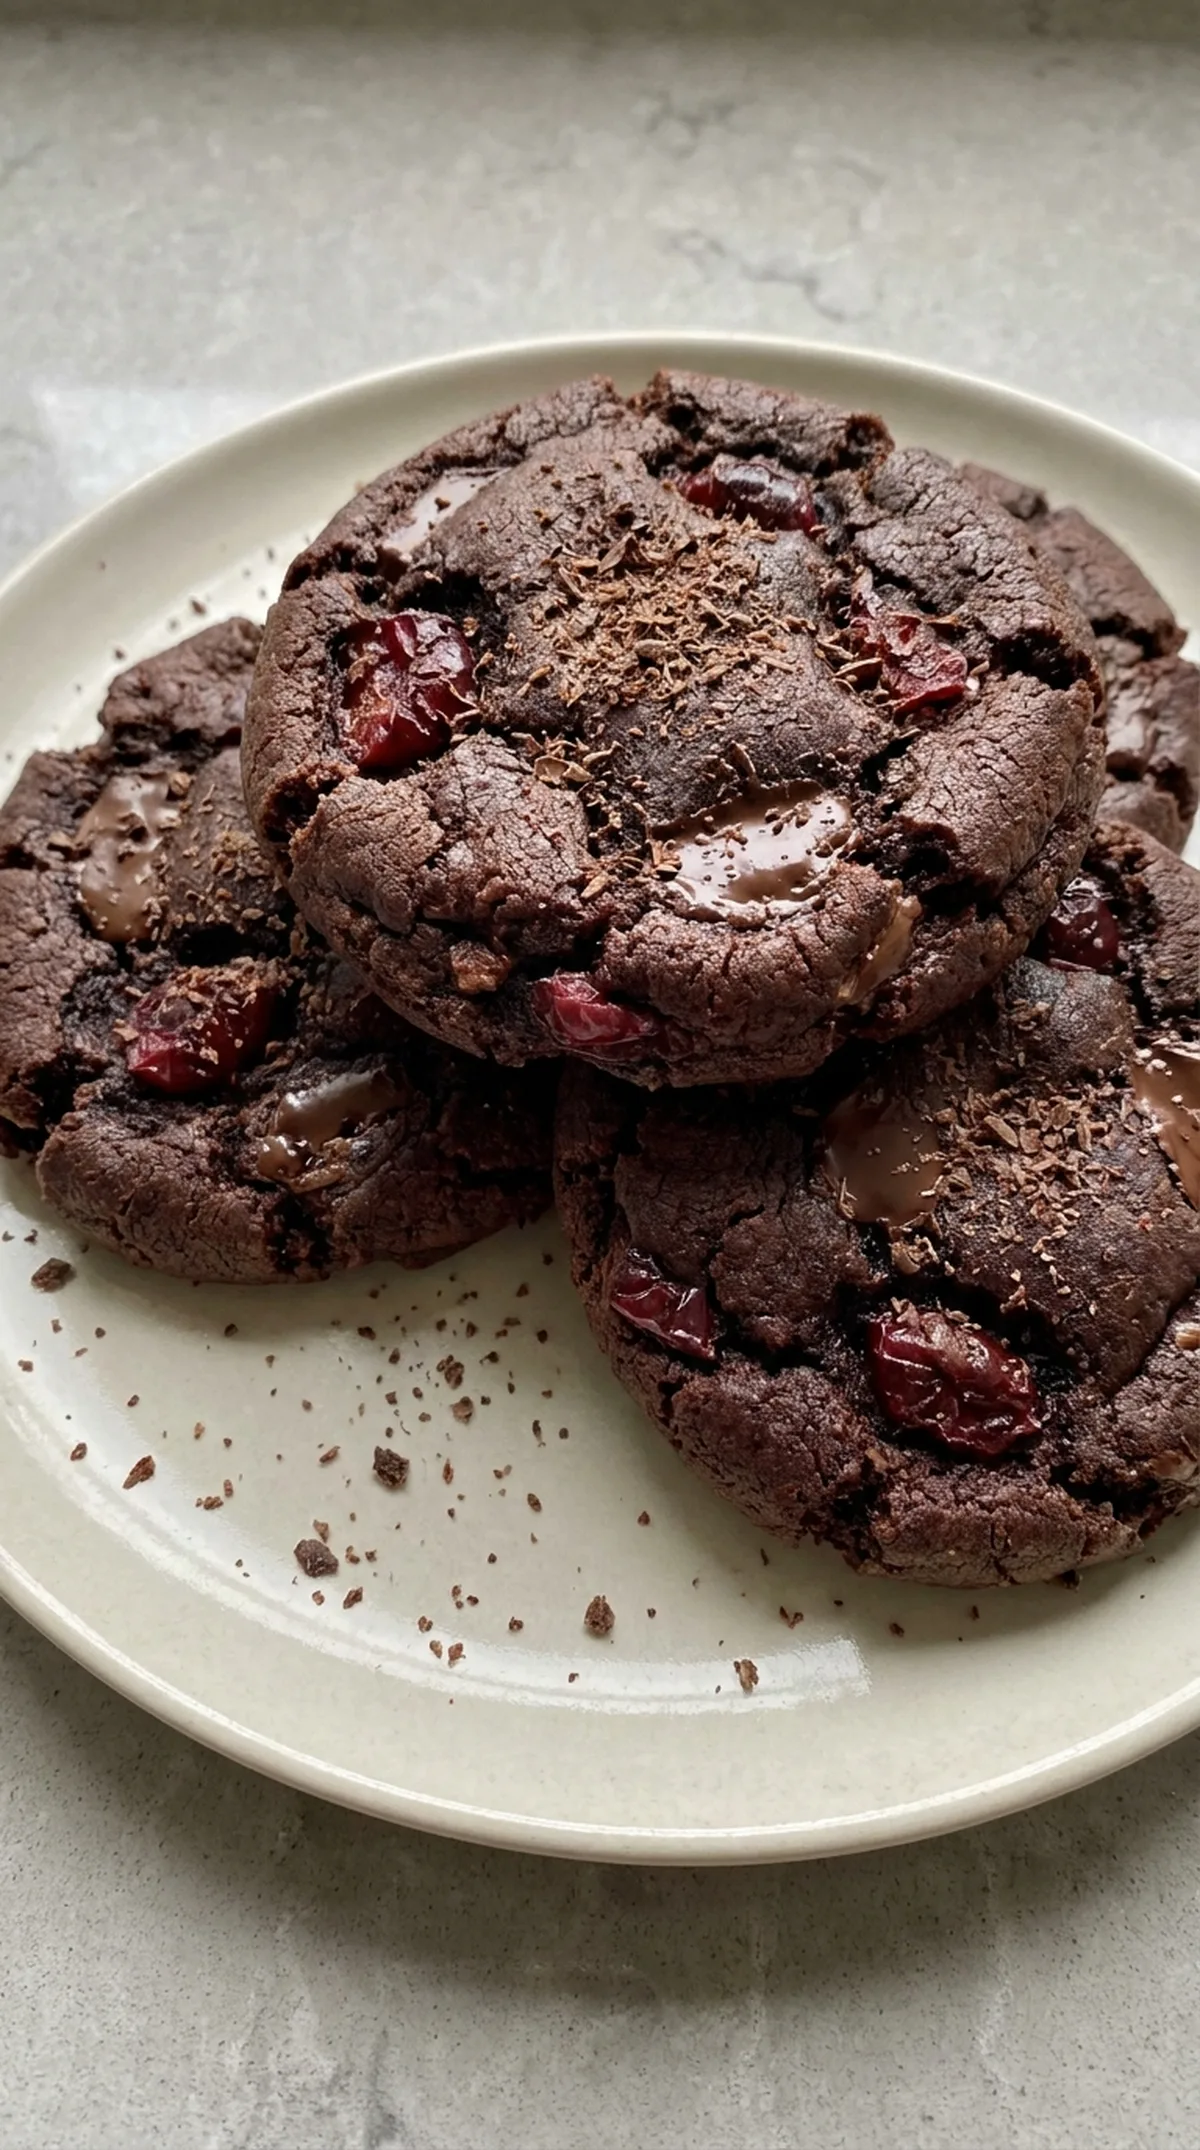
Decadent Black Forest Chocolate Cookies combine rich cocoa cookie dough with tart cherries and chunks of dark chocolate for the classic chocolate-and-cherry flavor associated with Black Forest desserts. The cookies bake with lightly set edges and soft, chewy centers, while the fruit provides bright pockets of flavor against the deep chocolate base.
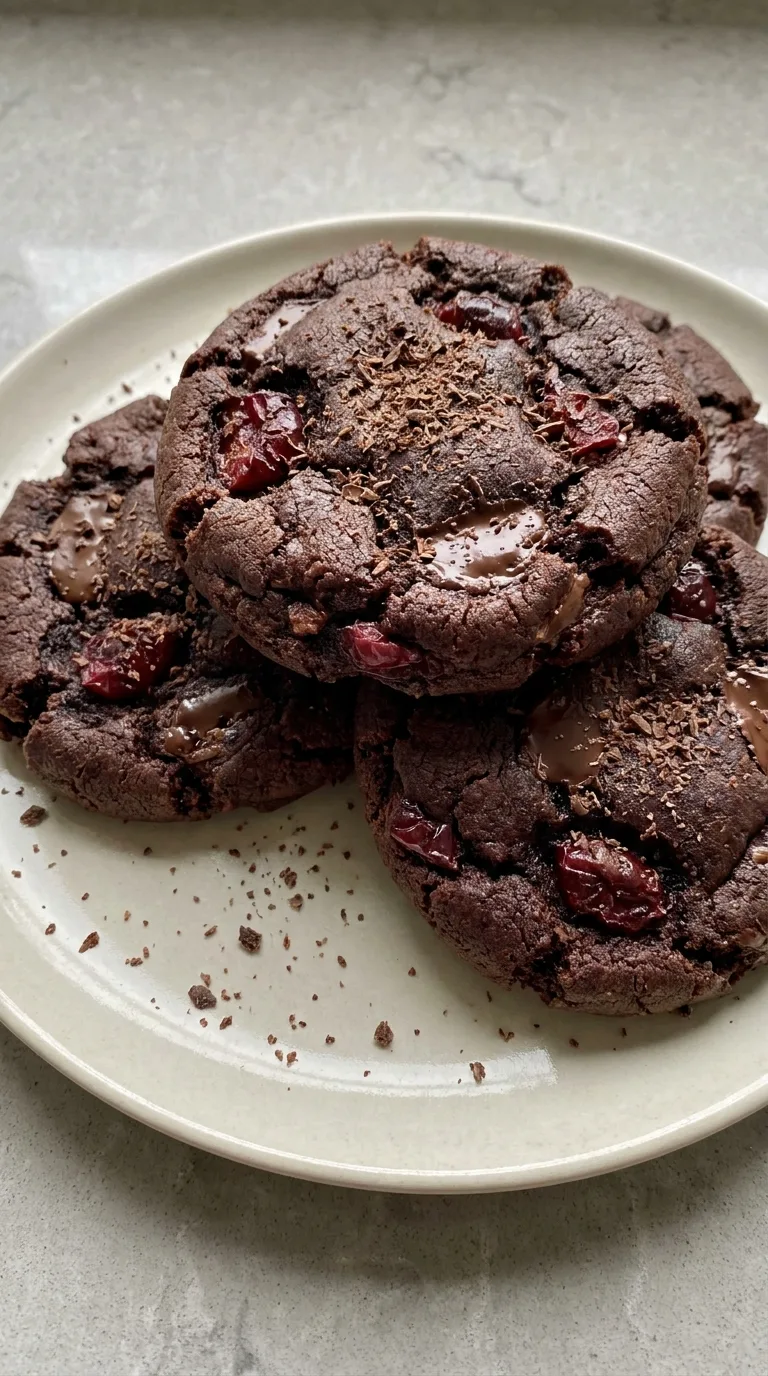
Draining and drying the cherries thoroughly keeps excess moisture out of the dough, and a 1-hour chill helps control spreading. The cookies are removed from the oven while their centers still look slightly soft, then finish setting as they cool on the baking sheet.
Recipe at a Glance
- Prep Time: 25 minutes
- Cook Time: 24 minutes
- Chilling Time: 1 hour
- Total Time: 2 hours 19 minutes
- Yield: 24 cookies
- Difficulty: Easy
Why You'll Love This Recipe
- Dutch-process cocoa provides deep chocolate flavor without adding melted chocolate that could make the dough overly soft.
- Brown sugar contributes moisture and chewiness, while granulated sugar helps the cookie edges set.
- Thoroughly dried cherries give the cookies Black Forest-style fruit flavor without introducing excessive liquid.
- Chilling the dough firms the butter and hydrates the flour and cocoa, which helps reduce spreading.
- Dark chocolate chunks melt into distinct pockets rather than disappearing completely into the cocoa dough.
Equipment Needed
- 2 large rimmed baking sheets
- Parchment paper
- Electric hand mixer or stand mixer
- Large mixing bowl
- Medium mixing bowl
- Fine-mesh strainer
- Flexible spatula
- 2-tablespoon cookie scoop
- Wire cooling racks
Ingredients You'll Need
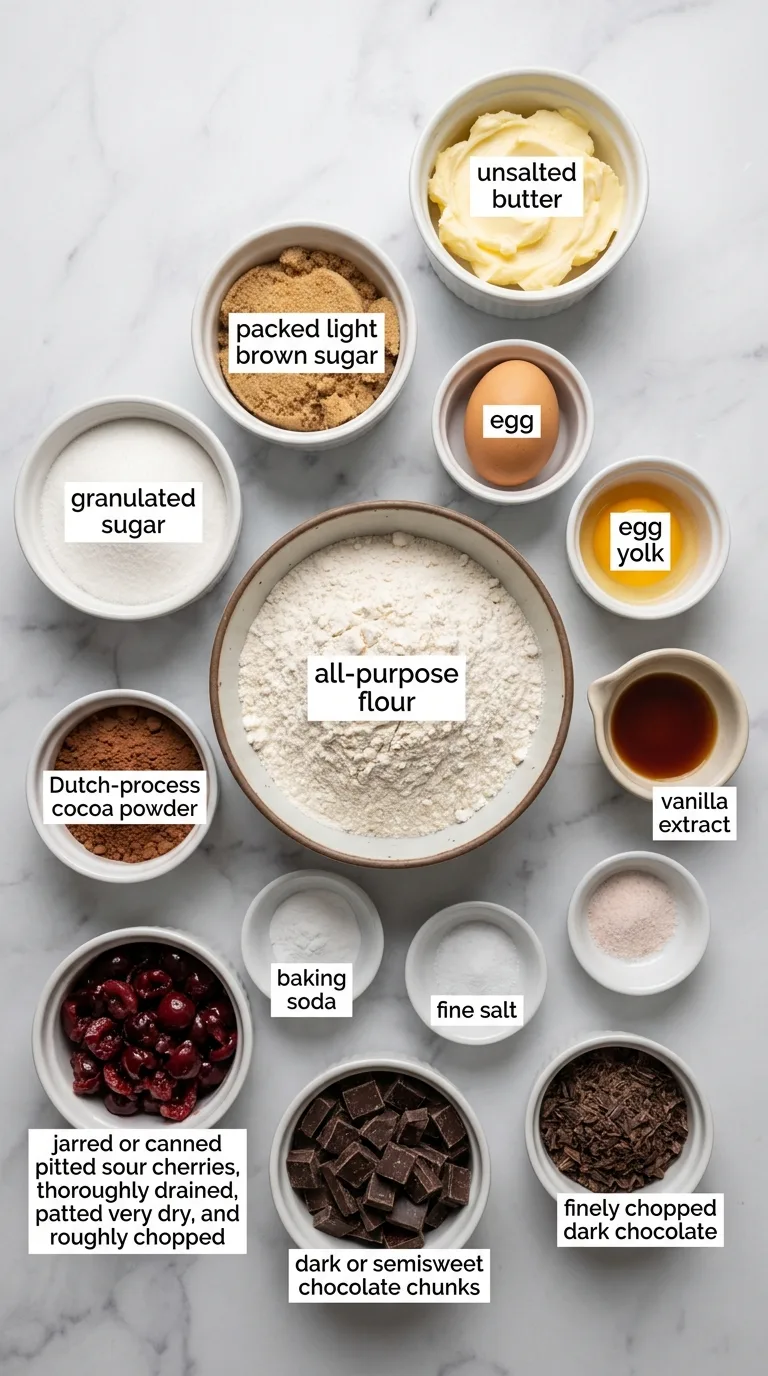
For the Chocolate Cherry Cookies
- 📌 3/4 cup (170 g) unsalted butter, softened
- 📌 3/4 cup packed (150 g) light brown sugar
- 📌 1/2 cup (100 g) granulated sugar
- 📌 1 large egg, at room temperature
- 📌 1 large egg yolk, at room temperature
- 📌 2 teaspoons (10 ml) vanilla extract
- 📌 2 cups (240 g) all-purpose flour
- 📌 1/2 cup (50 g) Dutch-process cocoa powder
- 📌 1 teaspoon baking soda
- 📌 1/2 teaspoon fine salt
- 📌 3/4 cup (150 g) jarred or canned pitted sour cherries, thoroughly drained, patted very dry, and roughly chopped
- 📌 1 cup (170 g) dark or semisweet chocolate chunks, divided
Optional Garnish
- 📌 2 tablespoons (15 g) finely chopped dark chocolate, optional, for sprinkling
How to Make Black Forest Chocolate Cookies
Prepare the Cherries
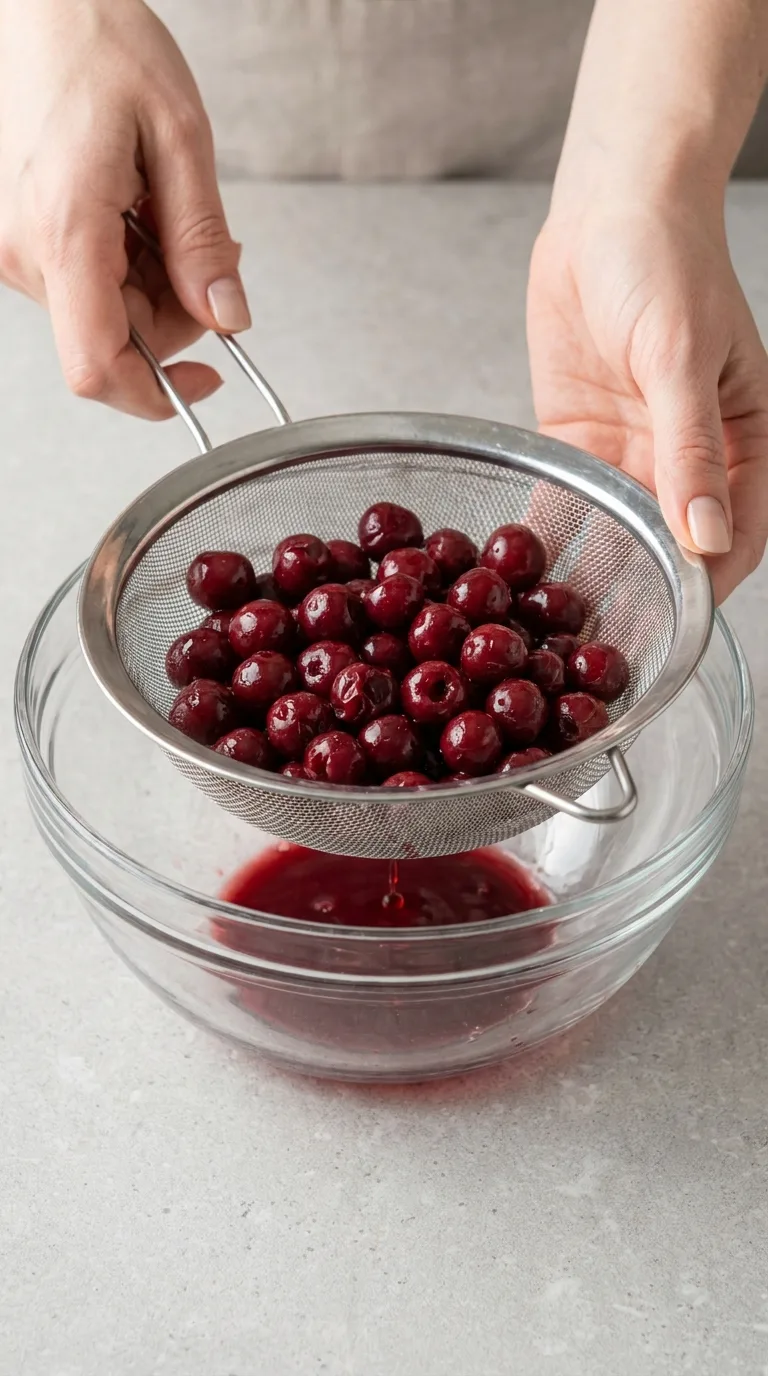
Drain the sour cherries in a fine-mesh strainer. Spread them over several layers of paper towels and blot thoroughly. Roughly chop them, then blot again. They should feel moist but not wet enough to leave visible juice on the towel.
Combine the Dry Ingredients
In a medium bowl, whisk together the flour, cocoa powder, baking soda, and salt until the cocoa is evenly dispersed and no large lumps remain. This ensures that the dry ingredients are well mixed and will incorporate evenly into the dough.
Cream the Butter and Sugars
In a large mixing bowl, beat the softened butter, brown sugar, and granulated sugar on medium speed for 2 to 3 minutes. The mixture should look creamy and slightly fluffy rather than oily, which is crucial for the cookie texture.
Add the Egg and Yolk
Beat in the whole egg and egg yolk until fully incorporated. Add the vanilla and mix again, scraping the bottom and sides of the bowl as needed to ensure everything is well combined.
Add the Dry Ingredients
Mix the flour mixture into the butter mixture on low speed just until a thick chocolate dough forms. Stop when only a few small flour streaks remain to avoid overmixing, which can lead to tough cookies.
Fold in the Cherries and Chocolate
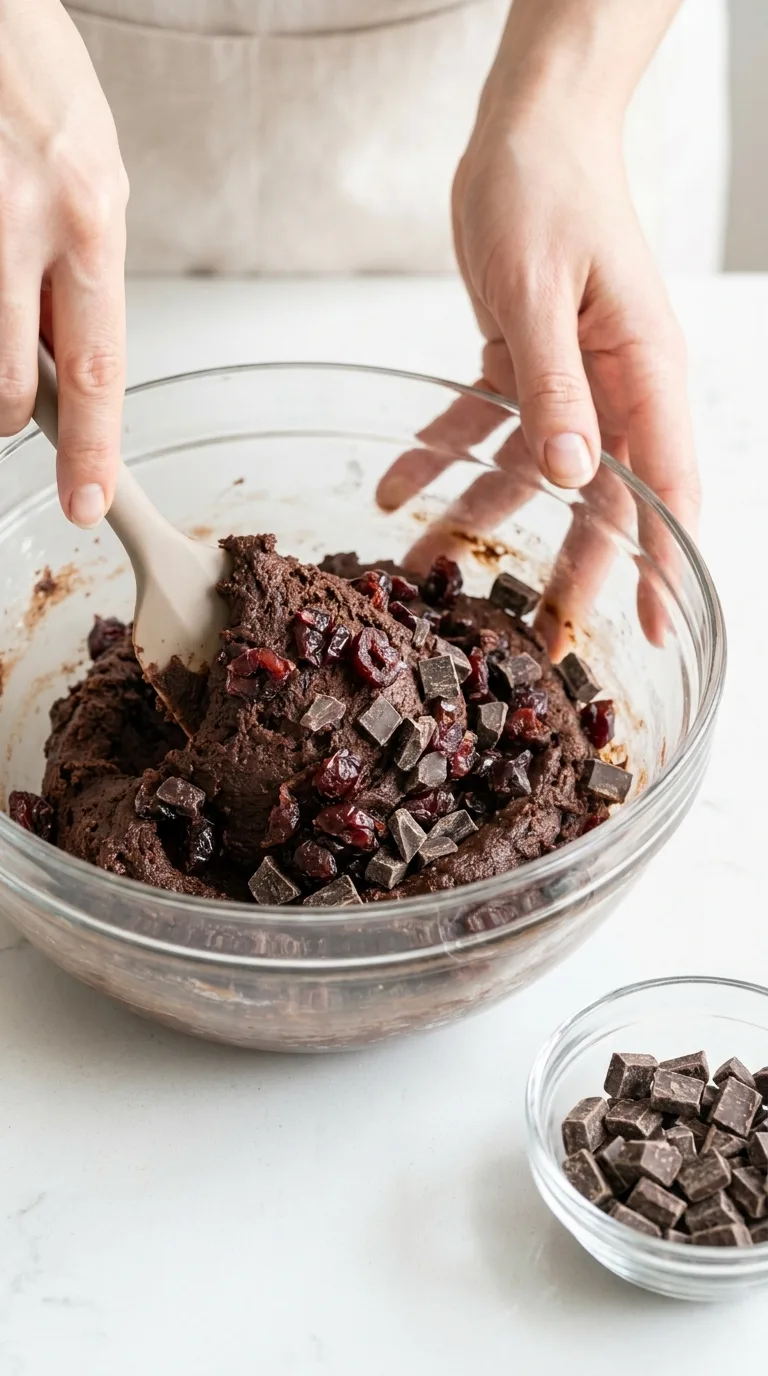
Reserve 1/4 cup (40 g) of the chocolate chunks for topping. Fold the remaining 3/4 cup (130 g) chocolate and the dried-off chopped cherries into the dough. Mix gently so the cherries do not release additional juice, which could affect the dough’s consistency.
Chill the Dough
Cover the bowl and refrigerate the dough for 1 hour. The chilled dough should feel firm enough to scoop while still being pliable, which helps control spreading during baking.
Prepare the Oven and Pans
Preheat the oven to 350°F (175°C). Line two large baking sheets with parchment paper to prevent sticking and ensure even baking.
Portion the Cookies
Scoop the dough into 2-tablespoon portions, about 1 1/2 ounces (42 g) each. Roll gently into balls and place them at least 2 inches (5 cm) apart on the prepared baking sheets to allow for spreading during baking.
Add the Reserved Chocolate
Press a few pieces of the reserved chocolate chunks into the top of each dough ball. Do not flatten the cookies, as this helps maintain their shape and texture during baking.

Bake the First Batch
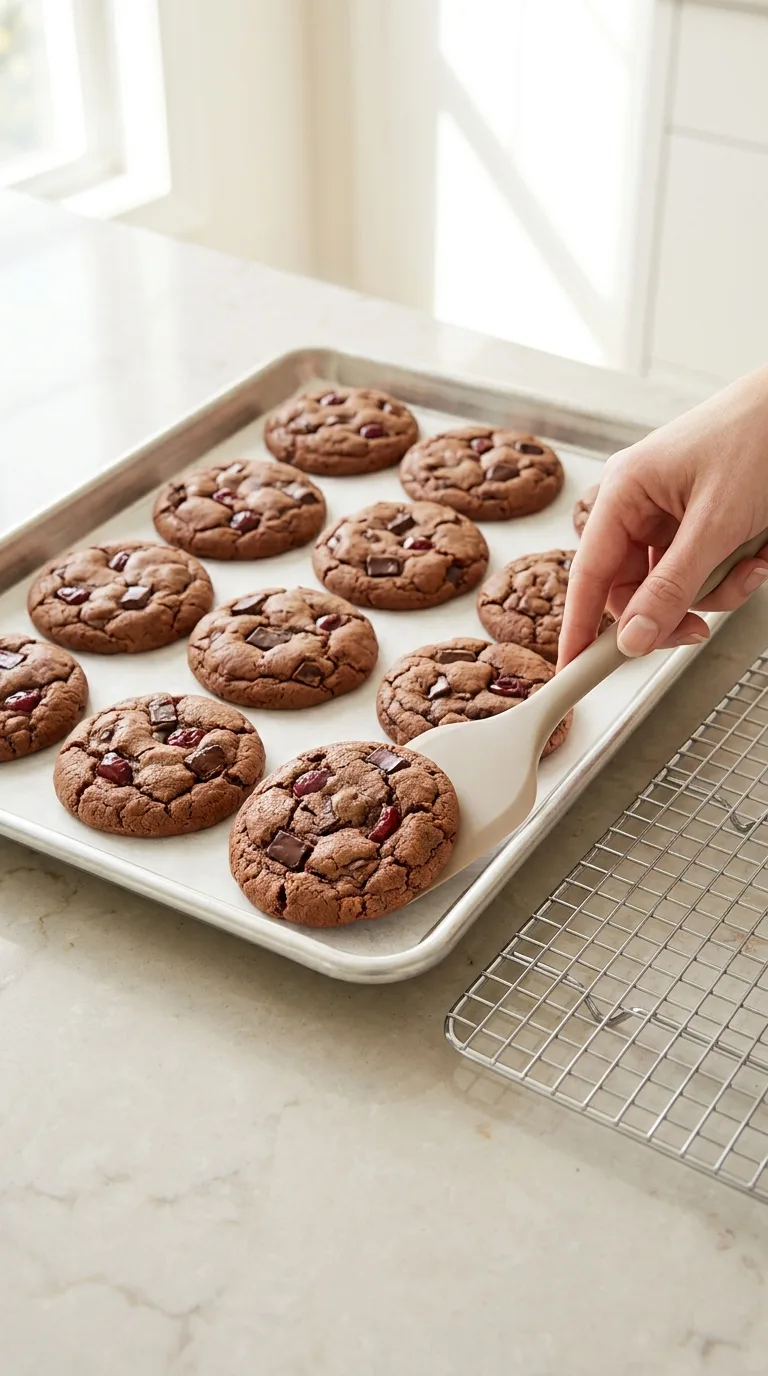
Bake one sheet at a time on the center rack for 10 to 12 minutes. The edges should look set, while the centers should still appear slightly soft and puffed, which is key for achieving a chewy texture.
Avoid Overbaking
Remove the cookies even if the centers do not look completely firm. They will continue cooking from the heat of the baking sheet. Overbaking will reduce their chewy texture, so it’s important to err on the side of caution.
Cool on the Pan
Let the cookies cool on the baking sheet for 10 minutes. They should settle slightly and become firm enough to move without breaking, which is crucial for their final texture.
Cool Completely
Transfer the cookies to wire racks and cool for another 20 minutes. Repeat the baking and cooling process with the remaining dough to ensure all cookies are baked evenly.
Finish the Cookies
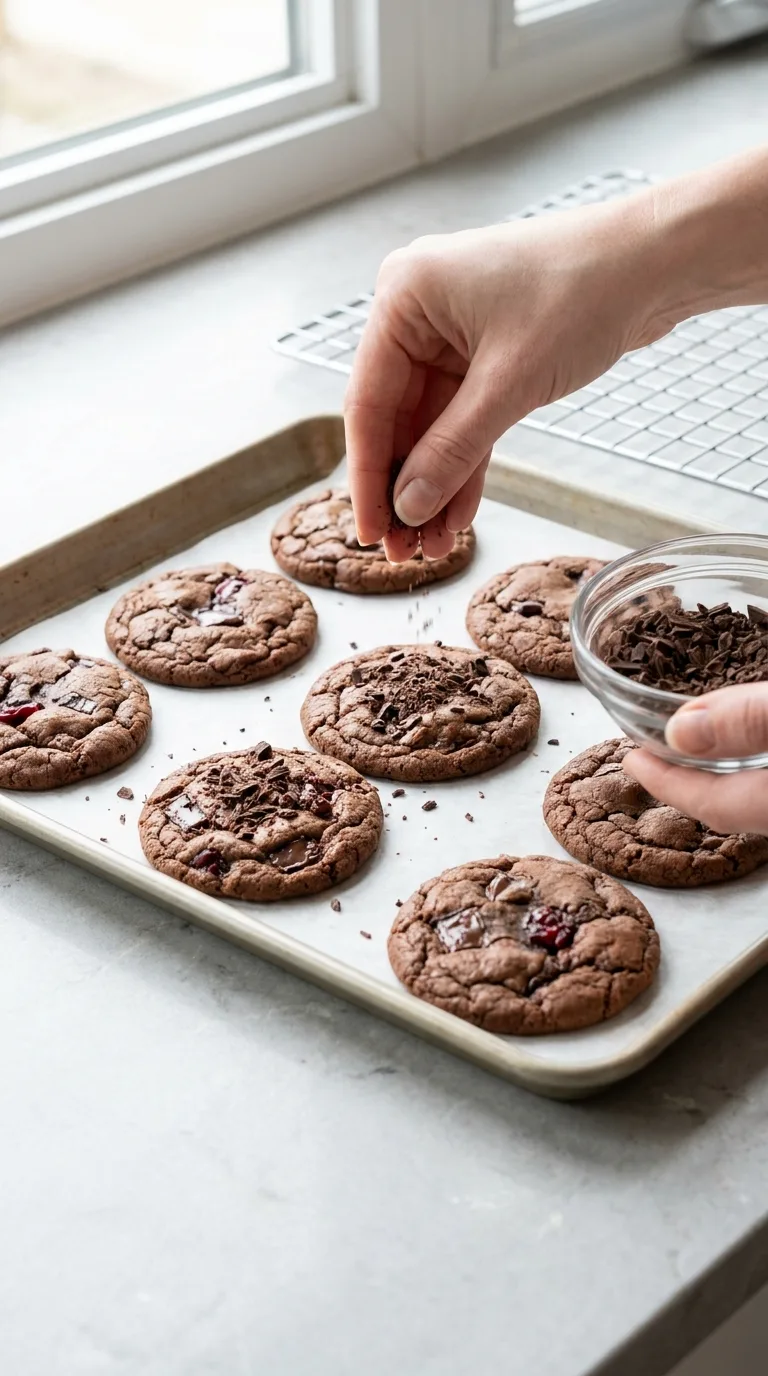
Sprinkle with the optional finely chopped dark chocolate while the cookies are still slightly warm, if using. Allow them to cool completely before storing to maintain their texture.
Tips for Success
- Chill the dough for the full hour, especially if the kitchen is warm.
- Bake similar-size cookies together so the centers reach the same texture at approximately the same time.
- Let the baking sheet cool before placing another batch of dough on it, since a hot pan can cause premature spreading.
Storage, Freezing, and Make-Ahead Instructions
Store completely cooled Decadent Black Forest Chocolate Cookies in an airtight container at room temperature for up to 3 days. Place parchment paper between layers if the cookies are especially soft.
For slightly longer storage, refrigerate the cookies in an airtight container for up to 5 days. Let them stand at room temperature for about 15 minutes before serving to restore a softer texture.
To freeze baked cookies, cool them completely and place them in a freezer-safe container with parchment between layers. Freeze for up to 2 months and thaw at room temperature.
The unbaked dough can be refrigerated for up to 2 days. Let it soften for several minutes if it becomes too firm to scoop.
For frozen cookie dough, portion the dough into balls and freeze them on a parchment-lined tray until solid. Transfer to a freezer-safe container and freeze for up to 2 months. Bake from frozen at 350°F (175°C), adding approximately 2 to 3 minutes to the baking time.
FAQ
Can I make Decadent Black Forest Chocolate Cookies ahead of time?
Yes. The dough can be refrigerated for up to 2 days, or portioned and frozen for up to 2 months. Baked cookies can also be frozen after they cool completely.
Can I use dried cherries instead of jarred cherries?
Yes. Use about 3/4 cup (110 g) dried tart cherries. They do not require draining and will create a chewier cookie with less juicy fruit pockets.
Why did my cookies spread too much?
The dough may have been too warm, the cherries may have contained excess moisture, or the butter may have been overly soft. Chill the dough thoroughly and blot the cherries until very little moisture remains.
Can I use chocolate chips instead of chocolate chunks?
Yes. Semisweet or dark chocolate chips can replace the chunks in the same weight. Chips hold their shape more during baking, so the chocolate pockets will be smaller and more defined.
How do I keep chocolate cookies soft and chewy?
Avoid adding excess flour and do not bake until the centers look completely firm. Remove the cookies when their edges are set but the centers still appear slightly soft, then allow them to finish setting on the baking sheet.
Ingredients
Method
- Drain the sour cherries in a fine-mesh strainer: Spread them over several layers of paper towels and blot thoroughly. Roughly chop them, then blot again. They should feel moist but not wet enough to leave visible juice on the towel.
- In a medium bowl, whisk together the flour, cocoa powder, baking soda, and salt until the cocoa is evenly dispersed and no large lumps remain.
- In a large mixing bowl, beat the softened butter, brown sugar, and granulated sugar on medium speed for 2 to 3 minutes. The mixture should look creamy and slightly fluffy rather than oily.
- Beat in the whole egg and egg yolk until fully incorporated. Add the vanilla and mix again, scraping the bottom and sides of the bowl as needed.
- Mix the flour mixture into the butter mixture on low speed just until a thick chocolate dough forms. Stop when only a few small flour streaks remain.
- Reserve 1/4 cup (40 g) of the chocolate chunks for topping. Fold the remaining 3/4 cup (130 g) chocolate and the dried-off chopped cherries into the dough. Mix gently so the cherries do not release additional juice.
- Cover the bowl and refrigerate the dough for 1 hour. The chilled dough should feel firm enough to scoop while still being pliable.
- Preheat the oven to 350°F (175°C). Line two large baking sheets with parchment paper.
- Scoop the dough into 2-tablespoon portions, about 1 1/2 ounces (42 g) each. Roll gently into balls and place them at least 2 inches (5 cm) apart on the prepared baking sheets.
- Press a few pieces of the reserved chocolate chunks into the top of each dough ball. Do not flatten the cookies.
- Bake one sheet at a time on the center rack for 10 to 12 minutes. The edges should look set, while the centers should still appear slightly soft and puffed.
- Remove the cookies even if the centers do not look completely firm. They will continue cooking from the heat of the baking sheet. Overbaking will reduce their chewy texture.
- Let the cookies cool on the baking sheet for 10 minutes. They should settle slightly and become firm enough to move without breaking.
- Transfer the cookies to wire racks and cool for another 20 minutes. Repeat the baking and cooling process with the remaining dough.
- Sprinkle with the optional finely chopped dark chocolate while the cookies are still slightly warm, if using. Allow them to cool completely before storing.