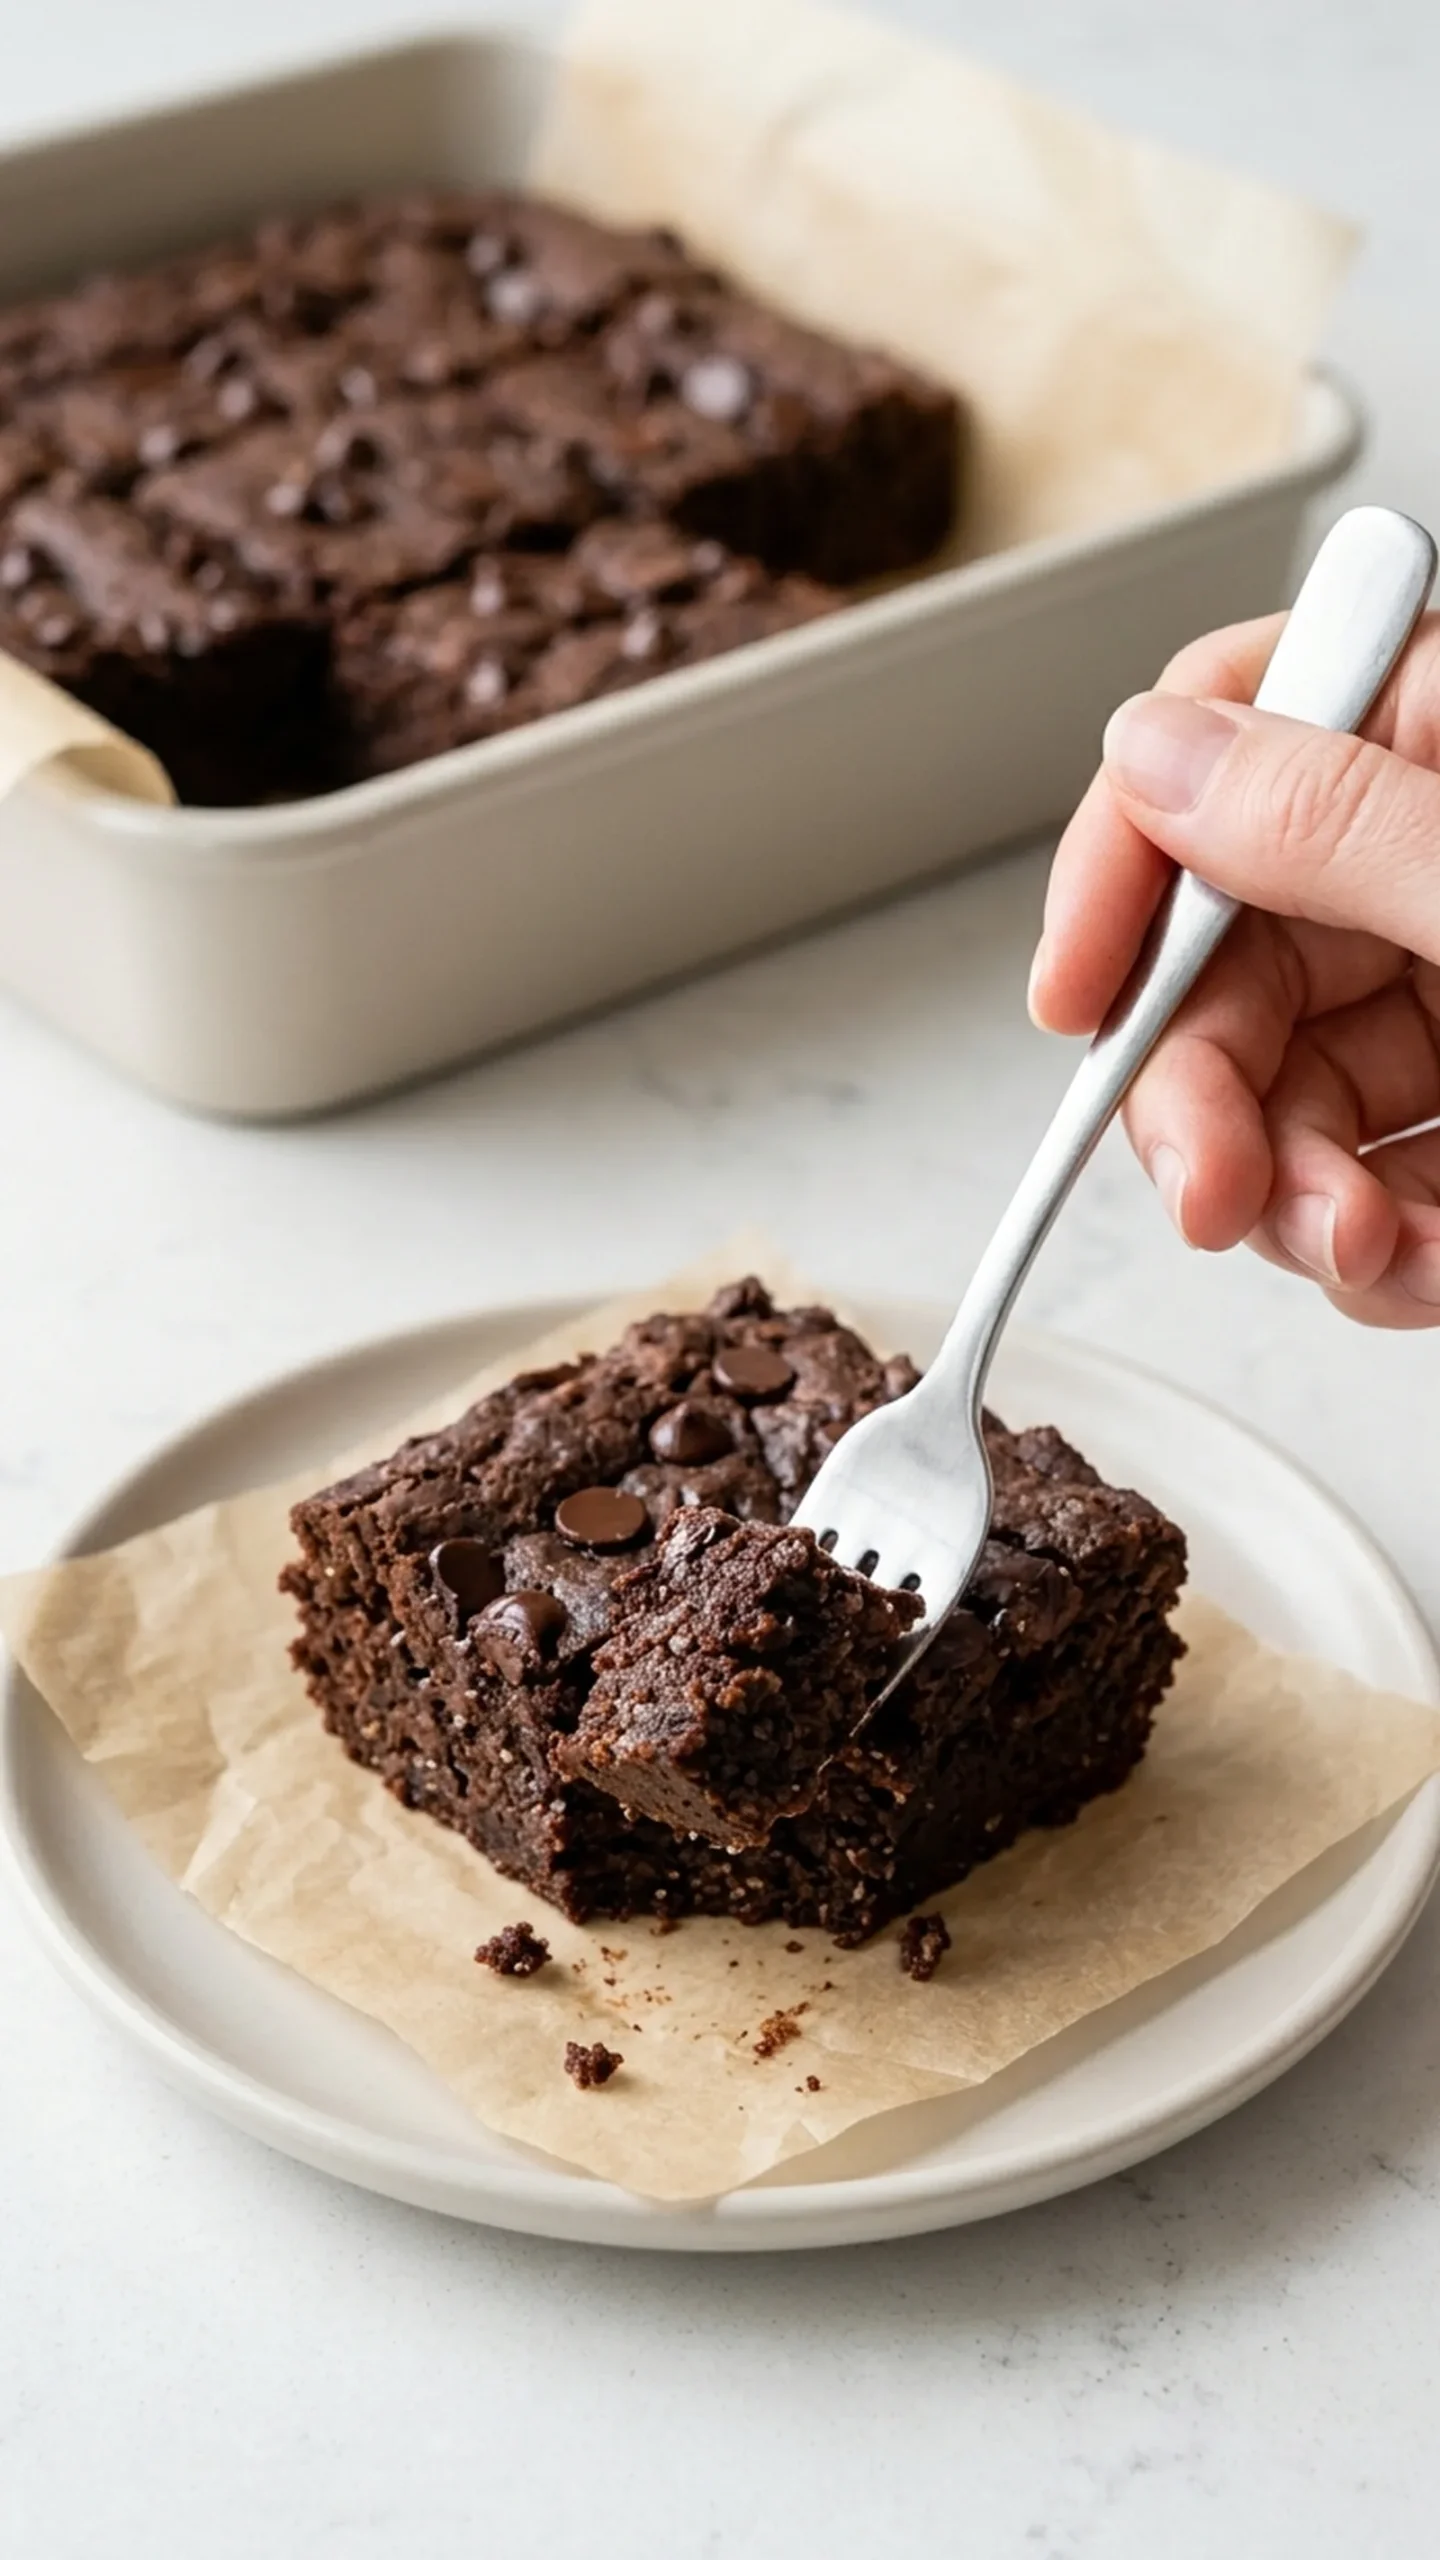
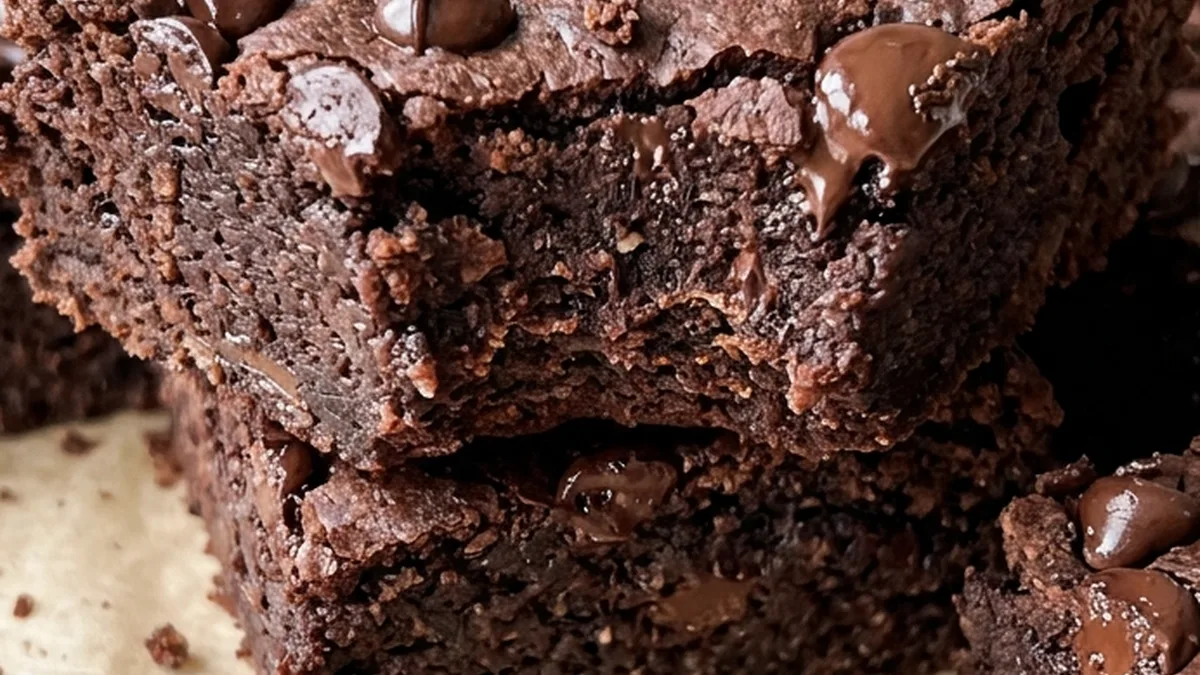
Almond Flour Date Brownies are rich, chocolatey brownies made with finely ground almond flour, naturally sweet Medjool dates, and unsweetened cocoa powder. They have a dense, moist center, tender edges, and a deep chocolate flavor balanced by the subtle caramel notes of dates. Instead of traditional wheat flour and refined sugar, this recipe uses almond flour for tenderness and blended dates for sweetness.
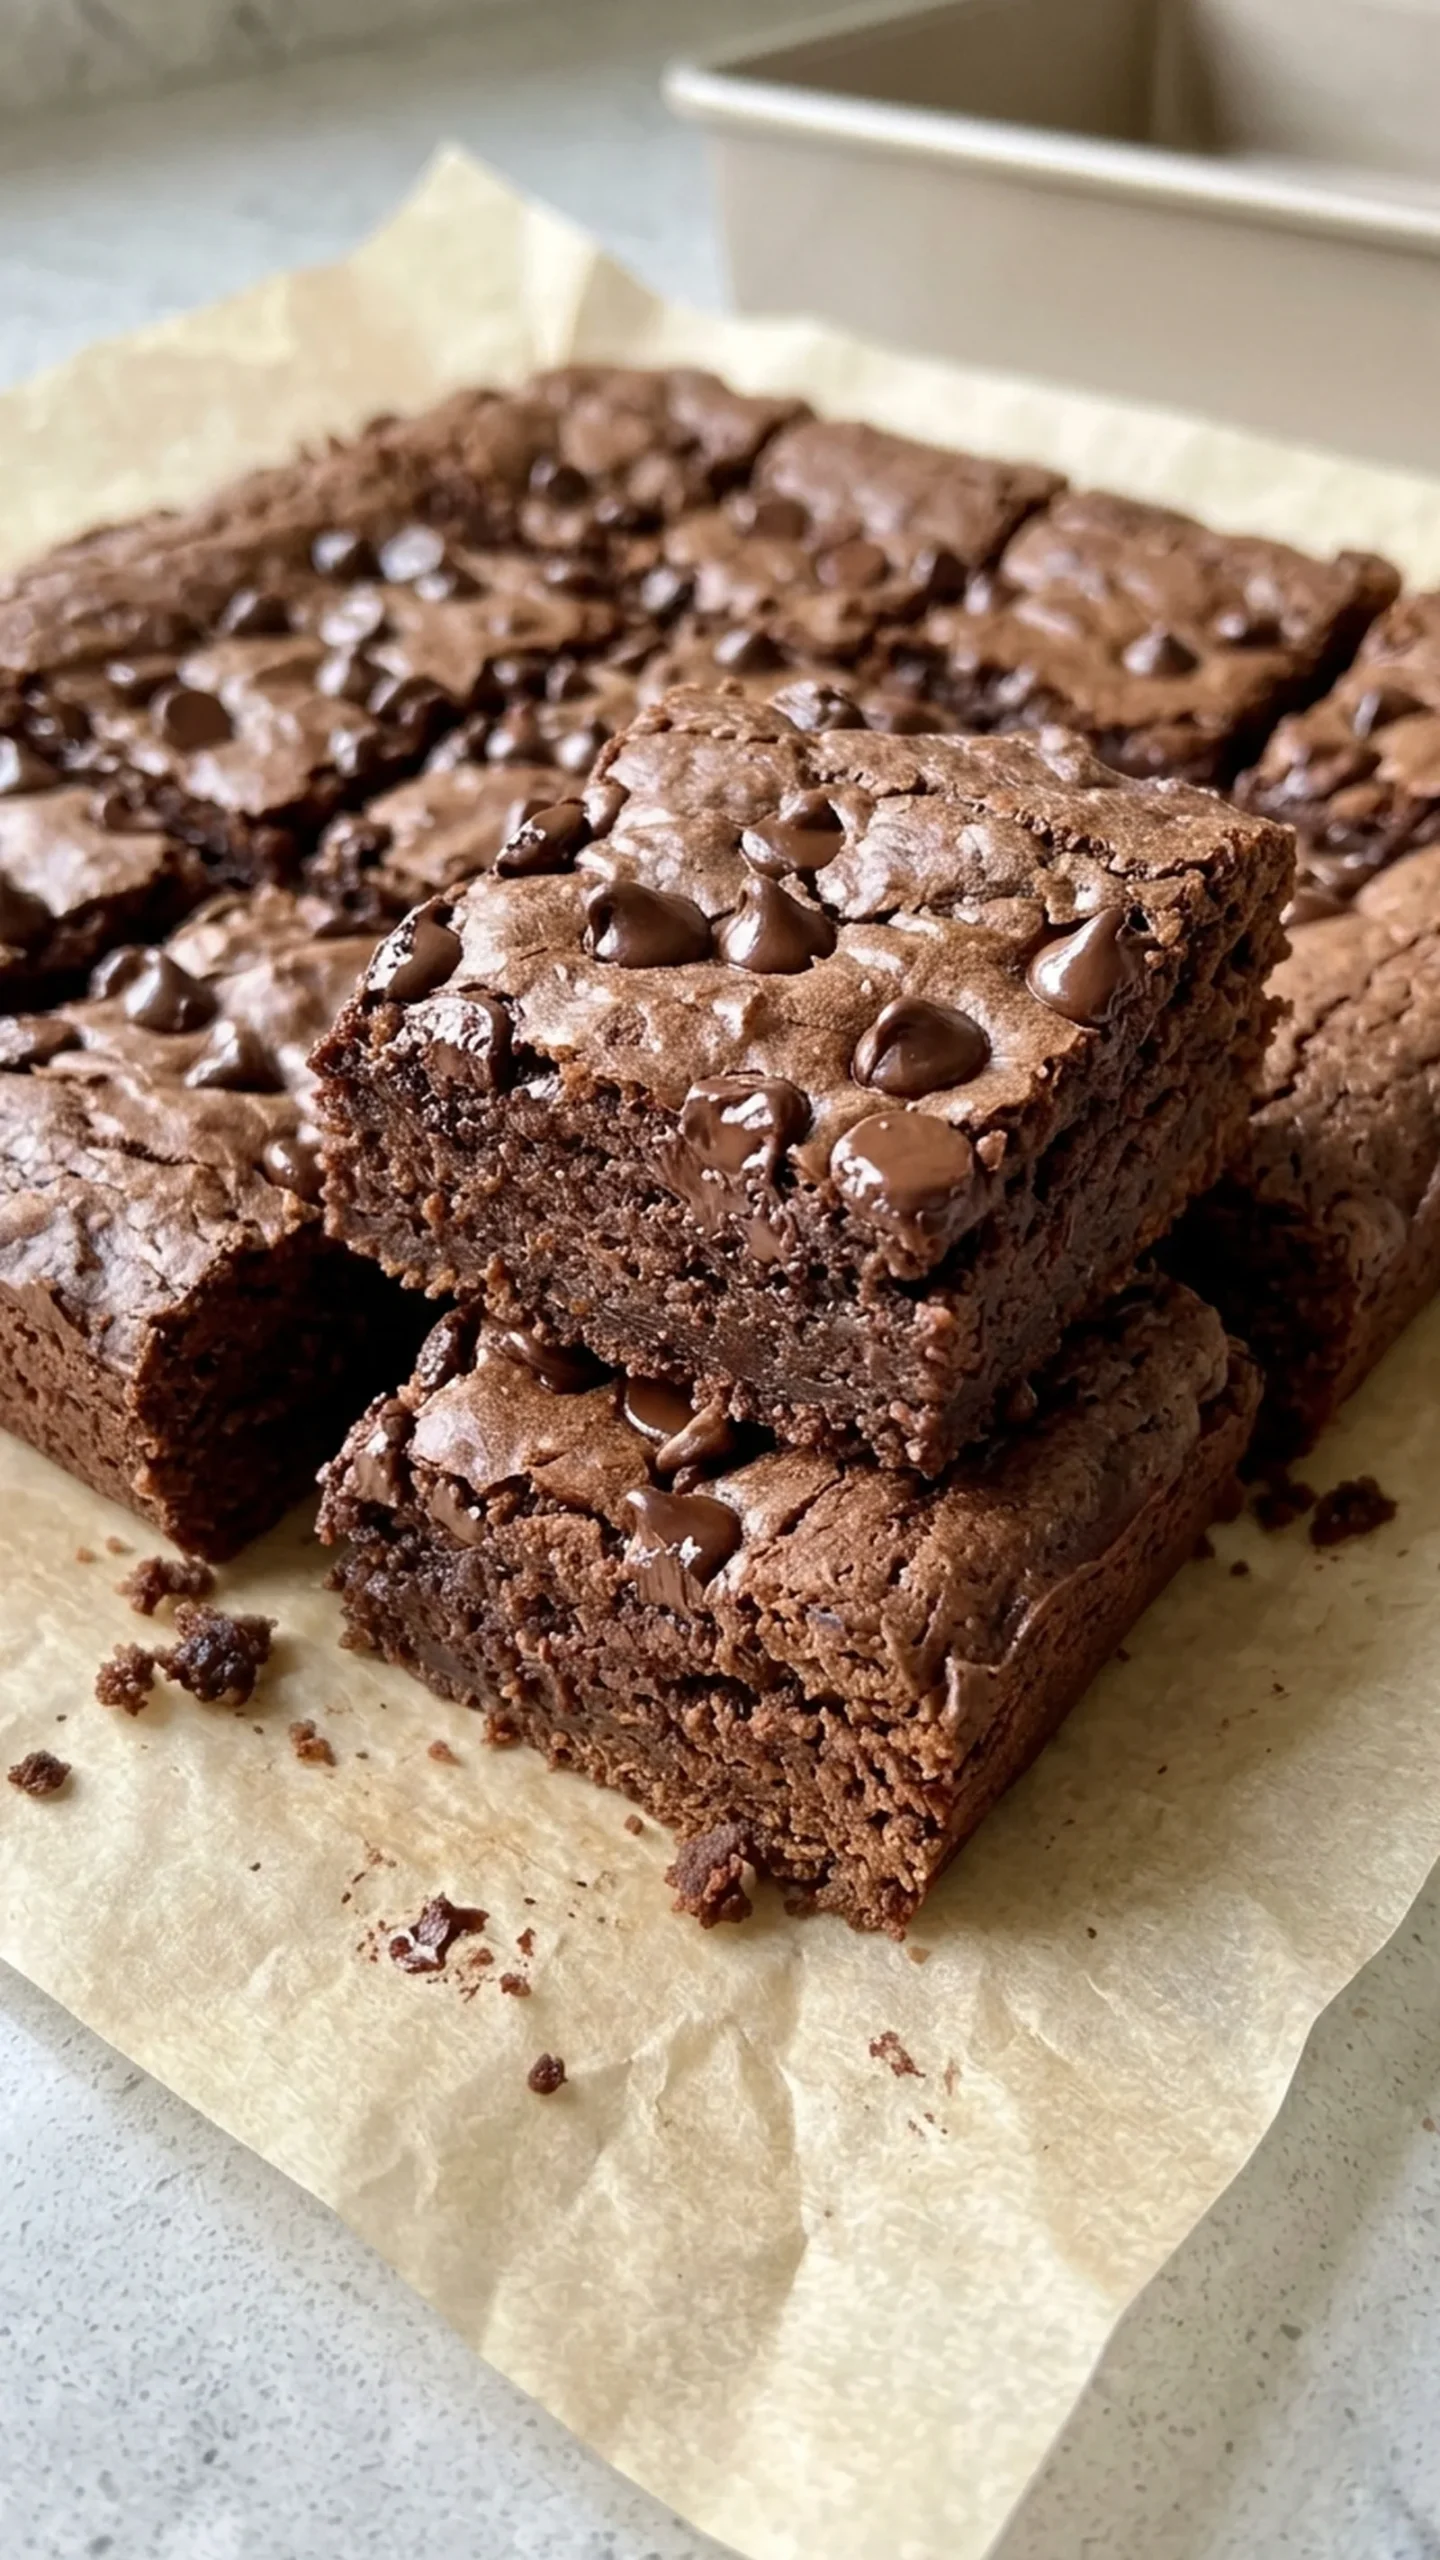
These brownies come together in a food processor and bake in an 8-inch square pan. They're a practical option for anyone looking for gluten-free brownies without refined sugar added to the batter. Letting them cool completely before slicing helps create neat squares with a soft, fudgy texture.
Why This Recipe Works
Medjool dates provide natural sweetness and moisture. Their soft, sticky texture blends into a thick paste that helps create a dense, fudgy center without refined sugar added to the batter.
Almond flour keeps the crumb tender: Unlike wheat flour, almond flour contains no gluten and contributes richness without developing a chewy, bread-like structure.
Cocoa powder delivers concentrated chocolate flavor. Unsweetened cocoa balances the sweetness of the dates and gives the brownies their deep brown color.
Eggs help bind the batter: They provide structure to hold the almond flour and date mixture together, making the brownies easier to slice once cooled.
A moderate baking temperature protects the texture. Baking at 350°F (175°C) helps the edges set while allowing the middle to remain soft and moist.
Equipment Needed
- 8 x 8-inch (20 x 20 cm) square baking pan
- Parchment paper
- Food processor with at least a 7-cup (1.7 L) capacity
- Medium heatproof bowl
- Measuring cups and spoons
- Digital kitchen scale
- Rubber spatula
- Wire cooling rack
Ingredients List
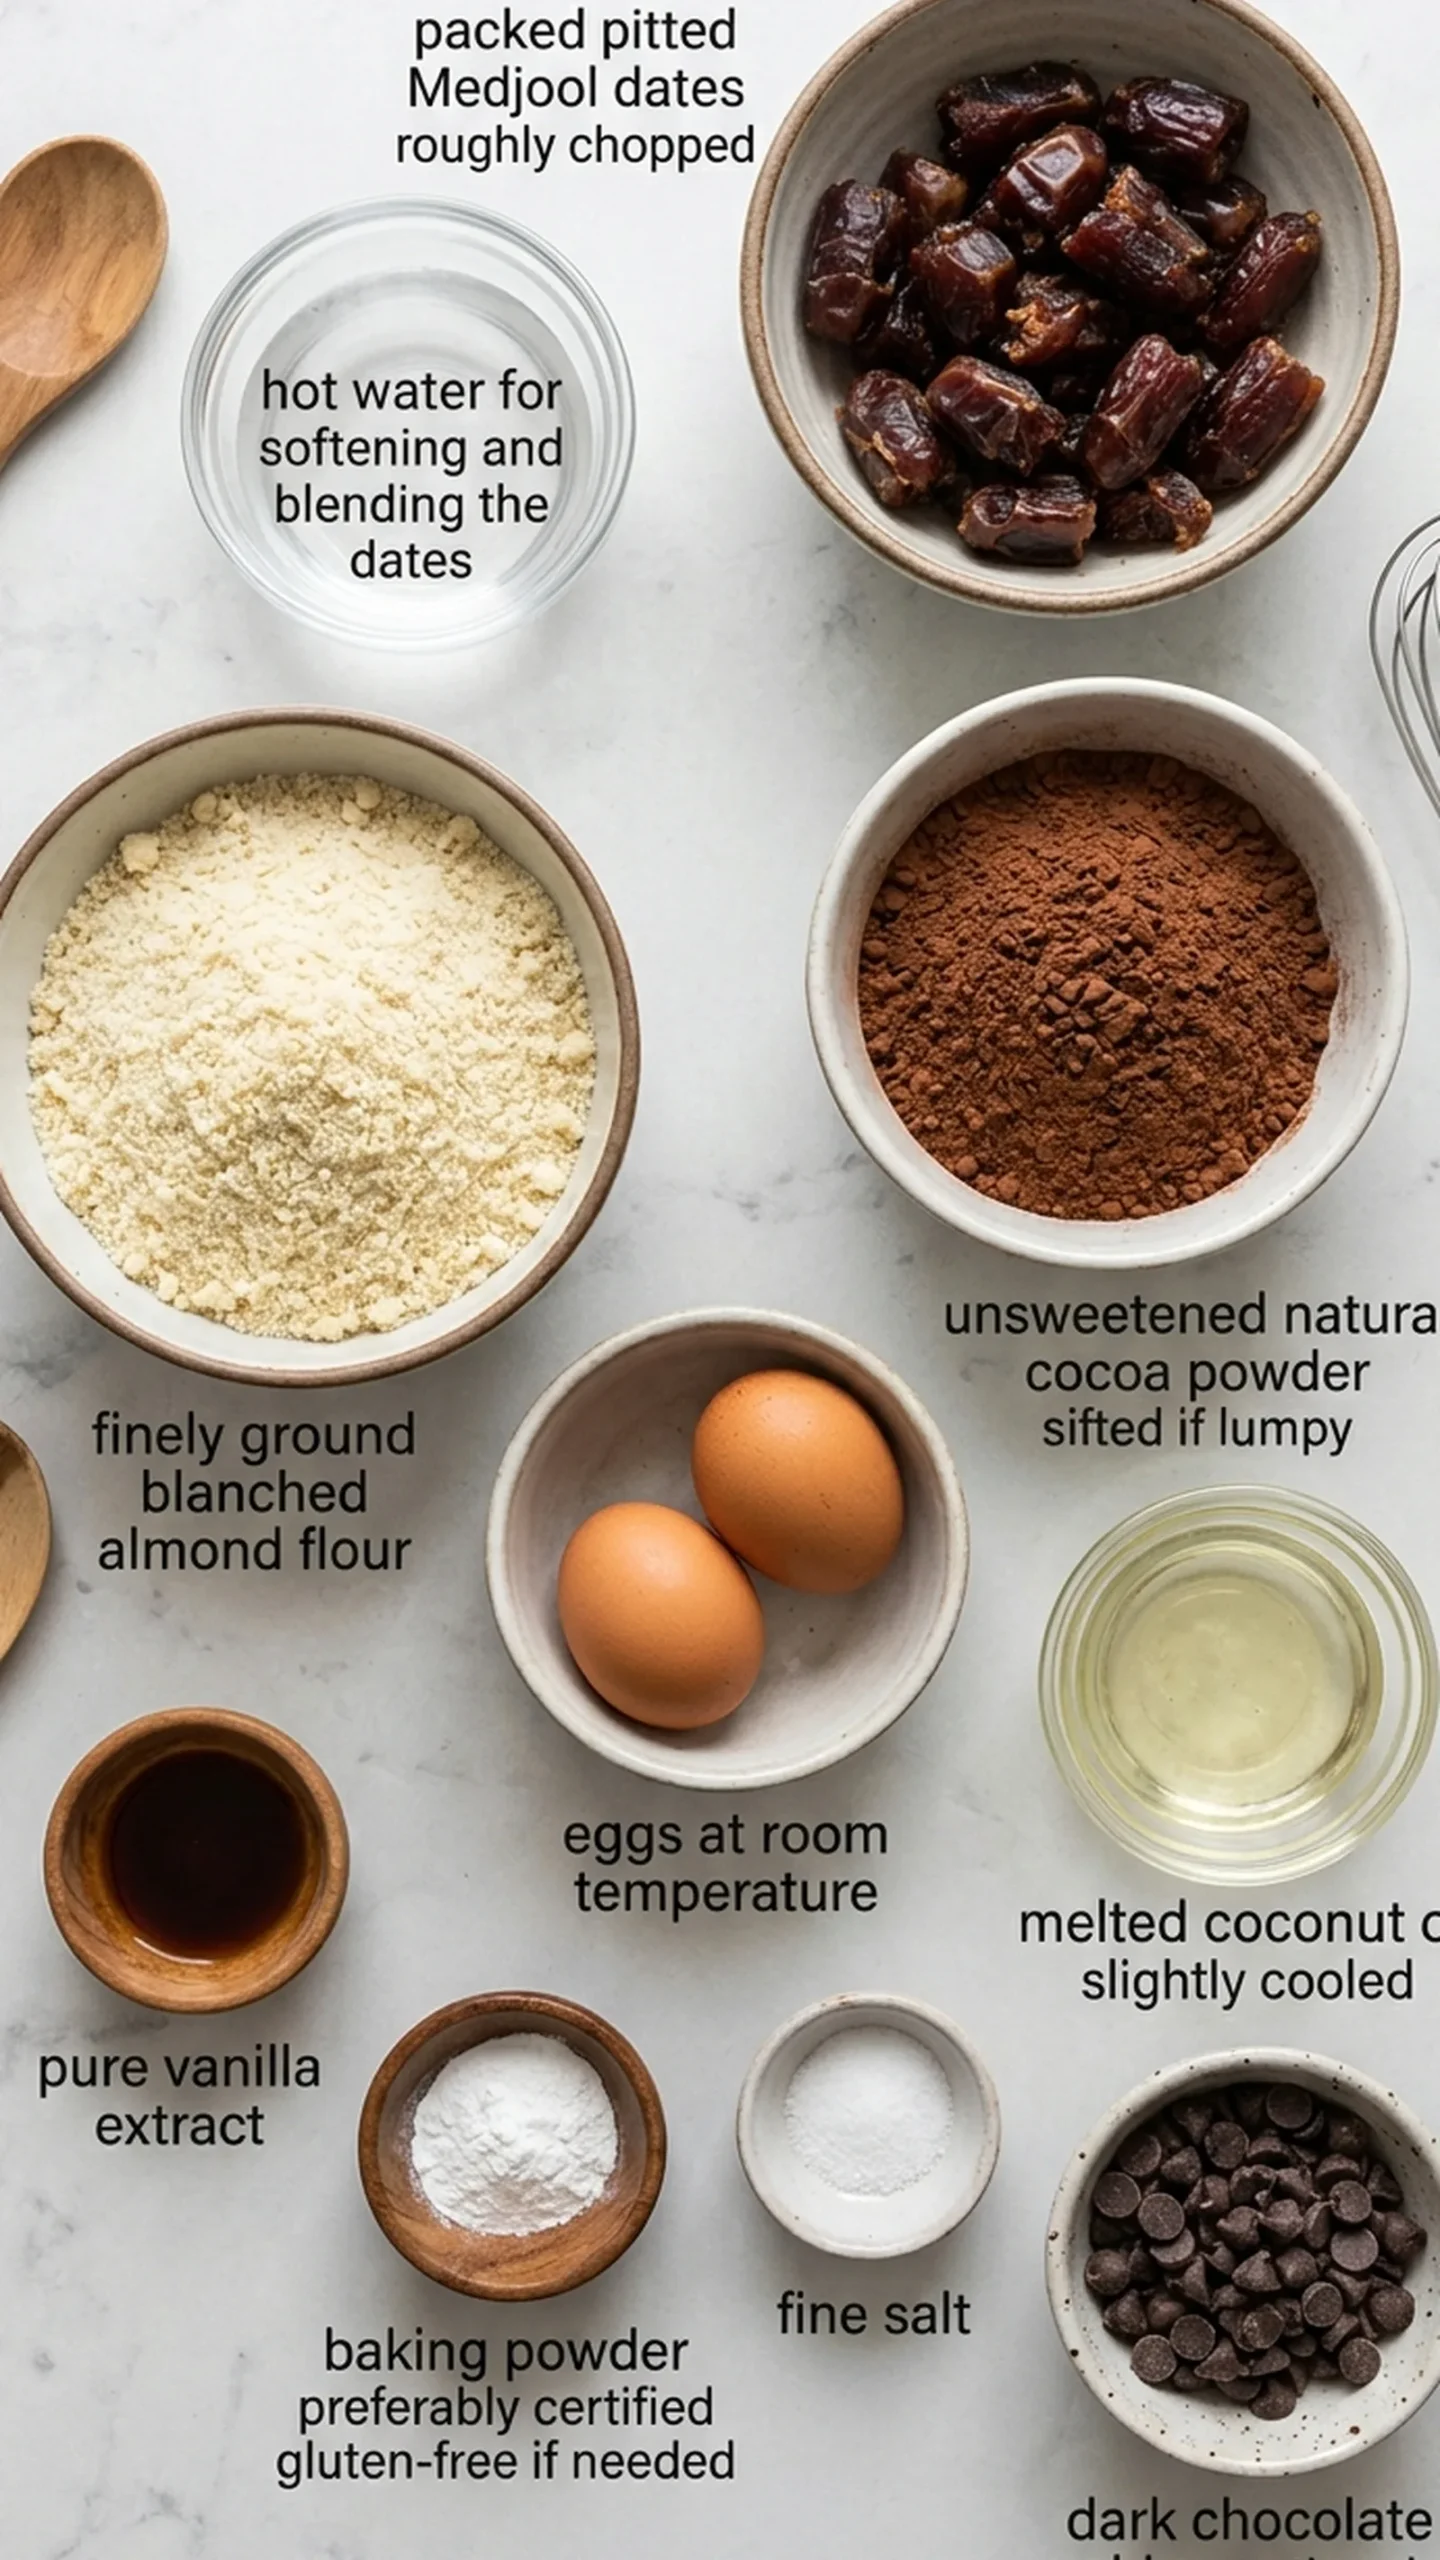
For the Almond Flour Date Brownies
- 1 cup packed (about 180 g) pitted Medjool dates, roughly chopped
- 1/3 cup (80 ml) hot water, for softening and blending the dates
- 1 1/2 cups (150 g) finely ground blanched almond flour
- 1/2 cup (45 g) unsweetened natural cocoa powder, sifted if lumpy
- 2 large eggs (about 100 g without shells), at room temperature
- 1/4 cup (60 ml) melted coconut oil, slightly cooled
- 1 teaspoon (5 ml) pure vanilla extract
- 1/2 teaspoon (2 g) baking powder, preferably certified gluten-free if needed
- 1/4 teaspoon (1.5 g) fine salt
Optional Topping
- 1/4 cup (45 g) dark chocolate chips, optional, for sprinkling over the batter
Note: For brownies without refined sugar, omit the chocolate chips or choose chips specifically made without refined sugar. Check ingredient labels when strict gluten-free preparation is required.
Ingredient Notes and Substitutions
1.
Medjool: Dates: Medjool dates are the main sweetener in these brownies. They have a soft, sticky texture and caramel-like flavor that blends smoothly with hot water. You can substitute another soft, pitted date variety by weight, although firmer dates may need a longer soaking time. Avoid replacing the dates directly with granulated sugar because sugar does not provide the same moisture, fiber, or binding properties.
2.
Blanched Almond Flour: Finely ground blanched almond flour creates a tender, moist crumb and gives the brownies structure without wheat flour. Almond meal can work, but its coarser texture and retained skins may produce grainier, slightly darker brownies. Coconut flour is not a suitable 1:1 replacement because it absorbs considerably more moisture.
3.
Unsweetened Cocoa Powder: Natural cocoa powder gives the brownies their chocolate flavor without adding extra sugar. Dutch-process cocoa powder can be used in the same quantity, although it may produce a darker color and smoother, less acidic chocolate flavor. The rise and texture may vary slightly.
4.
Coconut Oil: Melted coconut oil adds fat, helping keep the brownies moist and rich as they cool. The same amount of melted, slightly cooled unsalted butter can be used instead. Butter produces a creamier flavor and may give the brownies a slightly softer texture at room temperature. Coconut oil tends to firm up more when chilled.
5.
Eggs: Eggs provide binding and structure, which are especially important because almond flour lacks gluten. There is no equally reliable direct substitute for the eggs in this particular formula. Flax eggs may produce a softer, more fragile brownie that holds together less consistently.
Step-by-Step Instructions
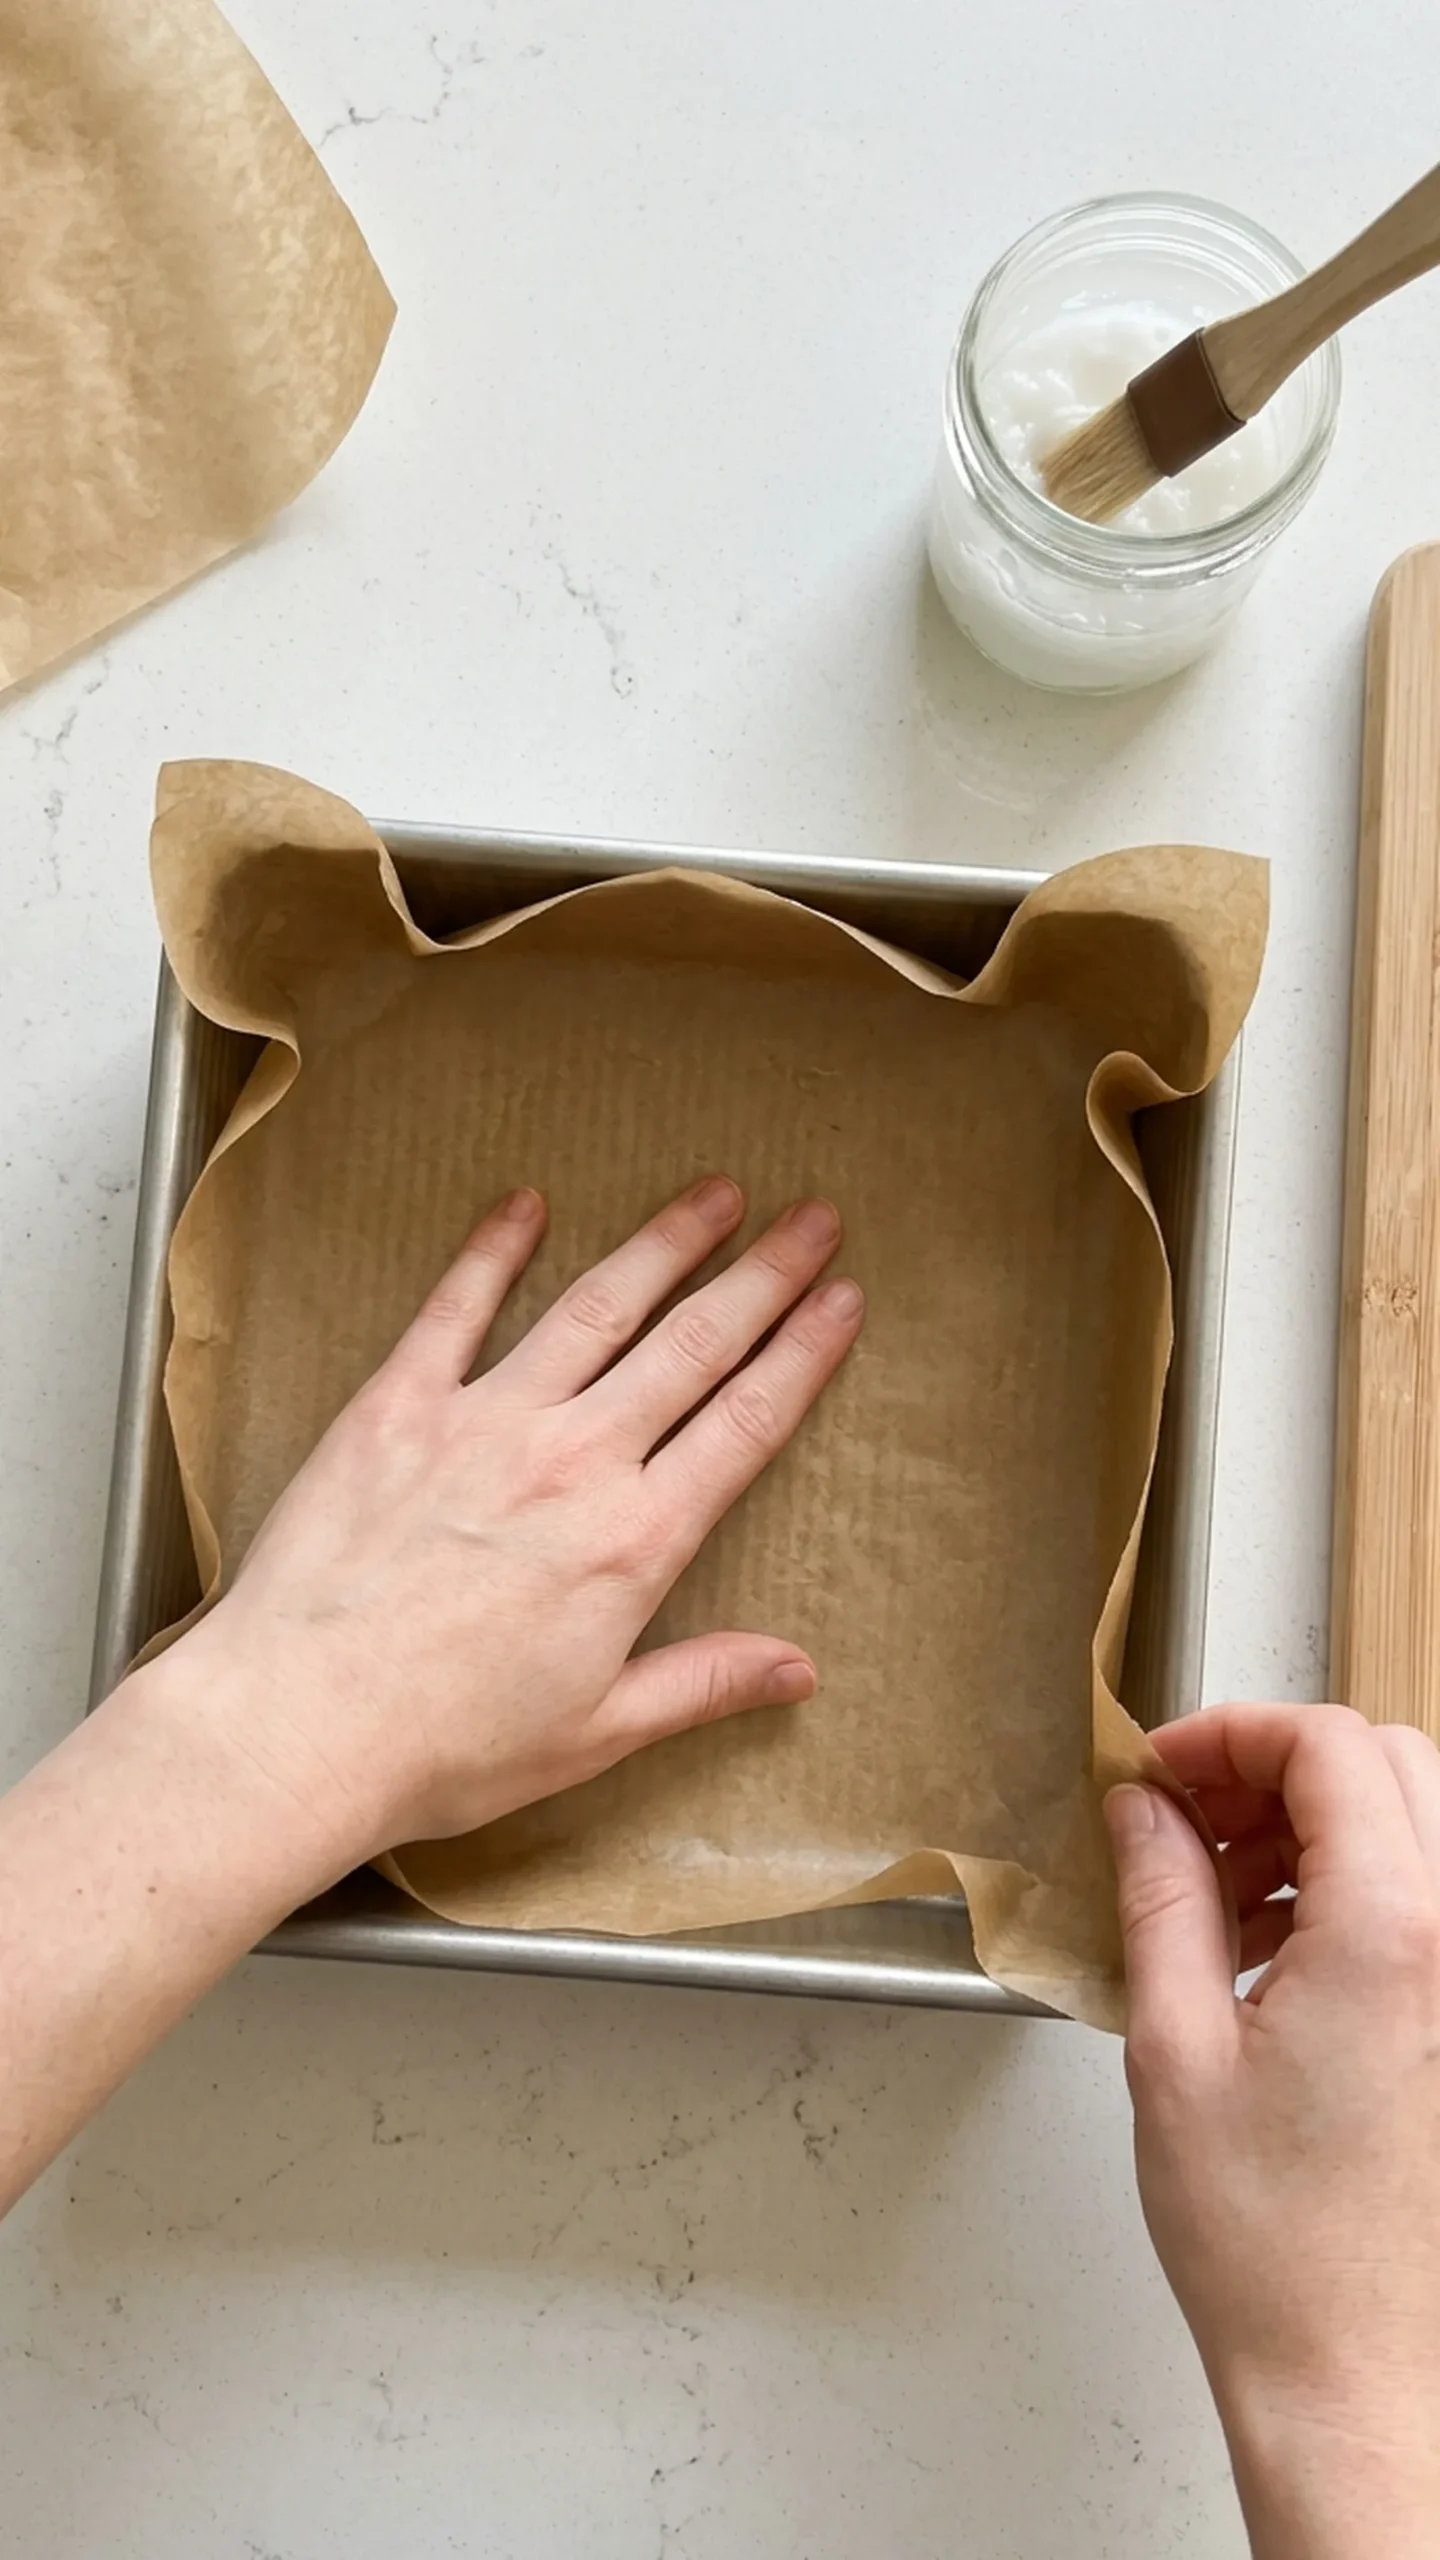
1. Prepare the Baking Pan
Preheat your oven to 350°F (175°C).
Line an 8 x 8-inch (20 x 20 cm) square baking pan with parchment paper, leaving some overhang on two opposite sides. This will make it easier to lift the brownies out after cooling.
Position the oven rack in the center so the brownies bake evenly.
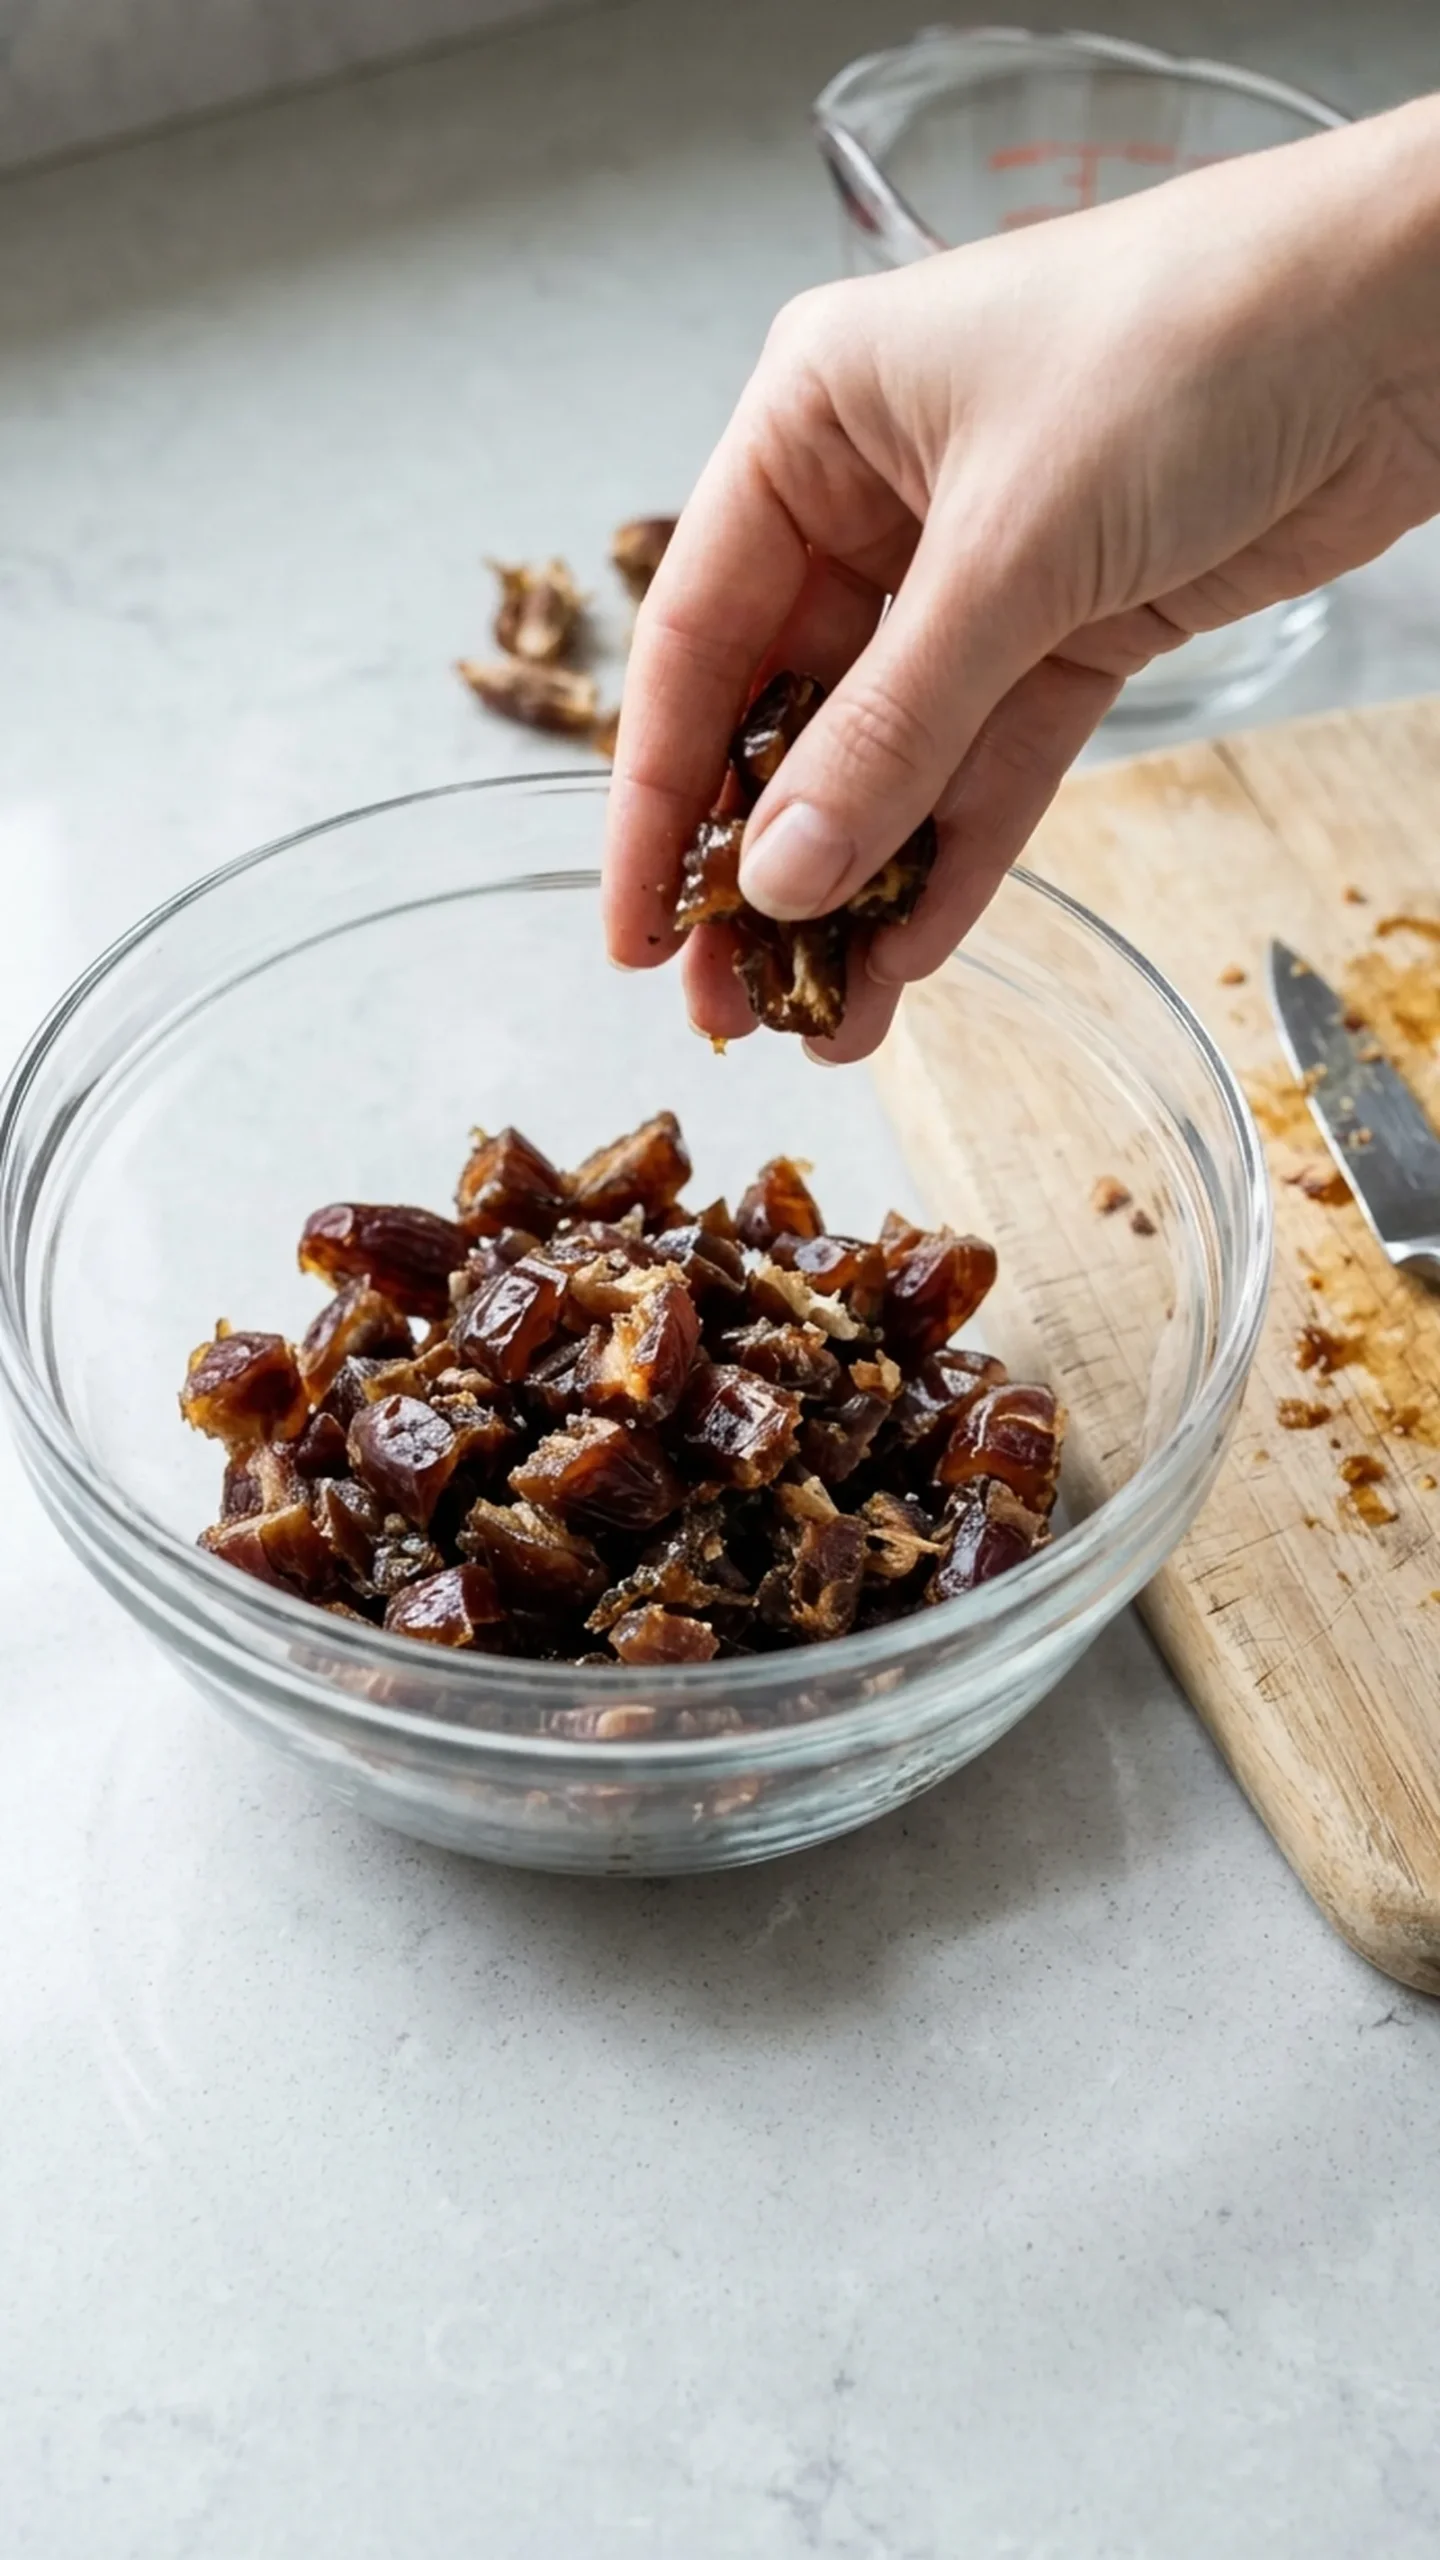
2. Soften the Medjool Dates
Place the 1 cup (180 g) of chopped, pitted Medjool dates in a medium heatproof bowl.
Pour the 1/3 cup (80 ml) hot water over the dates and let them stand for 10 minutes while you prepare the remaining ingredients.
The dates should become soft enough to press easily with a fork. If they are still firm, let them soak for a few additional minutes.
Do not drain the soaking water; it will help create the date paste.
3. Blend the Dates Into a Paste
Transfer the softened dates and all their soaking water to a food processor.
Process for about 1 to 2 minutes, stopping occasionally to scrape down the sides.
The mixture should become thick, sticky, and mostly smooth, with no large pieces of date remaining.
If the paste looks uneven, scrape down the bowl and continue processing rather than adding more liquid.
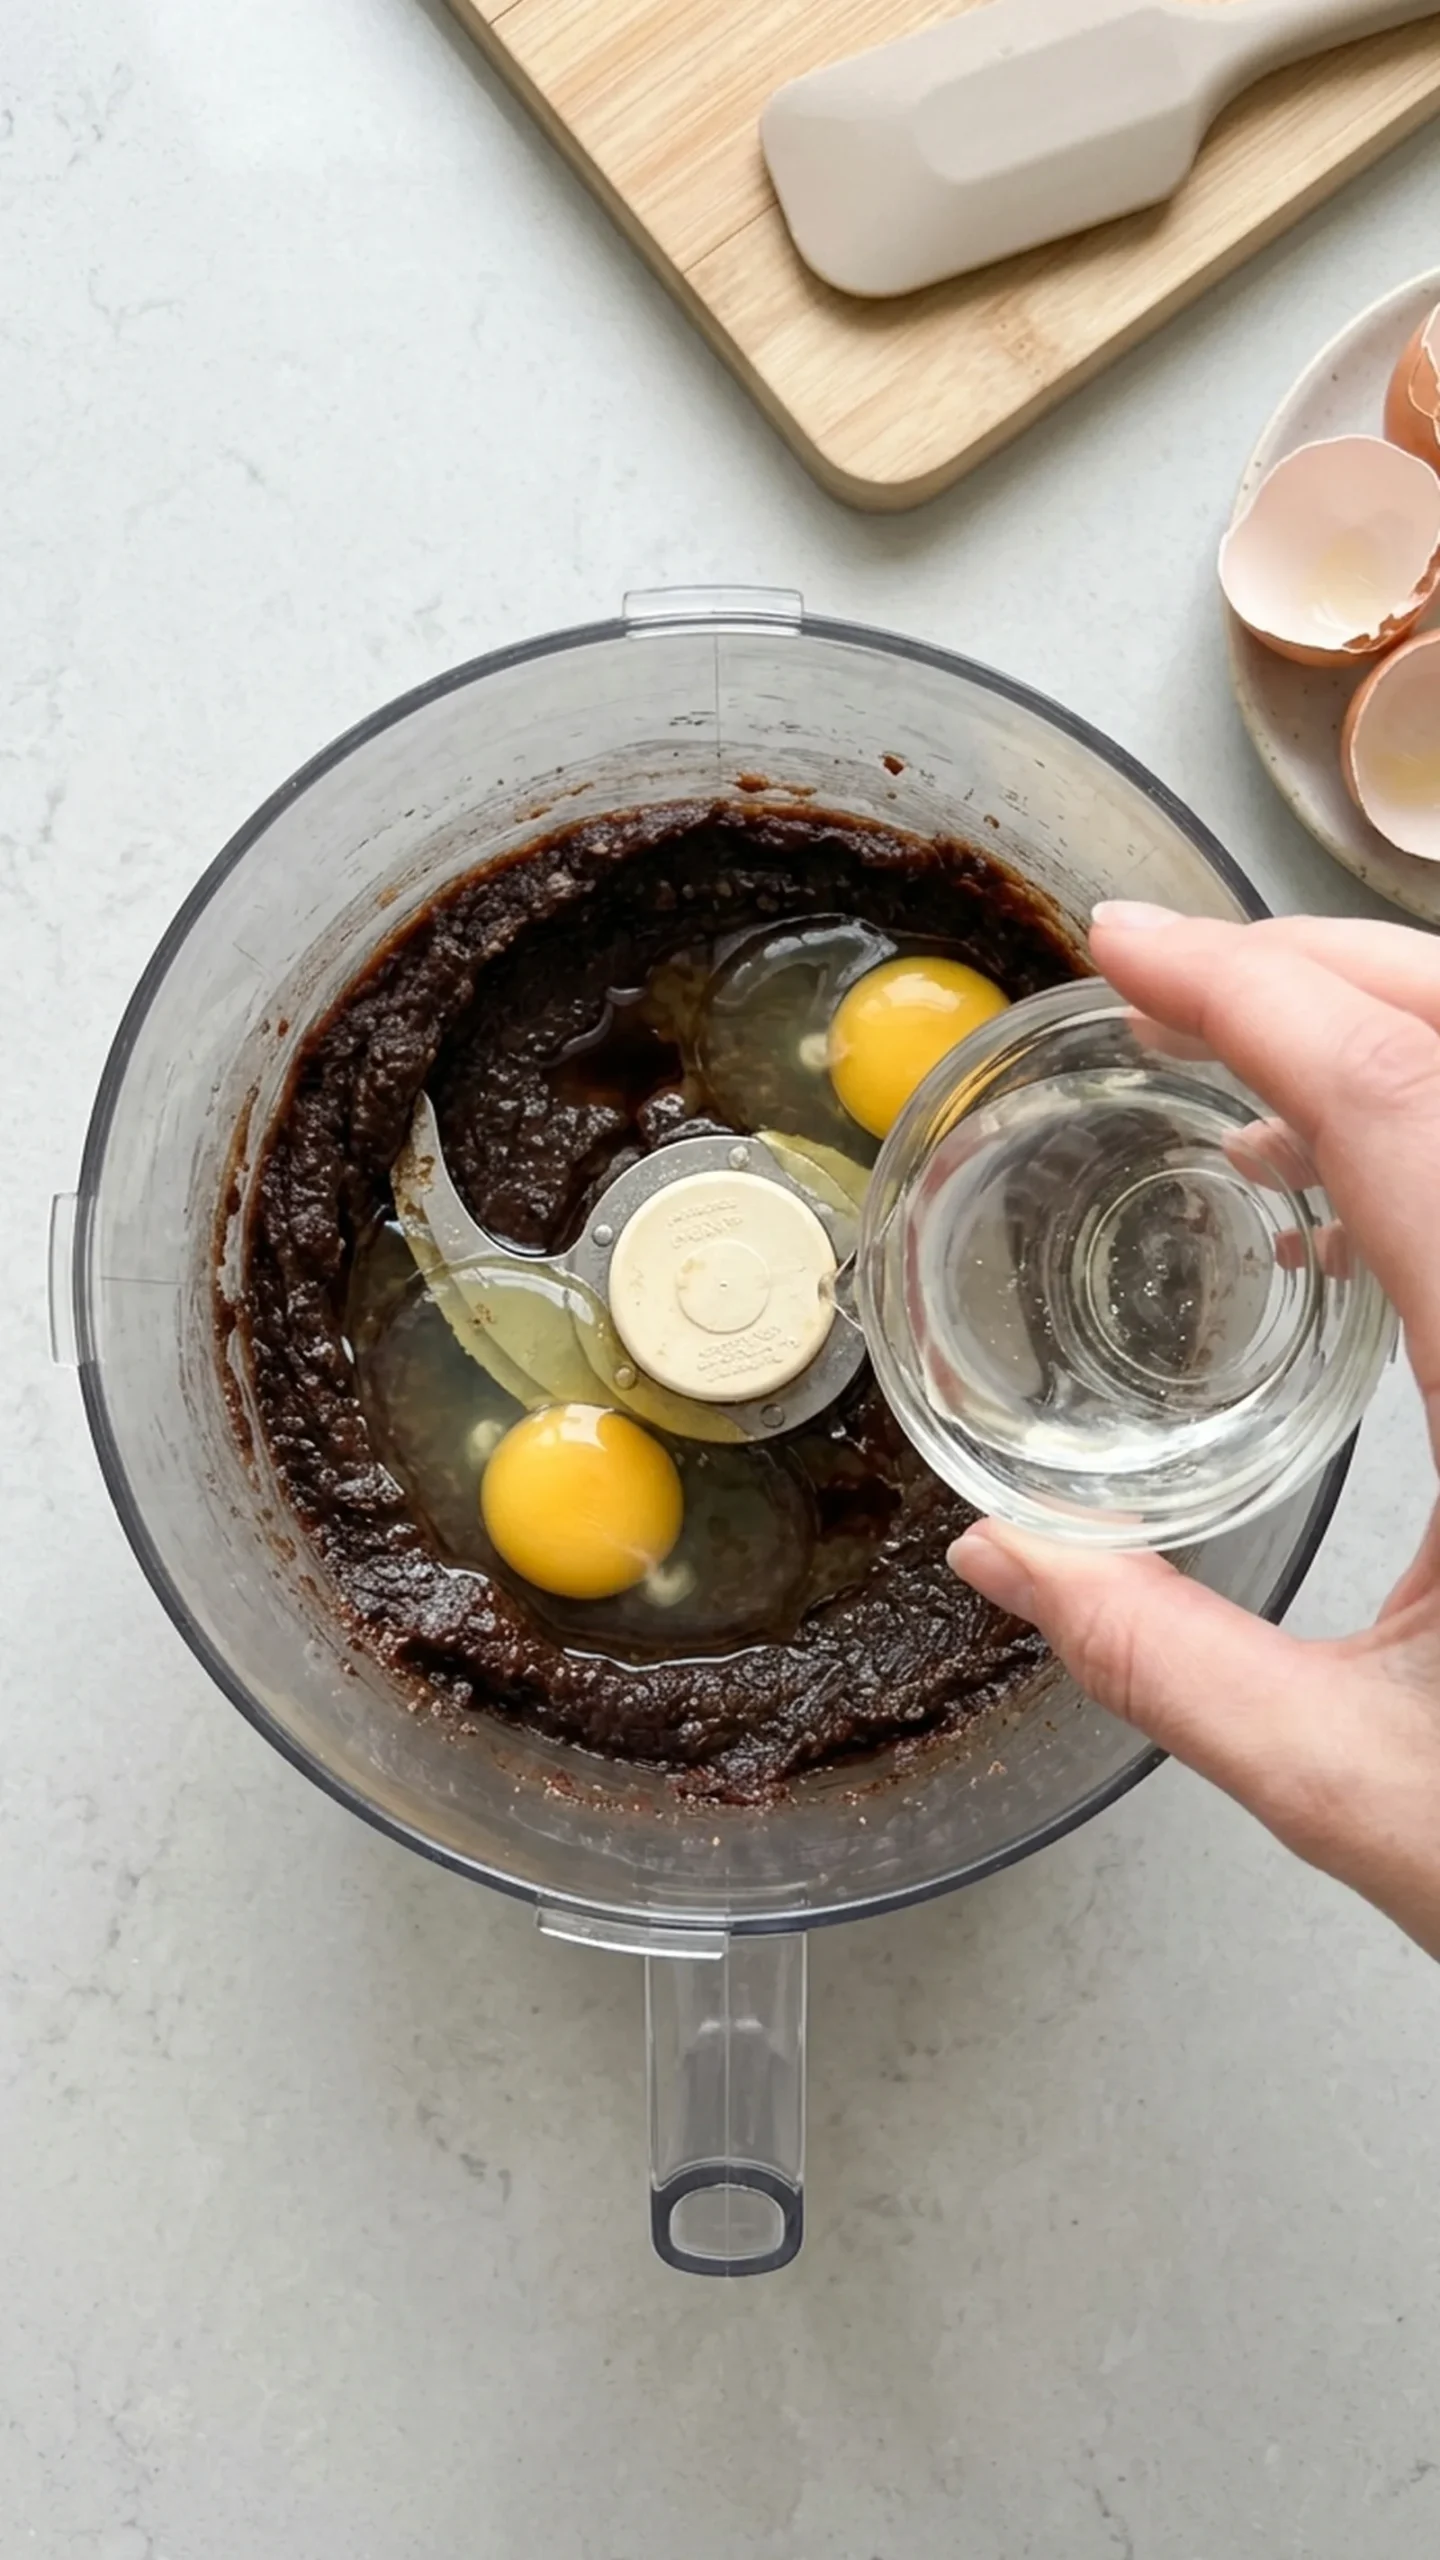
4. Add the Wet Ingredients
Add the 2 large eggs, 1/4 cup (60 ml) melted coconut oil, and 1 teaspoon (5 ml) vanilla extract to the date paste.
Process for approximately 30 to 45 seconds, or until everything is evenly combined.
The mixture should look glossy and smooth, with a thick but slightly pourable consistency.
Make sure the coconut oil has cooled slightly before adding it so it does not heat the eggs.
5. Combine the Dry Ingredients
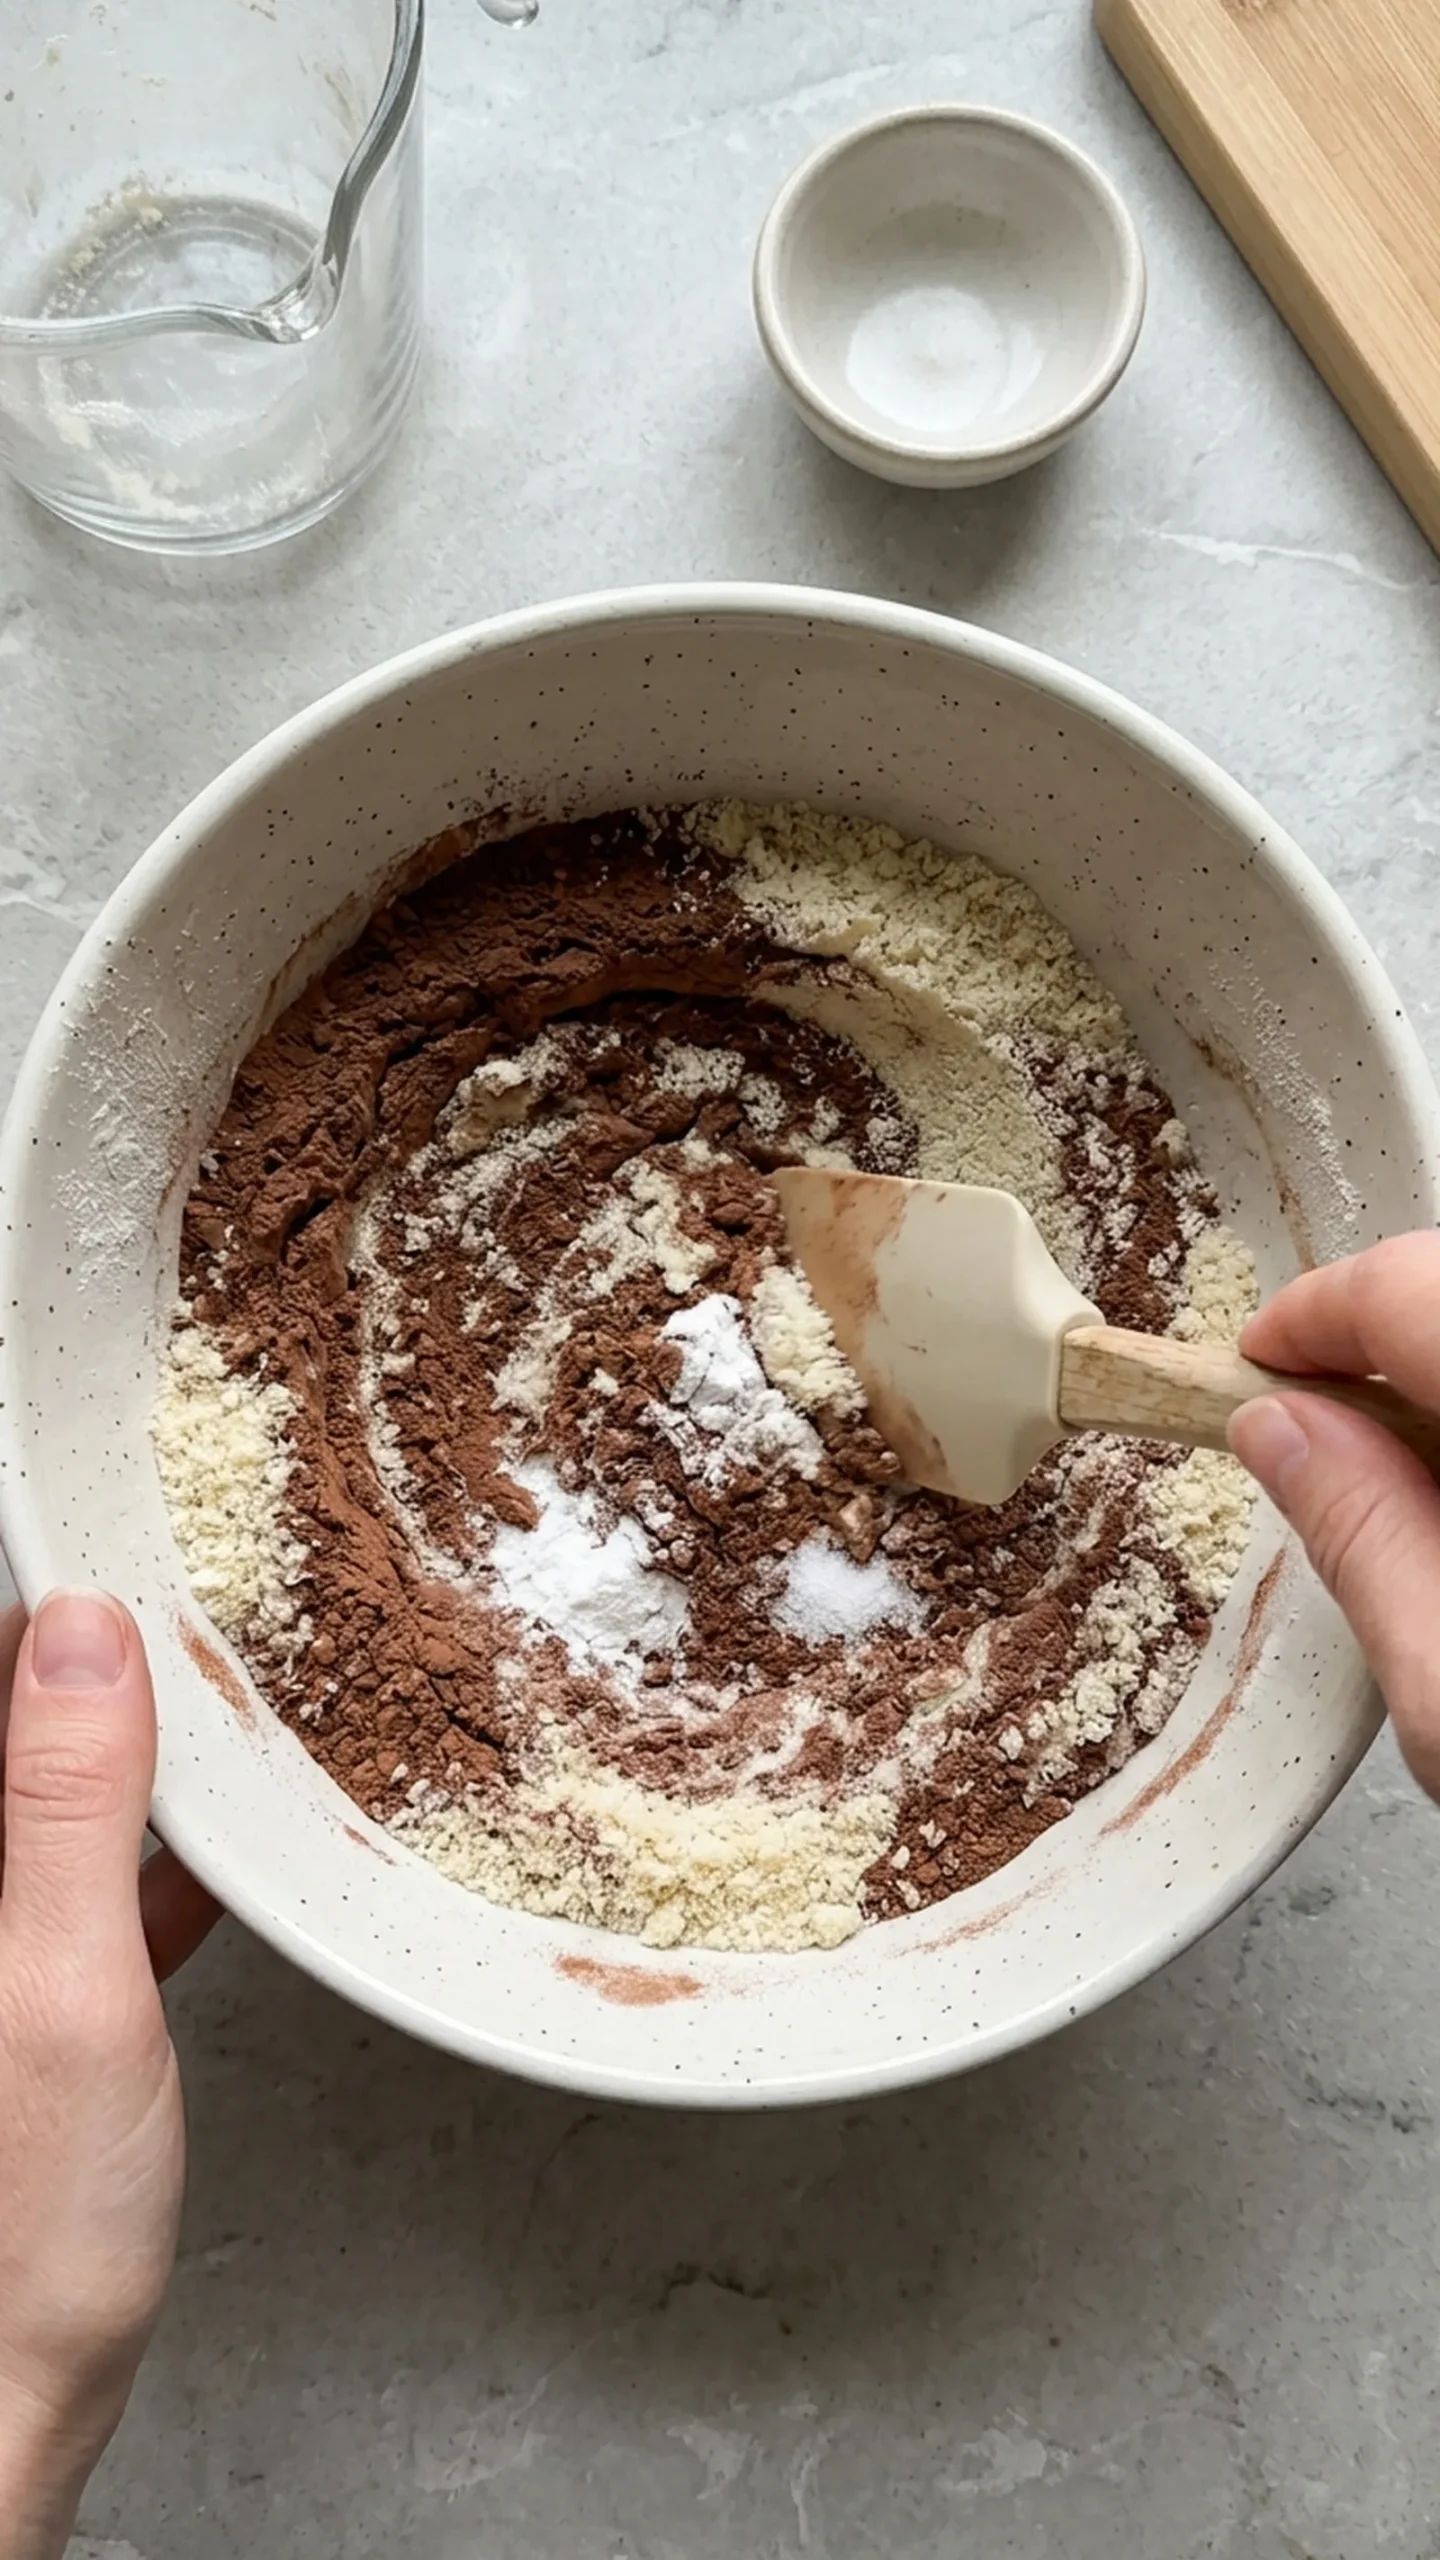
In a separate bowl, stir together the 1 1/2 cups (150 g) almond flour, 1/2 cup (45 g) cocoa powder, 1/2 teaspoon (2 g) baking powder, and 1/4 teaspoon (1.5 g) fine salt.
Mix until the cocoa powder is distributed evenly and there are no obvious clumps.
This helps prevent dry pockets of cocoa or almond flour in the finished brownies.
6. Make the Brownie Batter
Add the dry ingredient mixture to the food processor containing the date mixture.
Pulse several times, then process briefly until the batter is fully combined.
The finished batter should be thick, dark, and spreadable, more like a soft chocolate paste than a traditional pourable brownie batter.
Avoid prolonged processing once the ingredients are combined.
If you notice streaks of dry flour, scrape down the sides and pulse a few more times.
7. Transfer the Batter to the Pan
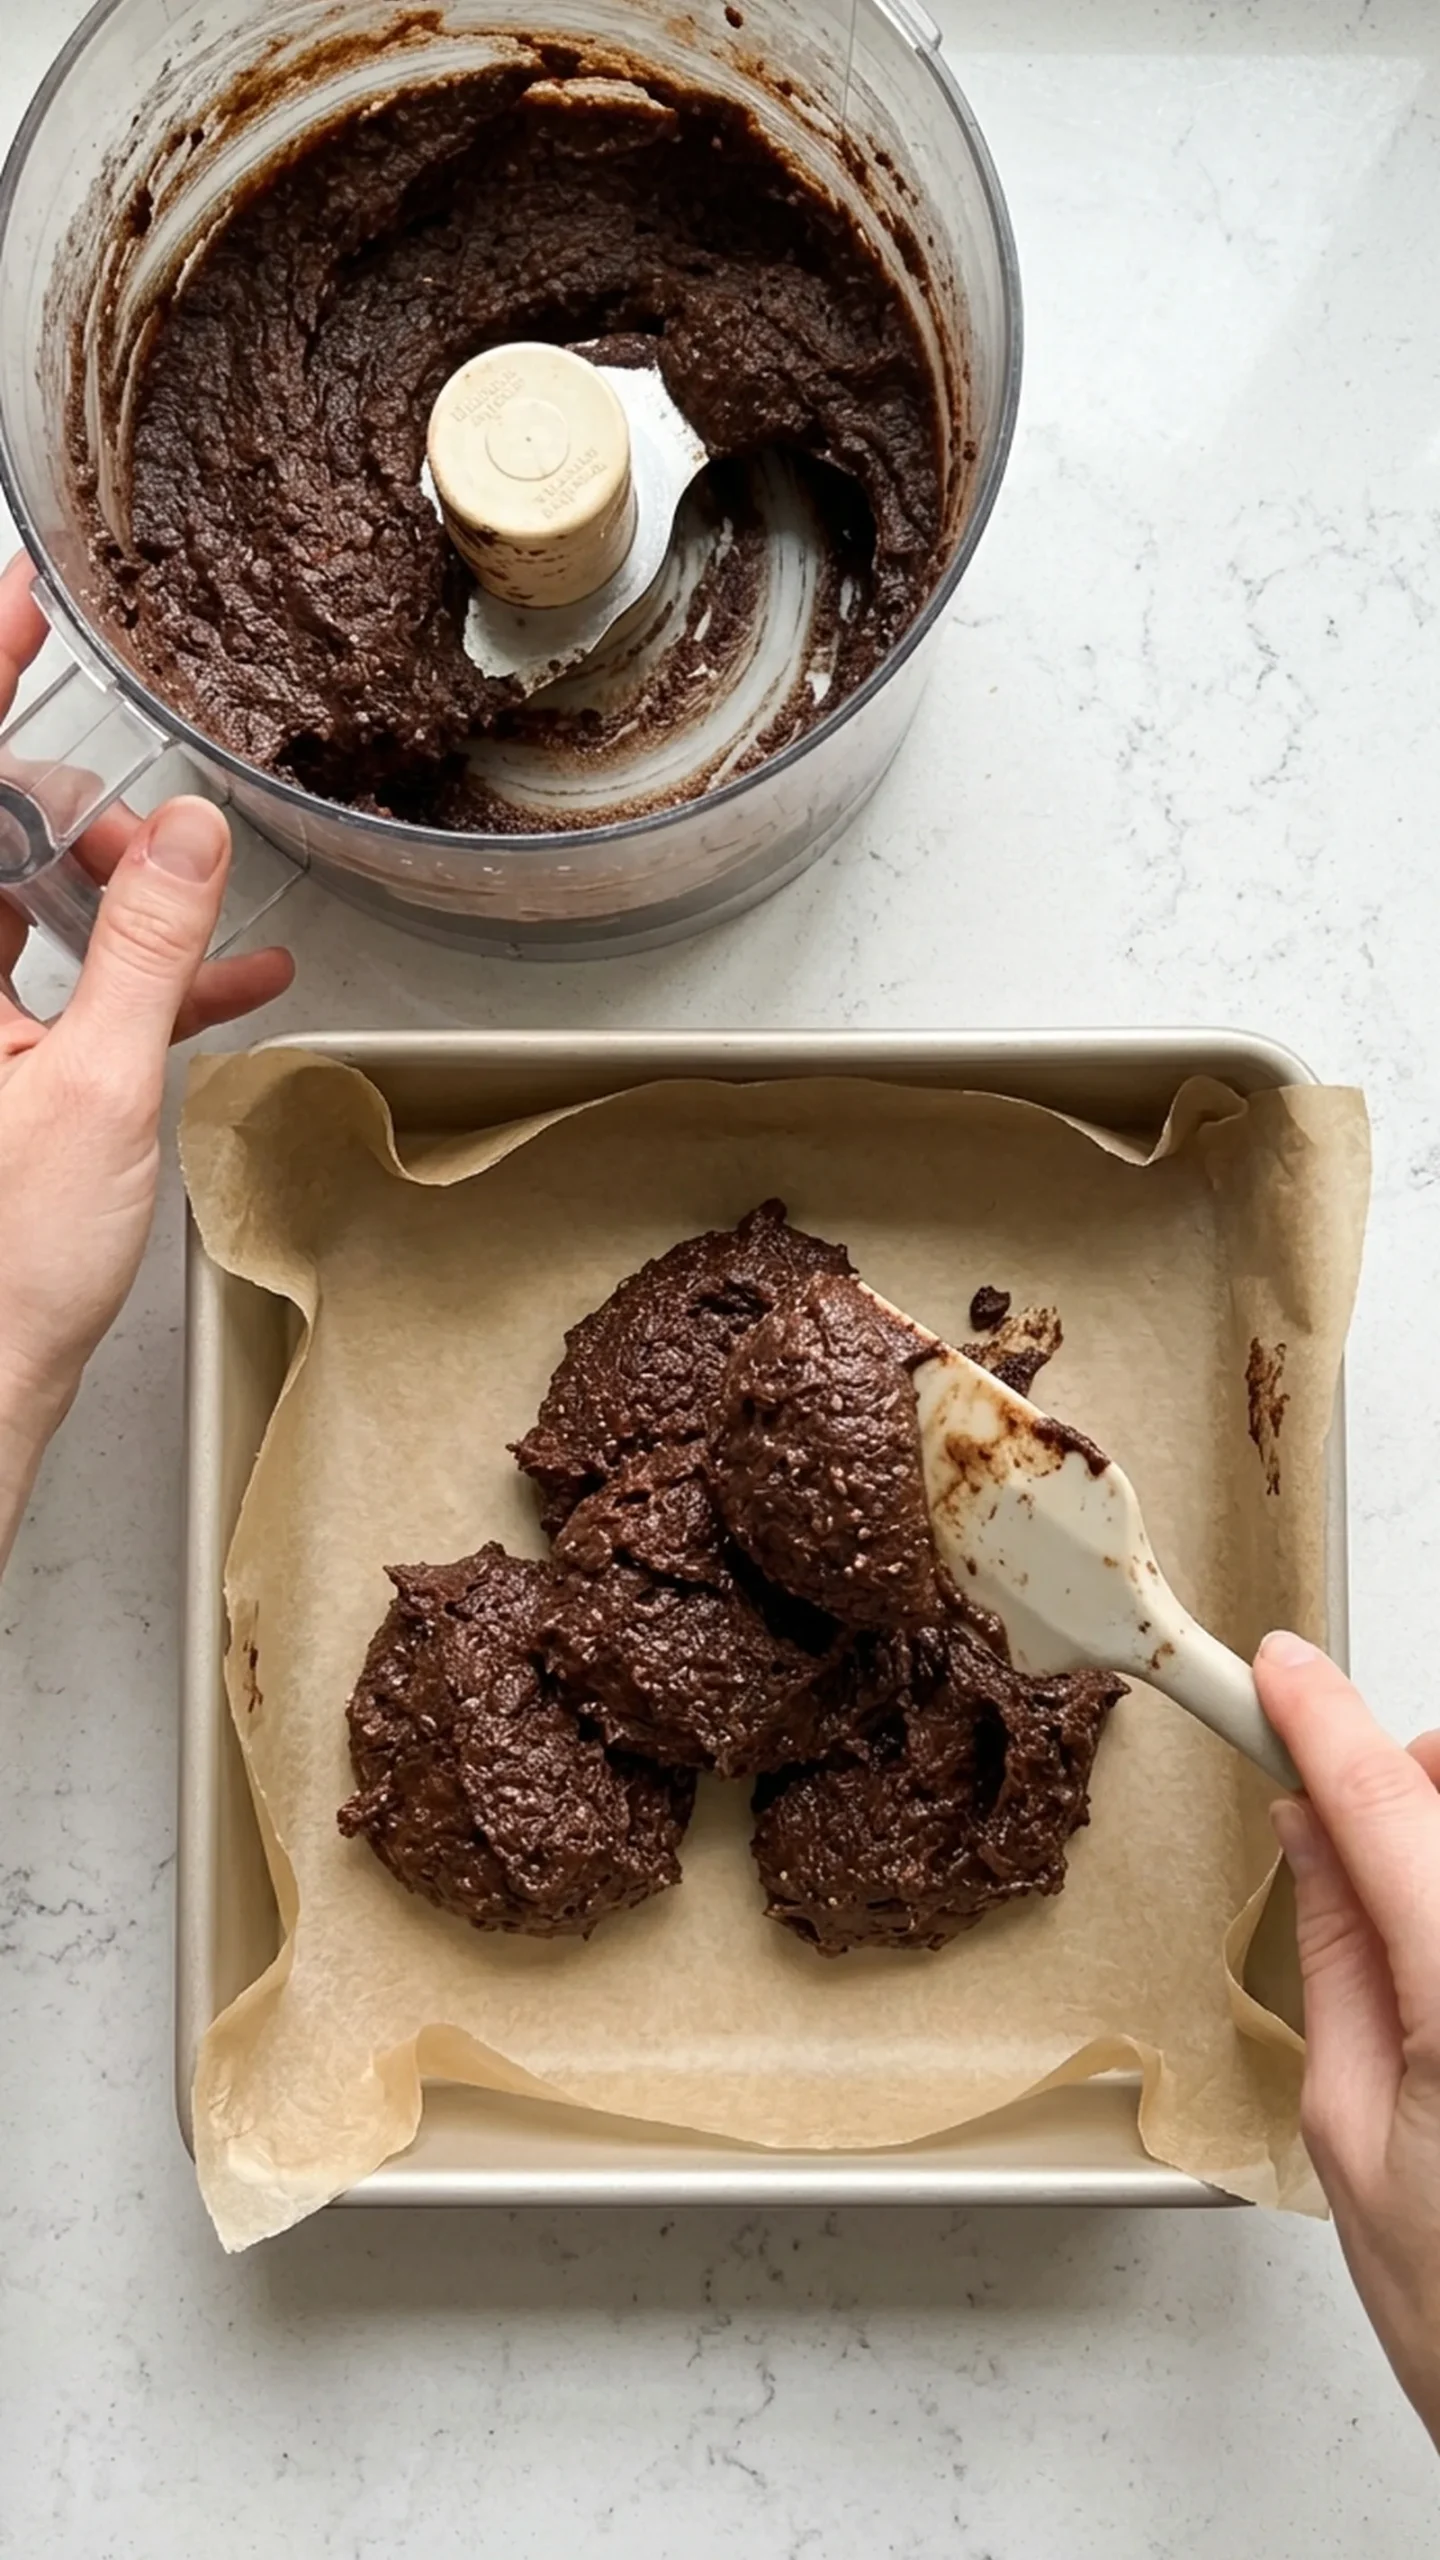
Spoon the batter into the prepared 8-inch square pan.
Use a rubber spatula to spread it evenly into the corners and smooth the surface.
Because the batter is relatively thick, gently press it into the pan rather than expecting it to level on its own.
If using the optional 1/4 cup (45 g) dark chocolate chips, scatter them evenly over the surface and press them lightly into the batter.
8. Bake the Brownies
Place the pan on the center rack of the preheated oven.
Bake at 350°F (175°C) for approximately 23 to 27 minutes, with 25 minutes as a starting point.
The brownies are ready when:
- The edges look set and slightly darker.
- The surface appears mostly matte rather than wet.
- The center is set but still feels slightly soft when gently pressed.
- A toothpick inserted near the center comes out with moist crumbs rather than liquid batter.
Avoid baking until the toothpick comes out completely clean, as that can produce a drier, more cake-like texture.
9. Cool the Brownies Completely
Remove the pan from the oven and place it on a wire cooling rack.
Allow the brownies to cool in the pan for approximately 1 hour.
During cooling, the almond flour and date mixture will firm up, making the brownies easier to handle.
They may still feel delicate while warm, so resist lifting them out too early.
10. Slice and Serve
Once fully cooled, use the parchment paper overhang to lift the brownies out of the pan.
Transfer them to a cutting board and slice into 16 equal squares using a sharp knife.
For cleaner edges, wipe the knife between cuts.
Serve at room temperature for a soft, fudgy texture, or refrigerate briefly if you prefer a firmer brownie.
Storage, Freezing, and Make-Ahead Instructions
Room-Temperature Storage: Store the cooled brownies in an airtight container at a cool room temperature for up to 2 days. Place parchment paper between layers to prevent sticking. Keep the container away from direct sunlight or warm kitchen appliances, since the brownies contain moisture-rich dates and can become overly soft in warm conditions.
Refrigerator Storage: For longer storage, refrigerate the brownies in an airtight container for up to 5 days. They will become firmer when cold, particularly if made with coconut oil. For a softer texture, let individual brownies stand at room temperature for about 15 to 20 minutes before serving.
Freezing Instructions: These brownies can be frozen for up to 3 months for good quality. Allow them to cool completely, then slice them into individual portions. Wrap each brownie tightly in plastic wrap or parchment paper and place the wrapped portions in a freezer-safe airtight container or freezer bag. Remove as much air as possible to help prevent freezer burn.
Thawing Instructions: Thaw frozen brownies in the refrigerator overnight or at room temperature for approximately 1 to 2 hours. Keep them covered while thawing to help prevent condensation from making the surface sticky.
Reheating Instructions: For a warm, softer brownie, microwave an individual portion for about 10 to 15 seconds. Heat only until gently warmed. Excessive reheating can dry out the edges and make the date-based center overly sticky.
Make-Ahead Instructions: You can bake these brownies a day ahead of serving. Store them covered in the refrigerator once completely cooled. Slice them just before serving for cleaner edges. If adding chocolate chips, sprinkle them over the batter before baking rather than after storage.
FAQ
Can I make Almond Flour Date Brownies ahead of time?
Yes. These brownies are suitable for making a day in advance because their moist texture holds up well during storage. Bake and cool them completely, then refrigerate them in an airtight container. Let them stand briefly at room temperature before serving if you prefer a softer center.
Can I use regular dates instead of Medjool dates?
Yes. Other date varieties can work, provided they are pitted and measured by weight. Firmer dates may require longer soaking to create a smooth paste. If the dates do not blend thoroughly, the brownies may contain small chewy pieces.
Why are my almond flour brownies falling apart?
The brownies may have been sliced while still warm, or the batter may not have been blended evenly. Almond flour does not contain gluten, so the eggs and date paste are especially important for binding. Cool the brownies fully before slicing, and refrigerate them briefly if they still feel too soft.
How do I know when the brownies are fully baked?
Look for firm edges, a mostly matte surface, and a center that no longer looks liquid. A toothpick inserted near the center should come out with moist crumbs, not wet batter. Avoid relying on a completely clean toothpick, since these brownies are intended to remain fudgy.
Can I make these brownies without chocolate chips?
Absolutely. The chocolate chips are optional, and the cocoa powder provides the main chocolate flavor. Leaving out the chips also keeps the recipe free from added refined sugar, provided your other ingredients contain no added sugar.
Ingredients
Method
- Preheat your oven to 350°F (175°C). Line an 8 x 8-inch (20 x 20 cm) square baking pan with parchment paper, leaving some overhang on two opposite sides. This will make it easier to lift the brownies out after cooling. Position the oven rack in the center so the brownies bake evenly.
- Place the 1 cup (180 g) of chopped, pitted Medjool dates in a medium heatproof bowl. Pour the 1/3 cup (80 ml) hot water over the dates and let them stand for 10 minutes while you prepare the remaining ingredients. The dates should become soft enough to press easily with a fork. If they are still firm, let them soak for a few additional minutes. Do not drain the soaking water; it will help create the date paste.
- Transfer the softened dates and all their soaking water to a food processor. Process for about 1 to 2 minutes, stopping occasionally to scrape down the sides. The mixture should become thick, sticky, and mostly smooth, with no large pieces of date remaining. If the paste looks uneven, scrape down the bowl and continue processing rather than adding more liquid.
- Add the 2 large eggs, 1/4 cup (60 ml) melted coconut oil, and 1 teaspoon (5 ml) vanilla extract to the date paste. Process for approximately 30 to 45 seconds, or until everything is evenly combined. The mixture should look glossy and smooth, with a thick but slightly pourable consistency. Make sure the coconut oil has cooled slightly before adding it so it does not heat the eggs.
- In a separate bowl, stir together the 1 1/2 cups (150 g) almond flour, 1/2 cup (45 g) cocoa powder, 1/2 teaspoon (2 g) baking powder, and 1/4 teaspoon (1.5 g) fine salt. Mix until the cocoa powder is distributed evenly and there are no obvious clumps. This helps prevent dry pockets of cocoa or almond flour in the finished brownies.
- Add the dry ingredient mixture to the food processor containing the date mixture. Pulse several times, then process briefly until the batter is fully combined. The finished batter should be thick, dark, and spreadable, more like a soft chocolate paste than a traditional pourable brownie batter. Avoid prolonged processing once the ingredients are combined. If you notice streaks of dry flour, scrape down the sides and pulse a few more times.
- Spoon the batter into the prepared 8-inch square pan. Use a rubber spatula to spread it evenly into the corners and smooth the surface. Because the batter is relatively thick, gently press it into the pan rather than expecting it to level on its own. If using the optional 1/4 cup (45 g) dark chocolate chips, scatter them evenly over the surface and press them lightly into the batter.
- Place the pan on the center rack of the preheated oven. Bake at 350°F (175°C) for approximately 23 to 27 minutes, with 25 minutes as a starting point. The brownies are ready when: The edges look set and slightly darker. The surface appears mostly matte rather than wet. The center is set but still feels slightly soft when gently pressed. A toothpick inserted near the center comes out with moist crumbs rather than liquid batter. Avoid baking until the toothpick comes out completely clean, as that can produce a drier, more cake-like texture.
- Remove the pan from the oven and place it on a wire cooling rack. Allow the brownies to cool in the pan for approximately 1 hour. During cooling, the almond flour and date mixture will firm up, making the brownies easier to handle. They may still feel delicate while warm, so resist lifting them out too early.
- Once fully cooled, use the parchment paper overhang to lift the brownies out of the pan. Transfer them to a cutting board and slice into 16 equal squares using a sharp knife. For cleaner edges, wipe the knife between cuts. Serve at room temperature for a soft, fudgy texture, or refrigerate briefly if you prefer a firmer brownie.