
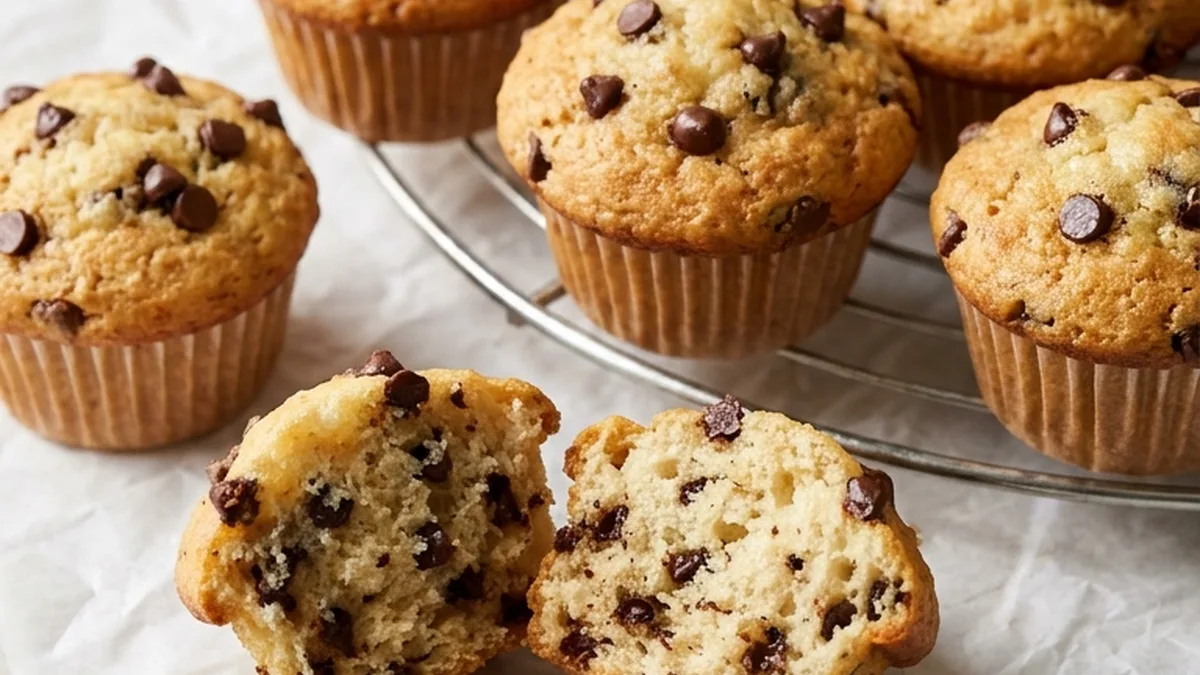
These mini chocolate chip muffins are soft, tender, and filled with little pockets of melted chocolate. They have lightly golden tops, a delicate vanilla flavor, and a fluffy crumb that makes them a convenient choice for breakfast, brunch, lunchboxes, or an afternoon snack.
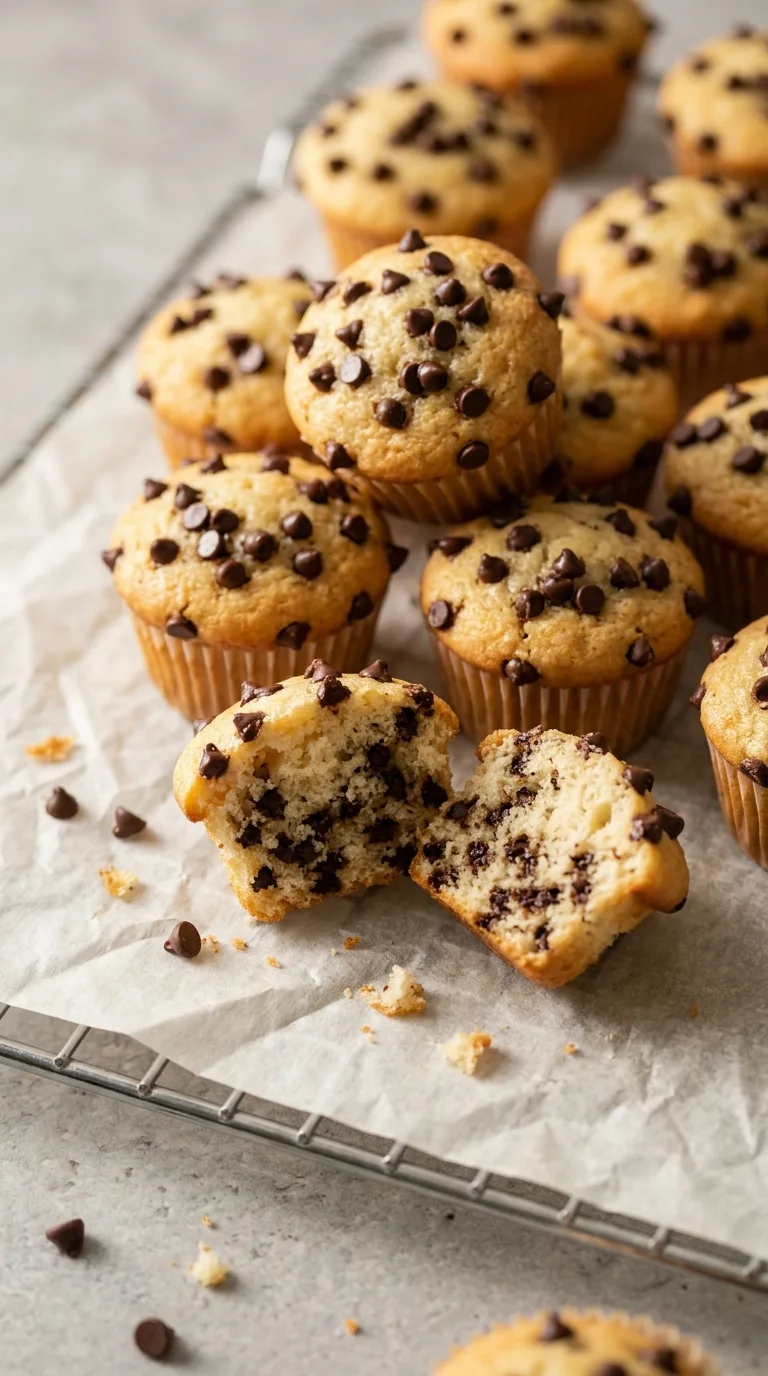
This recipe uses melted butter for richness, milk for moisture, and mini chocolate chips for an even distribution of chocolate throughout each bite. The batter comes together by hand, without an electric mixer, and bakes in a mini muffin pan. They're also easy to freeze, making them a practical option for preparing snacks ahead of time.
Why This Recipe Works
- Melted butter creates a tender crumb. It adds richness without requiring a mixer or a separate creaming step.
- Milk keeps the muffins moist. The added liquid helps create a soft batter that rises without becoming overly dense.
- Baking powder provides lift. It helps the muffins develop gently rounded tops and a light interior.
- Mini chocolate chips distribute evenly. Their smaller size makes it easier to get chocolate in every bite without large pieces weighing down the batter.
- A mini muffin pan encourages quick, even baking. The small portions cook quickly, helping the centers set before the edges become too dry.
Equipment Needed
- 24-cup mini muffin pan, with cavities approximately 1 3/4 inches (4.5 cm) wide
- Mini paper muffin liners, optional
- Large mixing bowl
- Medium mixing bowl
- Whisk
- Silicone spatula
- Measuring cups and spoons
- Kitchen scale for accurate flour measurement
- Small cookie scoop or spoon for portioning
- Wire cooling rack
- Toothpick for checking doneness
Ingredients List
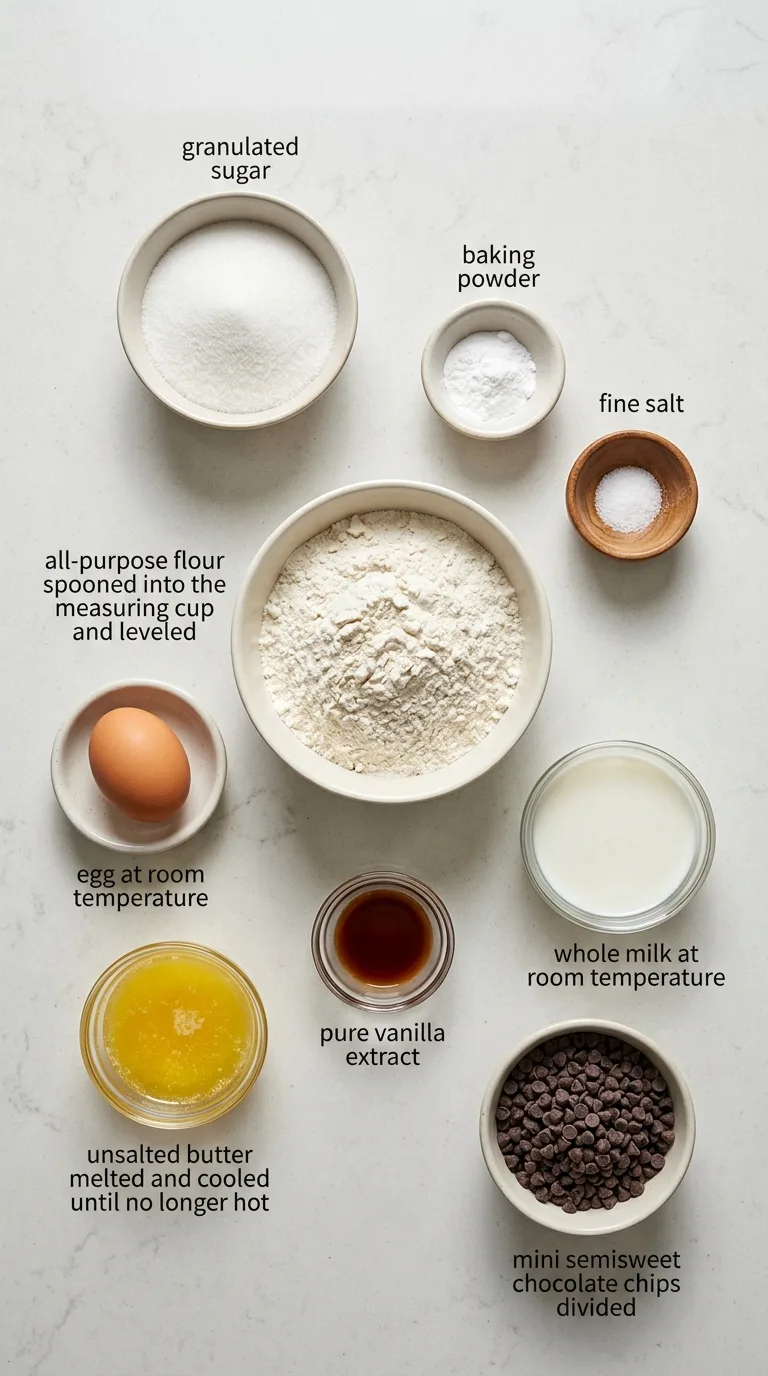
Dry Ingredients
- 1 1/2 cups (180 g) all-purpose flour, spooned into the measuring cup and leveled
- 1/2 cup (100 g) granulated sugar
- 2 teaspoons (8 g) baking powder
- 1/4 teaspoon (1.5 g) fine salt
Wet Ingredients
- 1 large egg (about 50 g without shell), at room temperature
- 1/2 cup (120 ml) whole milk, at room temperature
- 1/4 cup (57 g) unsalted butter, melted and cooled until no longer hot
- 1 teaspoon (5 ml) pure vanilla extract
Chocolate Chips
- 1/2 cup (about 85 g) mini semisweet chocolate chips, divided: 1/3 cup (about 57 g) for the batter and 2 tablespoons plus 2 teaspoons (about 28 g) for topping
Ingredient Notes and Substitutions
- All-Purpose Flour: All-purpose flour provides enough structure to hold the muffins together while keeping the crumb soft. Measuring by weight is helpful because too much flour can make small muffins noticeably dry. A cup-for-cup gluten-free baking blend designed for baking may work as a substitute, preferably one containing a binder. The texture may be slightly more delicate or crumbly, depending on the blend. This substitution may also affect how much moisture the batter absorbs.
- Whole Milk: Whole milk adds moisture and contributes to the muffins' tender texture. Its fat content also gives the crumb a little more richness. An equal amount of 2% milk is a reasonable substitute, although the muffins may be slightly less rich. Unsweetened plain oat milk can also be used, but the flavor and browning may change.
- Unsalted Butter: Melted butter gives these mini chocolate chip muffins a rich flavor and soft texture. Using it after it has cooled helps prevent the egg from cooking when the wet ingredients are combined. An equal amount of neutral vegetable oil can replace the butter. Oil generally produces a moist crumb, but the muffins will have less buttery flavor.
- Baking Powder: Baking powder is the primary leavening ingredient. It helps the batter rise during baking and creates a lighter interior. There is no straightforward one-for-one substitution with baking soda. Baking soda requires an appropriate acidic ingredient, so changing the leavening system would require reformulating the recipe.
- Mini Semisweet Chocolate Chips: Mini chocolate chips are particularly suitable for small muffins because they spread through the batter more evenly than regular-size chips. Regular semisweet chocolate chips can be substituted in the same weight, although individual bites may contain larger pieces of chocolate. Finely chopped semisweet chocolate is another option, but it may create streaks of melted chocolate in the crumb.
Step-by-Step Instructions
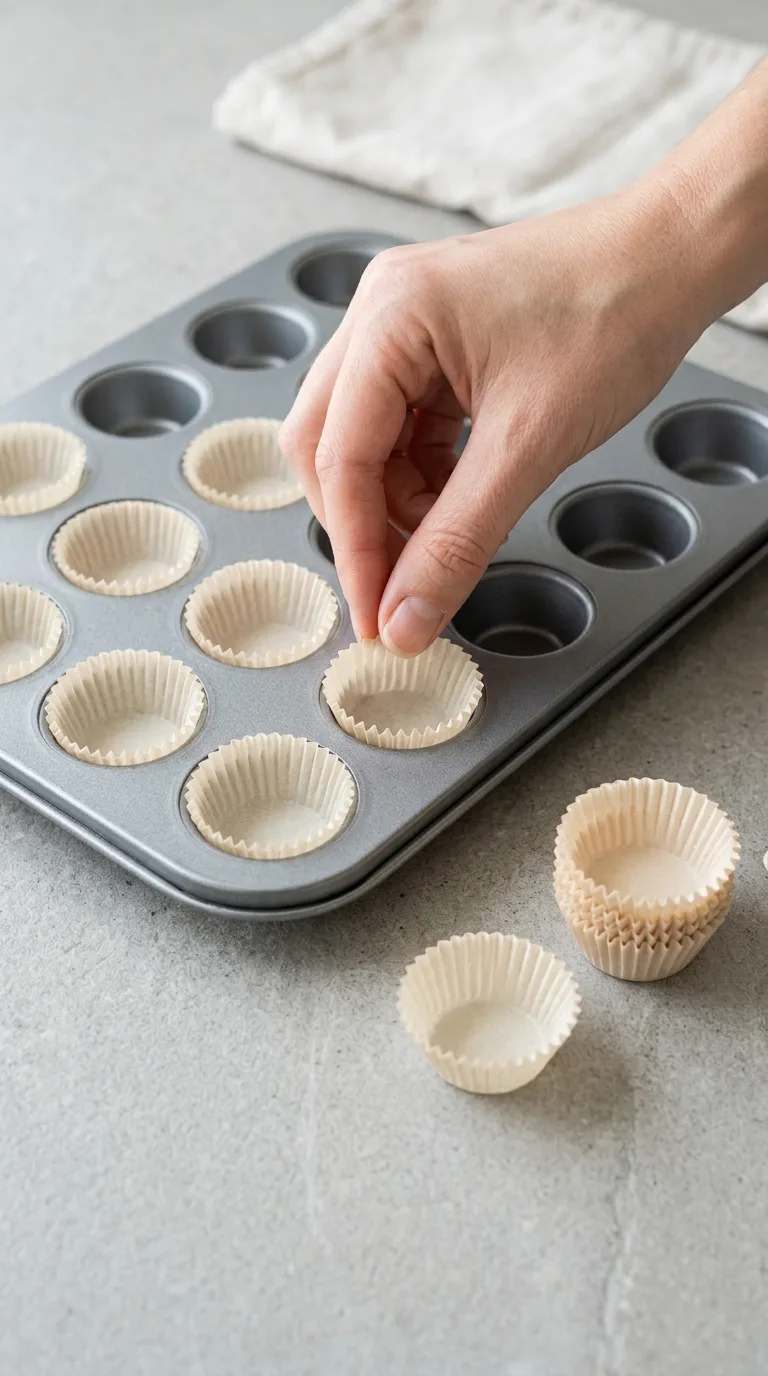
1. Preheat the Oven and Prepare the Pan
Preheat your oven to 350°F (175°C).
Line a 24-cup mini muffin pan with mini paper liners, or use a clean, well-seasoned nonstick pan if you prefer muffins without liners.
Make sure the muffin cavities are clean and dry before adding the batter. This helps the muffins release more easily after baking.
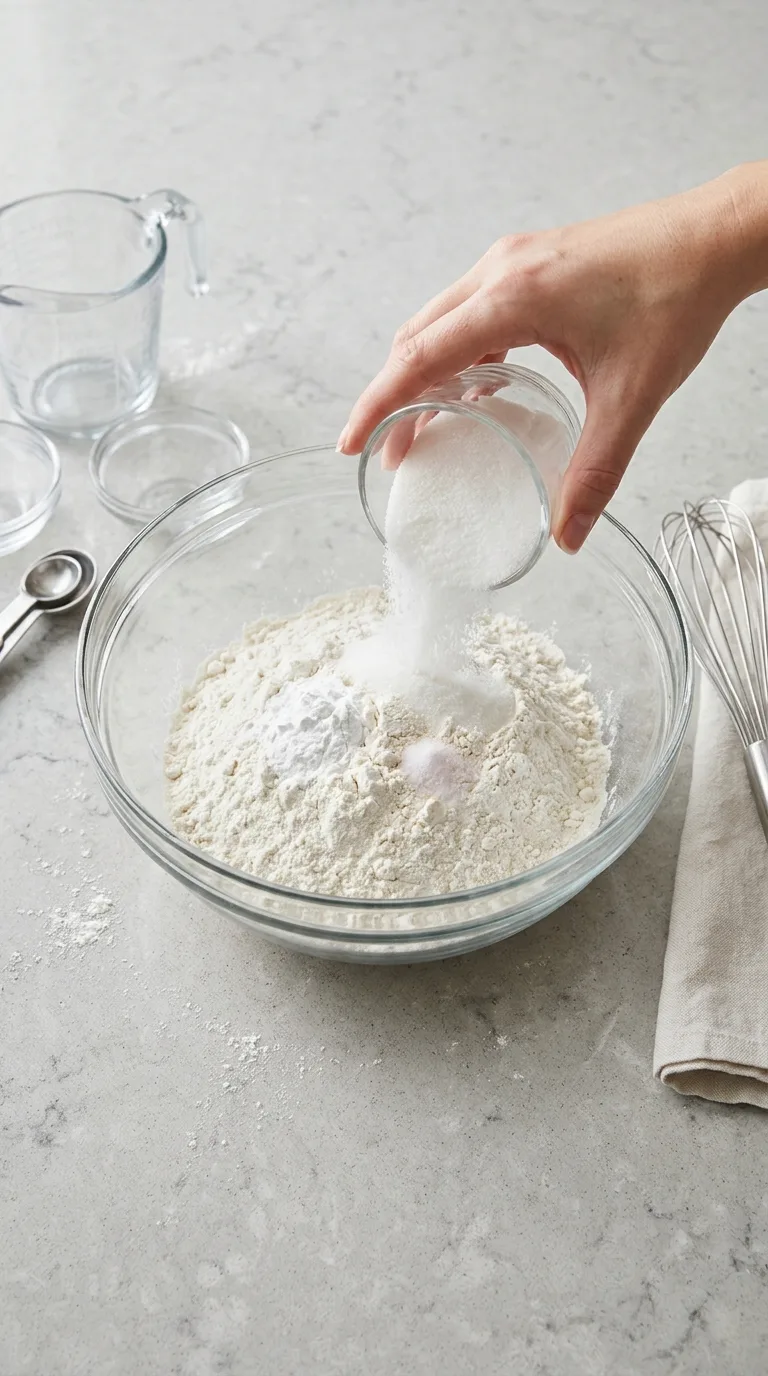
2. Combine the Dry Ingredients
In a large mixing bowl, add the all-purpose flour, granulated sugar, baking powder, and fine salt.
Whisk until everything is evenly distributed and no visible pockets of baking powder remain.
The mixture should look uniform, loose, and slightly powdery. Breaking up small flour lumps at this stage helps prevent excessive stirring later.
3. Mix the Wet Ingredients
In a separate medium bowl, whisk the egg until the yolk and white are fully combined.
Add the whole milk, melted and cooled butter, and vanilla extract. Whisk until the mixture looks mostly smooth and evenly blended.
A few tiny droplets of butter may remain visible, especially if the milk is cooler than the butter. This is normal.
4. Combine the Wet and Dry Mixtures
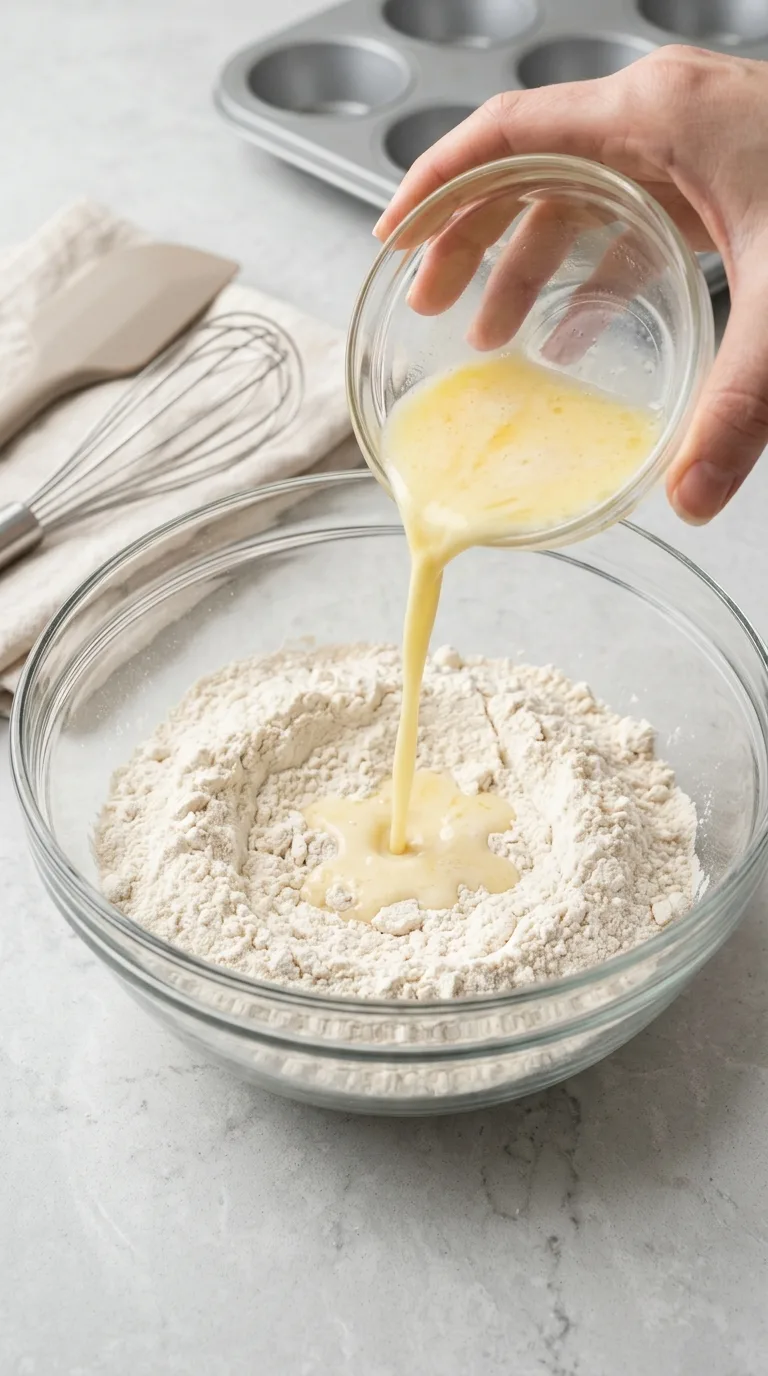
Pour the wet mixture into the bowl of dry ingredients.
Using a silicone spatula, gently fold the ingredients together until the flour is just incorporated.
The batter should be thick, soft, and scoopable rather than thin or runny.
A few small lumps are completely normal. Avoid stirring until perfectly smooth, as overmixing can develop too much gluten and produce tough muffins.
If you notice a few dry streaks, fold the batter gently until they disappear.
5. Fold in the Chocolate Chips
Add 1/3 cup (about 57 g) mini semisweet chocolate chips to the batter.
Fold gently until the chocolate chips are distributed throughout.
The batter should remain thick enough to hold the chips in place without them immediately sinking to the bottom.
Avoid excessive mixing at this stage.
6. Fill the Mini Muffin Pan
Divide the batter evenly among the 24 prepared mini muffin cavities, filling each approximately three-quarters full.
A small cookie scoop makes portioning easier and helps keep the muffins similar in size.
Do not pack the batter down. Let it settle naturally into the cavities.
The surface may look slightly uneven, which is normal for muffin batter.
7. Add the Remaining Chocolate Chips
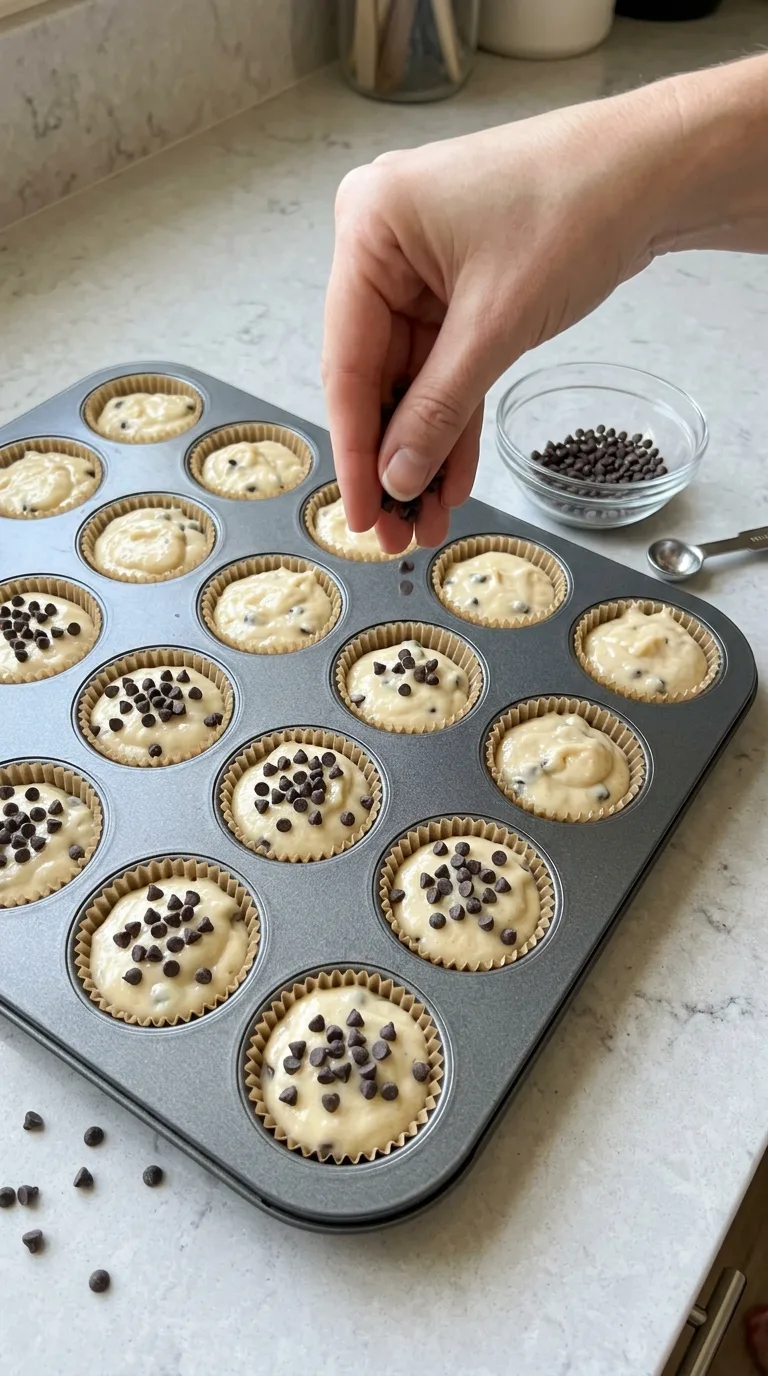
Sprinkle the reserved 2 tablespoons plus 2 teaspoons (about 28 g) mini semisweet chocolate chips over the tops of the unbaked muffins.
Press them very lightly into the surface so they stay in place as the batter rises.
Keeping some chocolate chips on top makes the finished muffins look more appealing and gives each muffin a visible chocolate topping.
8. Bake Until Lightly Golden
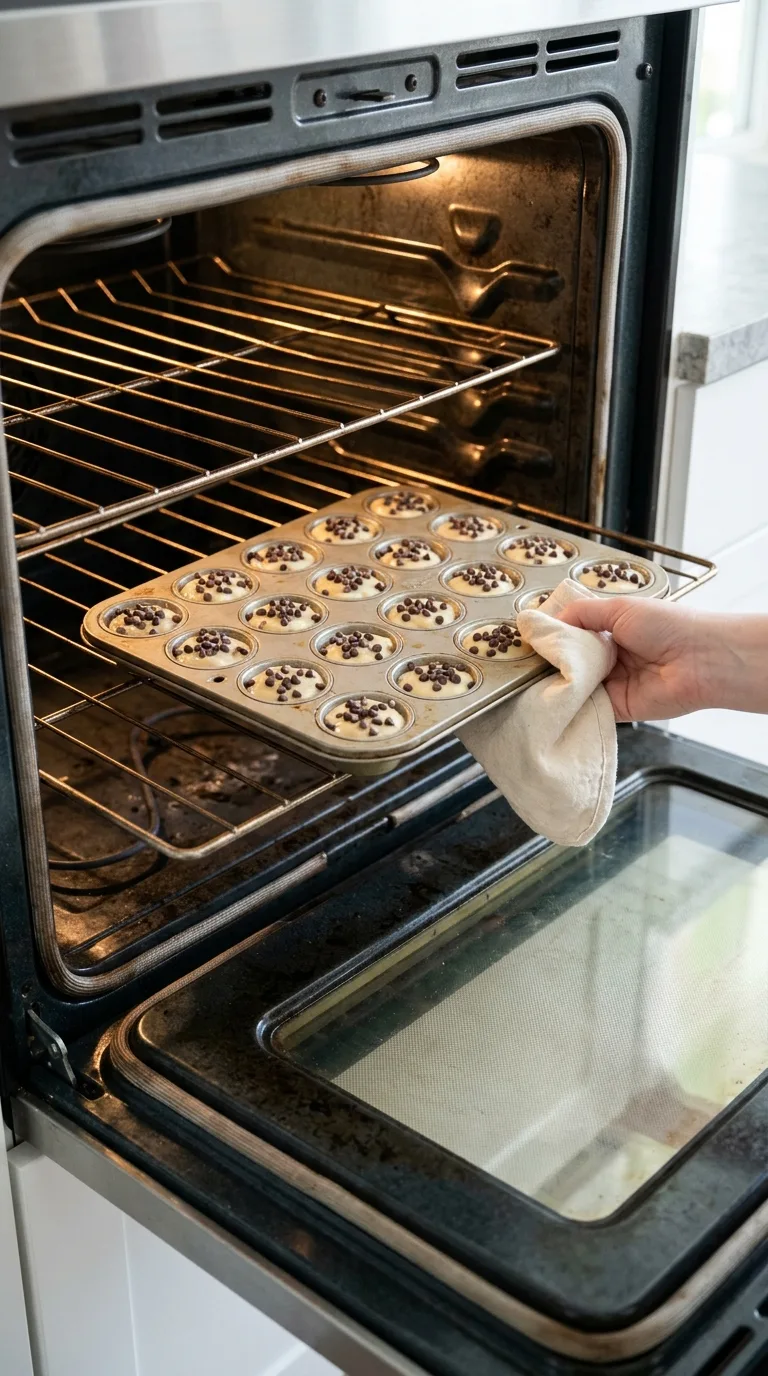
Place the muffin pan on the center rack of the preheated 350°F (175°C) oven.
Bake for approximately 12 minutes, until the tops are set and the edges are lightly golden.
The muffins should rise into small, gently rounded domes.
To check for doneness, insert a toothpick into the center of a muffin, avoiding a visible chocolate chip. It should come out clean or with a few moist crumbs, but no wet batter.
If the centers still appear wet, continue baking briefly and check again. Oven performance and individual pan dimensions can affect the exact finish.
9. Cool the Muffins
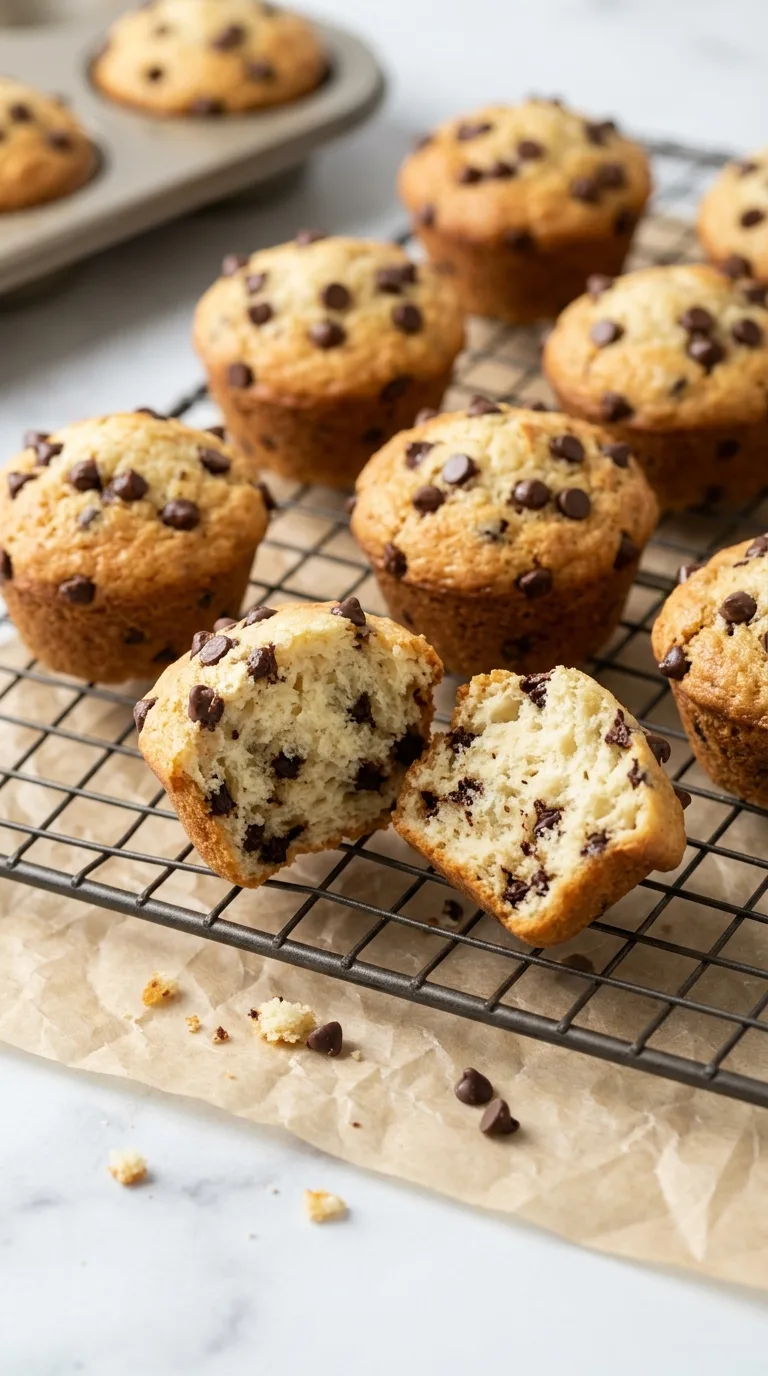
Remove the pan from the oven and allow the muffins to cool in the pan for 5 minutes.
The muffins will continue to firm up slightly as they cool, making them easier to remove without tearing.
Carefully transfer them to a wire rack and let them cool for another 5 minutes before serving.
The tops should feel lightly springy, and the interiors should remain soft and tender.
Storage, Freezing, and Make-Ahead Instructions
- Room-Temperature Storage: Allow the mini chocolate chip muffins to cool completely before storing. Place them in an airtight container lined with a paper towel. A second paper towel over the muffins can help absorb excess moisture and prevent sticky tops. Store at room temperature for up to 2 days in a cool, dry kitchen. Avoid sealing the muffins while warm, as trapped steam can make the tops damp and the liners soggy.
- Refrigerator Storage: For longer storage, place the cooled muffins in an airtight container and refrigerate for up to 5 days. Refrigeration can make the crumb feel firmer, so allow the muffins to return toward room temperature before serving. Keep the container sealed to reduce moisture loss and prevent the muffins from absorbing refrigerator odors.
- Freezing Instructions: These muffins can be frozen after baking. Arrange completely cooled muffins in a single layer on a tray and freeze until firm. Transfer them to a freezer-safe bag or airtight freezer container. Remove as much excess air as possible before sealing. For best quality, use within 3 months. Freeze the muffins with their chocolate chips already baked into the tops. No separate topping preparation is needed after thawing.
- Thawing and Reheating: Thaw frozen muffins in a covered container at room temperature until soft. For a freshly warmed texture, microwave an individual muffin in short bursts until just warm. Avoid overheating, which can make the crumb rubbery. Alternatively, warm the muffins briefly in a low oven, loosely covered to reduce moisture loss.
- Make-Ahead Preparation: The muffins can be baked ahead and stored using the methods above. For the most consistent rise, bake the batter soon after combining the wet and dry ingredients rather than refrigerating the fully mixed batter overnight. You can also measure the dry ingredients ahead of time and keep them in a sealed container until you are ready to bake.
FAQ
Can I make mini chocolate chip muffins ahead of time?
Yes. These muffins can be baked in advance and stored in an airtight container or frozen for longer storage. Allow them to cool completely before packing them away. Freezing is particularly useful when preparing individual breakfast portions or lunchbox snacks.
Why are my mini chocolate chip muffins dense instead of fluffy?
Dense muffins are often caused by overmixing the batter, adding too much flour, or using baking powder that has lost its effectiveness. Mix only until the dry ingredients disappear into the wet mixture. The batter should remain thick and slightly lumpy rather than perfectly smooth.
Can I use regular chocolate chips instead of mini chocolate chips?
Yes. Regular semisweet chocolate chips can be used in the same weight. However, because the muffins are small, larger chips may be less evenly distributed. Finely chopping the chocolate is another option if you want smaller pieces throughout the crumb.
How do I know when mini chocolate chip muffins are fully baked?
The tops should be set and lightly spring back when gently touched. The edges may appear lightly golden. A toothpick inserted into the center, away from melted chocolate, should come out without wet batter. Avoid baking until the muffins become deeply browned, as that can dry out their small interiors.
Can I bake this batter in a standard muffin pan?
Yes, but the yield and baking time will change. Standard muffin cavities hold considerably more batter than mini muffin cavities, so the muffins will need additional time in the oven. Fill the cavities to a similar level and check doneness with a toothpick. Do not rely on the mini muffin baking time for a larger pan.
Ingredients
Method
- Preheat your oven to 350°F (175°C). Line a 24-cup mini muffin pan with mini paper liners, or use a clean, well-seasoned nonstick pan if you prefer muffins without liners. Make sure the muffin cavities are clean and dry before adding the batter. This helps the muffins release more easily after baking.
- In a large mixing bowl, add the all-purpose flour, granulated sugar, baking powder, and fine salt. Whisk until everything is evenly distributed and no visible pockets of baking powder remain. The mixture should look uniform, loose, and slightly powdery. Breaking up small flour lumps at this stage helps prevent excessive stirring later.
- In a separate medium bowl, whisk the egg until the yolk and white are fully combined. Add the whole milk, melted and cooled butter, and vanilla extract. Whisk until the mixture looks mostly smooth and evenly blended. A few tiny droplets of butter may remain visible, especially if the milk is cooler than the butter. This is normal.
- Pour the wet mixture into the bowl of dry ingredients. Using a silicone spatula, gently fold the ingredients together until the flour is just incorporated. The batter should be thick, soft, and scoopable rather than thin or runny. A few small lumps are completely normal. Avoid stirring until perfectly smooth, as overmixing can develop too much gluten and produce tough muffins. If you notice a few dry streaks, fold the batter gently until they disappear.
- Add 1/3 cup (about 57 g) mini semisweet chocolate chips to the batter. Fold gently until the chocolate chips are distributed throughout. The batter should remain thick enough to hold the chips in place without them immediately sinking to the bottom. Avoid excessive mixing at this stage.
- Divide the batter evenly among the 24 prepared mini muffin cavities, filling each approximately three-quarters full. A small cookie scoop makes portioning easier and helps keep the muffins similar in size. Do not pack the batter down. Let it settle naturally into the cavities. The surface may look slightly uneven, which is normal for muffin batter.
- Sprinkle the reserved 2 tablespoons plus 2 teaspoons (about 28 g) mini semisweet chocolate chips over the tops of the unbaked muffins. Press them very lightly into the surface so they stay in place as the batter rises. Keeping some chocolate chips on top makes the finished muffins look more appealing and gives each muffin a visible chocolate topping.
- Place the muffin pan on the center rack of the preheated 350°F (175°C) oven. Bake for approximately 12 minutes, until the tops are set and the edges are lightly golden. The muffins should rise into small, gently rounded domes. To check for doneness, insert a toothpick into the center of a muffin, avoiding a visible chocolate chip. It should come out clean or with a few moist crumbs, but no wet batter. If the centers still appear wet, continue baking briefly and check again. Oven performance and individual pan dimensions can affect the exact finish.
- Remove the pan from the oven and allow the muffins to cool in the pan for 5 minutes. The muffins will continue to firm up slightly as they cool, making them easier to remove without tearing. Carefully transfer them to a wire rack and let them cool for another 5 minutes before serving. The tops should feel lightly springy, and the interiors should remain soft and tender.