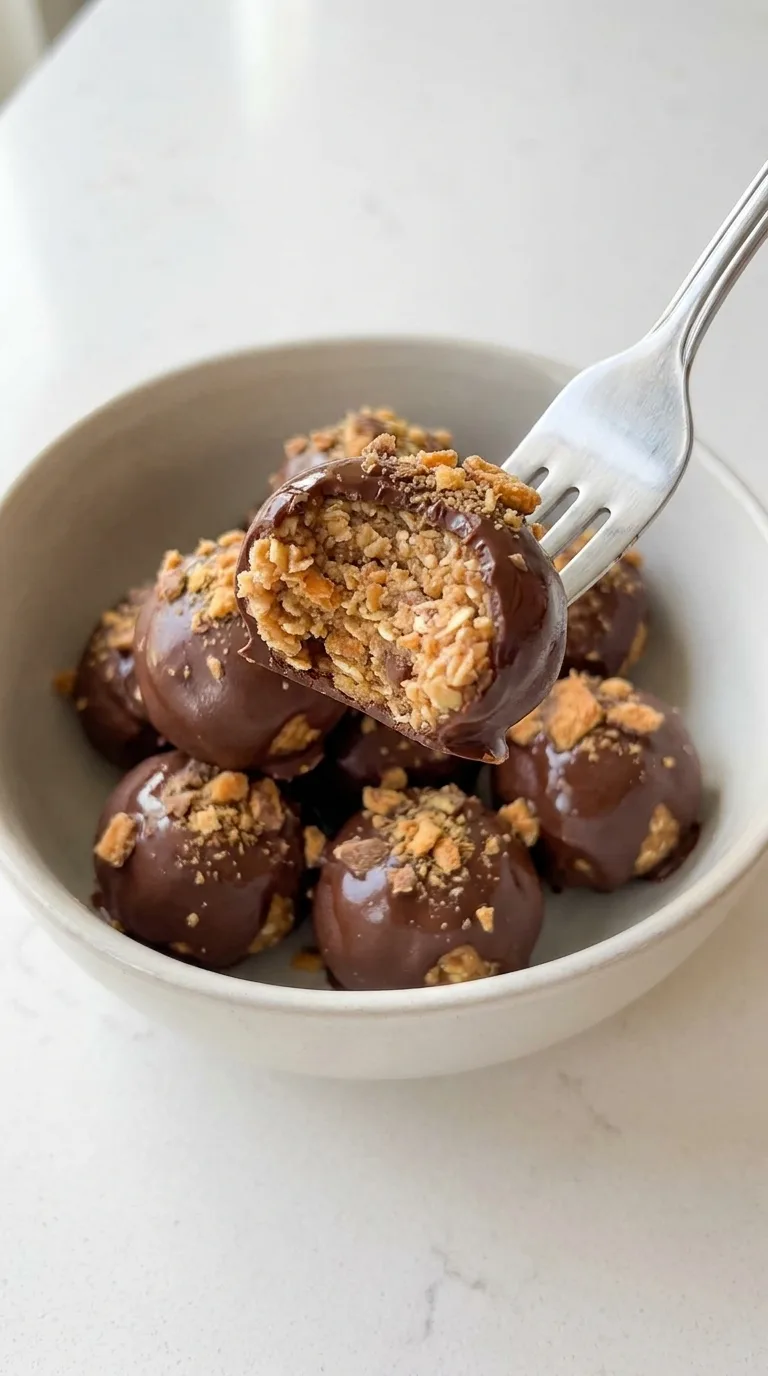
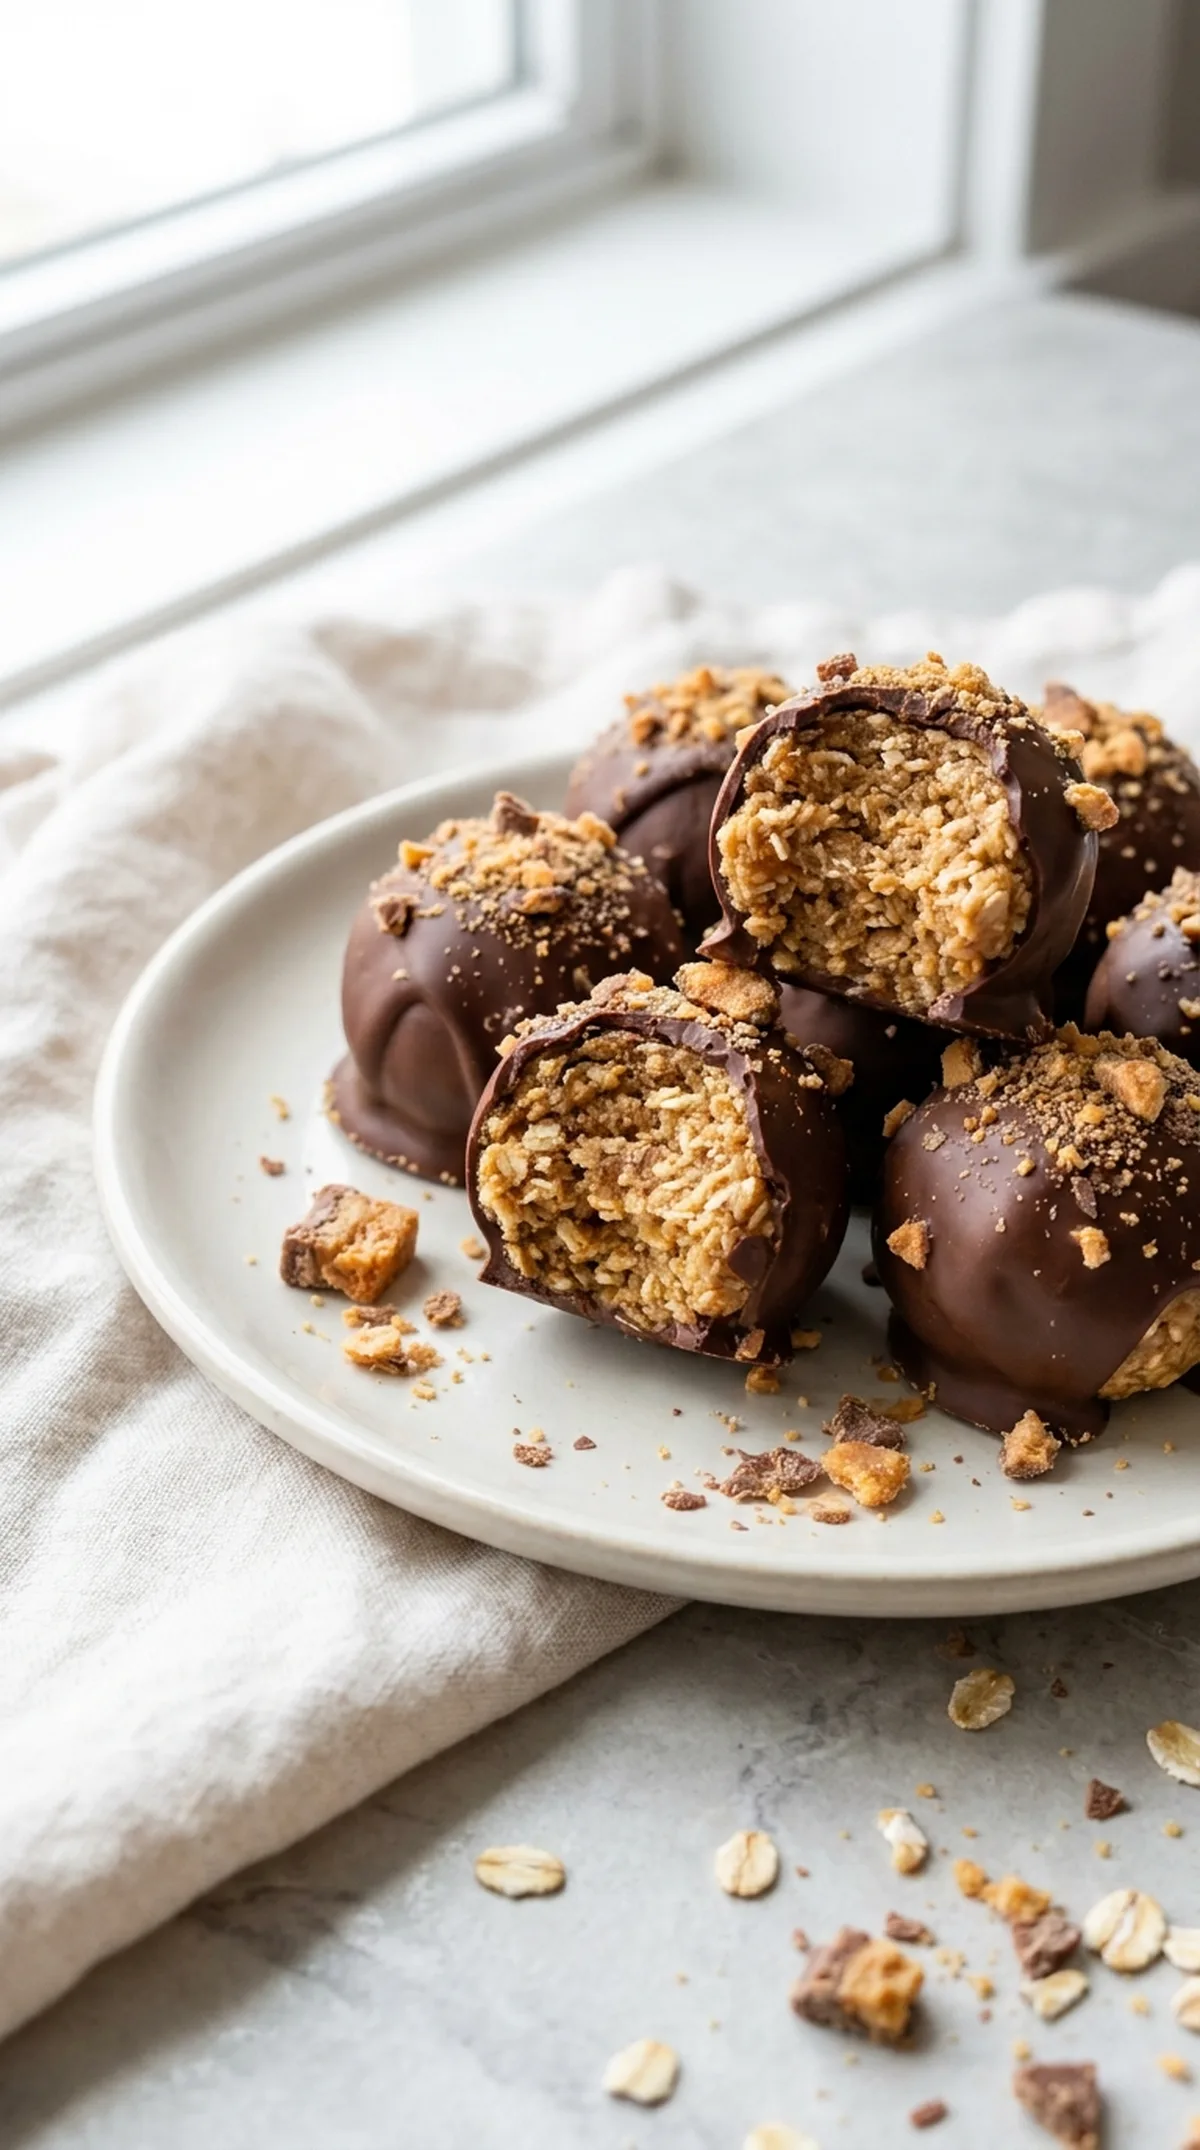
Butterfinger Bliss Balls are no-bake peanut butter truffles filled with crushed Butterfinger candy, rolled oats, and a little honey, then coated in melted chocolate. They have a soft, chewy center with crisp candy pieces and a thin chocolate shell that firms as the balls chill.
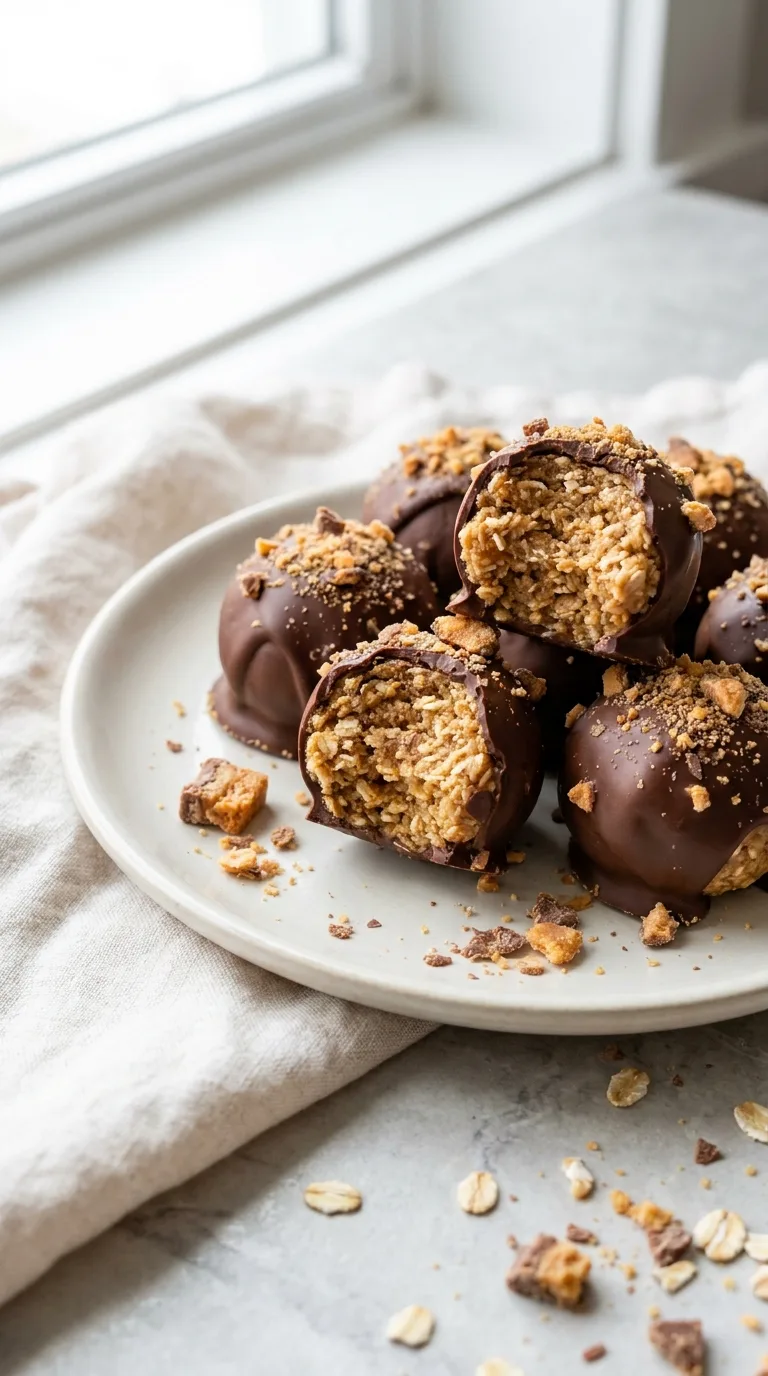
The mixture comes together without an oven, but chilling is important at two stages: first to make the filling easier to shape, and again to set the chocolate coating. Keep the finished bites refrigerated for the firmest texture.
Recipe at a Glance
- Prep Time: 30 minutes
- Cook Time: 0 minutes
- Additional Time: 1 hour 30 minutes
- Total Time: 2 hours
- Yield: 24 bliss balls
- Servings: 12
- Category: Desserts
- Cuisine: American
- Cooking Method: No-Bake
- Difficulty: Easy
Why You'll Love This Recipe
- Creamy peanut butter binds the filling while reinforcing the peanut flavor of the candy.
- Finely ground rolled oats absorb moisture and give the centers structure without requiring baking.
- Crushed Butterfinger adds crisp texture and a caramelized peanut-butter flavor throughout the filling.
- Chilling the shaped balls before dipping keeps them firm enough to coat cleanly in warm chocolate.
- A small amount of coconut oil thins the chocolate coating so it sets in a smooth, relatively thin shell.
Equipment Needed
- Food processor or high-speed blender
- Medium mixing bowl
- Small microwave-safe bowl or double boiler
- 1-tablespoon cookie scoop
- Fork or dipping tool
- Large rimmed baking sheet
- Parchment paper
Ingredients You'll Need
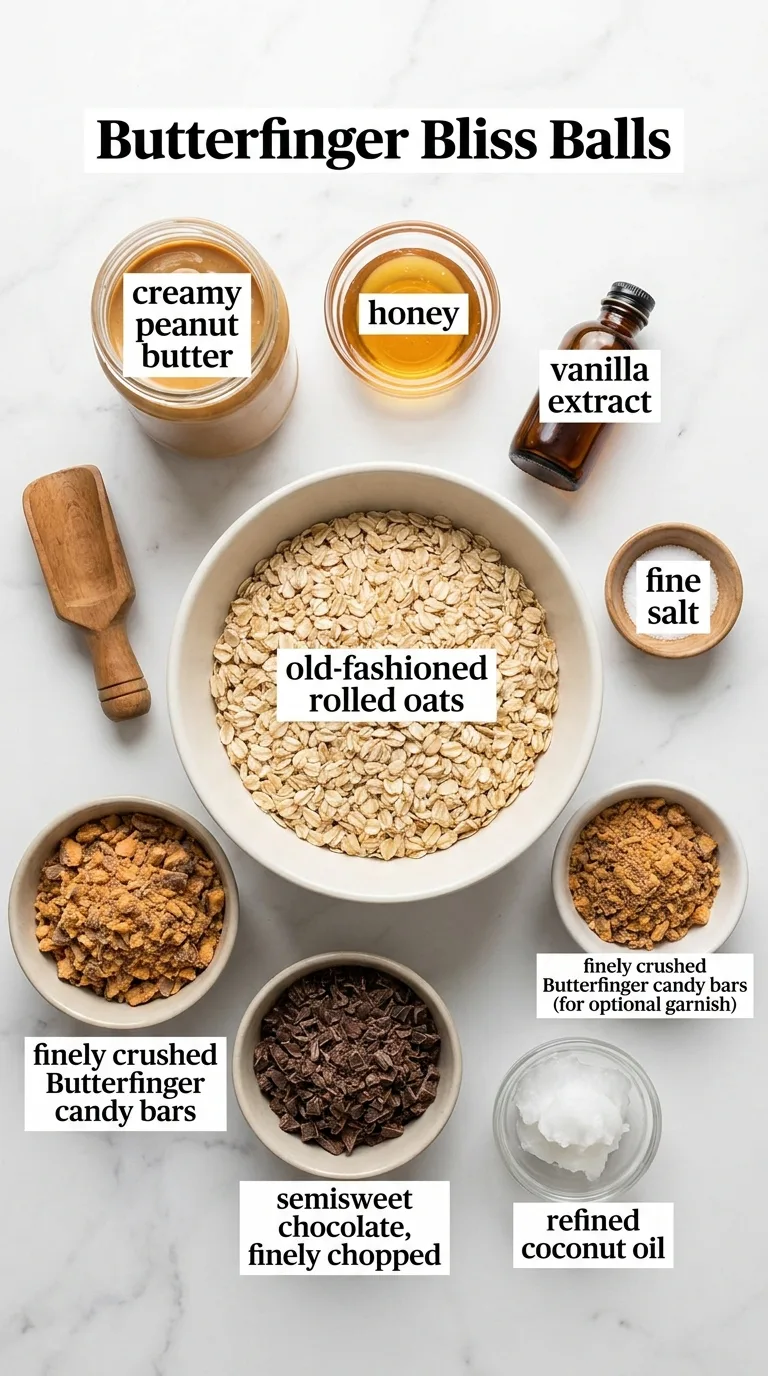
For the Bliss Ball Filling
- ⭐ 1 1/2 cups (135 g) old-fashioned rolled oats
- ⭐ 3/4 cup (190 g) creamy peanut butter
- ⭐ 1/3 cup (115 g) honey
- ⭐ 1 teaspoon (5 ml) vanilla extract
- ⭐ 1/4 teaspoon fine salt
- ⭐ 1 cup (140 g) finely crushed Butterfinger candy bars
For the Chocolate Coating
- ⭐ 8 ounces (225 g) semisweet chocolate, finely chopped
- ⭐ 2 teaspoons (10 ml) refined coconut oil
Optional Topping
- ⭐ 1/4 cup (35 g) finely crushed Butterfinger candy bars, optional
How to Make Butterfinger Bliss Balls
Prepare the Baking Sheet
Line a large rimmed baking sheet or tray with parchment paper. Make enough room in the refrigerator or freezer for the tray to sit flat. This will prevent the bliss balls from sticking and ensure they maintain their shape as they chill.
Grind the Oats
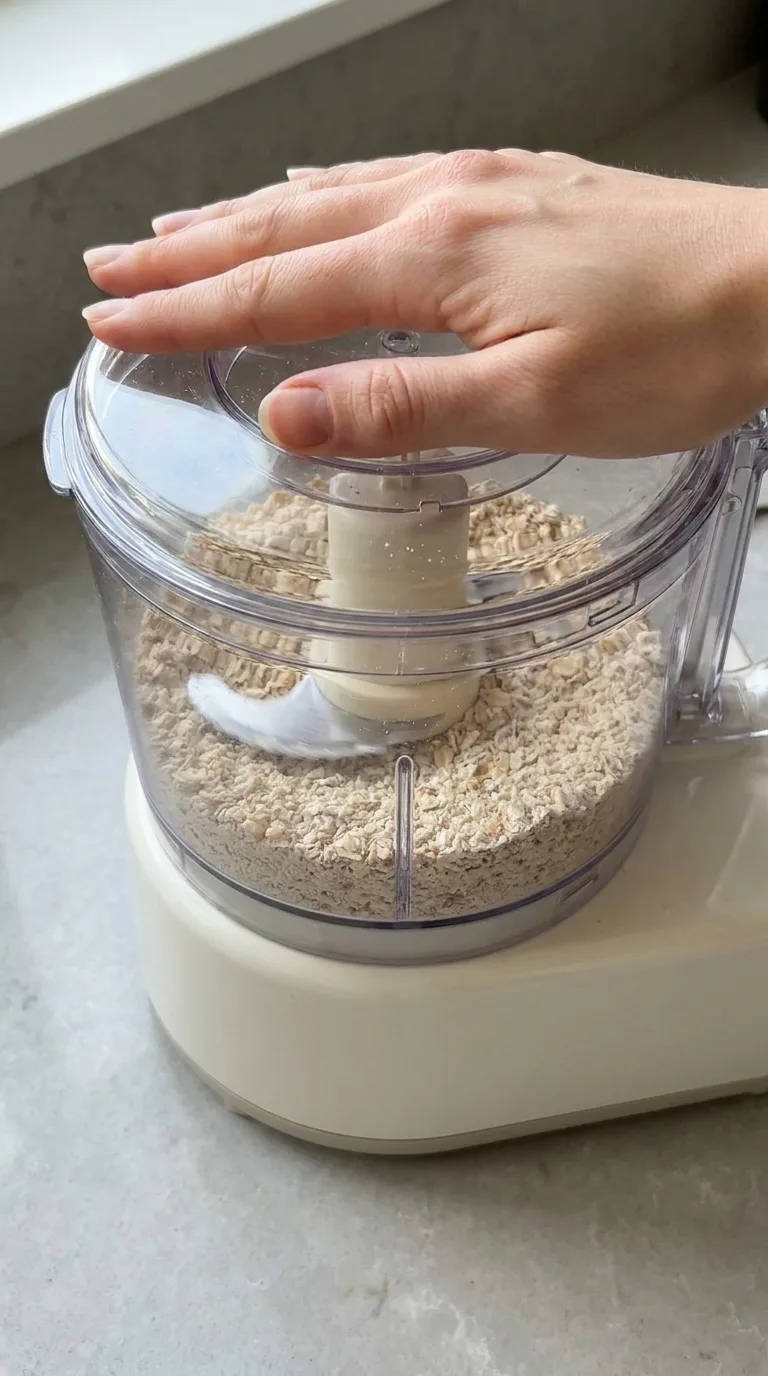
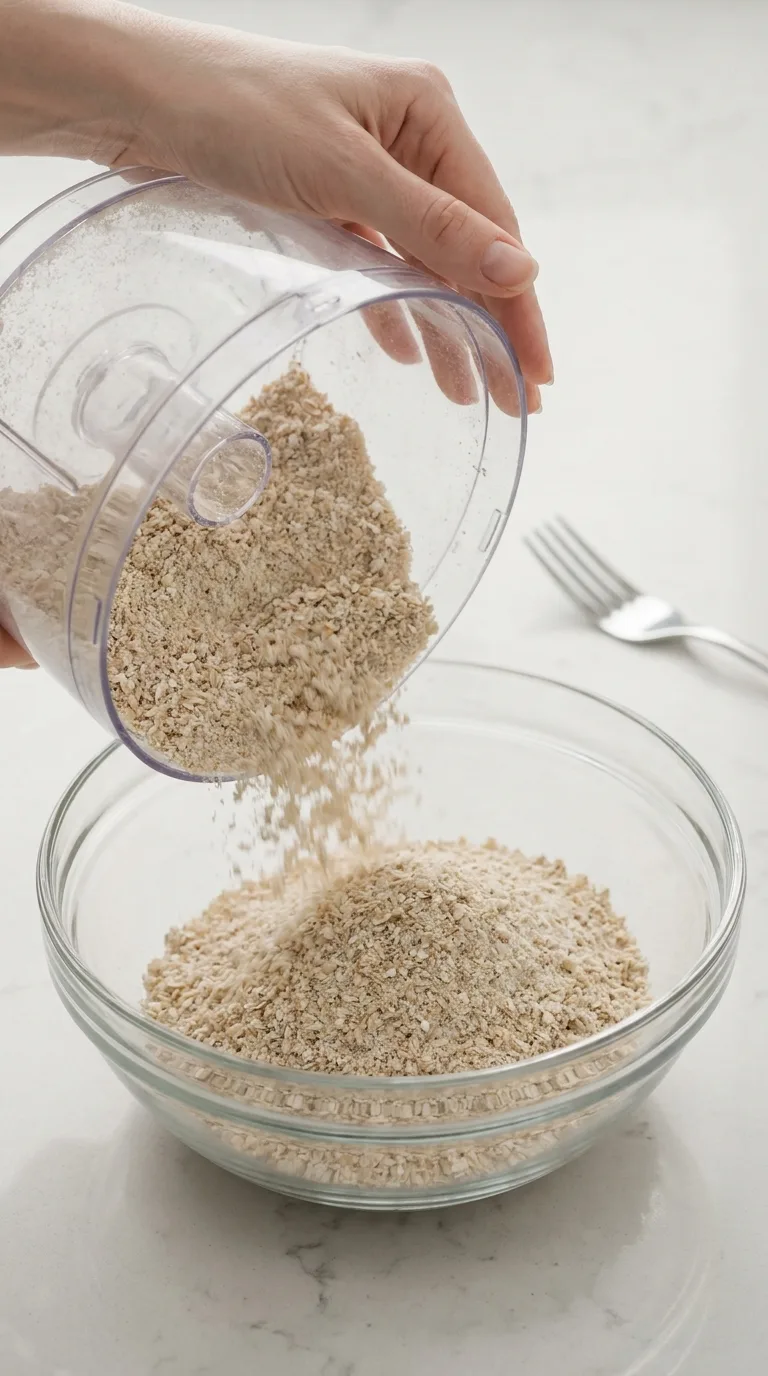
Add the rolled oats to a food processor. Process for 30 to 45 seconds, until they resemble a coarse flour with only a few small oat pieces remaining. This step is crucial for achieving a smooth filling that holds together well.
Mix the Base
Transfer the ground oats to a medium mixing bowl. Add the peanut butter, honey, vanilla, and salt. Stir until the mixture is thick, evenly moistened, and holds together when pressed. The consistency should be sticky but manageable for shaping into balls.
Add the Butterfinger Candy
Fold in the 1 cup (140 g) crushed Butterfinger candy. The filling should remain soft but scoopable, with small crisp candy pieces distributed throughout. This adds texture and flavor to the bliss balls.
Adjust the Consistency if Necessary
If the mixture feels too sticky to shape, refrigerate it for 10 minutes before adding anything else. If it is still very soft, mix in 1 tablespoon of additional ground oats at a time. Avoid making the filling dry or crumbly, as this will affect the final texture.
Shape the Bliss Balls
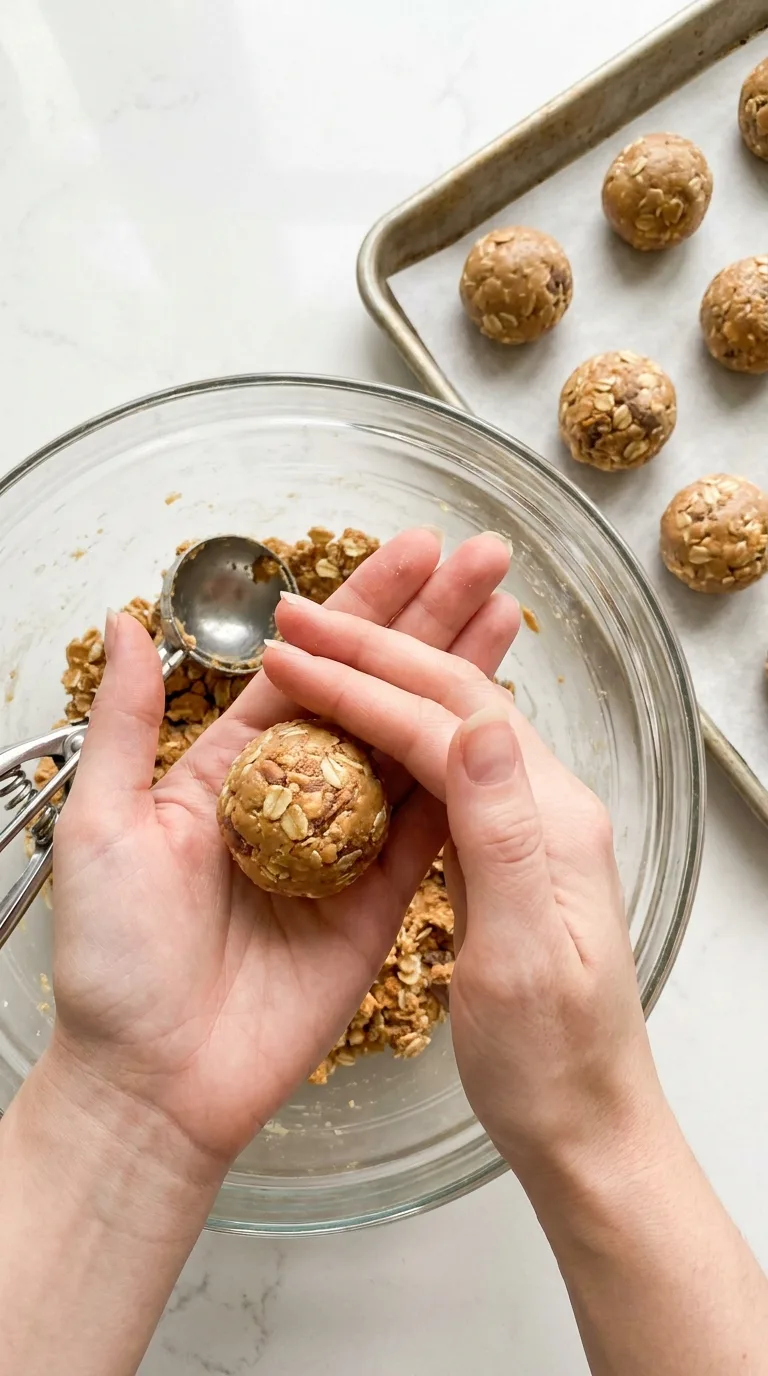
Scoop approximately 1 tablespoon of filling at a time and roll gently between your palms into a ball about 1 1/4 inches (3 cm) wide. Arrange the balls on the prepared tray. You should have about 24. Ensure they are evenly shaped for consistent chilling and coating.
Chill Until Firm
Refrigerate the shaped balls for 30 minutes, or freeze for about 15 minutes. They should feel firm enough to lift without losing their shape but should not be frozen solid. This step is essential for easy coating in chocolate.
Melt the Chocolate
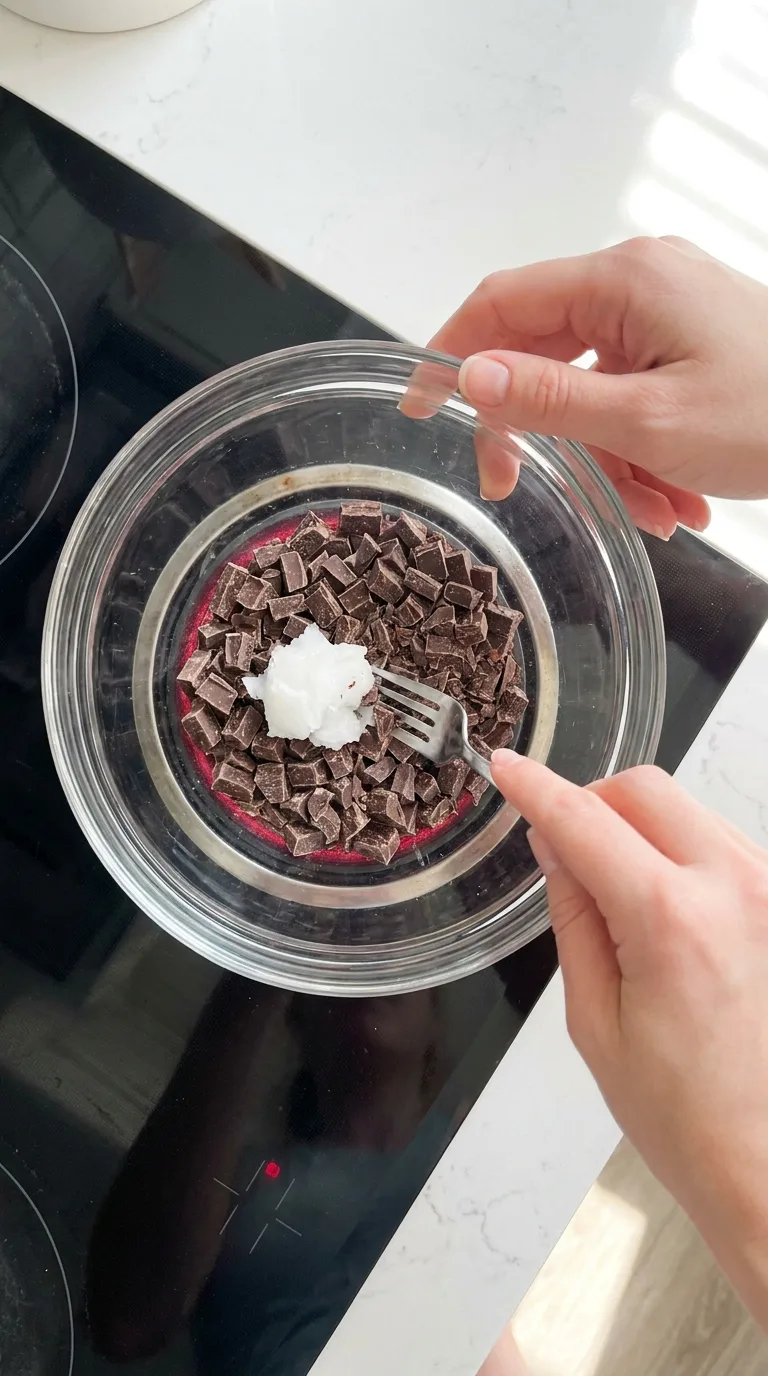
Place the chopped semisweet chocolate and coconut oil in a microwave-safe bowl. Microwave in 20-second intervals, stirring thoroughly after each interval, until nearly melted. Stir until completely smooth. Alternatively, melt gently over a double boiler to prevent overheating.
Coat the First Ball
Drop one chilled ball into the melted chocolate. Turn it with a fork until fully coated, then lift it out and tap the fork gently against the bowl so excess chocolate drips away. This technique helps achieve a smooth coating without excess chocolate pooling at the bottom.
Transfer and Decorate
Place the coated ball back on the parchment-lined tray. Immediately sprinkle with some of the optional crushed Butterfinger candy before the chocolate begins to set. This adds an appealing finish and extra crunch to the bliss balls.
Coat the Remaining Balls
Repeat with the remaining filling. If the chocolate thickens, warm it briefly for 10 seconds and stir. If the uncoated balls become very soft, return them to the refrigerator for a few minutes to firm up before continuing.
Chill to Set the Coating
Refrigerate the coated bliss balls for at least 45 minutes, until the chocolate is completely firm and releases cleanly from the parchment. This ensures a clean finish and prevents the chocolate from smudging when served.
Serve Chilled or Slightly Softened
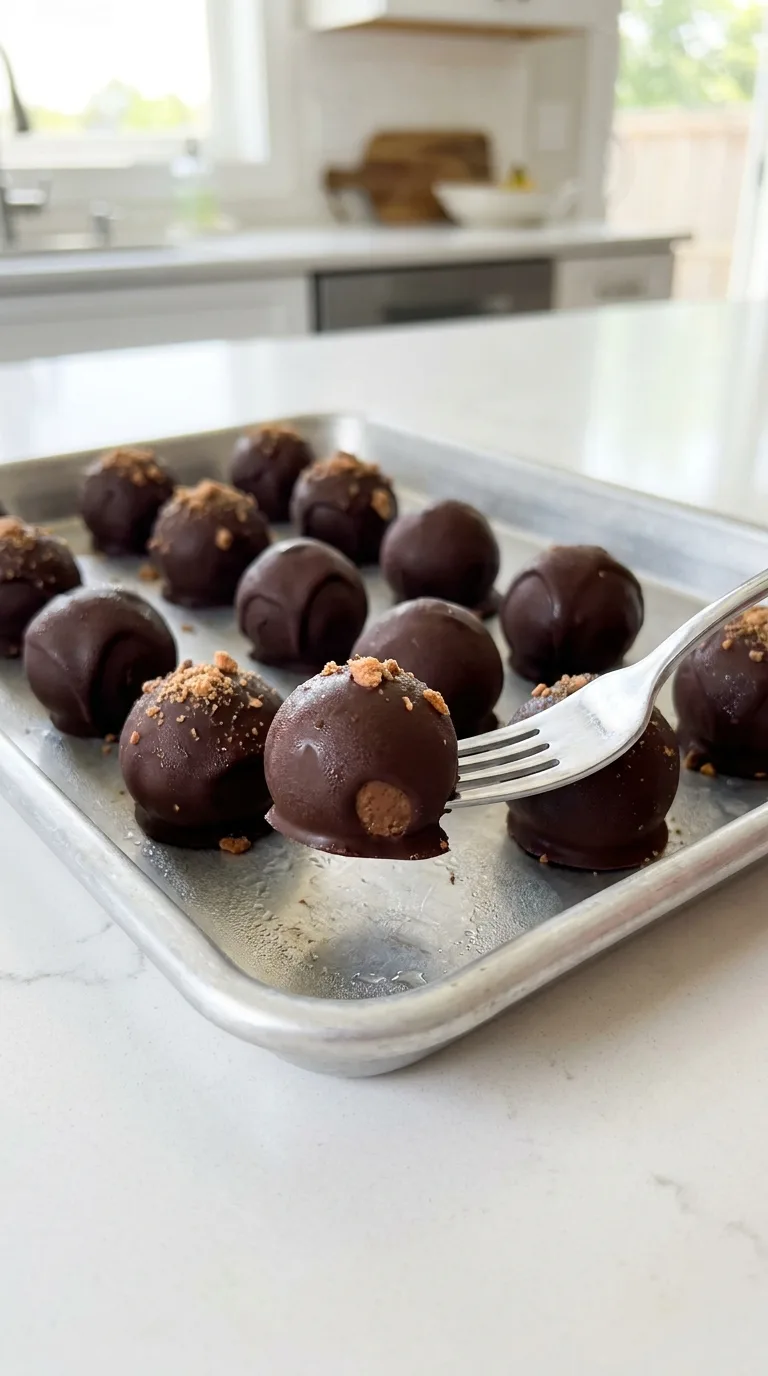
Serve directly from the refrigerator for a firm center, or let the bliss balls stand at room temperature for 5 to 10 minutes for a softer, chewier texture. This flexibility allows for different preferences in texture when serving.
Tips for Success
- Grind the oats before mixing so the centers are cohesive rather than coarse and crumbly.
- Chill the filling before coating; warm peanut butter centers can soften quickly in melted chocolate.
- Crush the candy into mostly small pieces so large shards do not make the balls difficult to shape.
- Melt the chocolate gently and stir often. Overheated chocolate can become thick, dull, or grainy.
- Sprinkle the optional candy topping on each ball immediately after dipping so it adheres before the coating sets.
- Keep the finished bliss balls refrigerated because the peanut butter filling softens at warm room temperature.
Storage, Freezing, and Make-Ahead Instructions
Store Butterfinger Bliss Balls in a single layer or between sheets of parchment paper in an airtight container in the refrigerator for up to 1 week.
For freezing, arrange the finished balls in a freezer-safe container with parchment between layers. Freeze for up to 2 months. Thaw them in the refrigerator for several hours or overnight before serving to reduce condensation on the chocolate.
The filling can be mixed and shaped up to 2 days before coating. Keep the uncoated balls covered and refrigerated, then dip them in chocolate when convenient.
Avoid prolonged room-temperature storage because the filling and chocolate will soften, especially in a warm kitchen.
FAQ
Can I make Butterfinger Bliss Balls ahead of time?
Yes. The finished balls can be refrigerated for up to 1 week, making them suitable for preparing several days before serving. Keep them in an airtight container so the candy pieces stay as crisp as possible.
Can I make these without a food processor?
Yes. Use quick oats and crush them as finely as possible with a rolling pin, or substitute an equal weight of oat flour. The centers may be slightly less textured when using oat flour.
Why is my filling too sticky to roll?
The peanut butter may be especially soft or oily. Chill the mixture first. If it remains sticky, add a small amount of additional ground oats until it can be rolled without sticking heavily to your hands.
Can I skip the chocolate coating?
Yes. The balls can be served without chocolate. Chill them thoroughly and roll them in additional crushed Butterfinger candy or finely ground oats if you want a less sticky exterior.
Can I use crunchy peanut butter?
Yes. Crunchy peanut butter can replace creamy peanut butter in the same quantity. The centers will have more peanut pieces and a slightly rougher texture.
Butterfinger Bliss Balls
Ingredients
Method
- Prepare the baking sheet: Line a large rimmed baking sheet or tray with parchment paper. Make enough room in the refrigerator or freezer for the tray to sit flat.
- Grind the oats: Add the rolled oats to a food processor. Process for 30 to 45 seconds, until they resemble a coarse flour with only a few small oat pieces remaining.
- Mix the base: Transfer the ground oats to a medium mixing bowl. Add the peanut butter, honey, vanilla, and salt. Stir until the mixture is thick, evenly moistened, and holds together when pressed.
- Add the Butterfinger candy: Fold in the 1 cup (140 g) crushed Butterfinger candy. The filling should remain soft but scoopable, with small crisp candy pieces distributed throughout.
- Adjust the consistency if necessary: If the mixture feels too sticky to shape, refrigerate it for 10 minutes before adding anything else. If it is still very soft, mix in 1 tablespoon of additional ground oats at a time. Avoid making the filling dry or crumbly.
- Shape the bliss balls: Scoop approximately 1 tablespoon of filling at a time and roll gently between your palms into a ball about 1 1/4 inches (3 cm) wide. Arrange the balls on the prepared tray. You should have about 24.
- Chill until firm: Refrigerate the shaped balls for 30 minutes, or freeze for about 15 minutes. They should feel firm enough to lift without losing their shape but should not be frozen solid.
- Melt the chocolate: Place the chopped semisweet chocolate and coconut oil in a microwave-safe bowl. Microwave in 20-second intervals, stirring thoroughly after each interval, until nearly melted. Stir until completely smooth. Alternatively, melt gently over a double boiler.
- Coat the first ball: Drop one chilled ball into the melted chocolate. Turn it with a fork until fully coated, then lift it out and tap the fork gently against the bowl so excess chocolate drips away.
- Transfer and decorate: Place the coated ball back on the parchment-lined tray. Immediately sprinkle with some of the optional crushed Butterfinger candy before the chocolate begins to set.
- Coat the remaining balls: Repeat with the remaining filling. If the chocolate thickens, warm it briefly for 10 seconds and stir. If the uncoated balls become very soft, return them to the refrigerator for a few minutes.
- Chill to set the coating: Refrigerate the coated bliss balls for at least 45 minutes, until the chocolate is completely firm and releases cleanly from the parchment.
- Serve chilled or slightly softened: Serve directly from the refrigerator for a firm center, or let the bliss balls stand at room temperature for 5 to 10 minutes for a softer, chewier texture.