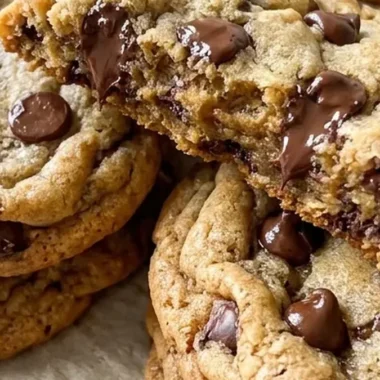
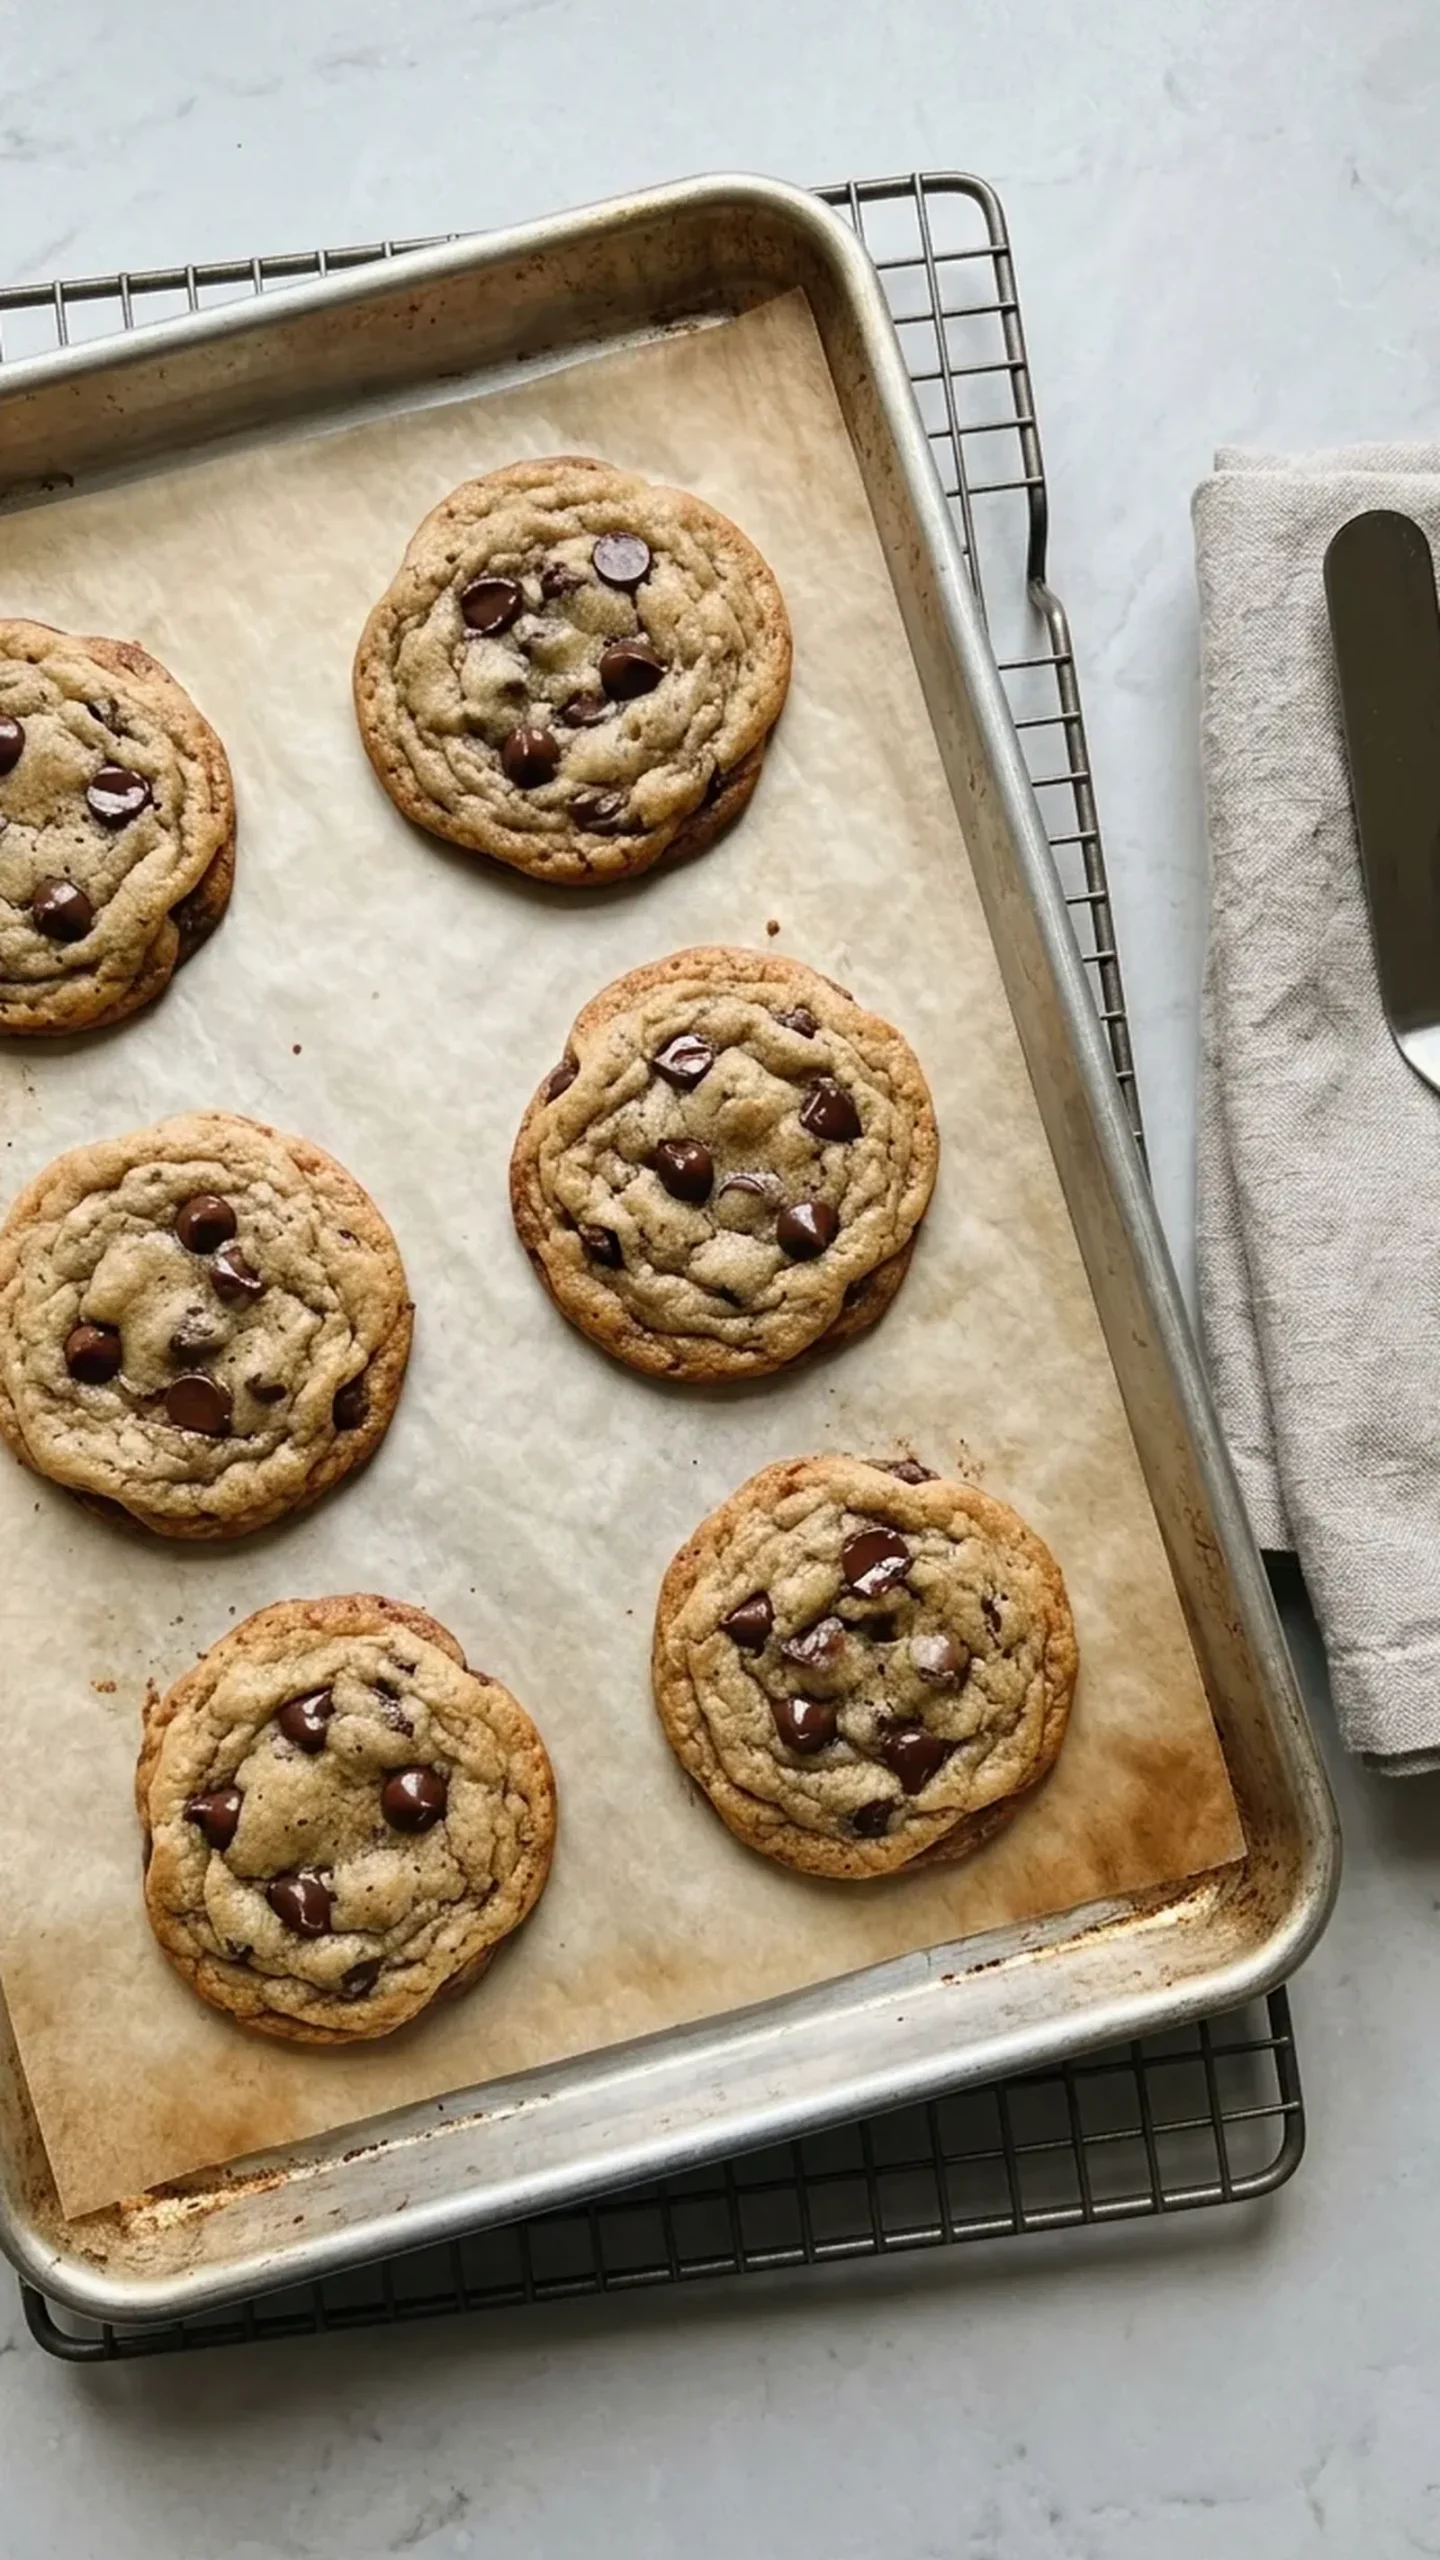
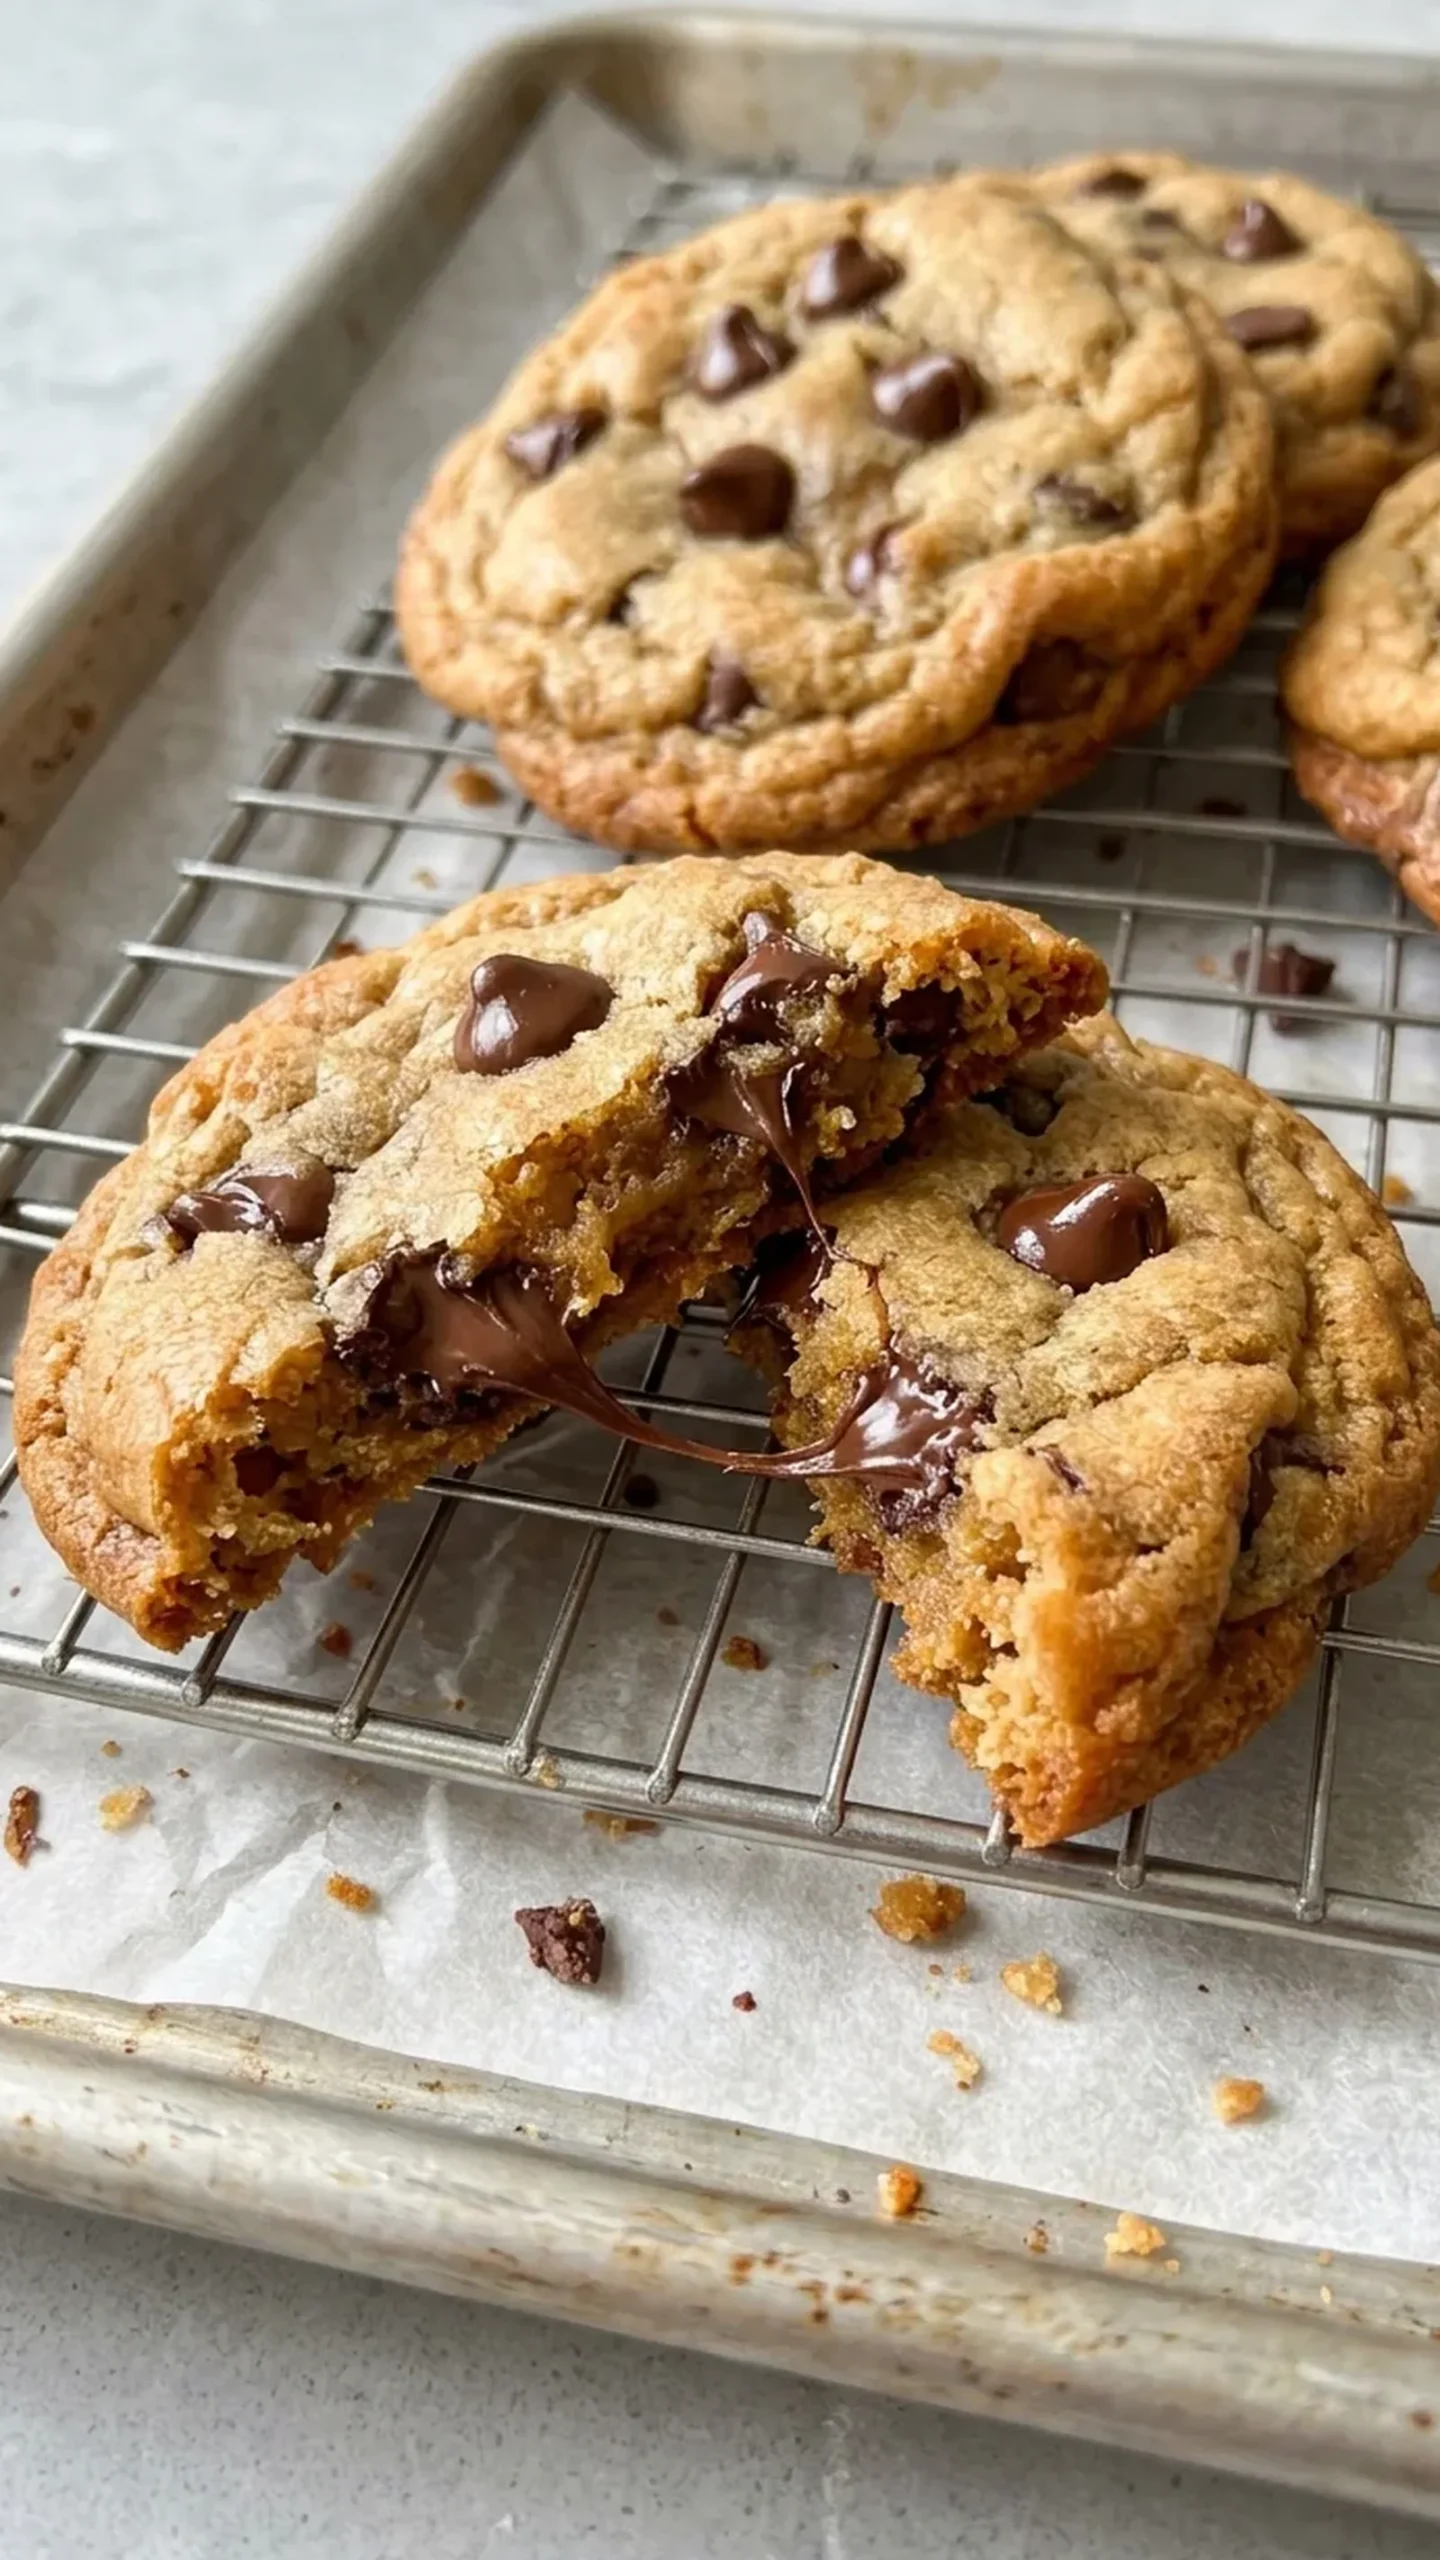
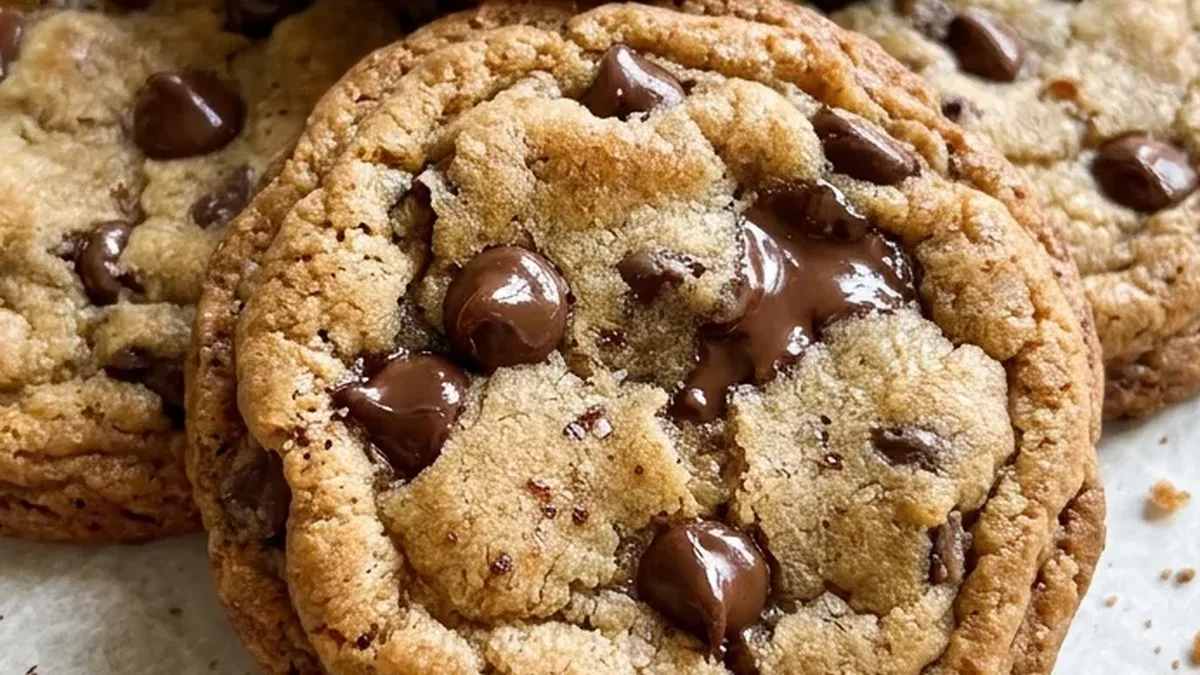
Small Batch Brown Butter Chocolate Chip Cookies are rich, chewy cookies with golden, lightly crisp edges, soft centers, and pockets of melted chocolate. Browning the butter gives the dough a deep, nutty flavor with subtle caramel notes, while brown sugar helps keep the centers tender.
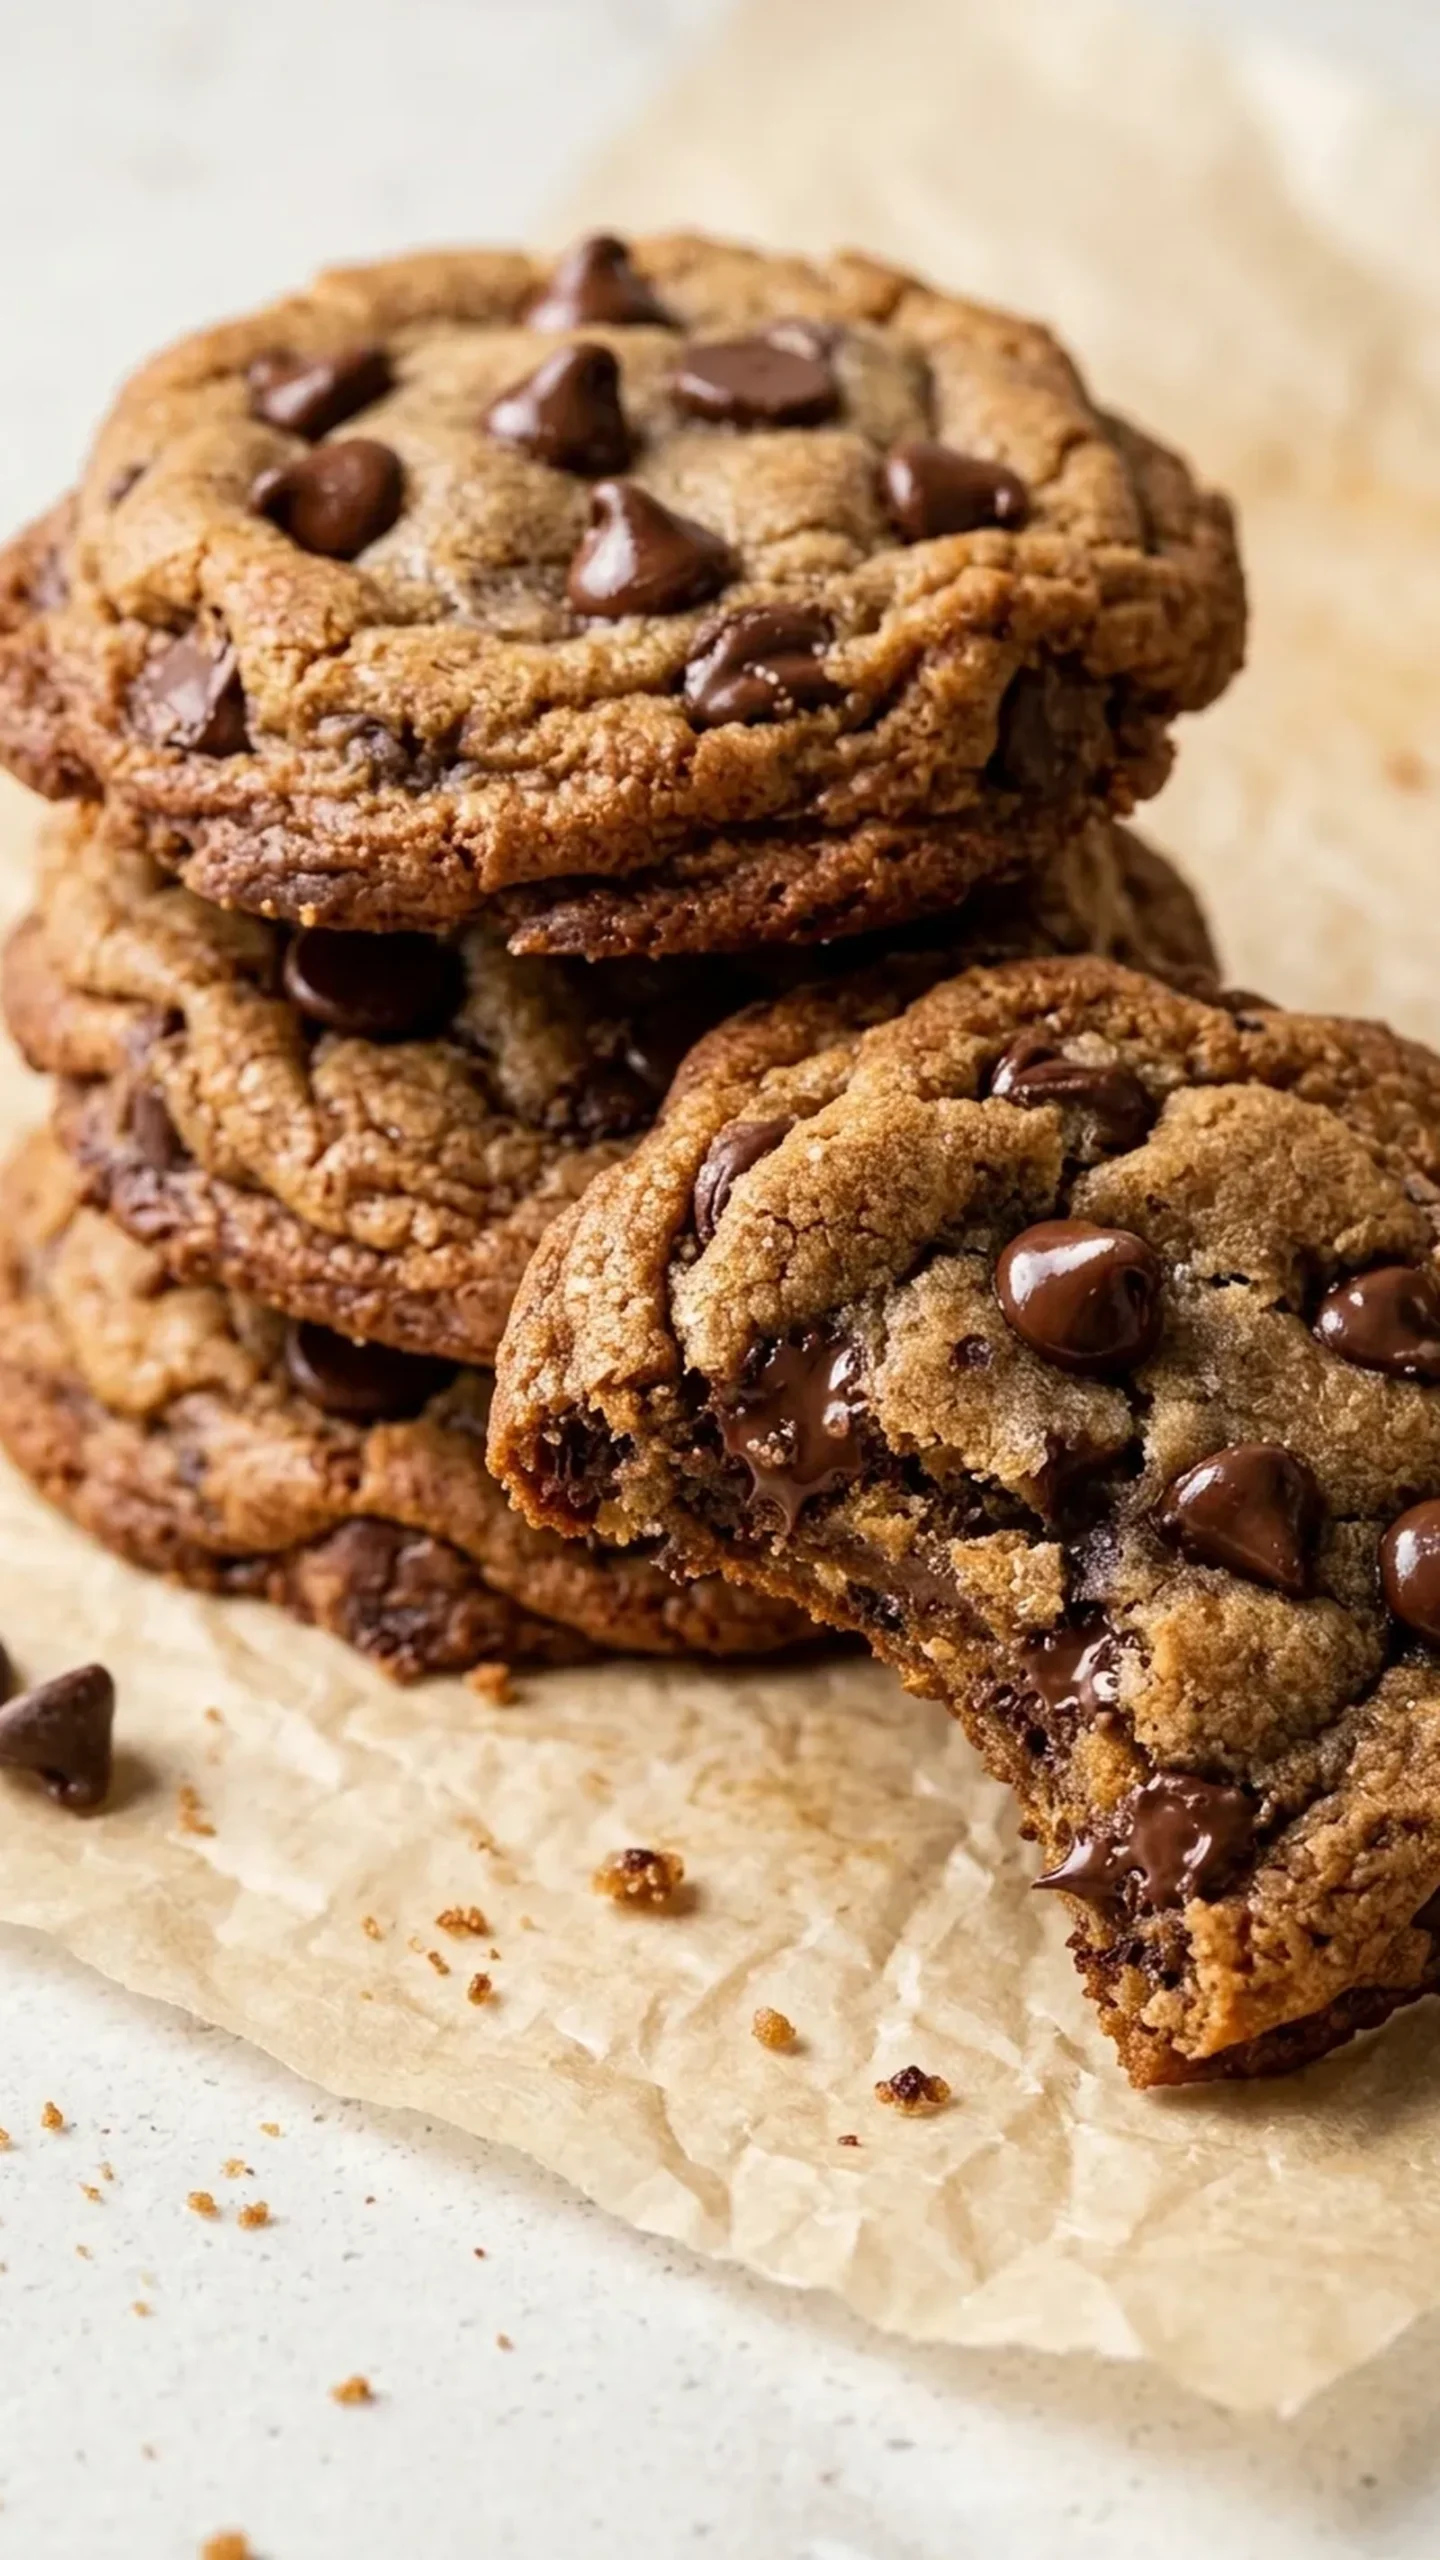
This recipe makes just six generously sized cookies, making it a practical choice when you want homemade cookies without a large batch of leftovers. The dough comes together without a mixer, and a short chilling period helps control spreading while giving the flour time to hydrate. The result is a thick, chocolate-studded cookie with plenty of buttery flavor.
Why This Recipe Works
- Brown butter adds depth without extra ingredients. Cooking the butter until its milk solids turn golden brown develops toasted, nutty flavors that complement the chocolate.
- Brown sugar supports a chewy texture. Its molasses content contributes moisture and a subtle caramel flavor, while granulated sugar encourages lightly crisp edges.
- An egg yolk keeps the batch appropriately sized. Using a yolk rather than a whole egg provides richness and binding without introducing excessive liquid into a small quantity of dough.
- A short chill helps limit spreading. Refrigerating the dough allows the fat to firm up and the flour to absorb moisture, helping the cookies hold their shape.
- A brief cooling period finishes the texture. The centers continue to set after baking, creating a soft interior that holds together when lifted.
Equipment Needed
- Small, light-colored saucepan, preferably with a heavy bottom, for browning the butter
- Heatproof mixing bowl
- Whisk and silicone spatula
- Measuring cups and spoons or a digital kitchen scale
- Standard large rimmed baking sheet, approximately 13 × 18 inches (33 × 46 cm)
- Parchment paper
- Cookie scoop or spoon for portioning the dough
- Wire cooling rack
A light-colored saucepan makes it easier to see the butter solids changing color. A dark pan can make it difficult to recognize when the butter is properly browned.
Ingredients List
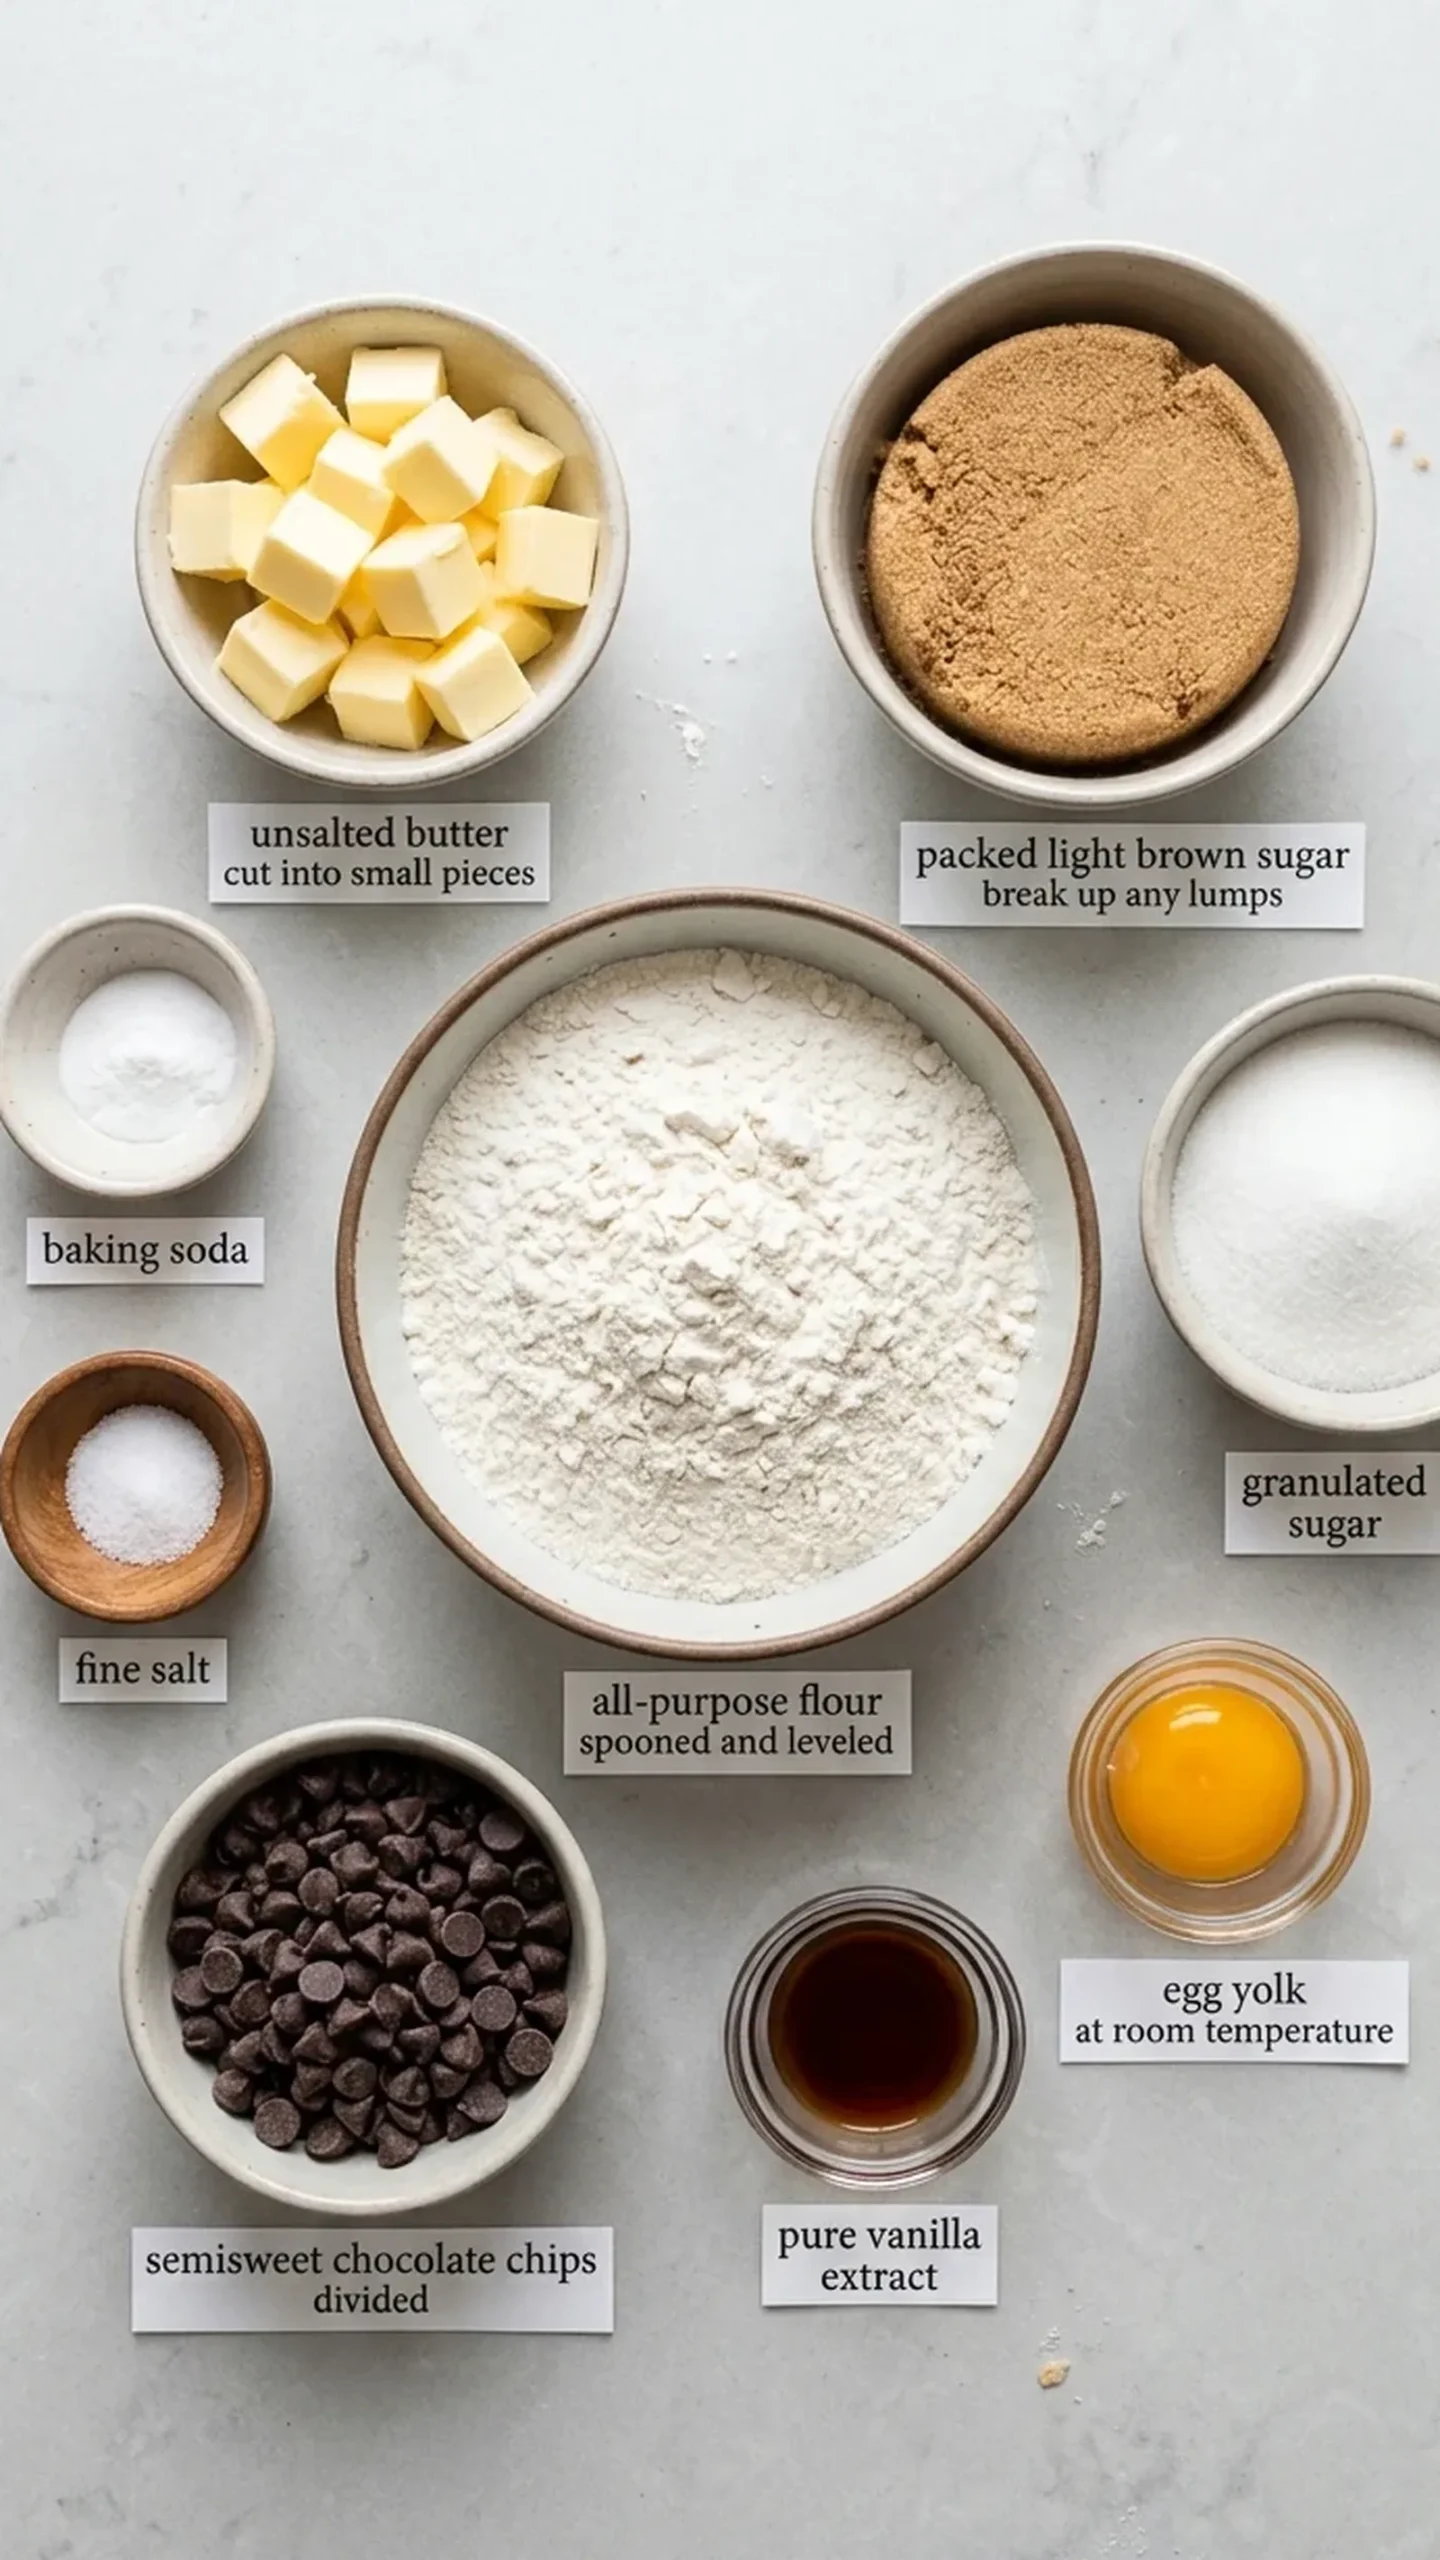
- 1/4 cup (57 g) unsalted butter, cut into small pieces
- 1/3 cup packed (70 g) light brown sugar, break up any lumps
- 2 tablespoons (25 g) granulated sugar
- 1 large egg yolk (about 18 g), at room temperature
- 1 teaspoon (5 mL) pure vanilla extract
- 3/4 cup (90 g) all-purpose flour, spooned and leveled
- 1/4 teaspoon baking soda
- 1/4 teaspoon fine salt
- 1/2 cup (85 g) semisweet chocolate chips, divided: 1/3 cup (57 g) for the dough and 2 tablespoons plus 2 teaspoons (28 g) for topping
Measurement note: For the most consistent results, weigh the flour and sugars when possible. Small-batch cookie dough is particularly sensitive to measuring differences because even a small excess of flour can noticeably change the texture.
Ingredient Notes and Substitutions
- Unsalted butter: Butter provides richness, moisture, and the toasted flavor that defines these cookies. Browning it also evaporates some of its water, concentrating the butterfat and flavor. Salted butter can be used in the same quantity, but the finished cookies may taste saltier. If using salted butter, reduce the listed fine salt to suit the butter's salt content. There is no equally reliable substitute for butter if you want the distinctive flavor of browned milk solids.
- Light brown sugar: Light brown sugar contributes moisture, chewiness, and mild molasses flavor. It also helps balance the roasted notes of the butter. Dark brown sugar can replace it in the same quantity. The cookies will have a stronger molasses flavor and may be slightly darker and softer. Granulated sugar alone is not an equivalent substitute because it changes the moisture balance and texture.
- Egg yolk: The egg yolk provides fat, emulsifiers, and binding, helping the cookies hold together without making the dough excessively wet. A whole egg is not a direct replacement. Its additional white introduces more water and protein, which can make the cookies spread differently or develop a more cakey texture. There is no equally reliable direct substitute for the yolk in this formula.
- All-purpose flour: All-purpose flour supplies the structure that allows the cookies to hold their shape while maintaining a tender center. A commercial gluten-free all-purpose baking blend designed for direct substitution may work in the same weight, but spreading, moisture absorption, and texture can vary. Bread flour is another possible substitute, although its higher protein content can make the cookies noticeably chewier.
- Semisweet chocolate chips: Semisweet chocolate provides sweetness and cocoa flavor without overwhelming the nutty butter. Chopped semisweet chocolate can replace the chips by weight. It creates irregular melted pockets and thin chocolate streaks throughout the dough. Dark chocolate also works, producing a less sweet, more cocoa-forward cookie.
Step-by-Step Instructions
Step 1: Brown the butter
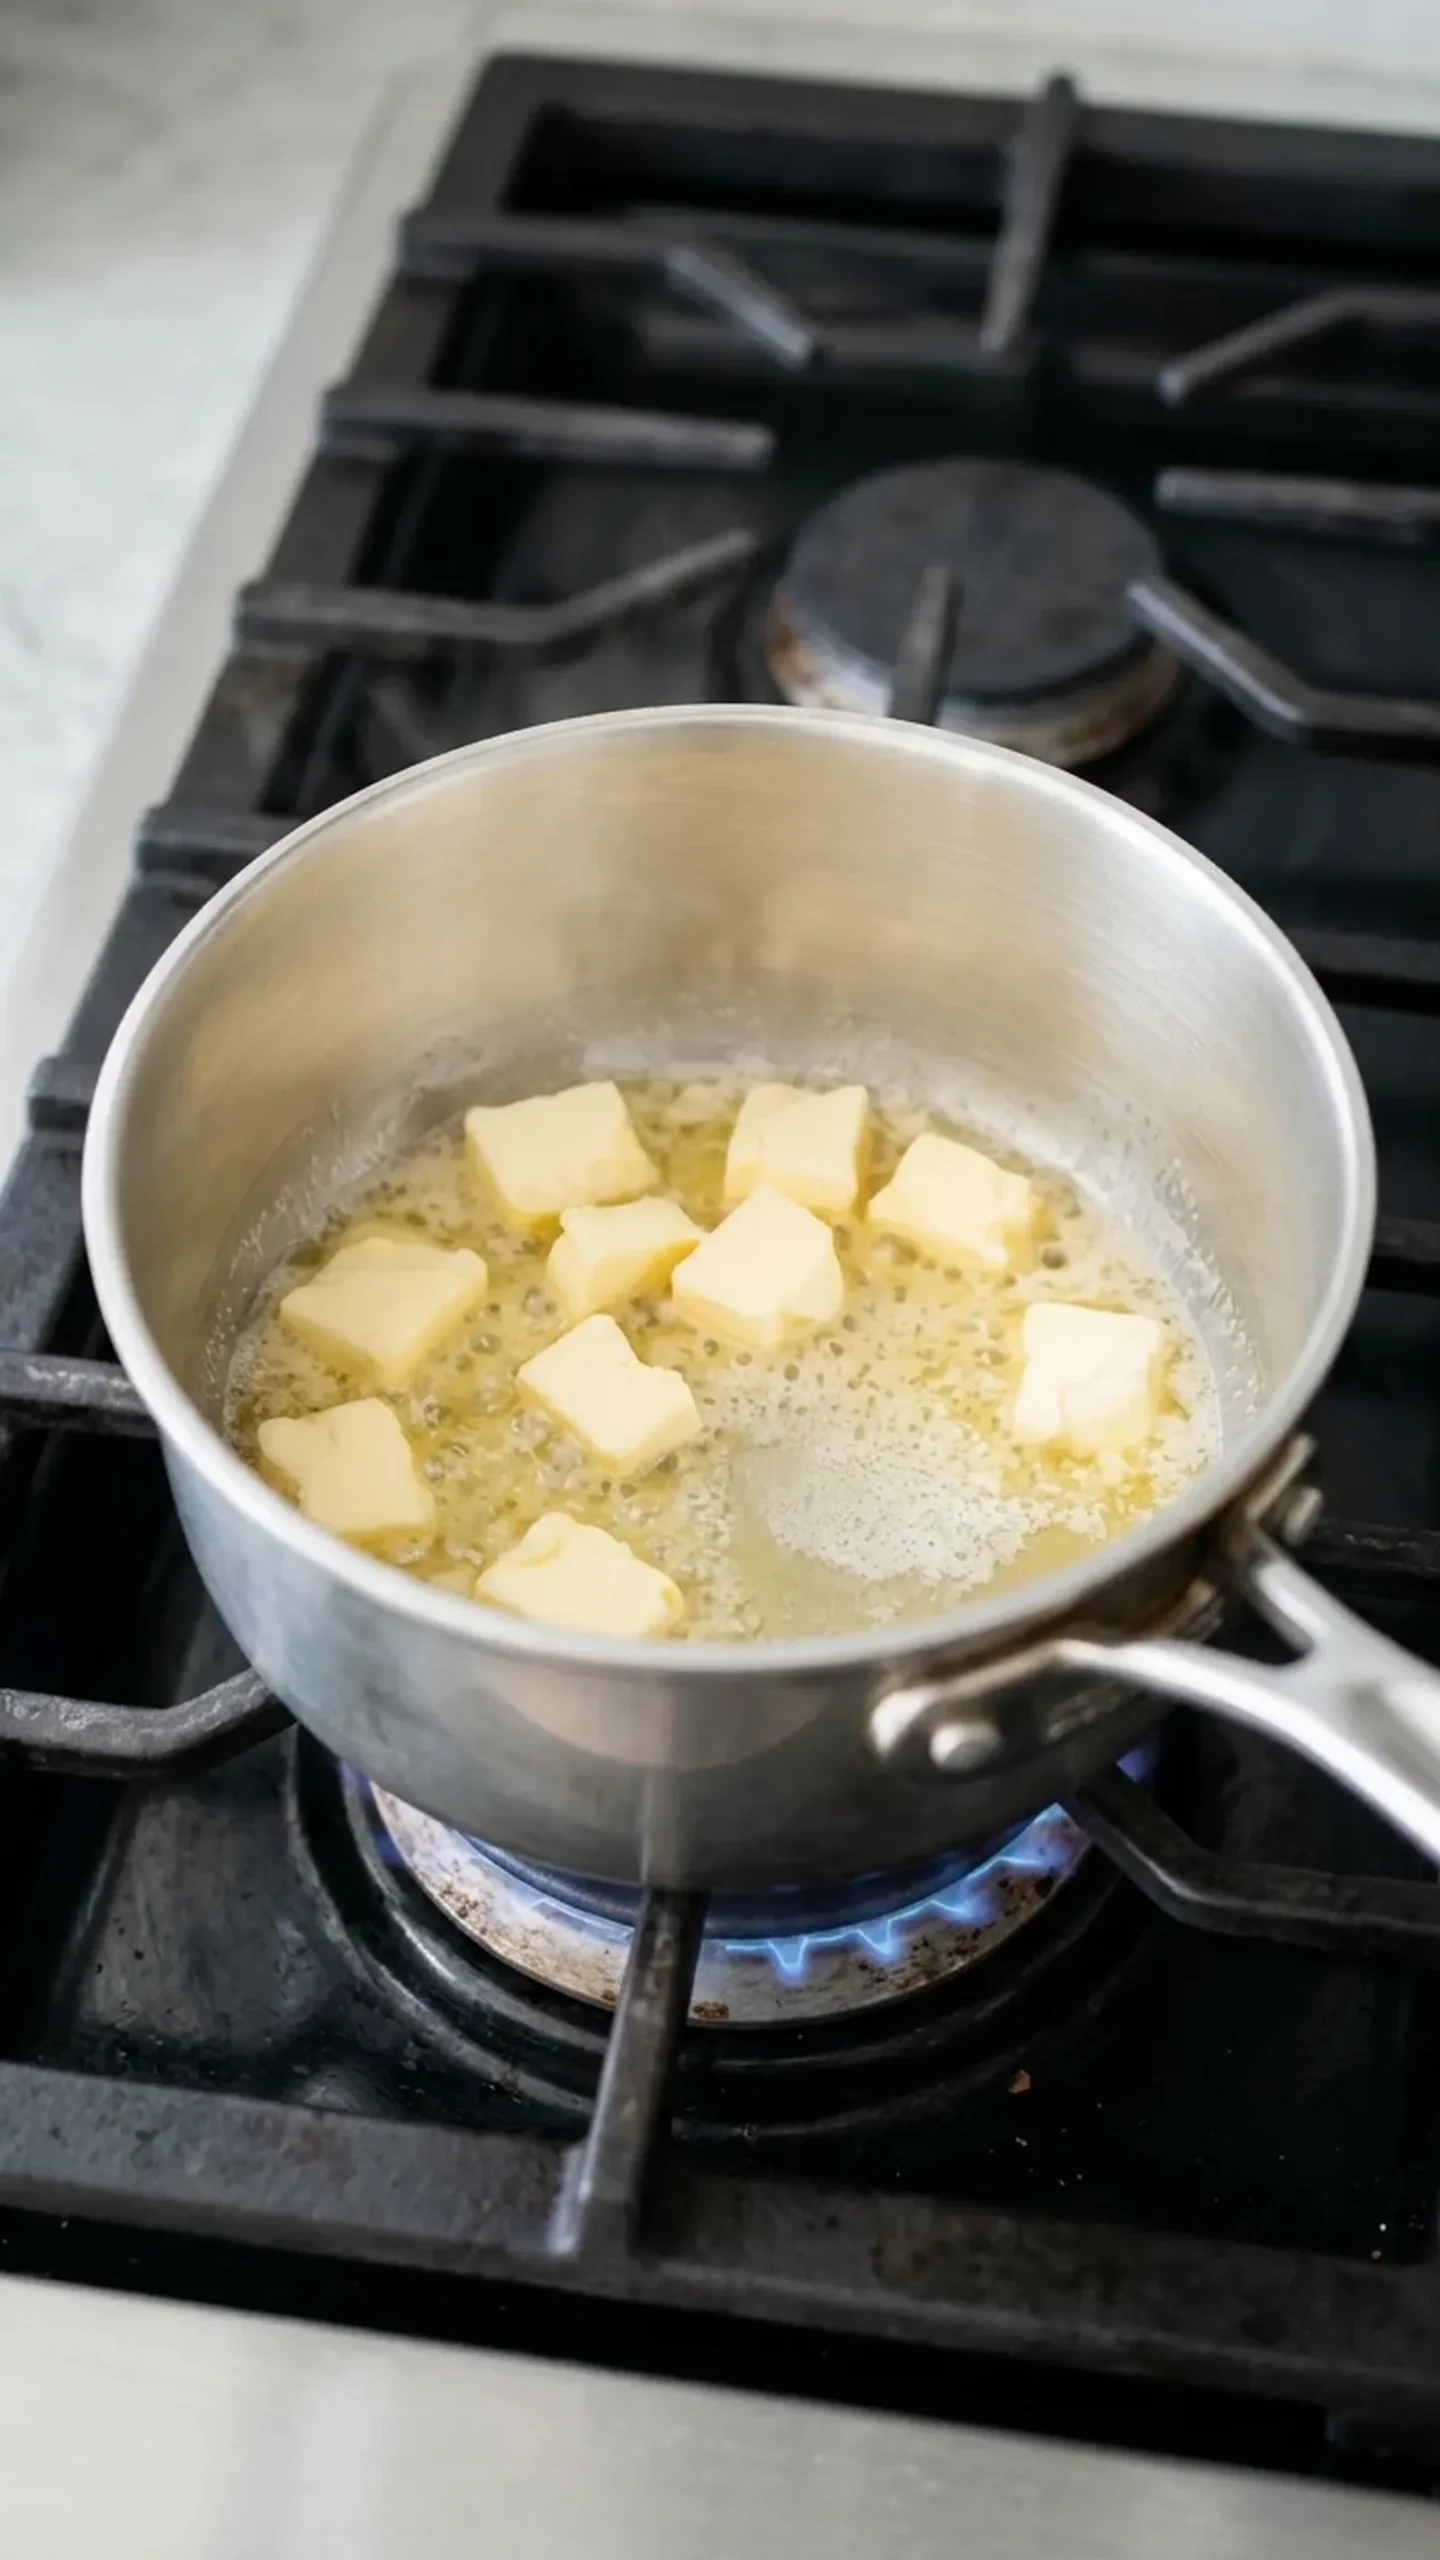
Place the unsalted butter in a small, light-colored saucepan over medium-low heat. Stir or swirl the pan as the butter melts, foams, and begins to sizzle. Continue cooking until the bubbling becomes quieter, the milk solids turn golden brown, and the butter smells nutty.
Remove the pan from the heat as soon as the solids reach an amber color. Pour all the browned butter, including the toasted bits, into a heatproof mixing bowl. Let it cool until warm rather than hot.
Step 2: Mix the sugars and wet ingredients
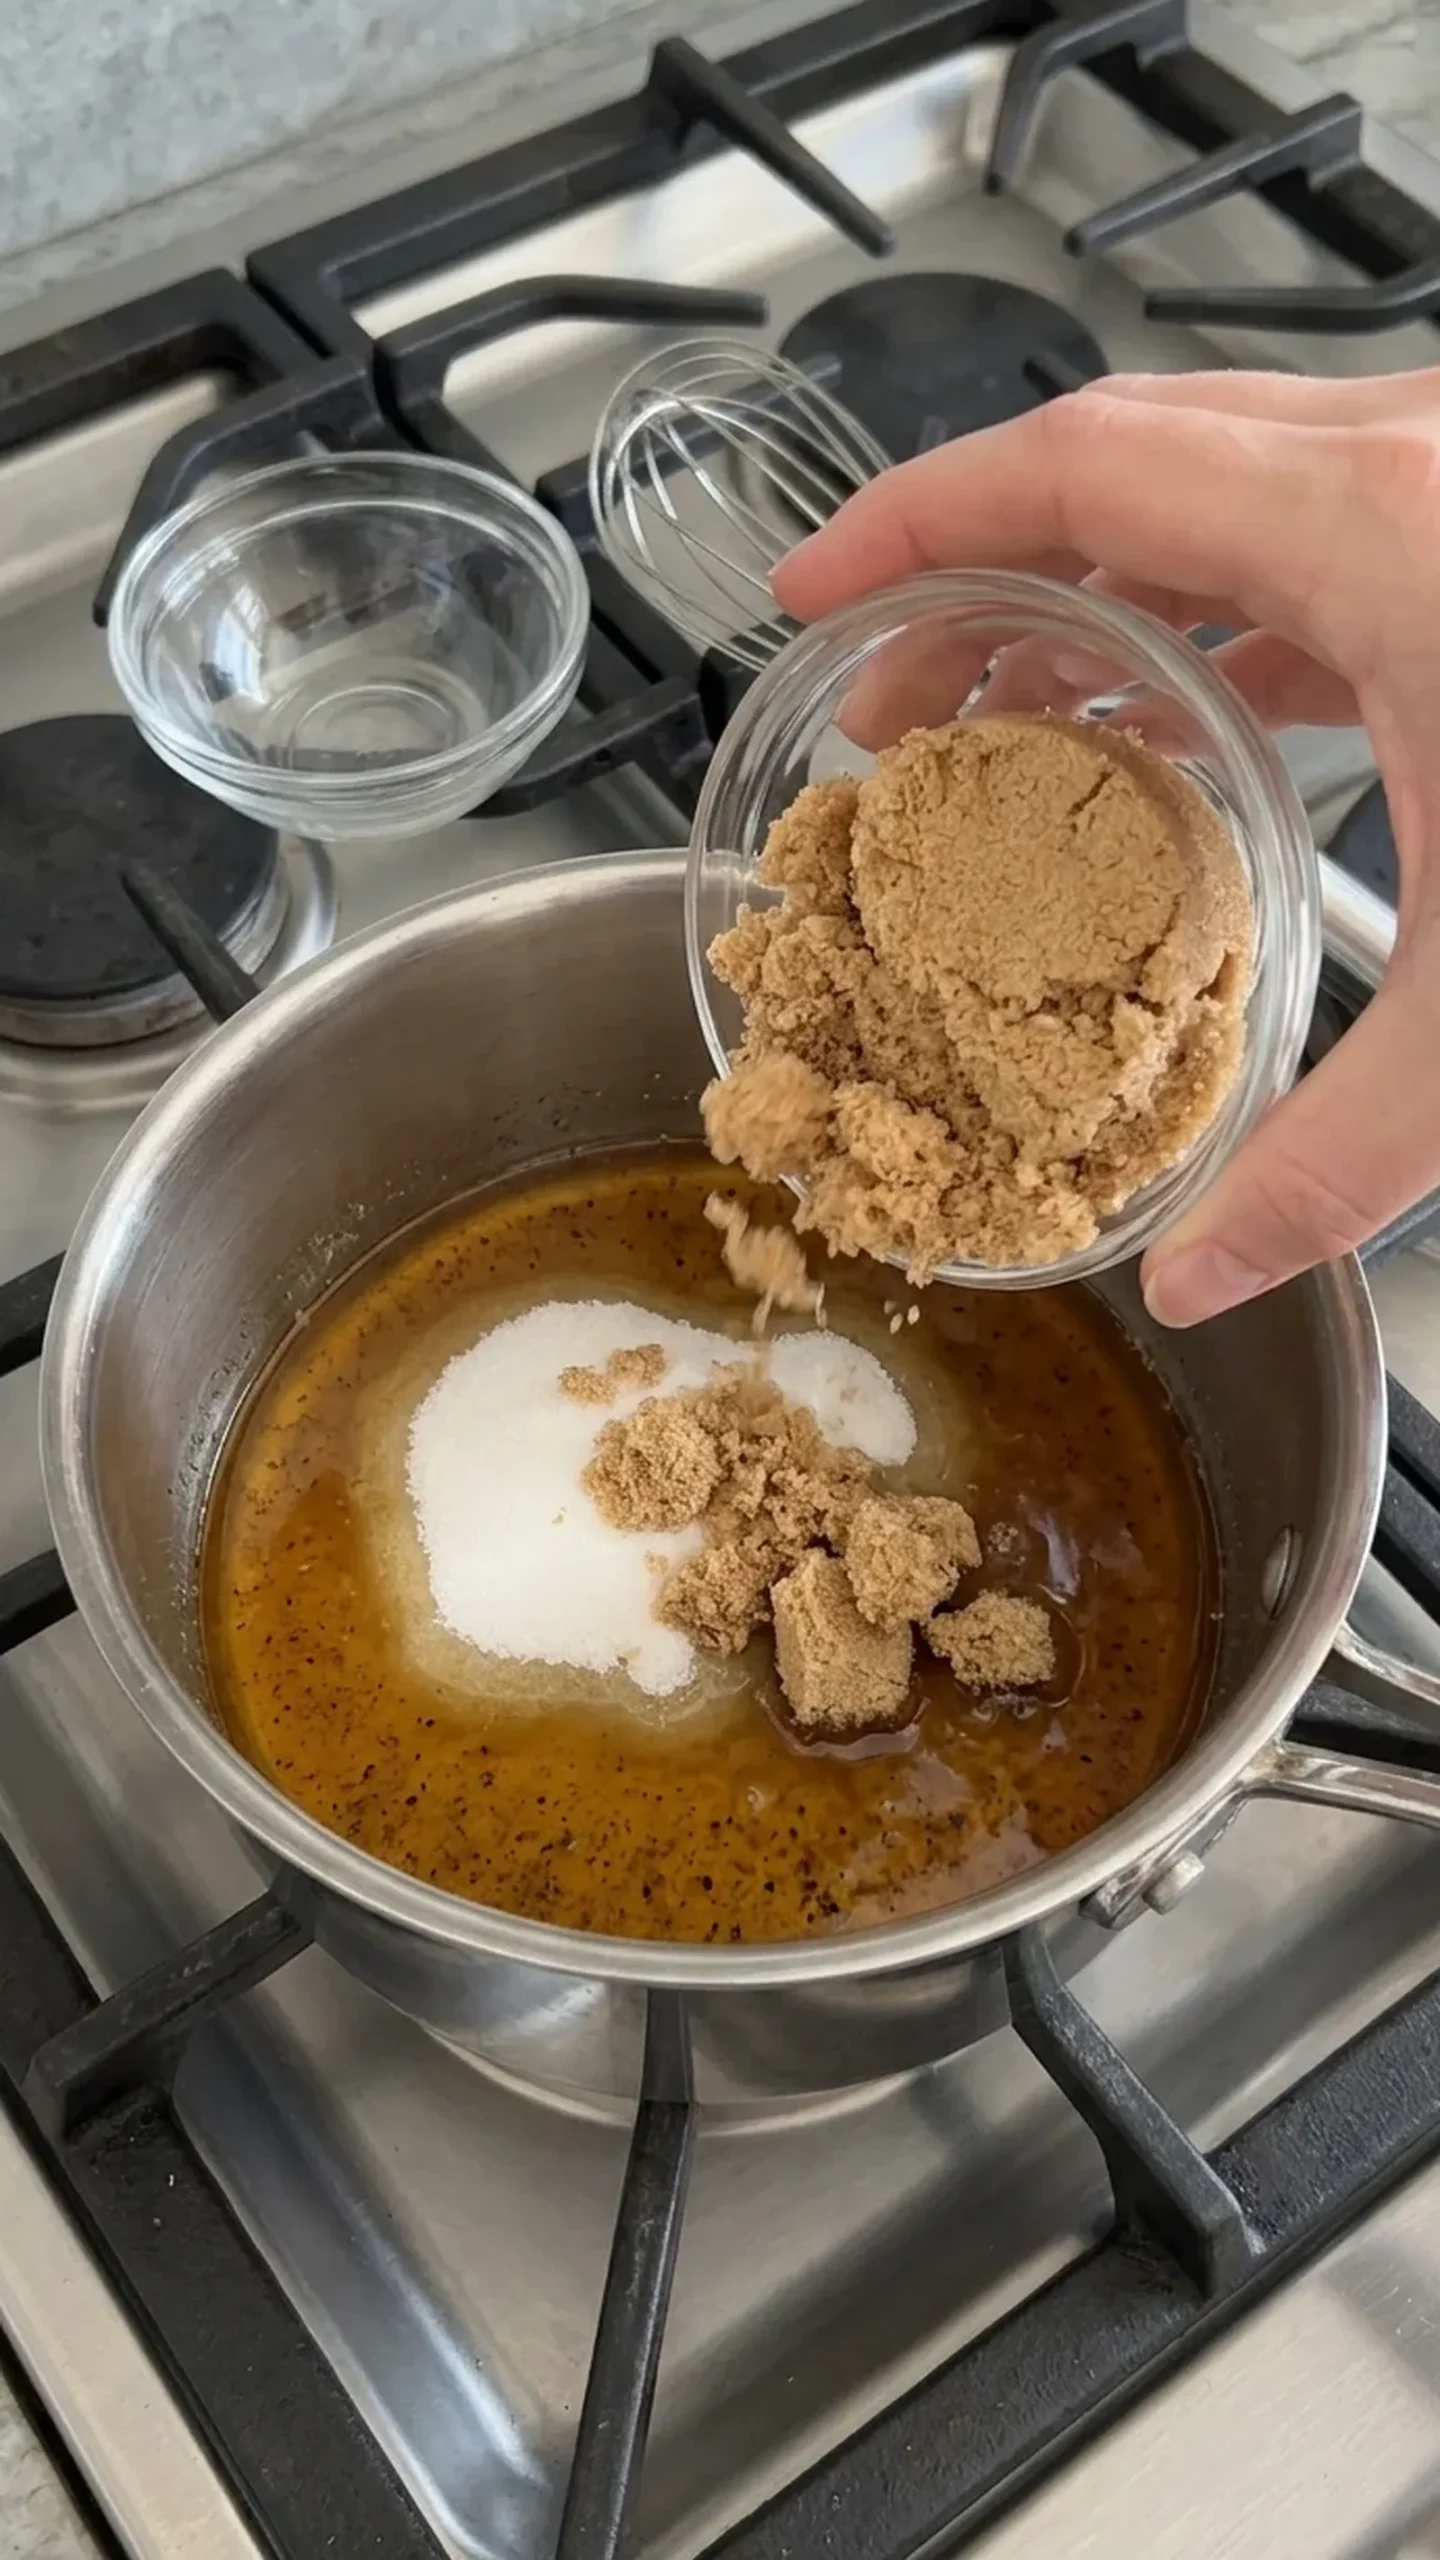
Add the light brown sugar and granulated sugar to the warm browned butter. Whisk until the mixture looks evenly moistened and resembles a thick, grainy caramel paste.
Add the egg yolk and vanilla extract. Whisk until the mixture becomes smoother, slightly thicker, and glossy. It should look cohesive, though some sugar granules may remain visible.
Step 3: Add the dry ingredients
Sprinkle the all-purpose flour, baking soda, and fine salt over the wet mixture. Fold with a silicone spatula until no dry flour remains.
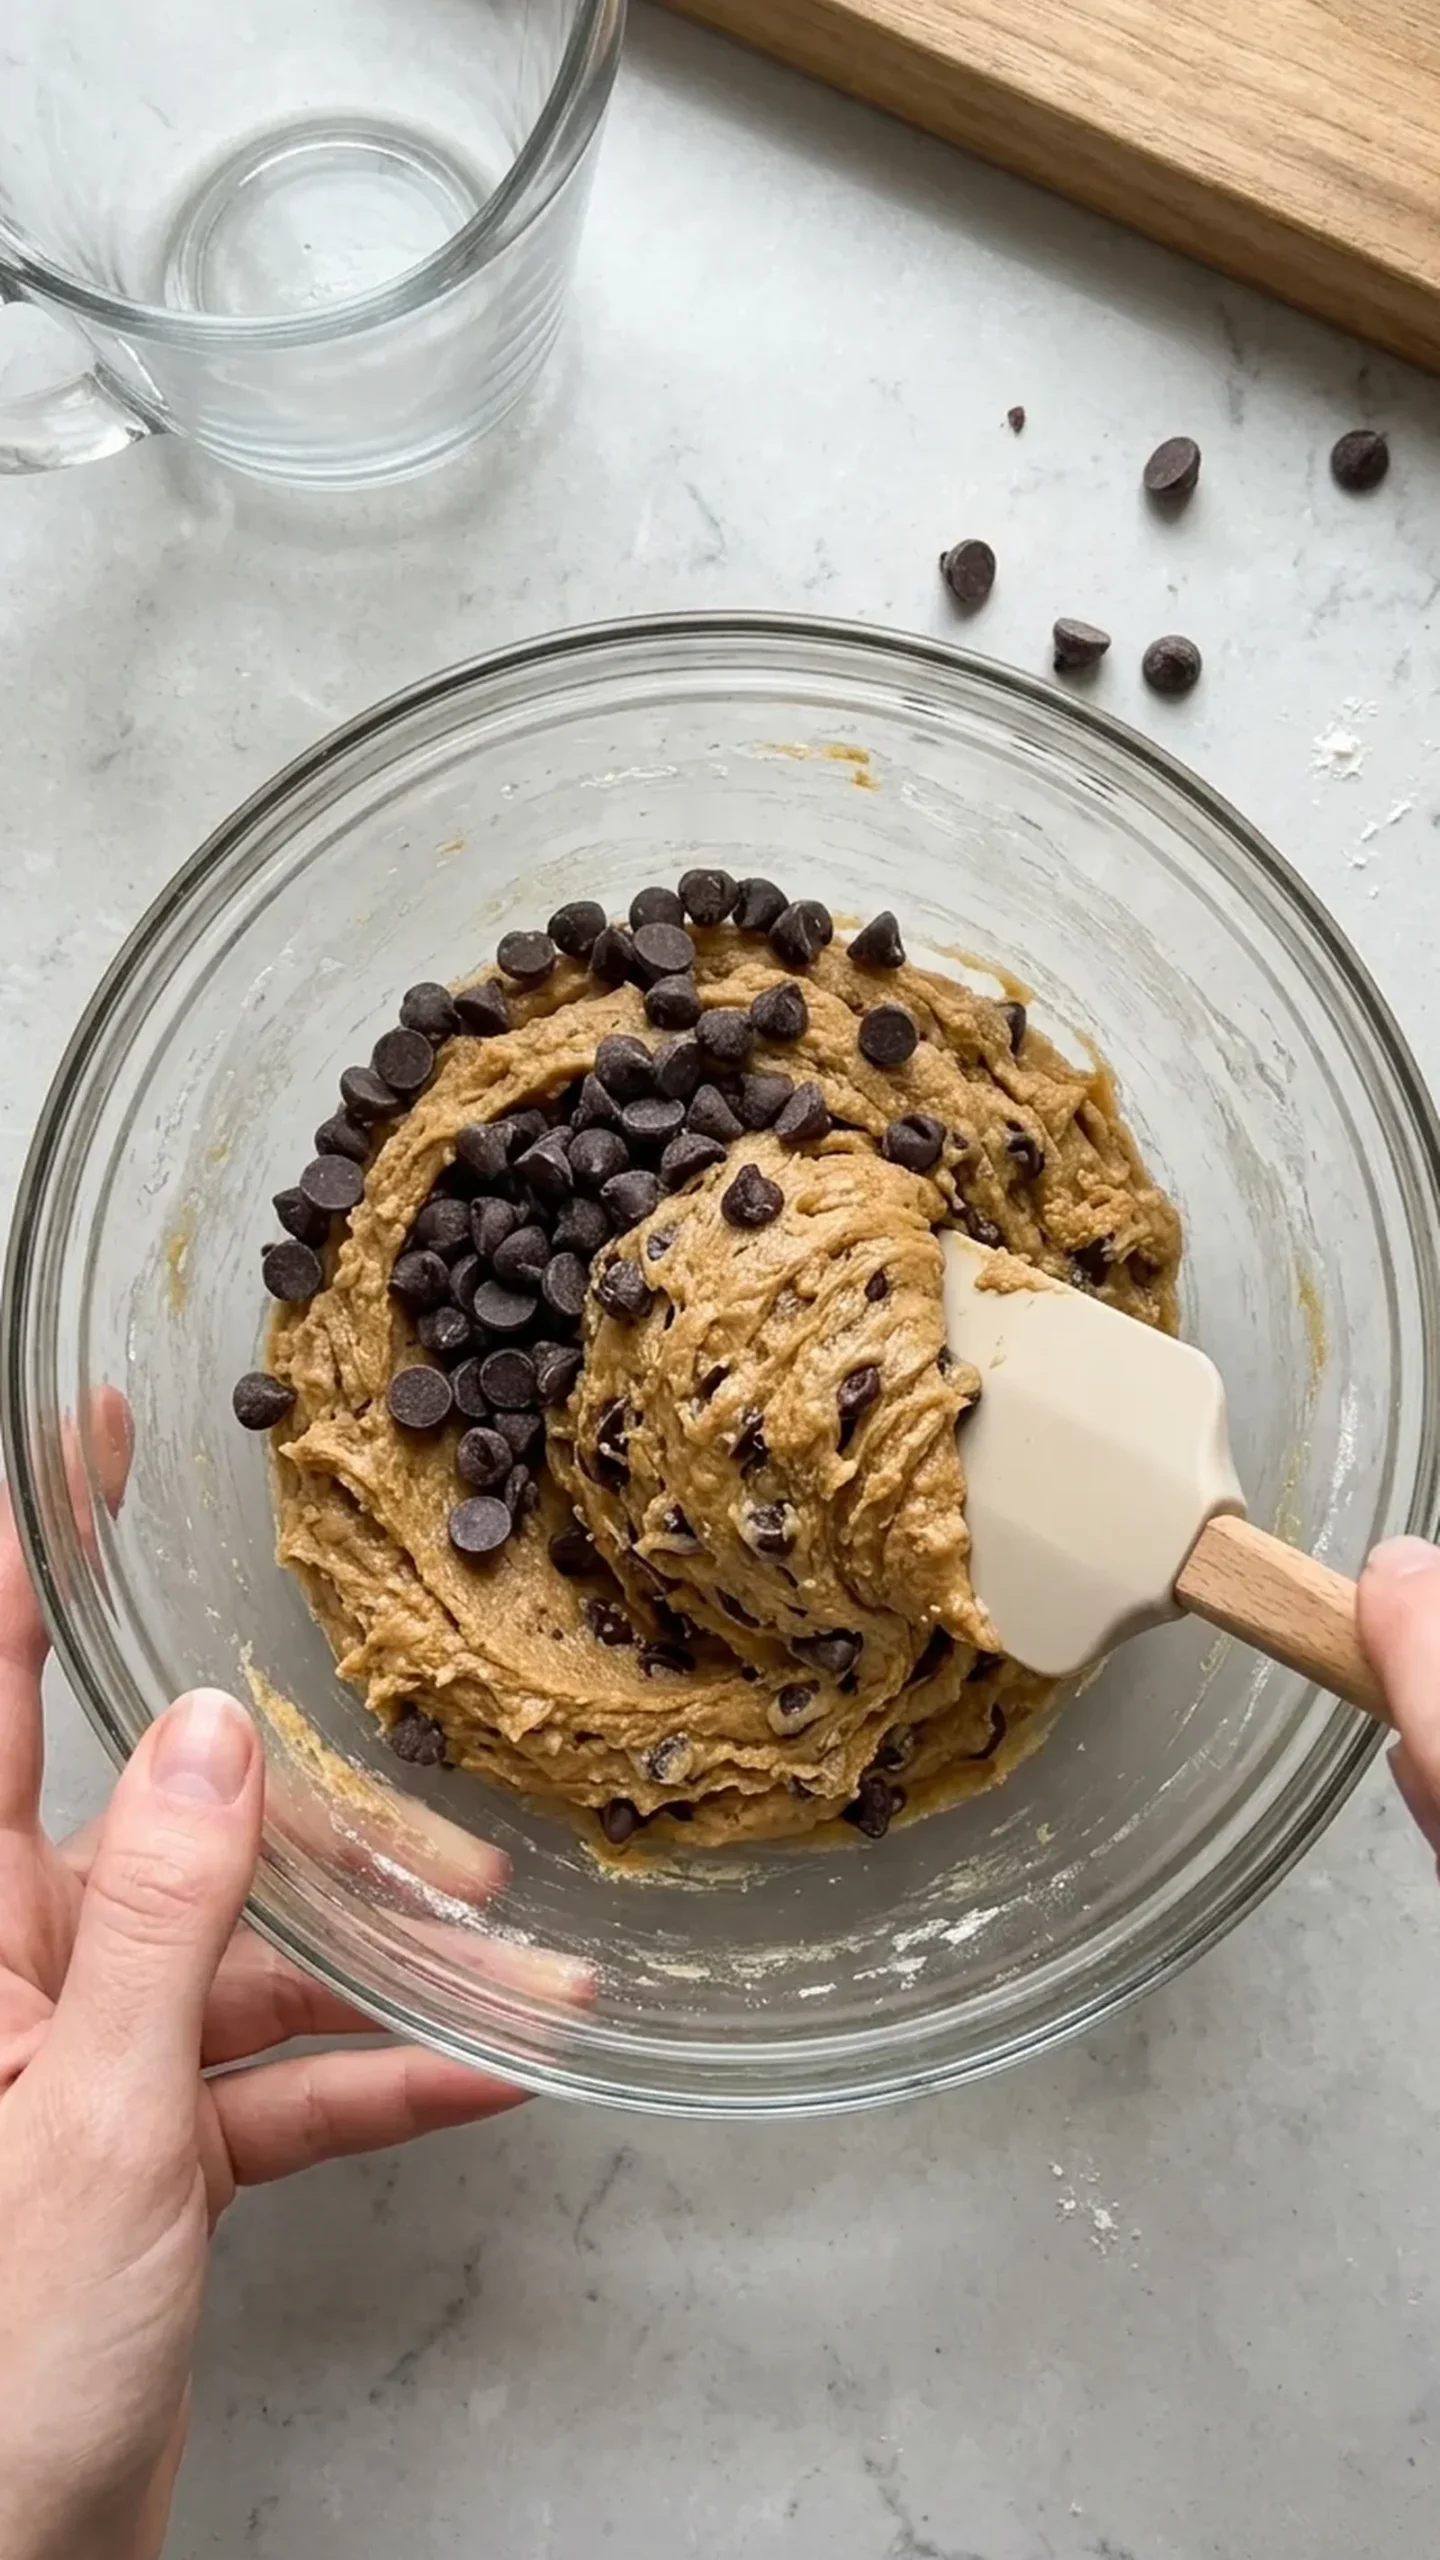
The dough should be thick, soft, and slightly tacky rather than runny. If it looks greasy or unusually loose, allow it to cool further before adding the chocolate. Avoid prolonged mixing once the flour is incorporated.
Step 4: Fold in the chocolate
Add the 1/3 cup (57 g) portion of semisweet chocolate chips and fold gently until distributed throughout the dough.
Reserve the remaining 2 tablespoons plus 2 teaspoons (28 g) for topping. The dough should hold together when pressed and should not leave a pool of melted butter at the bottom of the bowl.
Step 5: Portion and chill the dough
Divide the dough into 6 equal portions and shape them into tall, rounded mounds rather than flattening them into discs.
Place the portions on a parchment-lined baking sheet, leaving room for spreading. Press the reserved chocolate chips onto the tops.
Refrigerate for 30 minutes. The dough should feel firmer and less sticky after chilling.
Step 6: Bake the cookies
While the dough chills, preheat the oven to 350°F (175°C). Position a rack in the center of the oven.
Bake the chilled cookies on the center rack for approximately 12 minutes, until the edges are lightly golden and set but the centers still look slightly soft.
The centers may appear a little underdone when the cookies first come out of the oven. They should not look wet or liquid. If the cookies are still glossy and raw-looking across the entire surface, continue baking briefly and check again.
Step 7: Cool and serve
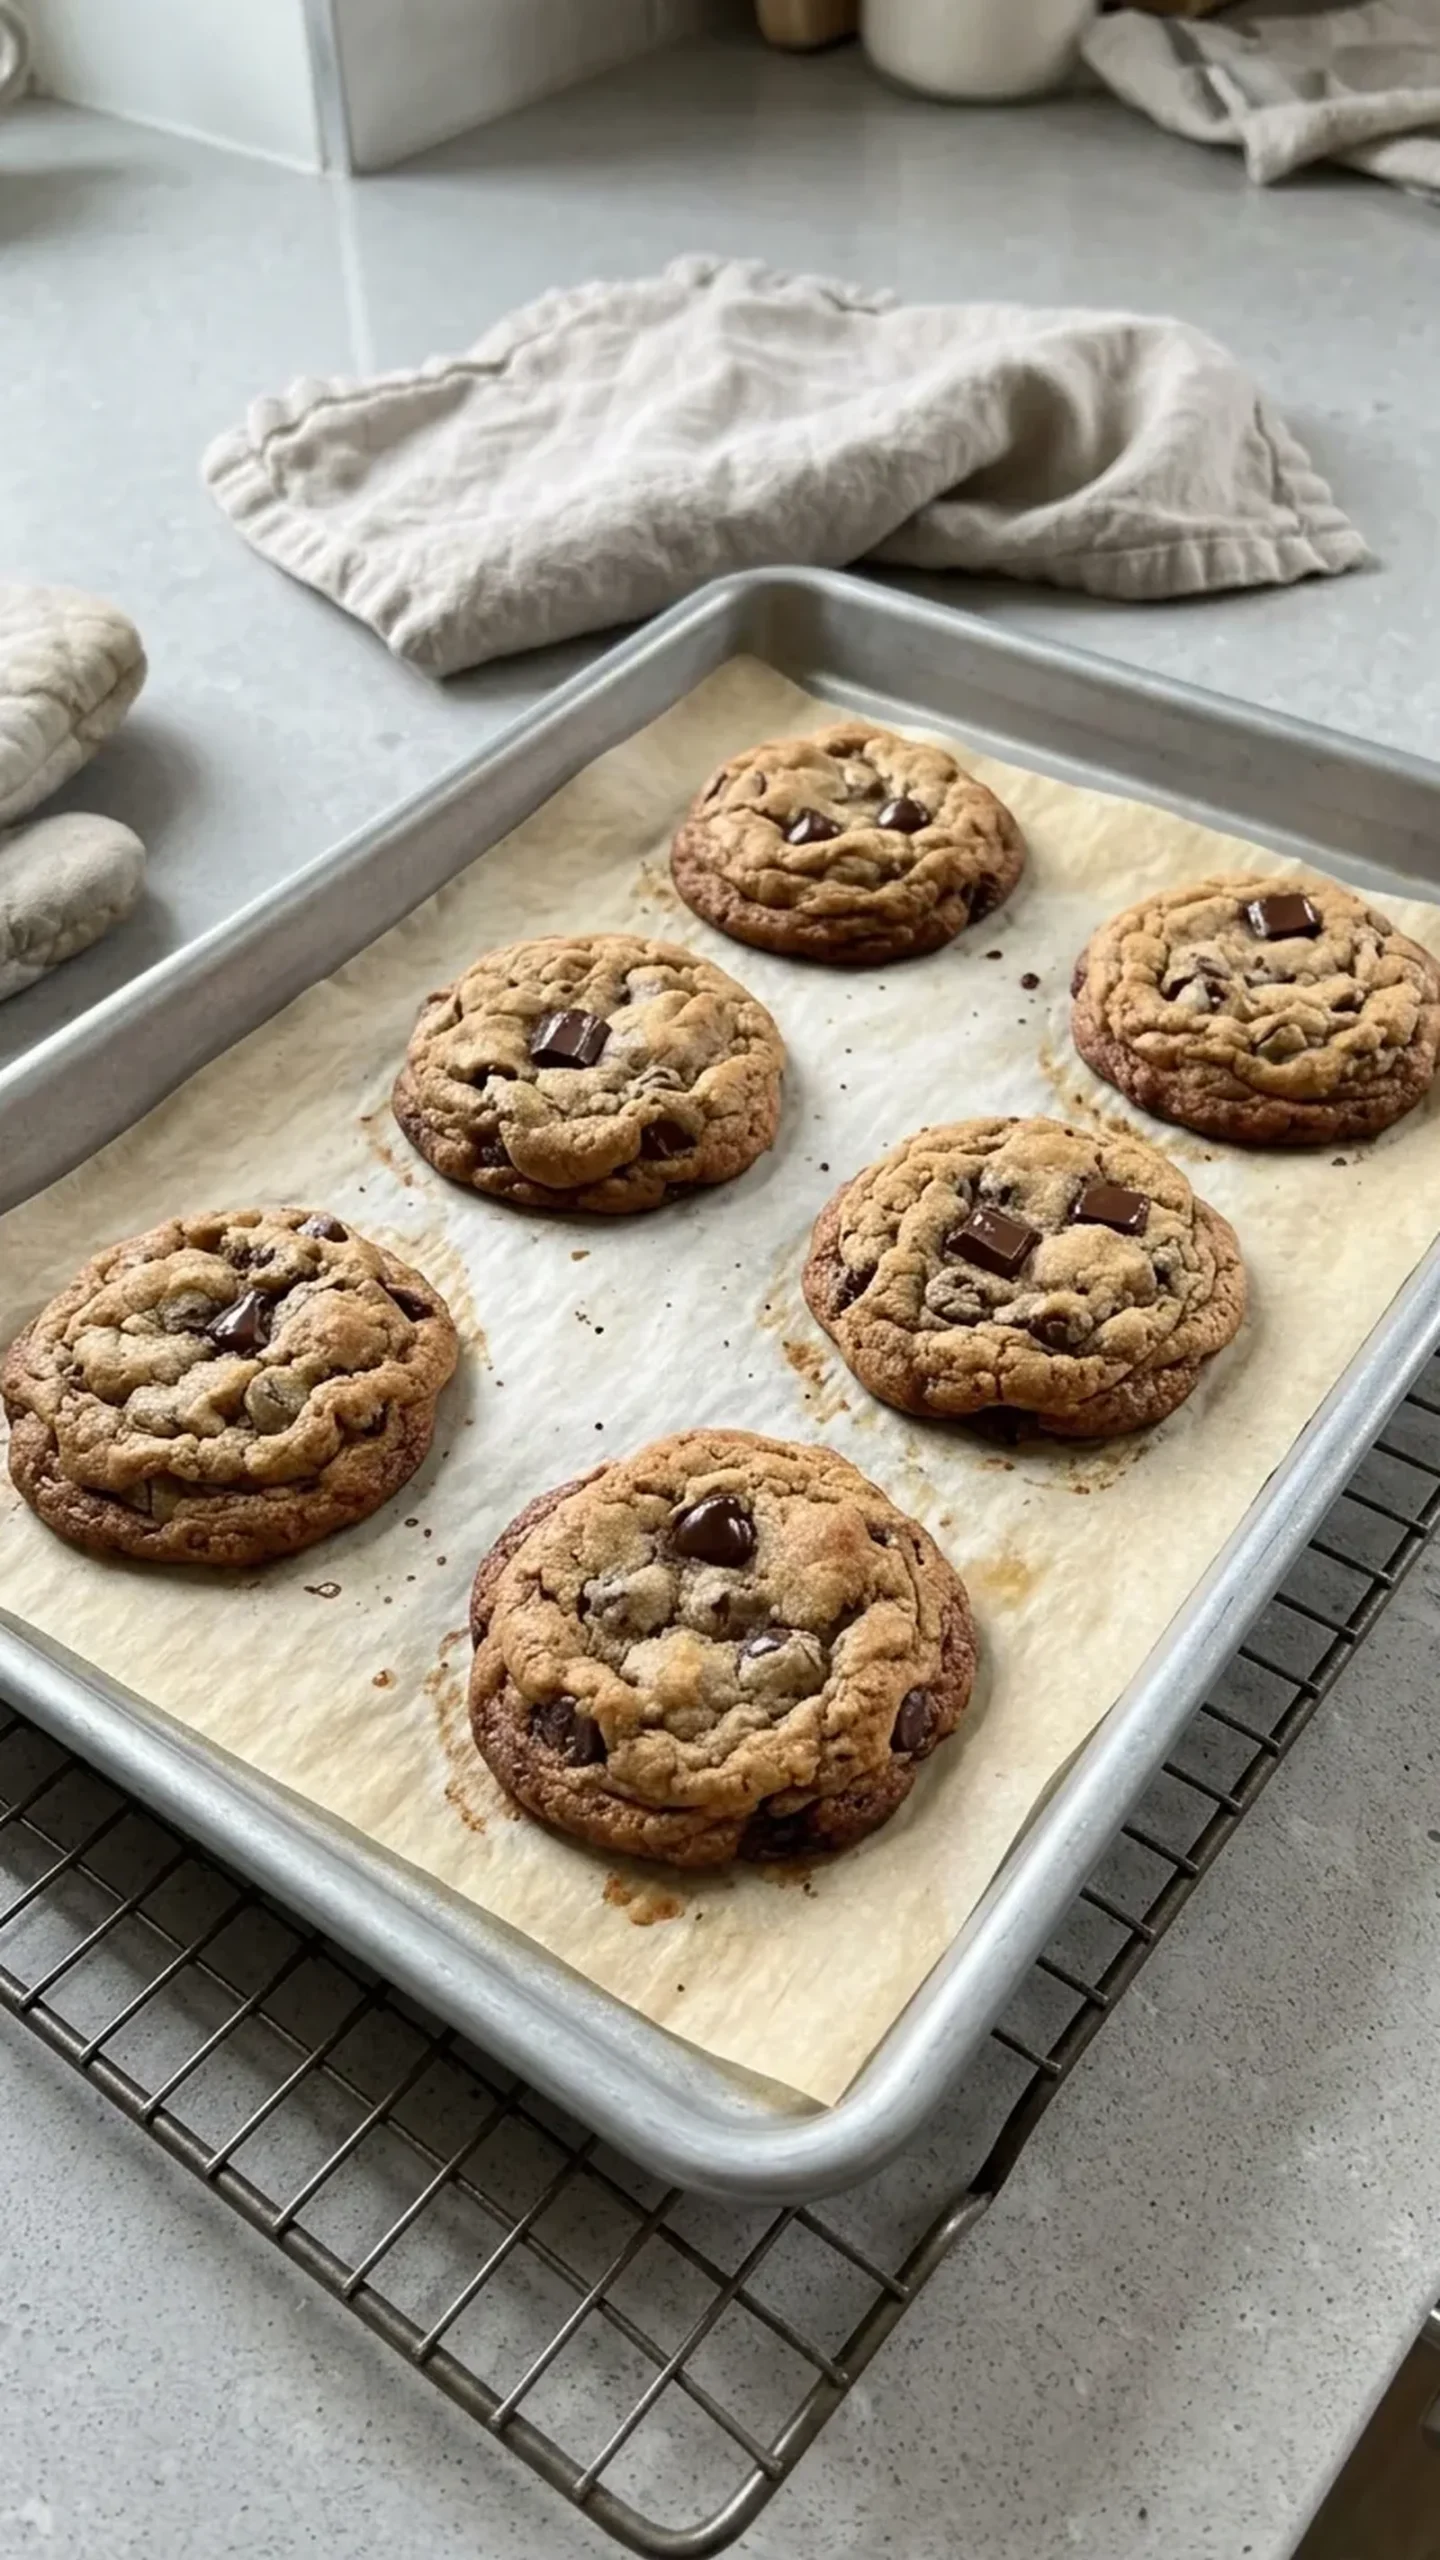
Let the cookies rest on the baking sheet for 10 minutes. During this time, the centers will firm up and the edges will become more stable.
Transfer carefully to a wire rack. Serve while slightly warm for softer chocolate or allow them to cool completely for a more structured, chewy texture.
Storage, Freezing, and Make-Ahead Instructions
- Room-temperature storage: Allow the cookies to cool completely before placing them in an airtight container. Store at room temperature for up to 4 days. Keep the container away from direct sunlight and heat. Stacking warm cookies can trap condensation and soften their edges, so make sure they are fully cooled before storing.
- Refrigeration: Refrigeration is not necessary for baked cookies and can make them seem firmer and drier. Room-temperature storage is preferable for cookies you plan to eat within a few days. For unbaked dough, keep the shaped portions in an airtight container in the refrigerator for up to 48 hours. The dough may become quite firm, but it should still bake properly.
- Freezing baked cookies: Once completely cooled, place the cookies in a freezer-safe airtight container or resealable freezer bag. Separate layers with parchment paper to prevent sticking. Freeze for up to 2 months for good quality. Thaw at room temperature inside the container to help limit surface condensation.
- Freezing cookie dough: Shape the dough into individual portions and freeze them on a parchment-lined tray until firm. Transfer to a labeled freezer-safe container or bag. Freeze for up to 2 months for good quality. The portions can be baked from frozen, although they may require additional oven time. Use the same visual doneness cues rather than relying on a fixed extra baking time.
- Reheating: For a warm, soft-centered cookie, place a baked cookie in a 300°F (150°C) oven for approximately 4 minutes, checking that the chocolate has softened and the cookie is warmed through. Avoid overheating, which can dry out the center and make the edges overly firm.
- Make-ahead preparation: The dough can be mixed and portioned ahead of time, then stored covered in the refrigerator. Keep the portions separate enough that they do not stick together. When ready to bake, arrange the chilled portions on a parchment-lined baking sheet and follow the baking instructions. Colder dough may need slightly more oven time, so watch for lightly golden edges and centers that are just set.
FAQ
Can I make Small Batch Brown Butter Chocolate Chip Cookies ahead of time?
Yes. Prepare and portion the dough, then refrigerate it in an airtight container for up to 48 hours before baking. This is useful when you want freshly baked cookies without preparing the dough immediately before serving.
Why did my brown butter cookies spread too much?
Excessive spreading can happen when the browned butter is still too hot during mixing, the dough is insufficiently chilled, or the baking sheet is warm. Incorrect flour measurement can also leave the dough without enough structure. The shaped dough should feel firm before it goes into the oven.
How do I know when the cookies are done?
Look for lightly golden edges that appear set, with centers that are still slightly soft but no longer wet. The cookies continue to firm up as they cool on the baking sheet. Waiting until the centers are completely firm in the oven can produce a drier cookie.
Can I use dark chocolate instead of semisweet chocolate chips?
Yes. Dark chocolate chips or chopped dark chocolate can replace semisweet chocolate in the same weight. The cookies will taste less sweet and have a more pronounced cocoa flavor. Chopped chocolate may also create larger melted pockets.
Why are my cookies thick and dry instead of chewy?
Too much flour, excessive mixing, or overbaking can make the cookies dry. Flour measurement is especially important in this small recipe. The dough should be soft and cohesive before chilling, and the cookies should come out of the oven while their centers are still slightly tender.
Ingredients
Method
- Place the unsalted butter in a small, light-colored saucepan over medium-low heat. Stir or swirl the pan as the butter melts, foams, and begins to sizzle. Continue cooking until the bubbling becomes quieter, the milk solids turn golden brown, and the butter smells nutty. Remove the pan from the heat as soon as the solids reach an amber color. Pour all the browned butter, including the toasted bits, into a heatproof mixing bowl. Let it cool until warm rather than hot.
- Add the light brown sugar and granulated sugar to the warm browned butter. Whisk until the mixture looks evenly moistened and resembles a thick, grainy caramel paste. Add the egg yolk and vanilla extract. Whisk until the mixture becomes smoother, slightly thicker, and glossy. It should look cohesive, though some sugar granules may remain visible.
- Sprinkle the all-purpose flour, baking soda, and fine salt over the wet mixture. Fold with a silicone spatula until no dry flour remains. The dough should be thick, soft, and slightly tacky rather than runny. If it looks greasy or unusually loose, allow it to cool further before adding the chocolate. Avoid prolonged mixing once the flour is incorporated.
- Add the 1/3 cup (57 g) portion of semisweet chocolate chips and fold gently until distributed throughout the dough. Reserve the remaining 2 tablespoons plus 2 teaspoons (28 g) for topping. The dough should hold together when pressed and should not leave a pool of melted butter at the bottom of the bowl.
- Divide the dough into 6 equal portions and shape them into tall, rounded mounds rather than flattening them into discs. Place the portions on a parchment-lined baking sheet, leaving room for spreading. Press the reserved chocolate chips onto the tops. Refrigerate for 30 minutes. The dough should feel firmer and less sticky after chilling.
- While the dough chills, preheat the oven to 350°F (175°C). Position a rack in the center of the oven. Bake the chilled cookies on the center rack for approximately 12 minutes, until the edges are lightly golden and set but the centers still look slightly soft. The centers may appear a little underdone when the cookies first come out of the oven. They should not look wet or liquid. If the cookies are still glossy and raw-looking across the entire surface, continue baking briefly and check again.
- Let the cookies rest on the baking sheet for 10 minutes. During this time, the centers will firm up and the edges will become more stable. Transfer carefully to a wire rack. Serve while slightly warm for softer chocolate or allow them to cool completely for a more structured, chewy texture.