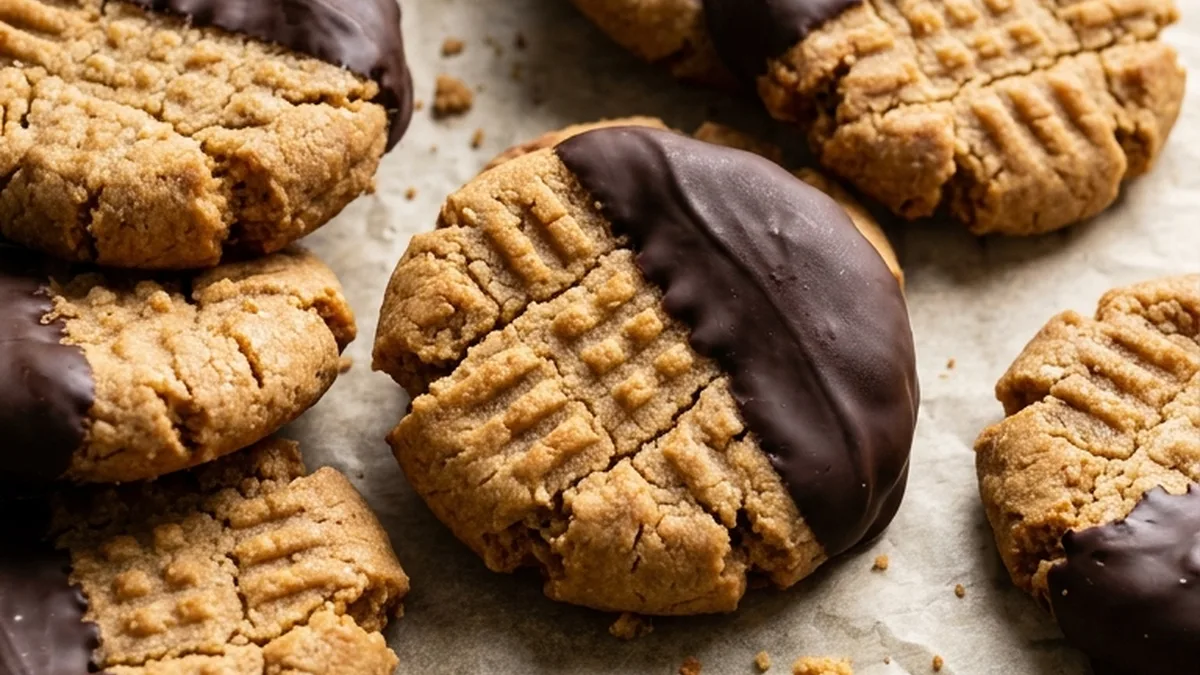
Chocolate Dipped Chewy Peanut Butter Cookies combine rich peanut butter flavor with soft, chewy centers, lightly golden edges, and a smooth coating of dark chocolate. Brown sugar helps keep the cookies moist and tender, while creamy peanut butter gives them a satisfying texture and a nutty flavor. Dipping half of each cookie in melted chocolate creates a delicious contrast between the sweet, slightly salty cookie and the rich chocolate coating.
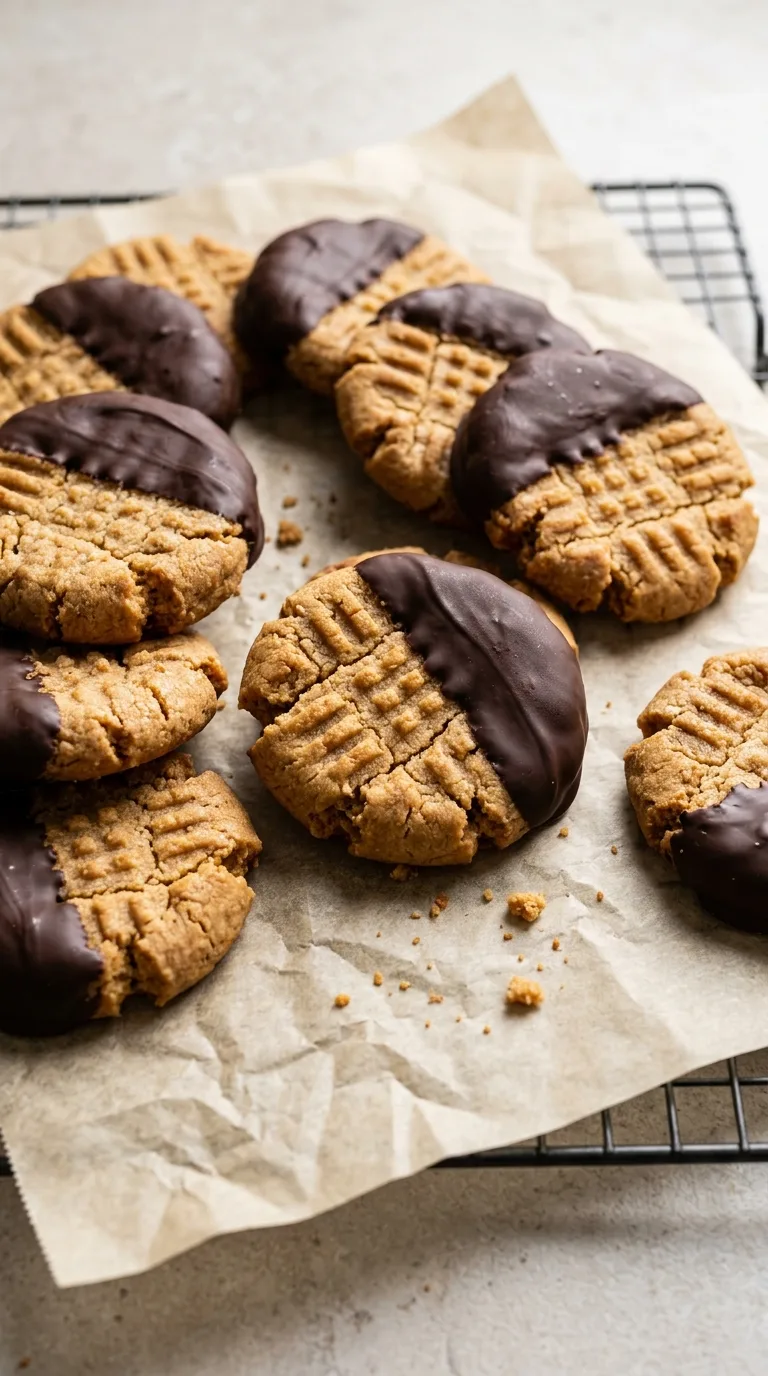
These cookies are made with simple pantry ingredients and require just 30 minutes of dough chilling to help control spreading. Once baked and cooled, they're dipped in chocolate and left to set. They're a convenient make-ahead treat for holiday cookie trays, dessert platters, homemade gifts, or an everyday sweet snack.
Recipe at a Glance
- Prep Time: 25 minutes
- Cook Time: 11 minutes per batch (22 minutes for two batches)
- Additional Time: 1 hour 20 minutes (30 minutes chilling, 20 minutes cooling, 30 minutes chocolate setting)
- Total Time: 2 hours 7 minutes
- Yield: 24 cookies
- Servings: 24 (1 cookie per serving)
- Category: Dessert
- Cuisine: American
- Cooking Method: Oven Baking
- Difficulty: Easy
- Calories Per Serving: Not calculated
Why This Recipe Works
- Brown sugar creates a chewy texture. Its moisture content helps the cookies stay tender in the center instead of becoming dry and crumbly.
- Creamy peanut butter provides flavor and structure. Conventional peanut butter blends smoothly into the dough, contributing richness and helping the cookies hold their shape.
- A short chilling period controls spreading. Refrigerating the dough firms the butter and peanut butter, helping the cookies bake into thicker rounds.
- Slightly underbaking preserves softness. Removing the cookies when their edges are set but their centers still look soft allows them to finish setting on the hot baking sheet.
- Dark chocolate balances the sweetness. The slightly bitter flavor of semisweet or dark chocolate complements the sweet, salty peanut butter cookies without overpowering them.
Equipment Needed
- Stand mixer with paddle attachment or electric hand mixer
- Large mixing bowl
- Medium mixing bowl
- Baking sheets, approximately 18 × 13 inches (46 × 33 cm)
- Parchment paper
- 1½-tablespoon (22 ml) cookie scoop
- Wire cooling rack
- Microwave-safe bowl or double boiler for melting chocolate
- Fork or small dipping utensil
- Airtight container for storage
Ingredients List
For the Peanut Butter Cookies:
- ½ cup (113 g) unsalted butter, softened to room temperature
- ¾ cup (190 g) conventional creamy peanut butter, well stirred
- ¾ cup packed (150 g) light brown sugar
- ¼ cup (50 g) granulated sugar
- 1 large egg (about 50 g without shell), at room temperature
- 1 teaspoon (5 ml) pure vanilla extract
- 1½ cups (180 g) all-purpose flour, spooned and leveled
- ½ teaspoon (2.5 g) baking soda
- ½ teaspoon (3 g) fine sea salt
For the Chocolate Coating:
- 8 ounces (225 g) semisweet chocolate, finely chopped, or semisweet chocolate melting wafers
- 1 teaspoon (5 ml) refined coconut oil, optional, for a thinner chocolate coating
- 1 tablespoon (about 9 g) finely chopped roasted peanuts, optional, for garnish
- ¼ teaspoon (about 1.5 g) flaky sea salt, optional, for garnish
Ingredient Notes
Creamy Peanut Butter
Conventional creamy peanut butter gives these cookies their familiar nutty flavor and helps produce a consistent, chewy texture. Peanut butter that contains added stabilizers generally works more reliably than natural peanut butter with significant oil separation.
Crunchy peanut butter can replace creamy peanut butter in the same quantity, although the cookies will have a more textured bite.
Natural peanut butter may cause additional spreading or a crumbly texture, especially if the oil has not been thoroughly incorporated.
Light Brown Sugar
Brown sugar helps keep the cookies soft and chewy because it contains molasses, which contributes moisture and a mild caramel flavor.
Dark brown sugar can replace light brown sugar in the same quantity. The cookies will have a deeper molasses flavor, a slightly darker color, and potentially a softer texture.
Using only granulated sugar is not recommended because it produces a noticeably different texture.
Unsalted Butter
Butter provides richness and helps create tender cookies with lightly crisp edges.
Salted butter can be substituted, but reduce the added fine sea salt to approximately ¼ teaspoon to account for the salt already present in the butter.
Plant-based baking butter may also work, although differences in water and fat content can affect spreading and texture.
All-Purpose Flour
All-purpose flour provides the structure needed for cookies that hold together while remaining chewy.
A cup-for-cup gluten-free flour blend formulated for baking may work as an alternative, but texture and spreading can vary depending on the blend.
Avoid replacing all-purpose flour directly with almond flour or coconut flour because their absorption and structural properties are significantly different.
Semisweet Chocolate
Semisweet chocolate creates a smooth, rich coating that balances the sweetness of the peanut butter cookies.
Dark chocolate containing approximately 60–70% cocoa can be used for a more intense chocolate flavor.
Milk chocolate is another option, but the finished cookies will taste sweeter.
Chocolate melting wafers are convenient for dipping because they are designed to melt and set smoothly. Regular chocolate may remain slightly softer at room temperature unless properly tempered.
Ingredient Notes and Substitutions
Creamy Peanut Butter
Creamy peanut butter can be replaced with crunchy peanut butter in the same quantity, although the cookies will have a more textured bite.
Light Brown Sugar
Dark brown sugar can replace light brown sugar in the same quantity, resulting in cookies with a deeper molasses flavor, a slightly darker color, and potentially a softer texture.
Unsalted Butter
Butter provides richness and helps create tender cookies with lightly crisp edges.
Step-by-Step Instructions
Cream the Butter, Peanut Butter, and Sugars
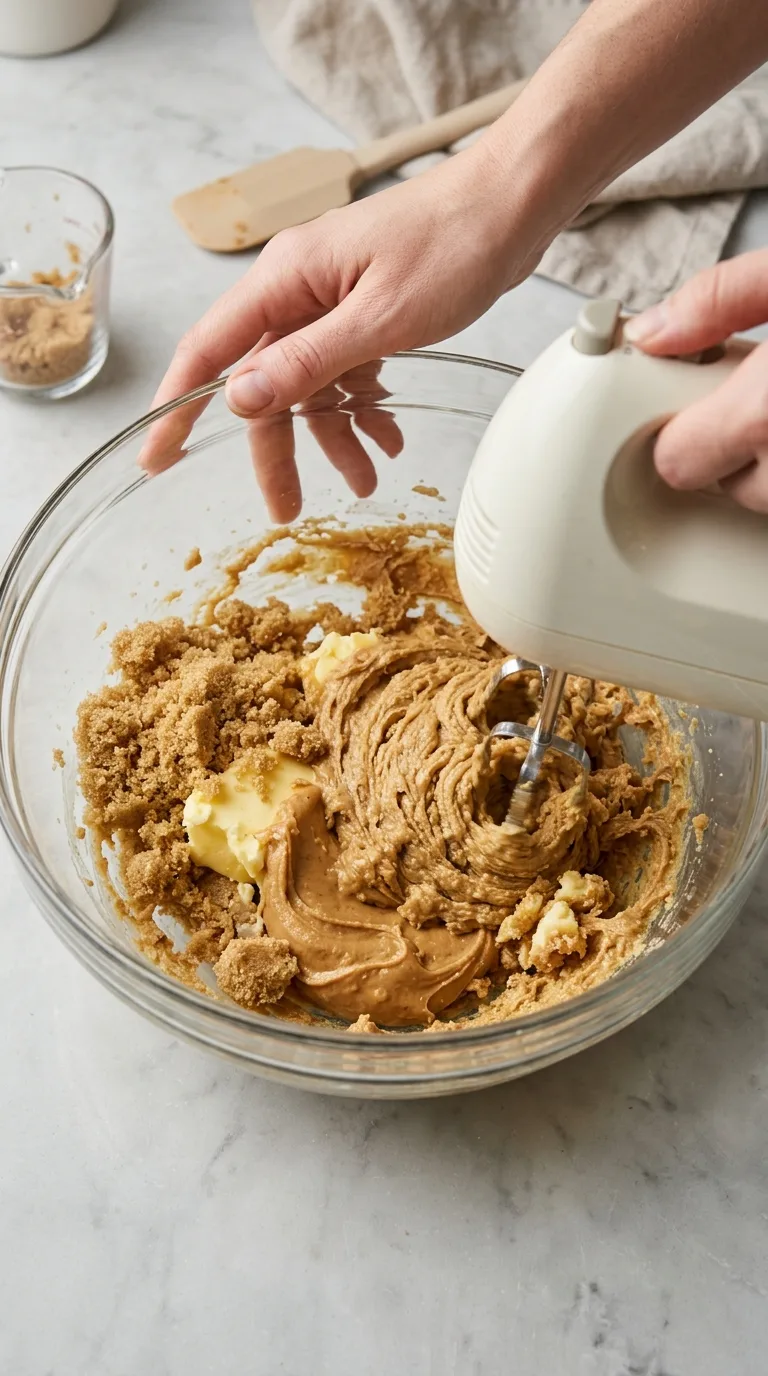
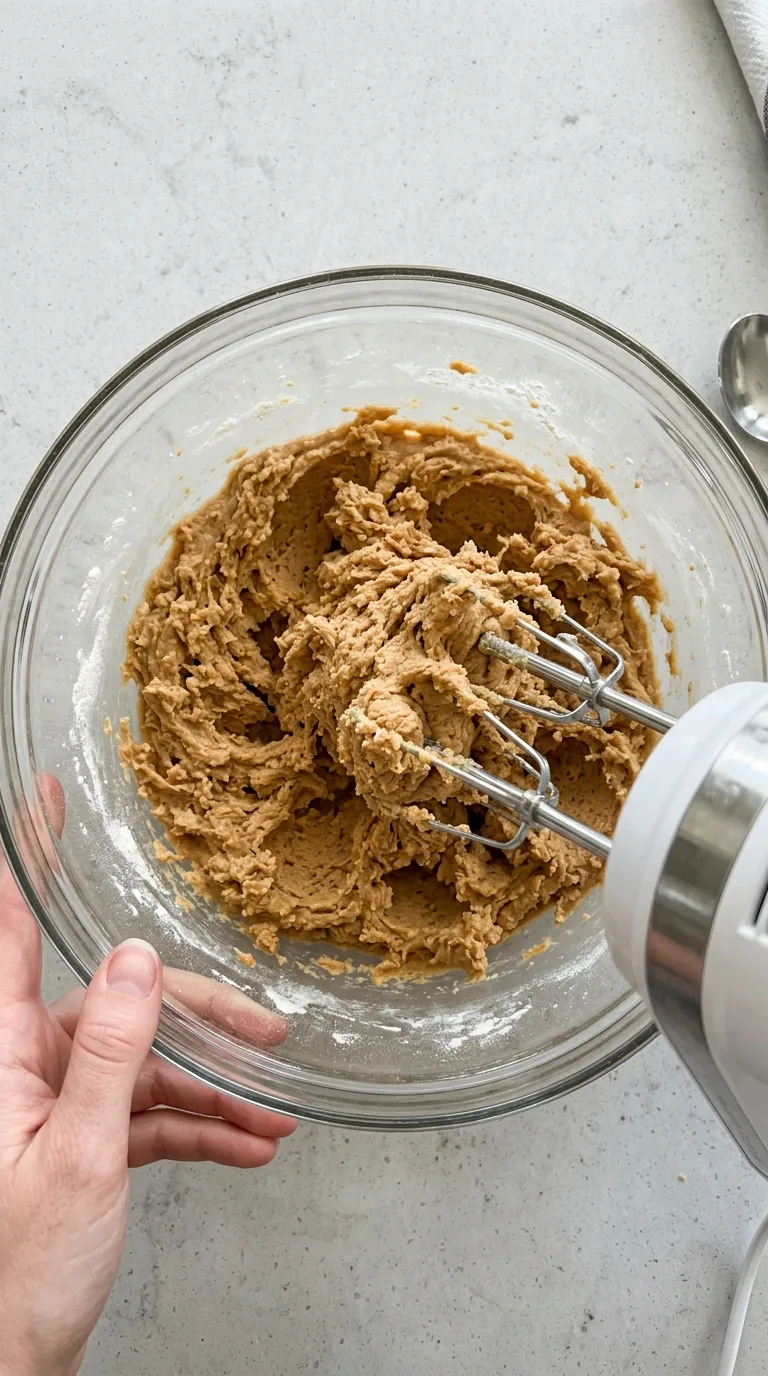
In a large mixing bowl, combine ½ cup softened unsalted butter, ¾ cup creamy peanut butter, ¾ cup packed light brown sugar, and ¼ cup granulated sugar.
Beat with an electric mixer on medium speed for approximately 2–3 minutes, until the mixture looks creamy, slightly lighter in color, and evenly combined.
Scrape down the sides of the bowl as needed.
The mixture should be thick and smooth, without visible streaks of butter.
Add the Egg and Vanilla
Add 1 large egg and 1 teaspoon pure vanilla extract to the peanut butter mixture.
Beat on low to medium speed until the egg is fully incorporated.
The mixture should become smooth and cohesive. Scrape the bowl again to make sure no unmixed ingredients remain near the bottom.
Avoid excessive mixing once the egg has been incorporated.
Combine the Dry Ingredients
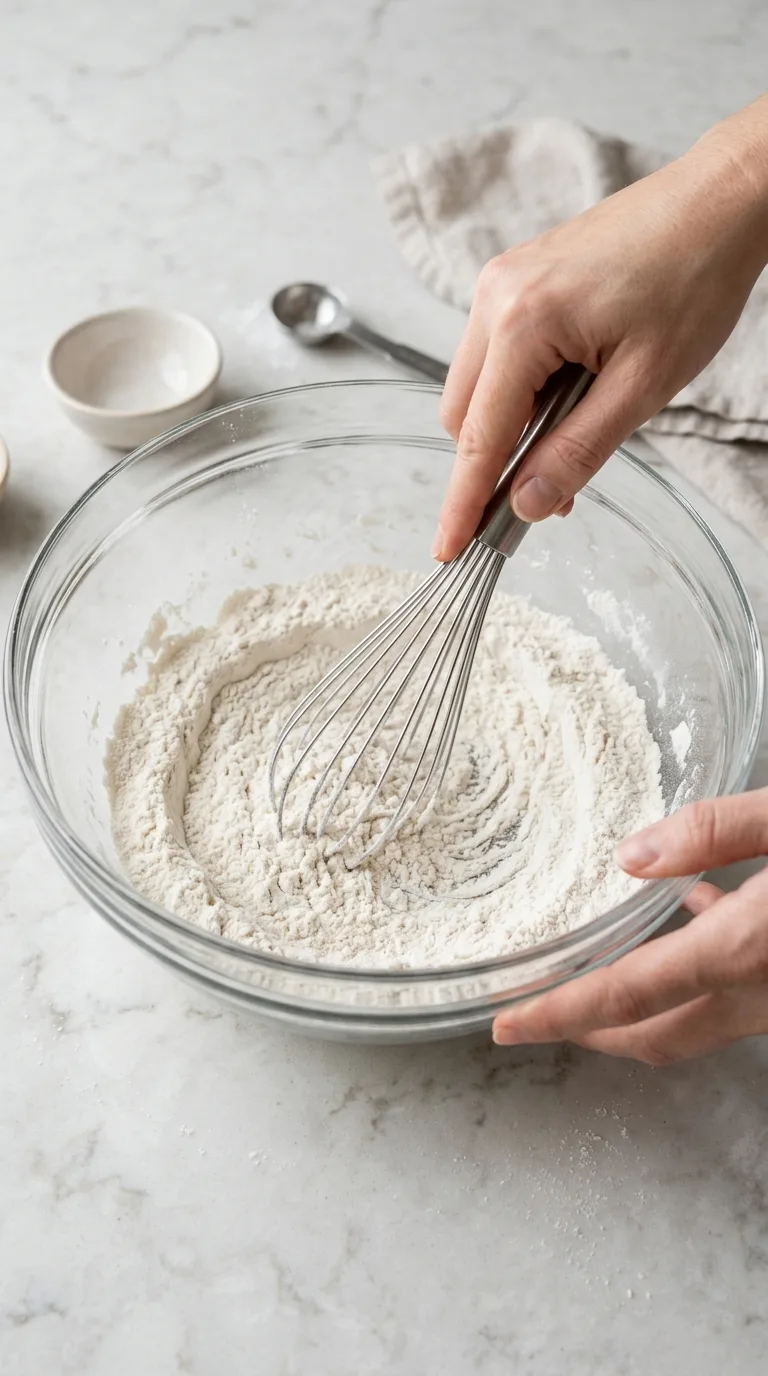
In a separate medium bowl, whisk together 1½ cups all-purpose flour, ½ teaspoon baking soda, and ½ teaspoon fine sea salt.
Whisk until the baking soda and salt are evenly distributed throughout the flour.
This helps the cookies rise and brown consistently.
Make the Cookie Dough
Add the dry ingredients to the peanut butter mixture in two additions.
Mix on low speed just until the flour disappears and a soft dough forms.
The dough should be thick, slightly tacky, and easy to scoop.
If the dough looks crumbly, gently press a small amount together with your fingers. It should hold its shape without falling apart.
Avoid overmixing, which can make the cookies tougher.
Chill the Dough
Cover the mixing bowl and refrigerate the cookie dough for 30 minutes.
Chilling firms the butter and helps prevent excessive spreading during baking.
The chilled dough should feel slightly firmer but remain easy to scoop.
If it becomes too firm after longer refrigeration, let it stand briefly at room temperature before portioning.
Preheat the Oven and Prepare the Baking Sheets
Near the end of the chilling time, preheat the oven to 350°F (175°C).
Position a rack in the center of the oven.
Line two large baking sheets with parchment paper.
Using a 1½-tablespoon cookie scoop, portion the dough into 24 evenly sized balls.
Roll each portion gently between your palms to form a smooth ball.
Arrange and Flatten the Cookies
Place the cookie dough balls on the prepared baking sheets, leaving approximately 2 inches (5 cm) between each one.
Gently press each dough ball with your palm or the bottom of a glass until it is approximately ½ inch (1.3 cm) thick.
Do not flatten the cookies too thinly. Keeping them slightly thick helps maintain soft, chewy centers.
For a traditional peanut butter cookie appearance, you can lightly press a crisscross pattern into the tops with a fork.
Bake Until the Edges Are Set
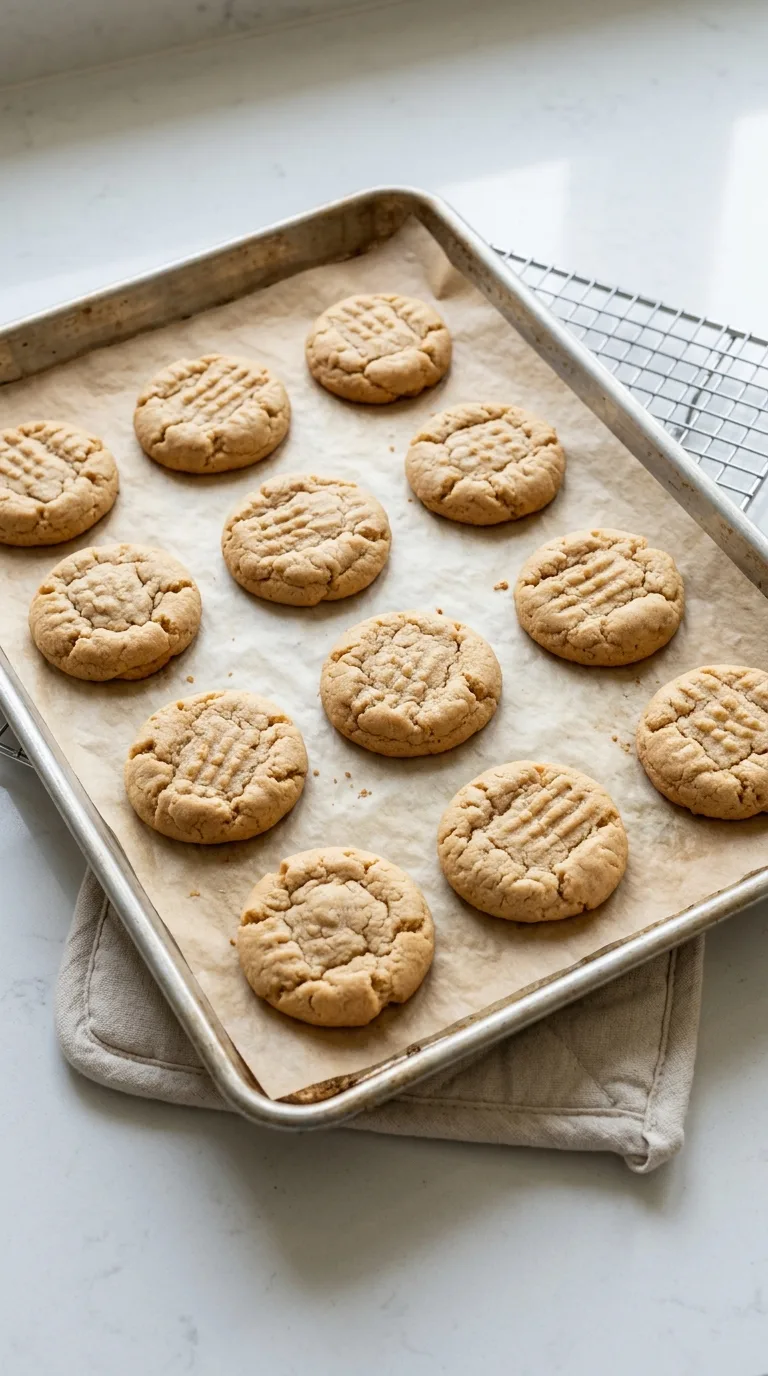
Bake one sheet at a time for approximately 10–12 minutes, until the edges look set and lightly golden.
The centers should still look slightly soft but should no longer appear wet or glossy.
Avoid waiting for the entire surface to become deeply browned, as the cookies will continue setting as they cool.
If the cookies spread unevenly, gently nudge their edges into a round shape with a spoon immediately after removing them from the oven.
Cool the Cookies Completely
Allow the cookies to rest on the baking sheet for approximately 5 minutes.
They will be delicate immediately after baking but should become firmer as they cool.
Transfer them carefully to a wire rack and allow them to cool completely for approximately 15 additional minutes.
Make sure the cookies are no longer warm before dipping. Warm cookies can cause the chocolate to become messy and prevent an even coating.
Melt the Chocolate
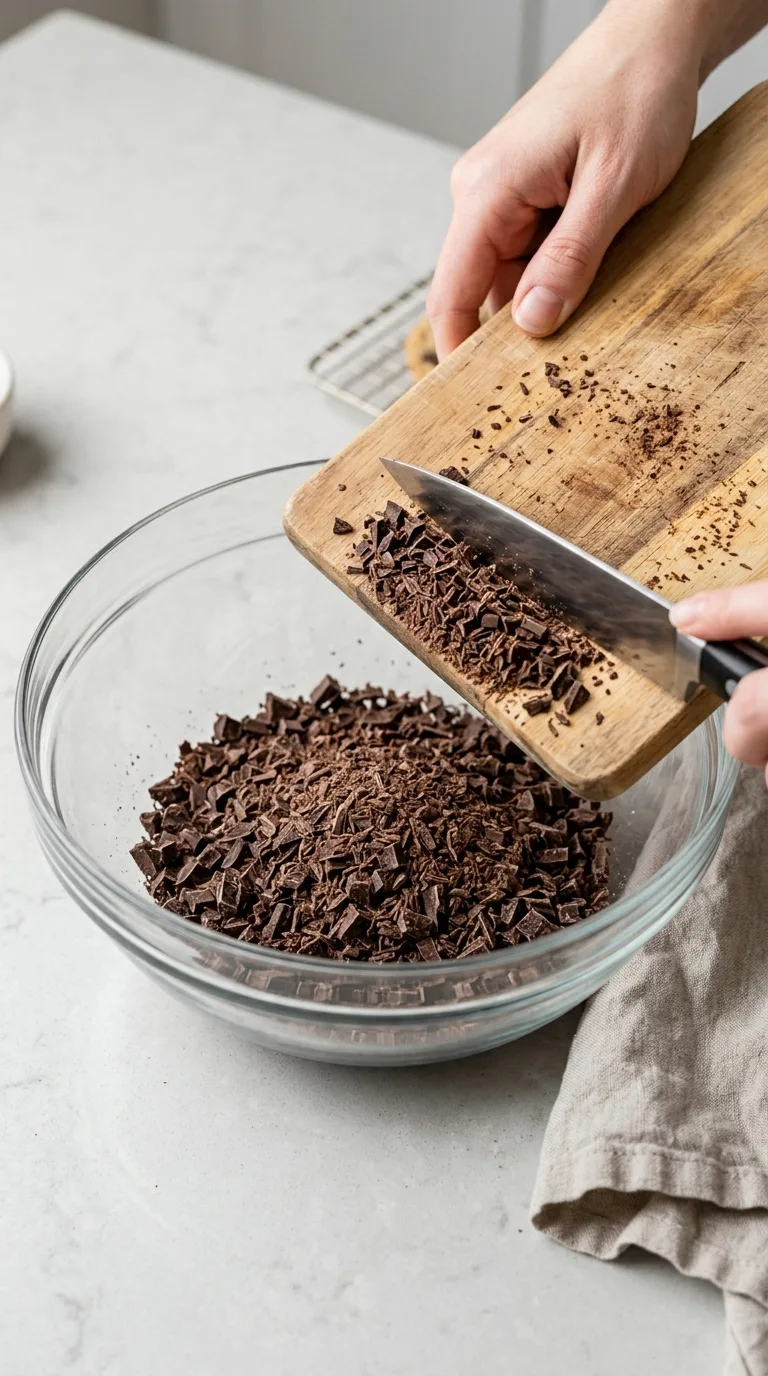
Place 8 ounces finely chopped semisweet chocolate in a clean, dry microwave-safe bowl.
Microwave at 50% power in 20-second intervals, stirring thoroughly between intervals, until the chocolate is nearly melted.
Continue stirring until the remaining pieces dissolve and the chocolate becomes smooth and glossy.
If the chocolate is too thick for dipping, stir in the optional 1 teaspoon refined coconut oil until fully incorporated.
Alternatively, melt the chocolate in a heatproof bowl set over a saucepan of gently simmering water, making sure the bowl does not touch the water.
Avoid overheating or allowing water to enter the chocolate, which can cause it to seize.
Dip the Peanut Butter Cookies
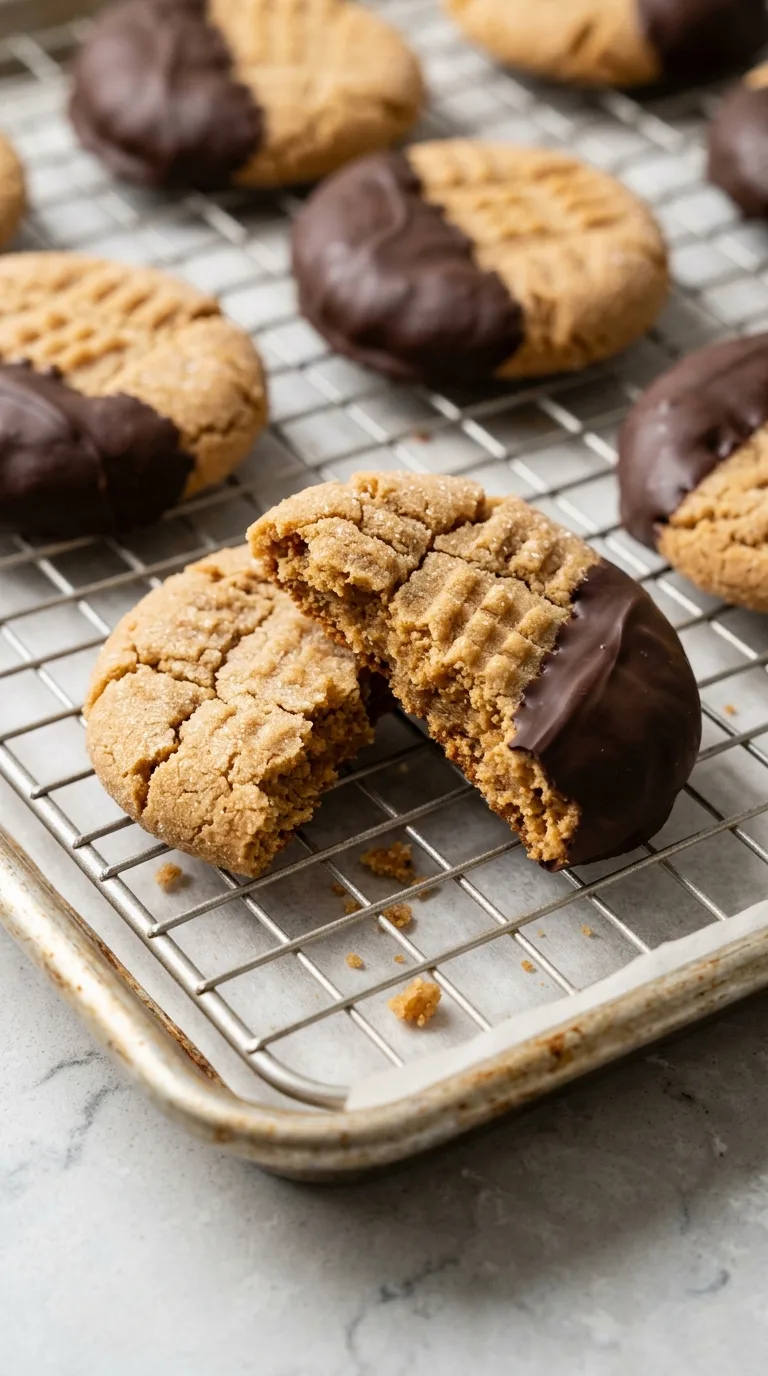
Hold one completely cooled cookie by its edge and dip approximately half of it into the melted chocolate.
Lift the cookie slowly and allow excess chocolate to drip back into the bowl.
Gently scrape the bottom edge against the side of the bowl if needed.
Place the dipped cookie on a parchment-lined baking sheet.
Repeat with the remaining cookies, reheating the chocolate gently if it begins to thicken.
Add the Optional Garnishes
While the chocolate is still wet, sprinkle the chocolate-covered portion of each cookie with the optional finely chopped roasted peanuts or a small pinch of flaky sea salt.
The peanuts provide additional crunch, while the flaky salt adds a savory contrast to the chocolate.
Apply the garnishes before the chocolate begins to set so they adhere properly.
Let the Chocolate Set
Leave the dipped cookies undisturbed at cool room temperature for approximately 30 minutes, or until the chocolate coating is firm enough to handle.
The setting time will depend on the type of chocolate and the temperature of the room.
Chocolate melting wafers generally set more firmly than untempered regular chocolate.
If needed, refrigerate the cookies briefly to help the coating firm up, but avoid prolonged chilling that may encourage condensation when the cookies return to room temperature.
Once the coating has set, the cookies are ready to serve or store.
Storage, Freezing, and Make-Ahead Instructions
Store the completely cooled, chocolate-dipped cookies in an airtight container at a cool room temperature for up to 4–5 days. Place parchment paper between layers to prevent the chocolate coatings from sticking together.
These cookies can be frozen either before or after dipping.
Storing & Freezing
Room-Temperature Storage
Store the completely cooled, chocolate-dipped cookies in an airtight container at a cool room temperature for up to 4–5 days.
Place parchment paper between layers to prevent the chocolate coatings from sticking together.
Keep the container away from direct sunlight or warm kitchen appliances because the chocolate may soften or melt.
If your kitchen is unusually warm, refrigeration may be a better option.
Refrigeration
Place the cookies in an airtight container, separating layers with parchment paper.
Refrigerate for up to 1 week.
Allow refrigerated cookies to sit at room temperature for approximately 10–15 minutes before serving if you prefer a softer, chewier texture.
Keep the container closed while the cookies warm slightly to reduce moisture condensation on the chocolate.
Freezing Baked Cookies
These cookies can be frozen either before or after dipping.
For the best appearance, freeze the fully baked and cooled peanut butter cookies without the chocolate coating.
Arrange them in a single layer on a baking sheet and freeze until firm.
Transfer them to a freezer-safe airtight container or bag, placing parchment paper between layers.
Freeze for up to 3 months for best quality.
Thaw the cookies at room temperature while still covered, then dip them in freshly melted chocolate.
Fully dipped cookies can also be frozen, although the chocolate may develop condensation or a dull appearance after thawing.
Freezing Cookie Dough
Scoop the prepared cookie dough into 24 portions and arrange them on a parchment-lined baking sheet.
Freeze until firm, then transfer the dough balls to a freezer-safe bag or container.
Store for up to 3 months.
When ready to bake, place the frozen dough portions on a prepared baking sheet and allow them to soften just enough to flatten.
Bake at 350°F (175°C), adding approximately 1–3 minutes to the baking time if the dough is still very cold.
Watch the edges closely and remove the cookies when they are set but the centers remain slightly soft.
Make-Ahead Preparation
The cookie dough can be prepared up to 48 hours in advance and stored in a covered container in the refrigerator.
If the dough becomes very firm, let it stand briefly at room temperature before scooping and shaping.
The cookies can also be baked a day ahead and dipped in chocolate the following day.
This is especially helpful when preparing holiday cookie trays or homemade dessert gifts.
Maintaining the Chewy Texture
Avoid leaving the cookies uncovered for long periods, as exposure to air can dry them out.
Store them in a tightly sealed container once the chocolate has completely set.
For the softest texture, do not refrigerate unnecessarily if your room temperature is cool enough to keep the chocolate stable.
Tips for Success
- Measure flour carefully. Too much flour can produce dry, crumbly cookies. Spoon the flour into the measuring cup and level it off, or use a kitchen scale for more consistent results.
- Use room-temperature butter, not melted butter. Softened butter creams properly with the sugars and helps create a thicker cookie. Melted butter can cause excessive spreading.
- Choose a stable peanut butter. Conventional creamy peanut butter gives the dough a more predictable consistency than very oily natural varieties.
- Avoid overbaking. Peanut butter cookies can dry out quickly. Remove them when the edges are set and the centers are still slightly soft.
- Cool completely before dipping. Even slightly warm cookies can cause the melted chocolate to slide off or form an uneven layer.
- Keep the chocolate dry. Water or steam can cause melted chocolate to seize. Use a completely dry bowl and utensils when melting and dipping.
FAQ
Why are my peanut butter cookies dry instead of chewy?
Dry peanut butter cookies are often caused by too much flour, excessive baking, or peanut butter with an inconsistent oil content. Measure the flour accurately and remove the cookies when the edges are set but the centers still look slightly soft. The cookies will continue to firm up as they cool.
Can I use natural peanut butter for these cookies?
Natural peanut butter may work, but it can produce less consistent results because the oil separates from the peanut solids. If using it, stir thoroughly until completely smooth and avoid varieties that are unusually runny or dry. Conventional creamy peanut butter is recommended for a more predictable chewy texture.
Why did my cookies spread too much?
Excessive spreading can happen if the butter was too warm, the dough was not chilled long enough, or the baking sheet was still hot from a previous batch. Chill the dough for the full 30 minutes and use cool baking sheets. Also check that the flour was measured correctly.
Can I use milk chocolate instead of semisweet chocolate?
Yes. Milk chocolate can replace semisweet chocolate in the same quantity. The cookies will have a sweeter, milder chocolate coating. Dark chocolate is another good option if you prefer a richer flavor with less sweetness.
Can I make these cookies ahead of time?
Yes. You can prepare the cookie dough up to 48 hours in advance or bake the cookies a day or two before serving. Store the baked cookies in an airtight container and add the chocolate coating once they are completely cool. Allow the chocolate to set fully before stacking or packaging.
Ingredients
Method
- Cream the Butter, Peanut Butter, and Sugars: In a large mixing bowl, combine ½ cup softened unsalted butter, ¾ cup creamy peanut butter, ¾ cup packed light brown sugar, and ¼ cup granulated sugar. Beat with an electric mixer on medium speed for approximately 2–3 minutes, until the mixture looks creamy, slightly lighter in color, and evenly combined. Scrape down the sides of the bowl as needed. The mixture should be thick and smooth, without visible streaks of butter.
- Add the Egg and Vanilla: Add 1 large egg and 1 teaspoon pure vanilla extract to the peanut butter mixture. Beat on low to medium speed until the egg is fully incorporated. The mixture should become smooth and cohesive. Scrape the bowl again to make sure no unmixed ingredients remain near the bottom. Avoid excessive mixing once the egg has been incorporated.
- Combine the Dry Ingredients: In a separate medium bowl, whisk together 1½ cups all-purpose flour, ½ teaspoon baking soda, and ½ teaspoon fine sea salt. Whisk until the baking soda and salt are evenly distributed throughout the flour. This helps the cookies rise and brown consistently.
- Make the Cookie Dough: Add the dry ingredients to the peanut butter mixture in two additions. Mix on low speed just until the flour disappears and a soft dough forms. The dough should be thick, slightly tacky, and easy to scoop. If the dough looks crumbly, gently press a small amount together with your fingers. It should hold its shape without falling apart.
- Chill the Dough: Cover the mixing bowl and refrigerate the cookie dough for 30 minutes. Chilling firms the butter and helps prevent excessive spreading during baking. The chilled dough should feel slightly firmer but remain easy to scoop. If it becomes too firm after longer refrigeration, let it stand briefly at room temperature before portioning.
- Preheat the Oven and Prepare the Baking Sheets: Near the end of the chilling time, preheat the oven to 350°F (175°C). Position a rack in the center of the oven. Line two large baking sheets with parchment paper. Using a 1½-tablespoon cookie scoop, portion the dough into 24 evenly sized balls. Roll each portion gently between your palms to form a smooth ball.
- Arrange and Flatten the Cookies: Place the cookie dough balls on the prepared baking sheets, leaving approximately 2 inches (5 cm) between each one. Gently press each dough ball with your palm or the bottom of a glass until it is approximately ½ inch (1.3 cm) thick. Do not flatten the cookies too thinly. Keeping them slightly thick helps maintain soft, chewy centers. For a traditional peanut butter cookie appearance, you can lightly press a crisscross pattern into the tops with a fork.
- Bake Until the Edges Are Set: Bake one sheet at a time for approximately 10–12 minutes, until the edges look set and lightly golden. The centers should still look slightly soft but should no longer appear wet or glossy. Avoid waiting for the entire surface to become deeply browned, as the cookies will continue setting as they cool. If the cookies spread unevenly, gently nudge their edges into a round shape with a spoon immediately after removing them from the oven.
- Cool the Cookies Completely: Allow the cookies to rest on the baking sheet for approximately 5 minutes. They will be delicate immediately after baking but should become firmer as they cool. Transfer them carefully to a wire rack and allow them to cool completely for approximately 15 additional minutes. Make sure the cookies are no longer warm before dipping. Warm cookies can cause the chocolate to become messy and prevent an even coating.
- Melt the Chocolate: Place 8 ounces finely chopped semisweet chocolate in a clean, dry microwave-safe bowl. Microwave at 50% power in 20-second intervals, stirring thoroughly between intervals, until the chocolate is nearly melted. Continue stirring until the remaining pieces dissolve and the chocolate becomes smooth and glossy. If the chocolate is too thick for dipping, stir in the optional 1 teaspoon refined coconut oil until fully incorporated. Alternatively, melt the chocolate in a heatproof bowl set over a saucepan of gently simmering water, making sure the bowl does not touch the water. Avoid overheating or allowing water to enter the chocolate, which can cause it to seize.
- Dip the Peanut Butter Cookies: Hold one completely cooled cookie by its edge and dip approximately half of it into the melted chocolate. Lift the cookie slowly and allow excess chocolate to drip back into the bowl. Gently scrape the bottom edge against the side of the bowl if needed. Place the dipped cookie on a parchment-lined baking sheet. Repeat with the remaining cookies, reheating the chocolate gently if it begins to thicken.
- Add the Optional Garnishes: While the chocolate is still wet, sprinkle the chocolate-covered portion of each cookie with the optional finely chopped roasted peanuts or a small pinch of flaky sea salt. The peanuts provide additional crunch, while the flaky salt adds a savory contrast to the chocolate. Apply the garnishes before the chocolate begins to set so they adhere properly.
- Let the Chocolate Set: Leave the dipped cookies undisturbed at cool room temperature for approximately 30 minutes, or until the chocolate coating is firm enough to handle. The setting time will depend on the type of chocolate and the temperature of the room. Chocolate melting wafers generally set more firmly than untempered regular chocolate. If needed, refrigerate the cookies briefly to help the coating firm up, but avoid prolonged chilling that may encourage condensation when the cookies return to room temperature. Once the coating has set, the cookies are ready to serve or store.