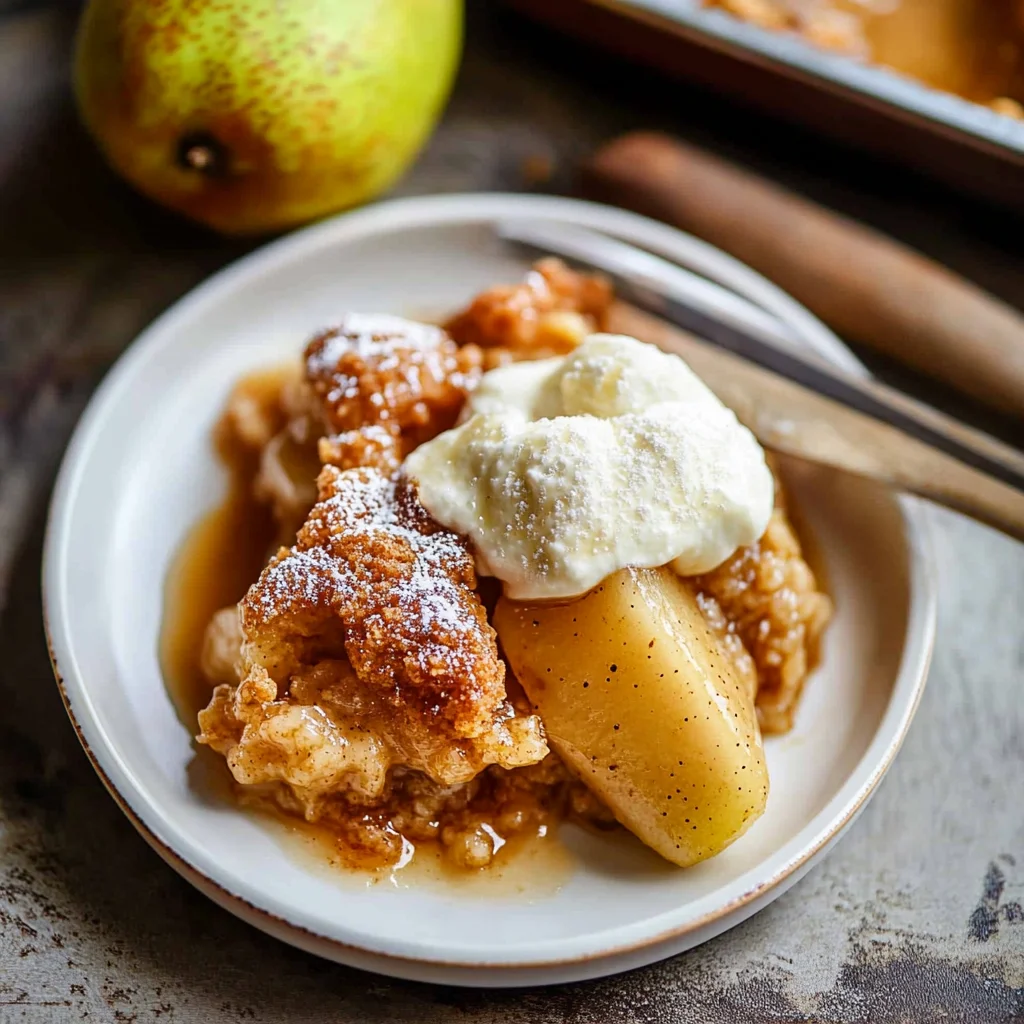
There’s something comforting about pear cobbler, with its warm, sweet aroma filling the kitchen as it bakes. The tender pears nestled beneath a golden topping create a cozy dessert that feels like home.
You can easily make this recipe, no matter your skill level. Don’t worry if everything isn’t perfect; just enjoy the process and the delicious results.
Why This Recipe Works
This pear cobbler recipe strikes a perfect balance between tender, sweet pears and a light, flaky topping. The cornstarch thickens the filling without being overly heavy, while the combination of cold butter and room temperature milk creates a wonderfully textured crust. Plus, baking at 350°F ensures even cooking for both the filling and topping. Now that we’ve covered why it works, let’s move on to the preparation details.
The One Thing That Makes It Work
- The secret to a successful pear cobbler lies in the perfectly balanced pear filling.
- By using ripe pears combined with granulated sugar, lemon juice, and spices, you create a deliciously sweet and aromatic base that complements the flaky topping beautifully.
- This harmony between the filling and topping is what elevates your cobbler experience.
Now that you’ve mastered the key element of this recipe, let’s move on to the step-by-step instructions for creating your pear cobbler.
Essential Ingredients
To create a delicious pear cobbler, gather these essential ingredients for both the filling and the topping.
- 4 medium ripe pears: Choose sweet, juicy pears for the best flavor; peel, core, and slice them before use.
- 1/2 cup granulated sugar: Adjust based on the natural sweetness of your pears to balance the filling.
- 1 tablespoon lemon juice: Freshly squeezed lemon juice brightens the flavors and prevents the pears from browning.
- 1 teaspoon ground cinnamon: This spice adds warmth and depth to the pear filling, enhancing its overall flavor.
- 1 tablespoon cornstarch: Use this to thicken the filling, ensuring it has a nice consistency when baked.
- 1/4 teaspoon salt: A small amount of salt balances the sweetness of the filling perfectly.
- 1 cup all-purpose flour: Sifted flour is essential for creating a light and fluffy cobbler topping.
- 1 tablespoon baking powder: This ingredient provides lift to the topping, making it rise beautifully during baking.
- 1/4 cup granulated sugar: Sweetens the topping slightly; it works in conjunction with the fruit below.
- 1/4 teaspoon salt: Enhances flavor in your cobbler topping, creating a well-rounded taste.
- 1/2 cup unsalted butter: Keep this cold and cut into small pieces for a flaky texture in your topping.
- 1/2 cup milk: Room temperature milk helps combine ingredients smoothly without making the dough tough.
- 1 teaspoon vanilla extract: Adds a delightful aroma and flavor to your cobbler topping.
The full ingredients list, including measurements, is provided in the recipe card directly below.
Do This, Not That
- Use ripe pears for your filling to achieve the perfect sweetness; avoid underripe pears, which can result in a tart taste.
- Opt for freshly squeezed lemon juice to enhance the flavor of the pears instead of bottled lemon juice, which may lack freshness.
- Choose cold, unsalted butter for the topping to ensure a flaky texture; steer clear of softened butter, as it can lead to a denser cobbler.
Now that you have these helpful tips in mind, let’s move on to assembling and baking your pear cobbler.
Step-by-Step Method
Start by preheating your oven to 350°F (175°C). This step is important as it ensures that your pear cobbler cooks evenly and achieves the right texture.
Next, take a large mixing bowl and combine the sliced pears with granulated sugar, lemon juice, ground cinnamon, cornstarch, and salt. Gently toss the mixture until the pears are well coated. You should notice the sweet aroma of cinnamon filling the air.
Transfer this pear mixture into a 9-inch baking dish, spreading it evenly across the bottom. The fruit should look glossy from the sugar and lemon juice, creating a tempting base for your cobbler.
In another bowl, whisk together all-purpose flour, baking powder, granulated sugar, and salt to form your dry topping mixture. The ingredients should blend well, forming a light and airy mix that will create a nice texture when baked.
Now add the cold, diced butter into the dry ingredients. Use your fingers or a pastry cutter to combine until it resembles coarse crumbs. This step is crucial as it contributes to a flaky topping you’ll enjoy later.
Pour in milk and vanilla extract into the mixture, stirring gently until just combined. Be careful not to overmix; you want it to be slightly lumpy for a tender cobbler topping that bakes beautifully.
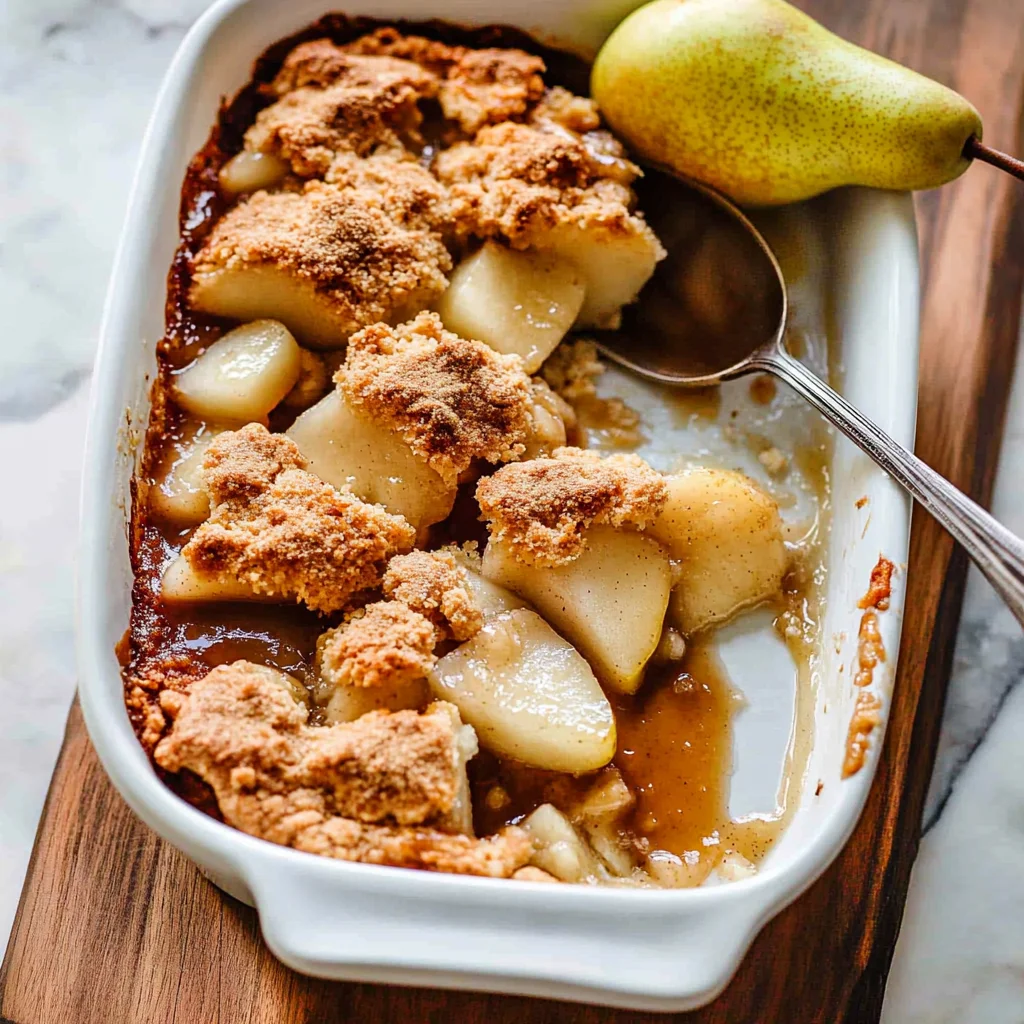
Spoon this topping over your prepared pear filling, spreading it out evenly. The topping will rise during baking, creating a lovely crust that perfectly contrasts with the soft pear filling below.
Bake in your preheated oven for 35-40 minutes until the topping turns golden brown and you can see bubbling juices around the edges. Let it cool for about 10 minutes before serving so everything sets nicely together.
Now that your pear cobbler is ready to serve, let’s explore some delicious serving suggestions!
Troubleshooting (If Something Goes Wrong)
If your pear cobbler topping is too dense, ensure you didn’t overmix the batter; gently combine the ingredients for a lighter texture. If the filling is too runny, check your cornstarch measurement and consider adding a bit more to help thicken it. Remember, cooking is a learning process, and adjustments are part of it. Now that you’re prepared for any mishaps, let’s explore some delightful serving suggestions for your pear cobbler.
Variations You’ll Actually Want to Try
Feel free to experiment with your pear cobbler by adding a handful of fresh blueberries or raspberries for a pop of color and flavor. Alternatively, you could sprinkle some chopped nuts, like walnuts or pecans, into the topping for added crunch. Don’t hesitate to swap the cinnamon for nutmeg or ginger to create a different spice profile that suits your taste.
Now that you have some delicious variations in mind, let’s move on to perfecting the technique!
Pick Your Flavor Path
- For a warm, spicy twist, sprinkle extra ground cinnamon over the cobbler topping before baking.
- To brighten the dish, add a touch more lemon juice to the pear filling for a zesty kick.
- If you’re feeling adventurous, try incorporating a handful of toasted pecans into the topping for added crunch.
These simple flavor directions can elevate your pear cobbler experience in delightful ways as we move on to serving suggestions.
FAQ
How long does pear cobbler take to bake?
Pear cobbler takes about 35-40 minutes to bake at 350°F (175°C).
Can I substitute other fruits for the pears in this recipe?
Yes, you can use other fruits like apples or peaches, adjusting sugar as needed.
What’s the best way to store leftover pear cobbler?
Store leftover pear cobbler in an airtight container at room temperature for up to two days.
As you prepare to enjoy your homemade pear cobbler, consider how best to serve it warm.