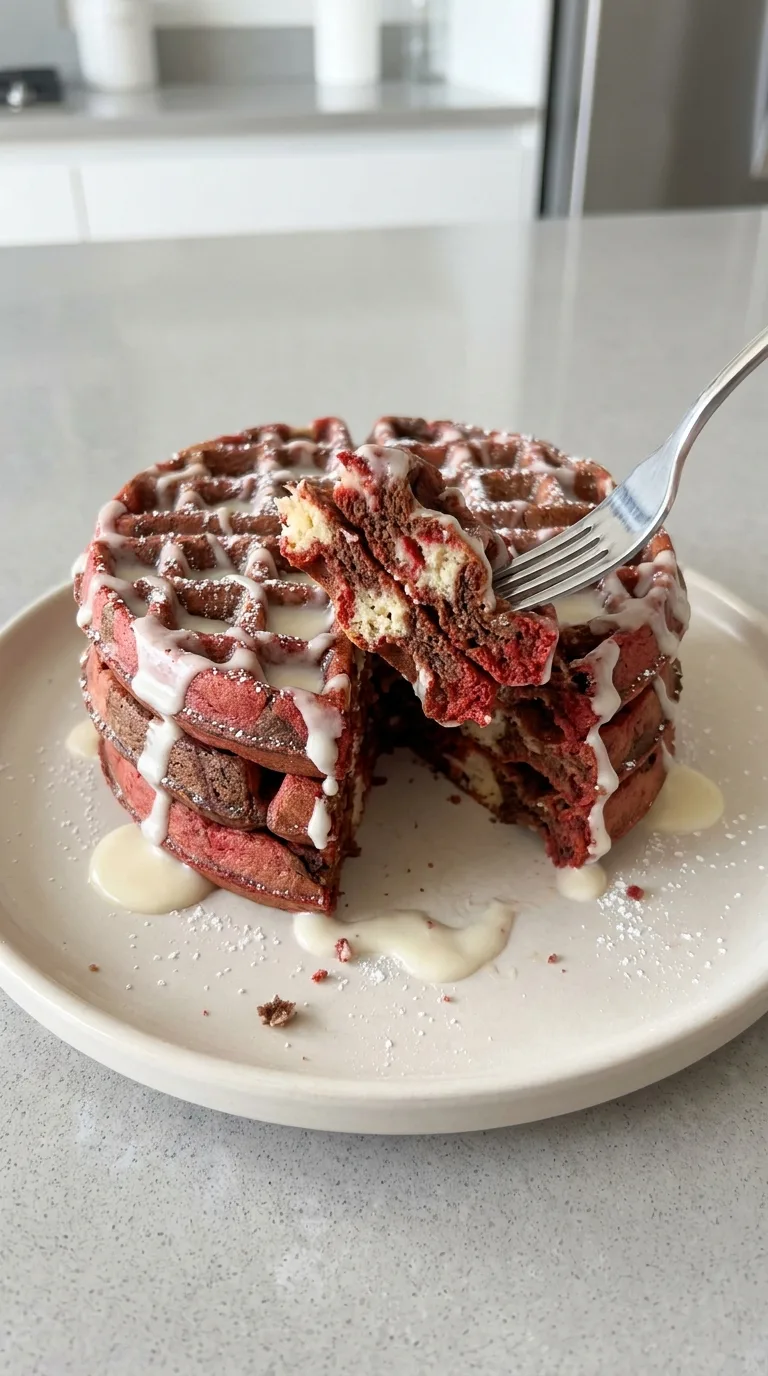
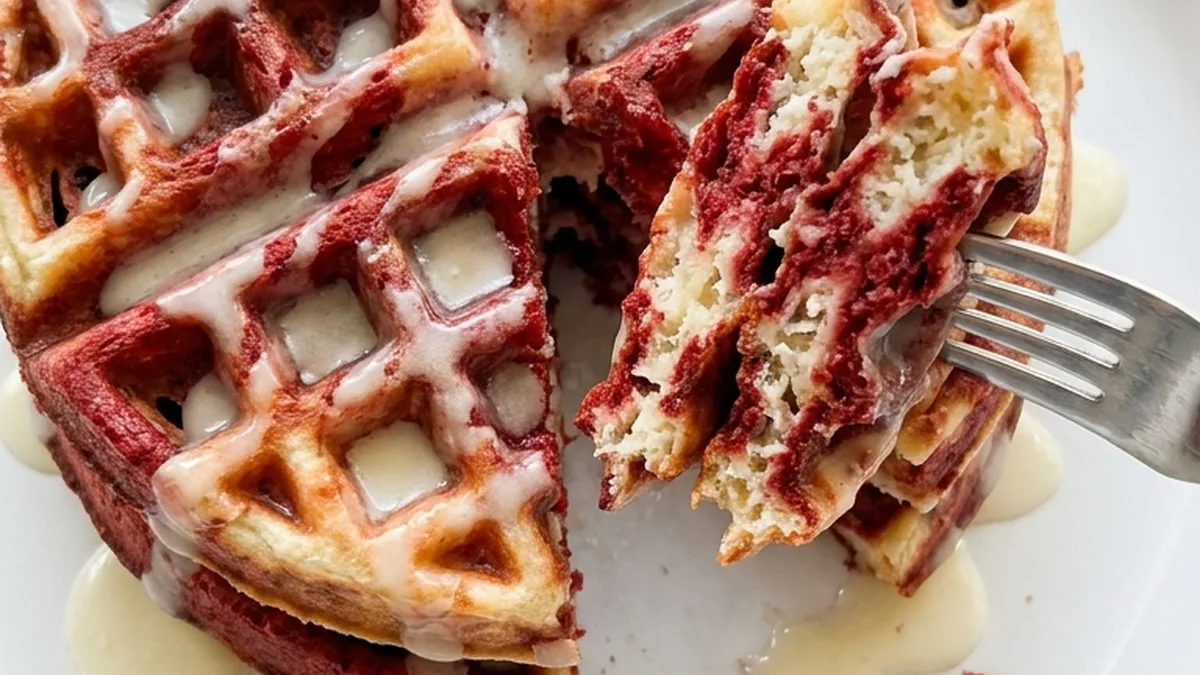
Red Velvet Marble Waffles combine a fluffy vanilla waffle batter with ribbons of cocoa-red velvet batter for a striking marbled finish. They have lightly crisp edges, tender centers, and a mild chocolate flavor balanced by vanilla, making them a festive choice for breakfast or brunch.
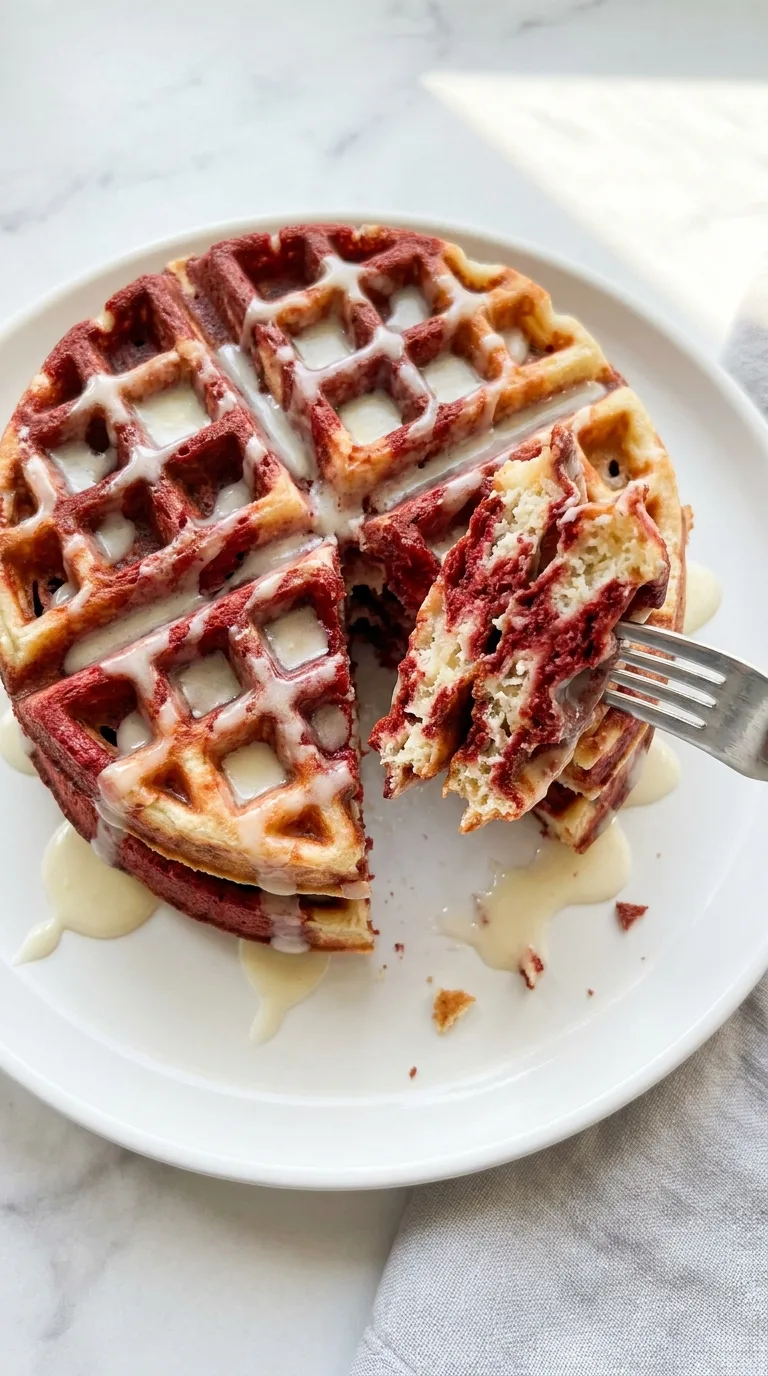
The marbling is created directly in the waffle iron, so there is no need for frosting or complicated decorating. A short batter rest helps the flour hydrate, while cooking the waffles until deeply golden keeps the exterior crisp enough to hold maple syrup, cream cheese glaze, or fresh berries.
Recipe at a Glance
- Prep Time: 20 minutes
- Cook Time: 20 minutes
- Additional Time: 10 minutes
- Total Time: 50 minutes
- Yield: 8 Belgian-style waffles
- Servings: 4
- Difficulty: Easy
What Makes This Recipe Work
- One vanilla batter creates the base for both colors.
- Cocoa adds gentle chocolate flavor.
- Buttermilk adds tenderness and mild tang.
- Food coloring creates the signature red appearance.
- Marbling happens directly in the waffle iron.
Tools for This Recipe
- Belgian-style waffle maker with deep plates
- Large mixing bowl
- Medium mixing bowl
- Whisk
- Rubber spatula
- Small bowl for the red velvet batter
- Wire cooling rack
- 1/2-cup measuring cup or scoop
Ingredient Notes
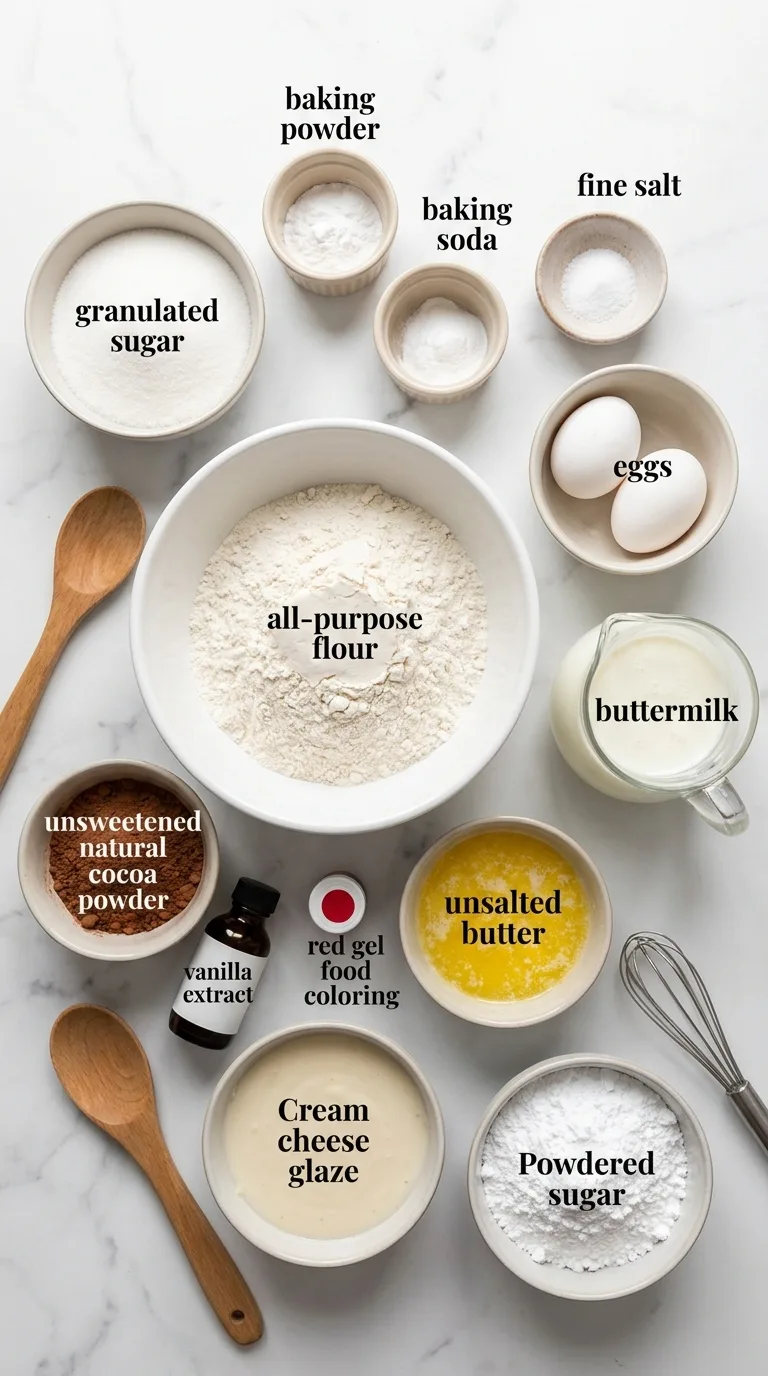
- ■ Buttermilk: Substitute with milk mixed with lemon juice or vinegar.
- ■ Natural cocoa powder: Avoid Dutch-process cocoa for this recipe.
- ■ Red gel food coloring: Preferred for a concentrated color.
- ■ Unsalted butter: Can be replaced with melted neutral oil.
- ■ All-purpose flour: A gluten-free blend can be used, but may be delicate.
Step-by-Step Method
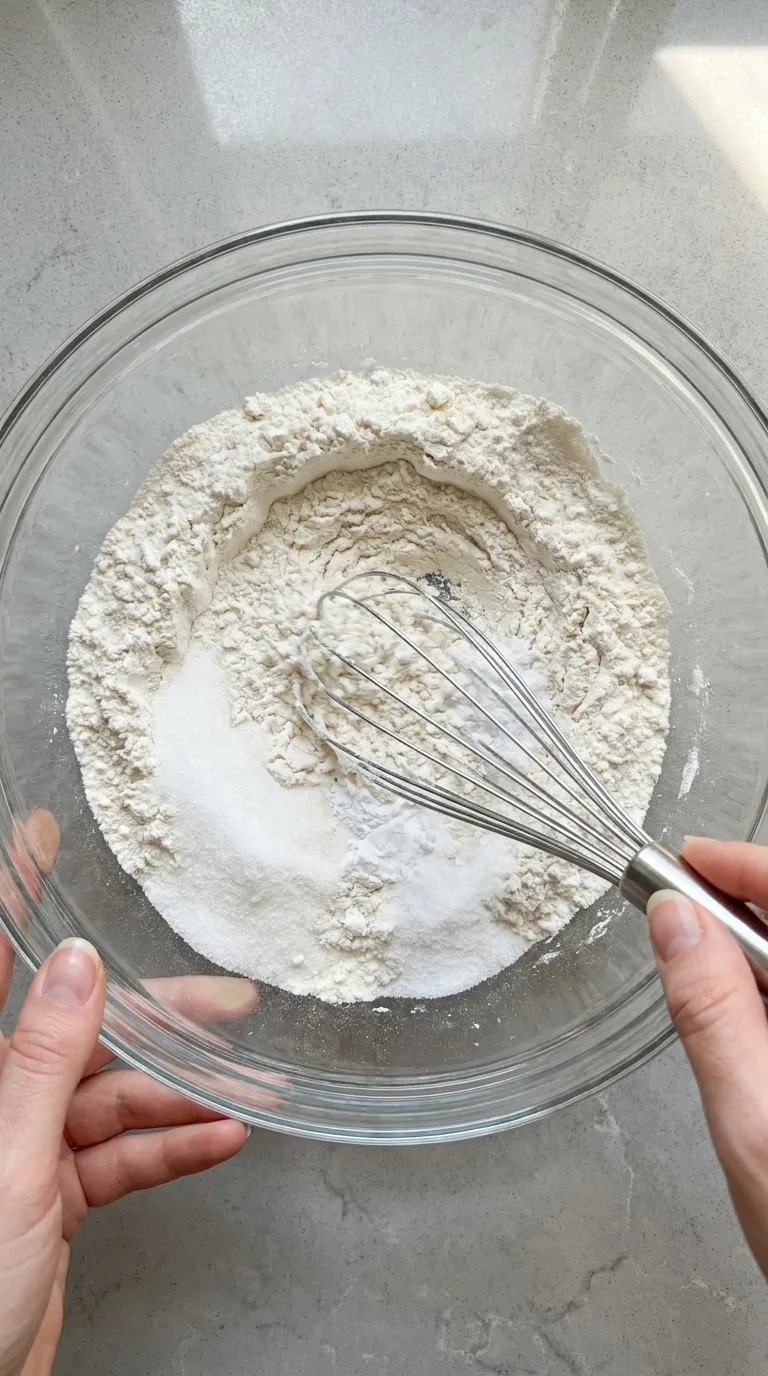
- Combine the dry ingredients. In a large bowl, whisk together the flour, sugar, baking powder, baking soda, and salt until evenly distributed.

- Mix the wet ingredients. In a medium bowl, whisk the eggs, buttermilk, melted butter, and vanilla until smooth. The butter should be melted but only slightly warm.
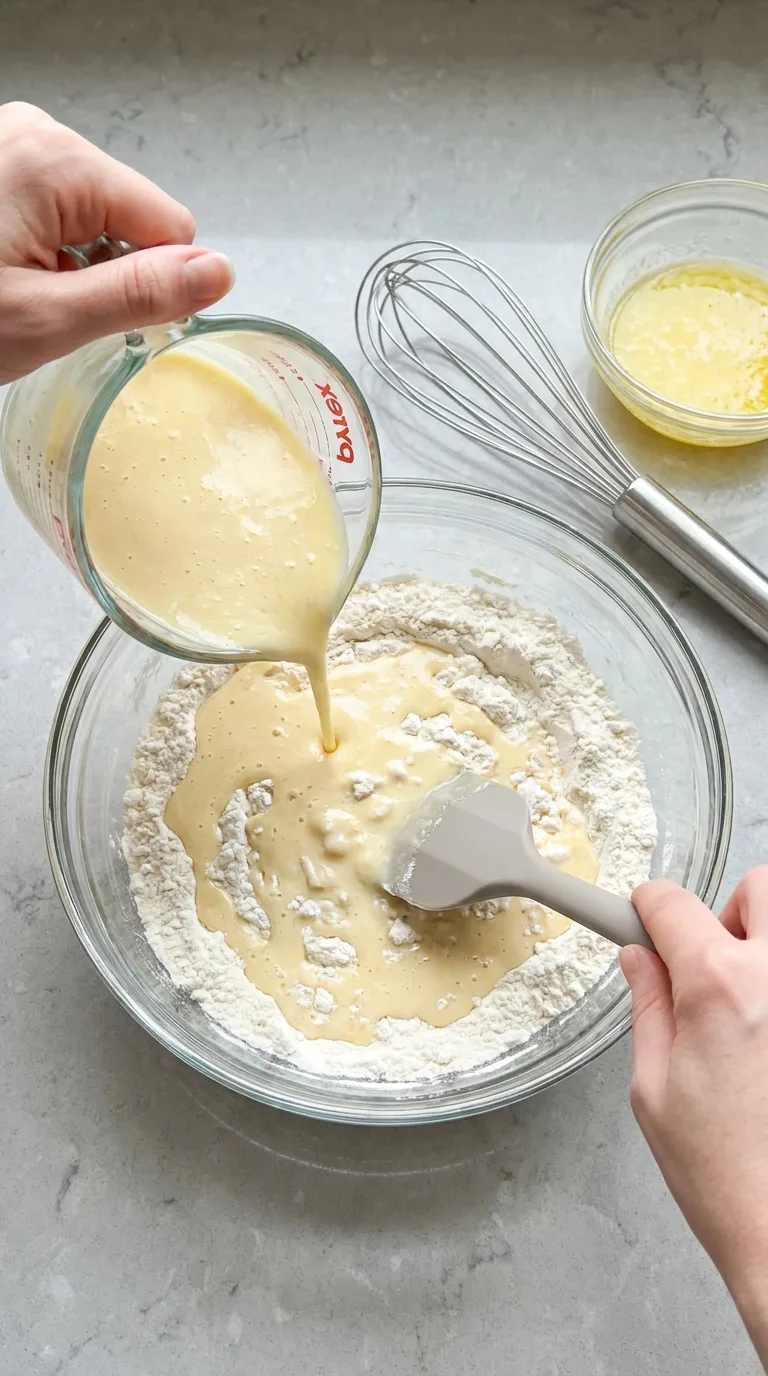
- Make the base batter. Pour the wet ingredients into the dry ingredients and stir gently with a rubber spatula until just combined. The batter should be thick but pourable, with a few small lumps remaining. Do not overmix.
- Rest the batter. Let the batter rest for 10 minutes at room temperature. It should thicken slightly while remaining easy to scoop.
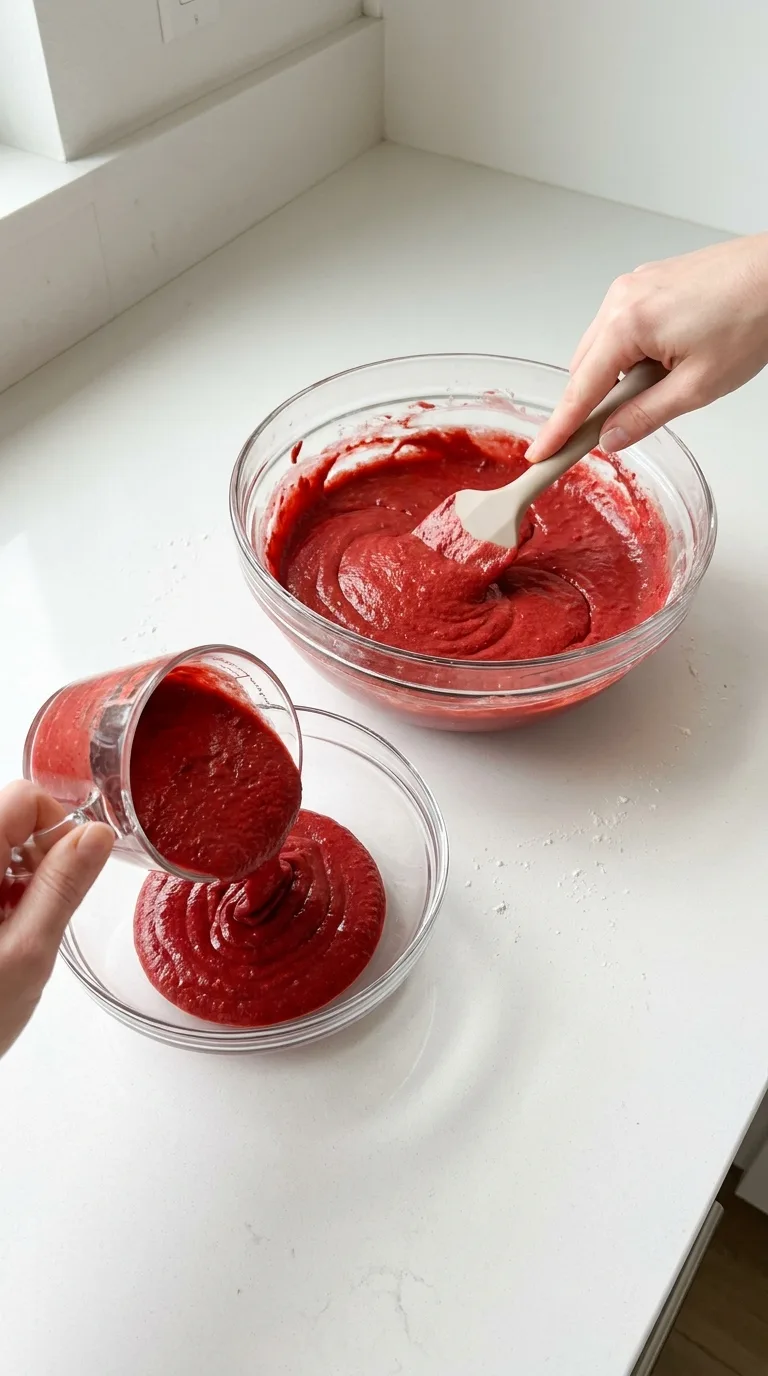
- Create the red velvet batter. Transfer about 1 cup (240 g) of the batter to a small bowl. Whisk in the cocoa powder, 1 tablespoon (15 ml) buttermilk, and red gel food coloring until smooth. The mixture should be noticeably red and slightly thinner than the plain batter. If it becomes too thick, stir in another teaspoon of buttermilk from the measured amount only if needed; otherwise keep the mixture as prepared.
- Preheat the waffle maker. Preheat a Belgian-style waffle maker according to the manufacturer's instructions. Lightly grease the plates if required by your appliance.
- Create the marble pattern. Add enough plain batter to cover most of the waffle plate without reaching the edges. Drop several small spoonfuls of the red velvet batter over the surface. Use the tip of a skewer or knife to make a few gentle swirls through the two batters. Do not over-swirl, or the colors will blend instead of forming a marble pattern.
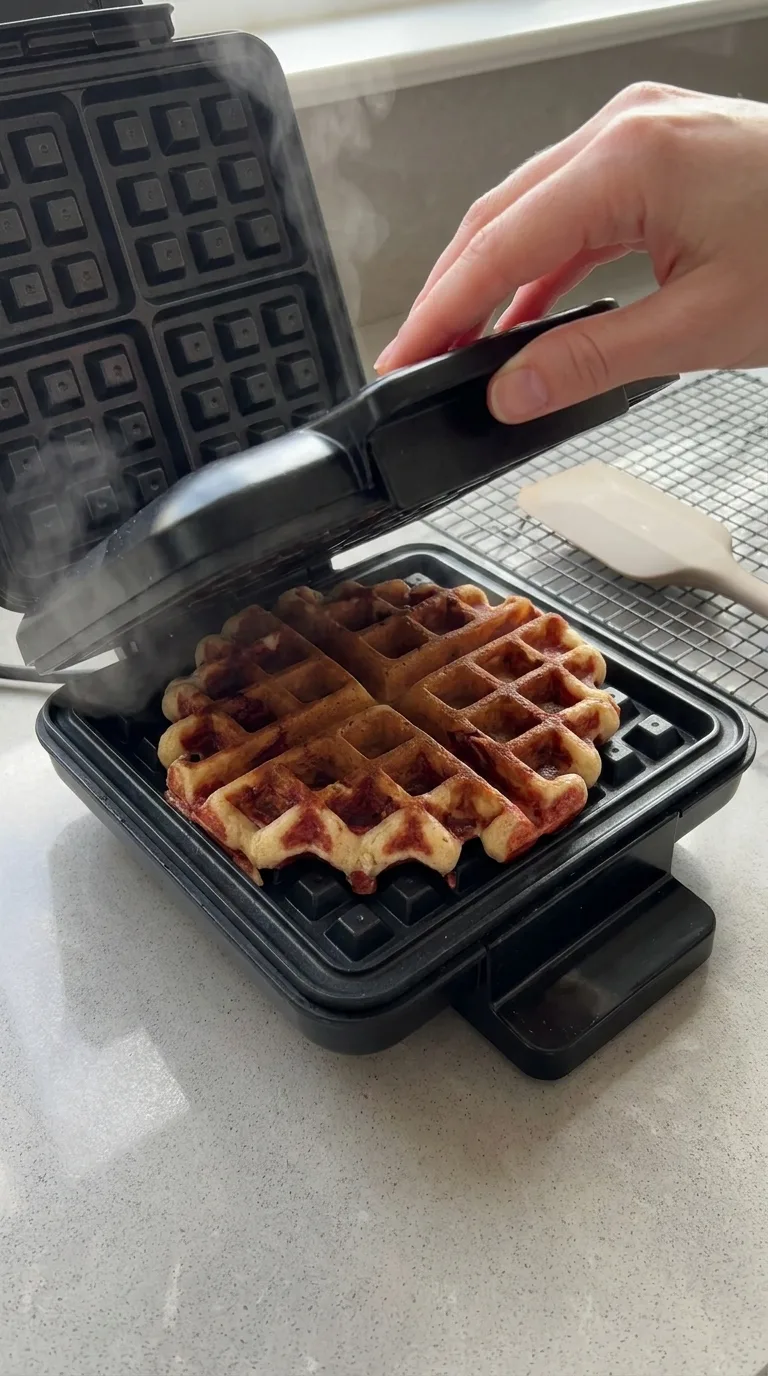
- Cook the waffles. Close the waffle maker and cook until the waffle is deeply golden and releases easily, usually about 4 to 5 minutes depending on the appliance. Avoid opening the lid too early, because the waffle may split or stick.
- Check the texture. The finished waffle should have crisp edges, a firm exterior, and a tender center. If it looks pale or feels soft, cook for another 30 to 60 seconds.
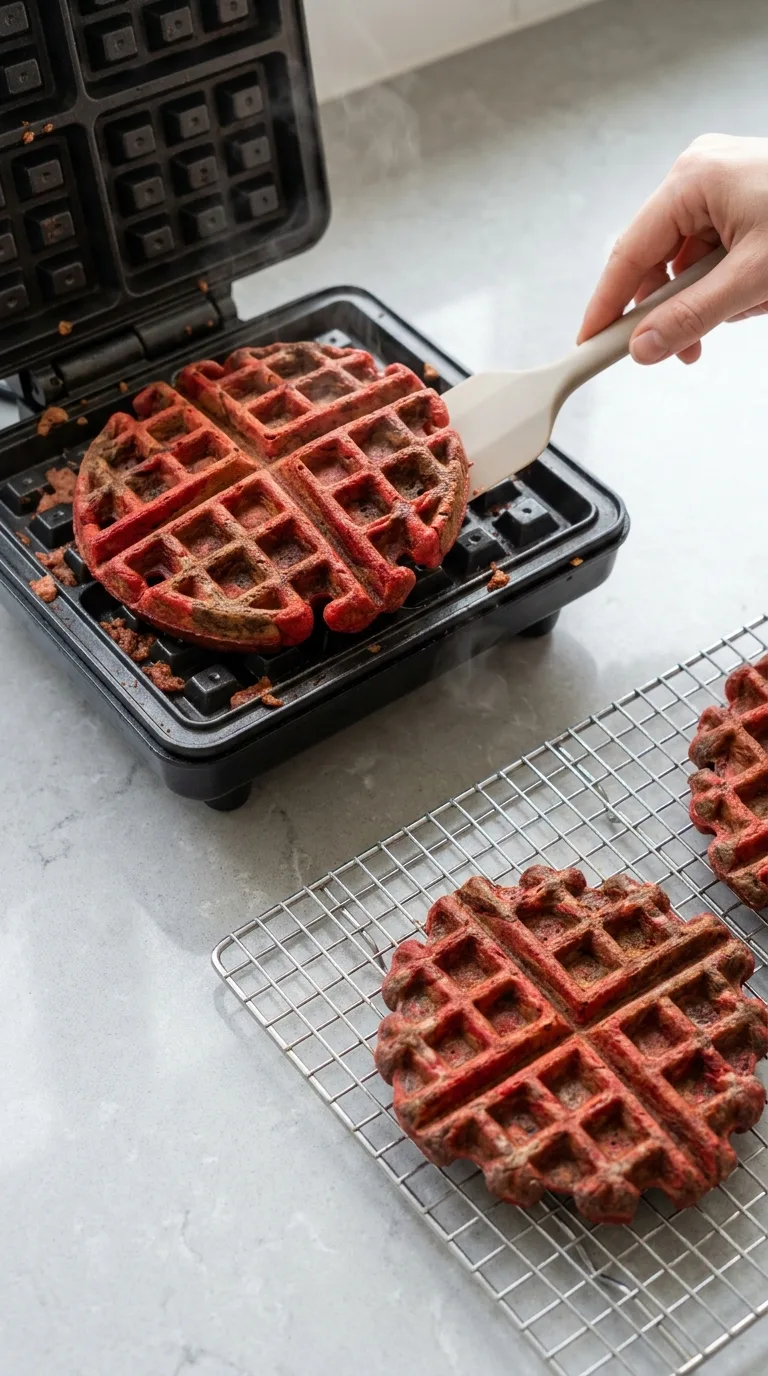
- Keep the waffles crisp. Transfer each waffle to a wire rack as soon as it comes out of the iron. Do not stack hot waffles because trapped steam will soften the exterior.
- Repeat with the remaining batter. Continue with the remaining plain and red velvet batters, creating fresh swirls for each waffle. Lightly grease the plates between batches only if needed.
- Serve warm. Serve the waffles with optional maple syrup, cream cheese glaze, powdered sugar, or fresh berries.
Make-Ahead and Storage Notes
- Store cooled waffles in an airtight container in the refrigerator for up to 3 days.
- For freezing, cool the waffles completely and freeze in a single layer until firm, then transfer to a freezer-safe bag.
- Reheat refrigerated or frozen waffles in a toaster or toaster oven until hot and crisp.
FAQ
Can I use liquid red food coloring?
Yes, although gel coloring is preferable because it produces a stronger color with less added liquid.
Why did my marble pattern disappear?
The batters may have been over-swirlled or the red velvet mixture may have been too thin.
Can I make Red Velvet Marble Waffles ahead of time?
Yes. Cooked waffles can be refrigerated for up to 3 days or frozen for up to 2 months.
Can I use regular milk instead of buttermilk?
Yes, but the flavor and texture will change slightly. Add lemon juice or vinegar to milk for a closer substitute.
What should I serve with red velvet waffles?
Maple syrup, cream cheese glaze, powdered sugar, strawberries, and raspberries pair well with the waffles.
Ingredients
Method
- In a large bowl, whisk together the flour, sugar, baking powder, baking soda, and salt until evenly distributed.
- In a medium bowl, whisk the eggs, buttermilk, melted butter, and vanilla until smooth. The butter should be melted but only slightly warm.
- Pour the wet ingredients into the dry ingredients and stir gently with a rubber spatula until just combined. The batter should be thick but pourable, with a few small lumps remaining. Do not overmix.
- Let the batter rest for 10 minutes at room temperature. It should thicken slightly while remaining easy to scoop.
- Transfer about 1 cup (240 g) of the batter to a small bowl. Whisk in the cocoa powder, 1 tablespoon (15 ml) buttermilk, and red gel food coloring until smooth. The mixture should be noticeably red and slightly thinner than the plain batter. If it becomes too thick, stir in another teaspoon of buttermilk from the measured amount only if needed; otherwise keep the mixture as prepared.
- Preheat a Belgian-style waffle maker according to the manufacturer's instructions. Lightly grease the plates if required by your appliance.
- Add enough plain batter to cover most of the waffle plate without reaching the edges. Drop several small spoonfuls of the red velvet batter over the surface. Use the tip of a skewer or knife to make a few gentle swirls through the two batters. Do not over-swirl, or the colors will blend instead of forming a marble pattern.
- Close the waffle maker and cook until the waffle is deeply golden and releases easily, usually about 4 to 5 minutes depending on the appliance. Avoid opening the lid too early, because the waffle may split or stick.
- The finished waffle should have crisp edges, a firm exterior, and a tender center. If it looks pale or feels soft, cook for another 30 to 60 seconds.
- Transfer each waffle to a wire rack as soon as it comes out of the iron. Do not stack hot waffles because trapped steam will soften the exterior.
- Continue with the remaining plain and red velvet batters, creating fresh swirls for each waffle. Lightly grease the plates between batches only if needed.
- Serve the waffles with optional maple syrup, cream cheese glaze, powdered sugar, or fresh berries.