Tiramisu Brownies

1 comment This is an example of affiliate disclosure. You can add your own text here or remove it completely #sponsoredpost.

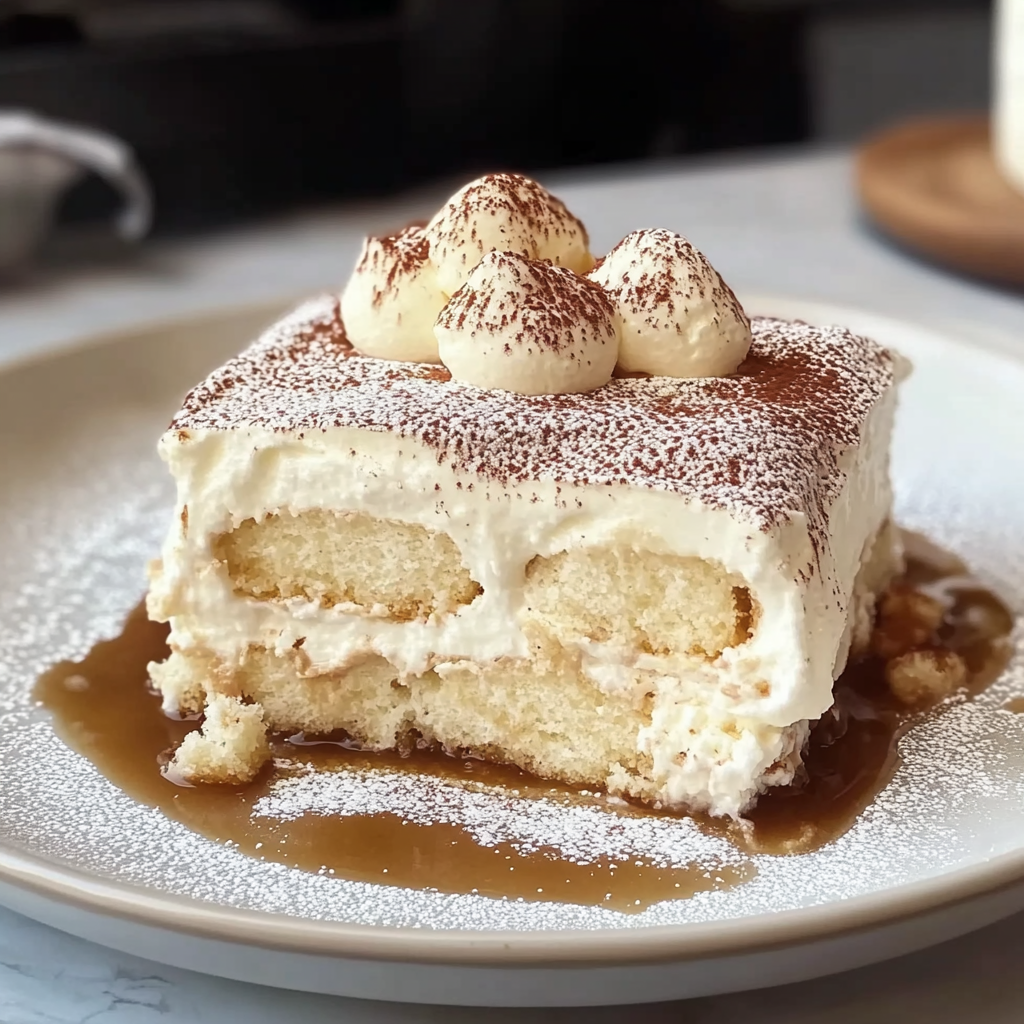
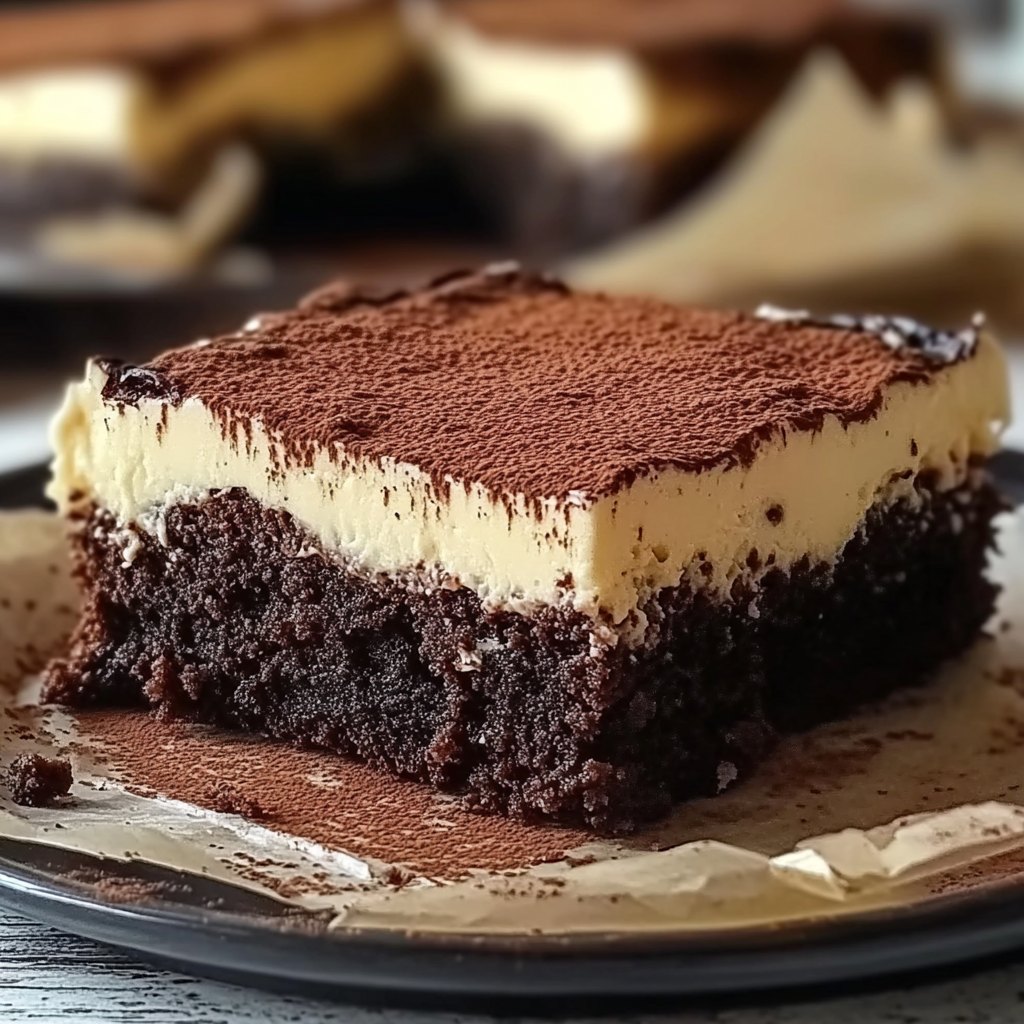
Indulging in Tiramisu Brownies is like taking a delicious, caffeinated trip to Italy without leaving your kitchen. Picture this: rich, fudgy brownies infused with the luxurious flavors of espresso and mascarpone, topped with a dusting of cocoa powder that beckons you in for that first heavenly bite. banana dessert pairing They are the perfect dessert for any occasion, whether you’re hosting a dinner party or simply treating yourself after a long week. For more inspiration, check out this crispy chewy brownie cupcakes recipe.

I remember the first time I made Tiramisu Brownies; it was an impromptu gathering with friends. The moment they took their first bites, their eyes widened, and I swear I heard angels singing in the background. These brownies not only satisfied our sweet cravings but also created unforgettable memories filled with laughter and joy. cherry chocolate bars You can enjoy them at family gatherings or cozy movie nights—any time is the right time for these decadent delights!

Why You'll Love This Recipe

  • Tiramisu Brownies are effortlessly simple to prepare, making them perfect for even novice bakers.
  • Their rich flavor profile offers a delightful balance of coffee and chocolate that will impress anyone.
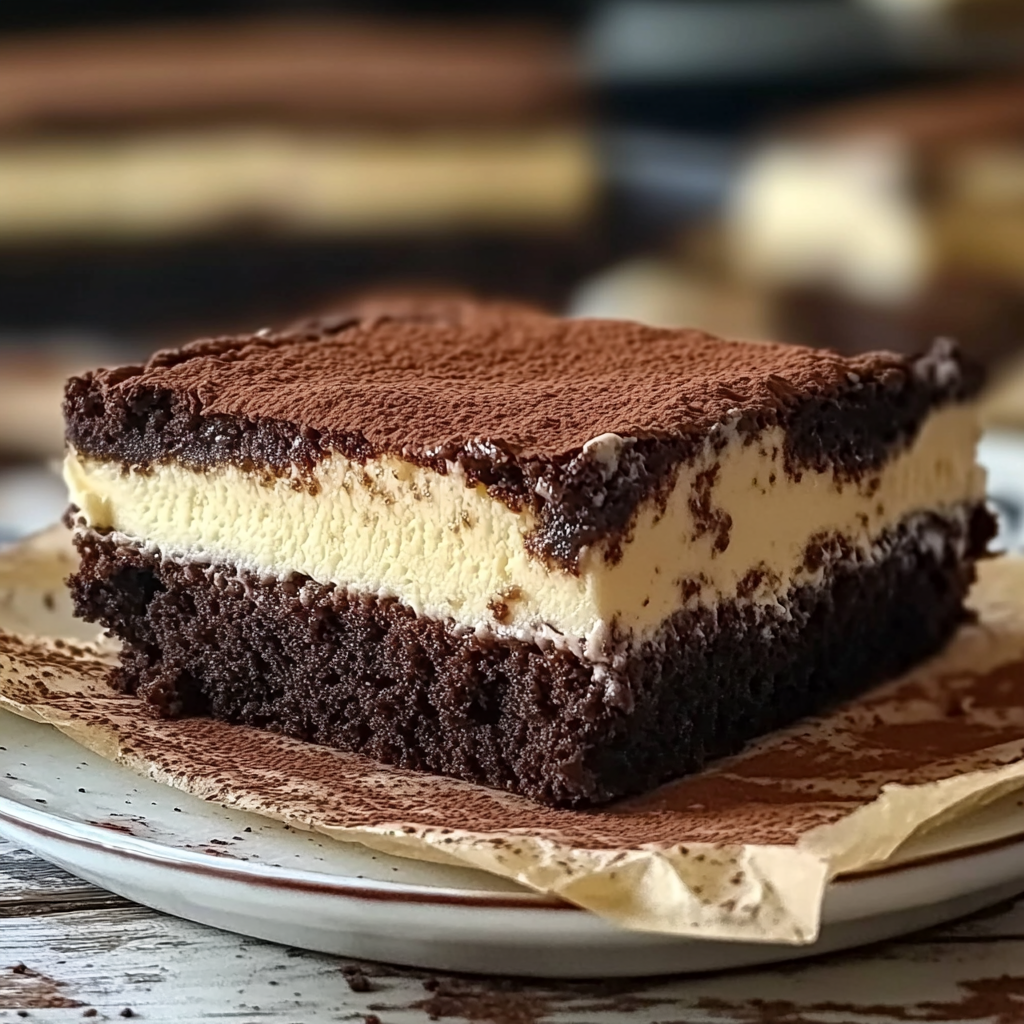
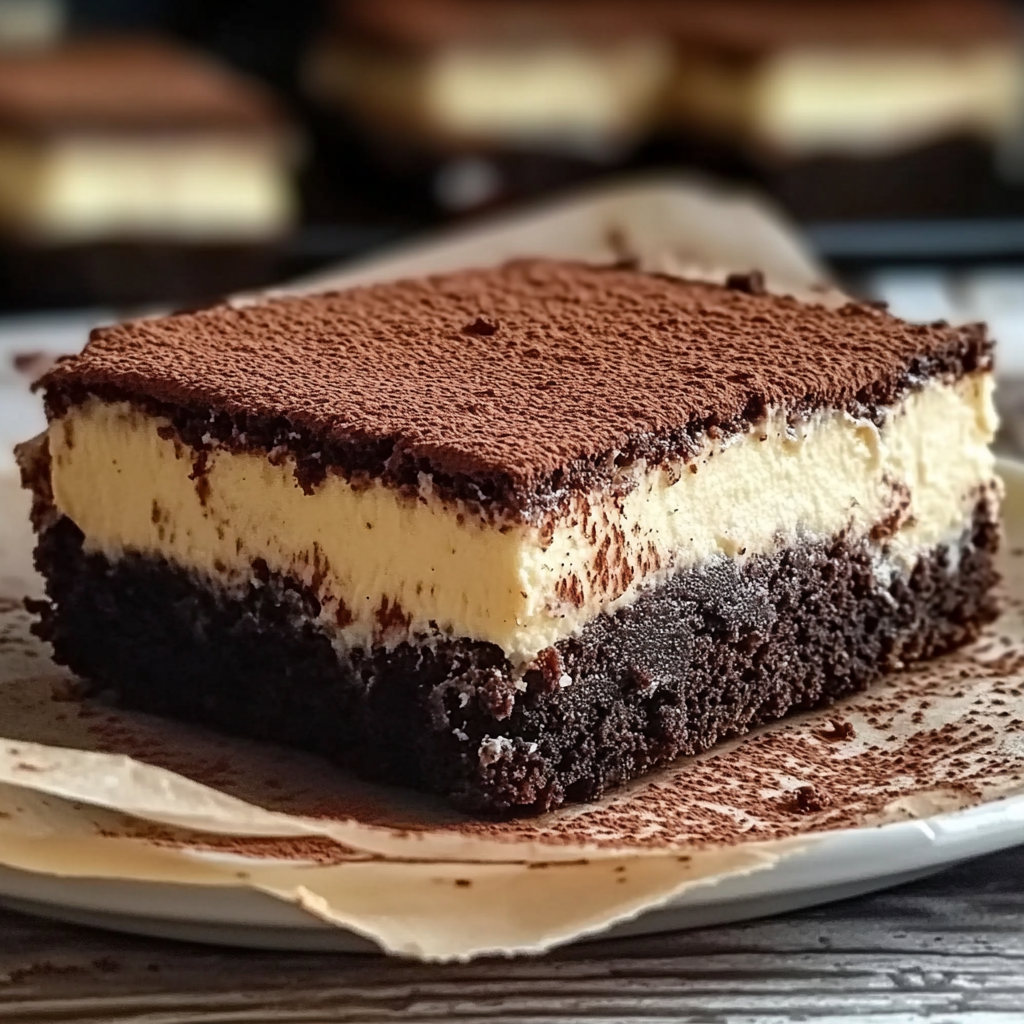
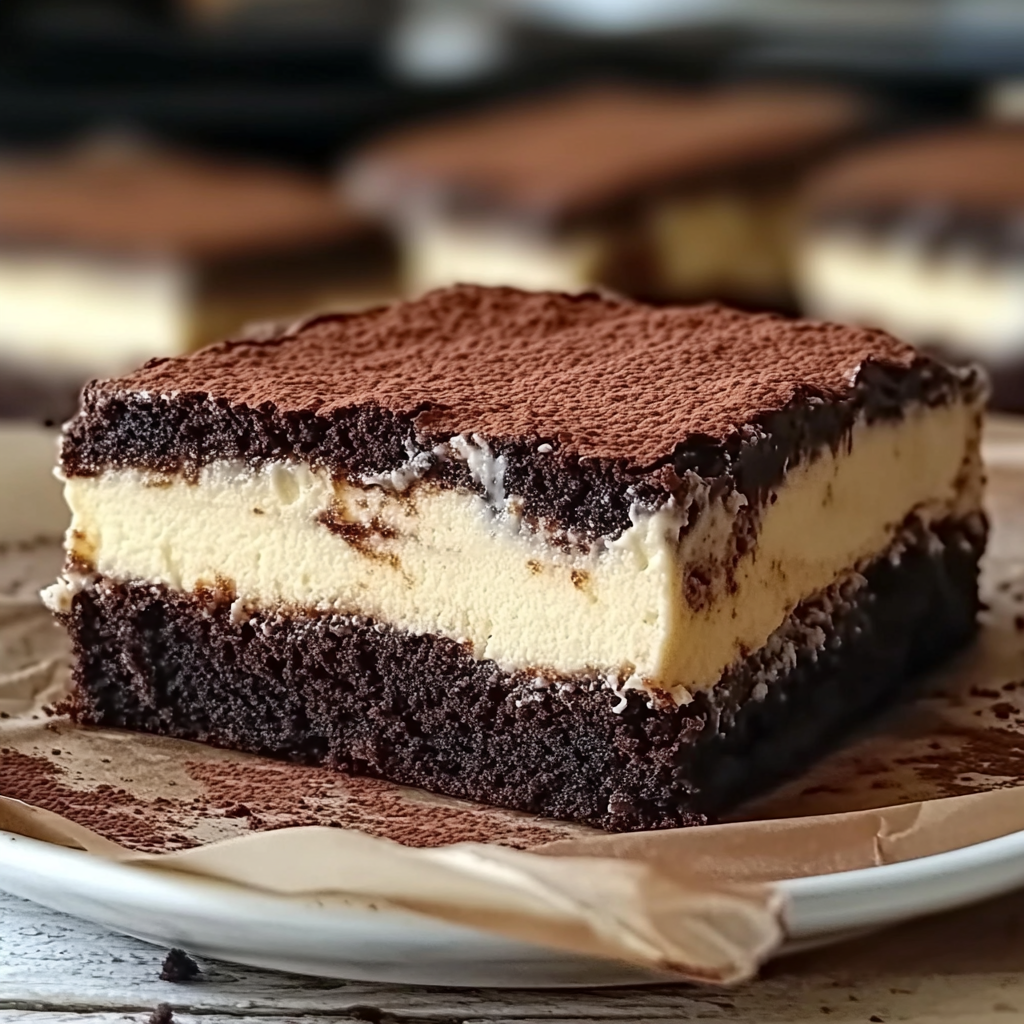
  • Visually stunning with their elegant layers, they make any dessert table shine.
  • Versatile enough to be served warm or chilled, they adapt to every occasion beautifully.

Everyone raved about these brownies, and it became my go-to recipe for gatherings. For more inspiration, check out this chewy Oreo cookies recipe recipe.

Recipe preparation

Essential Ingredients

Here’s what you’ll need to make this delicious dish:

For the Brownie Base

  • 1/2 cup unsalted butter, melted
  • 1 cup granulated sugar
  • 2 large eggs
  • 1 teaspoon vanilla extract
  • 1/2 cup all-purpose flour
  • 1/2 cup unsweetened cocoa powder
  • 1/2 teaspoon salt
  • 1 teaspoon instant espresso powder
  • 4 oz dark chocolate or semi-sweet chocolate, melted
  • 1/2 cup chocolate chips, optional

For the Coffee Layer

  • 12 to 16 ladyfingers
  • 1/2 cup strong brewed coffee or espresso, cooled
  • 1 tablespoon sugar, optional
  • 1 teaspoon vanilla extract

For the Mascarpone Cream

  • 8 oz mascarpone cheese, cold
  • 1 cup heavy whipping cream, cold
  • 1/2 cup powdered sugar
  • 1 teaspoon vanilla extract
  • 1 teaspoon instant espresso powder, optional for stronger coffee flavor

For the Topping

    • 2 tablespoons unsweetened cocoa powder, for dusting
    • Dark chocolate shavings, optional

Let’s Make it together

1. Prepare the pan

Preheat the oven to 350°F / 175°C. Line an 8-inch square baking pan with parchment paper, leaving some overhang on the sides so you can lift the brownies out easily after chilling.

Lightly grease the parchment paper to help the brownies release cleanly.

2. Melt the chocolate and butter

In a microwave-safe bowl, add the unsalted butter and dark chocolate. Microwave in short intervals of 20 to 30 seconds, stirring between each one, until smooth and fully melted.

Let the mixture cool for a few minutes before adding the eggs. It should be warm, not hot.

3. Mix the wet ingredients

Add the granulated sugar to the melted chocolate mixture and whisk until combined.

Add the eggs, one at a time, whisking well after each addition. Stir in the vanilla extract.

The mixture should look glossy and smooth.

4. Add the dry ingredients

In a separate bowl, whisk together the all-purpose flour, unsweetened cocoa powder, salt, and instant espresso powder.

Add the dry ingredients to the chocolate mixture and fold gently with a spatula until just combined.

Do not overmix. Stop as soon as you no longer see dry streaks of flour.

5. Add chocolate chips

Fold in the chocolate chips, if using.

This step is optional, but it gives the brownie base a richer texture and a more chocolate-forward bite.

6. Bake the brownie layer

Spread the brownie batter evenly into the prepared pan.

Bake for 22 to 28 minutes, or until the edges look set and a toothpick inserted into the center comes out with a few moist crumbs.

Do not overbake. The brownie layer should stay fudgy because it will firm up more as it cools.

7. Cool the brownies completely

Remove the pan from the oven and let the brownies cool completely in the pan.

For best results, let them cool at room temperature first, then place the pan in the fridge for 20 to 30 minutes before adding the tiramisu layers.

8. Prepare the coffee mixture

In a shallow bowl, combine the cooled strong coffee or espresso, sugar, and vanilla extract.

Stir until the sugar dissolves.

Make sure the coffee is fully cooled before dipping the ladyfingers, otherwise they can soften too quickly.

9. Add the ladyfinger layer

Quickly dip each ladyfinger into the coffee mixture for about 1 second per side.

Do not soak them. Ladyfingers absorb liquid fast, and too much coffee can make the layer soggy.

Arrange the dipped ladyfingers in a single even layer over the cooled brownies. Trim pieces if needed so they fit neatly inside the pan.

10. Make the mascarpone cream

In a large bowl, beat the heavy whipping cream, powdered sugar, and vanilla extract until soft peaks form.

In another bowl, gently stir the cold mascarpone cheese until smooth.

Add the mascarpone to the whipped cream and beat on low speed just until combined and fluffy.

Do not overbeat, because mascarpone can turn grainy if mixed too much.

11. Spread the mascarpone layer

Spoon the mascarpone cream over the ladyfinger layer.

Use an offset spatula or the back of a spoon to spread it into an even layer.

Smooth the top well, especially if you want clean slices for photos.

12. Chill before slicing

Cover the pan and refrigerate for at least 4 hours, or overnight if possible.

This chilling time helps the ladyfingers soften properly, the cream set, and the flavors blend together.

For the cleanest cuts, overnight chilling is the best option.

13. Add the cocoa topping

Right before serving, dust the top with unsweetened cocoa powder.

Add dark chocolate shavings if you want a more finished bakery-style look.

Do not dust the cocoa too early if you want the topping to stay fresh and powdery.

14. Slice and serve

Lift the brownies out of the pan using the parchment paper overhang.

Use a sharp knife to cut into squares. Wipe the knife clean between cuts for neat layers.

Serve chilled for the best tiramisu texture.

Important Notes

If you want cleaner slices, chill the brownies overnight and use a hot knife. Just dip the knife in hot water, wipe it dry, then slice.

You Must Know

  • Tiramisu Brownies combine rich chocolate and espresso flavors, creating an indulgent treat perfect for coffee lovers.
  • Their luscious texture and delightful aroma will make your kitchen feel like a cozy café.
  • Enjoy them warm with a scoop of vanilla ice cream for a decadent dessert experience.

Perfecting the Cooking Process

Start by preparing the brownie batter, then mix the mascarpone filling while it bakes. This sequence ensures everything is fresh and ready at once, making your kitchen smell divine.

Serving and storing

Add Your Touch

Consider adding toasted nuts or a splash of flavored liqueur to elevate your Tiramisu Brownies. Customize to match your taste or to impress guests with unique twists.

Storing & Reheating

Store Tiramisu Brownies in an airtight container in the fridge for up to five days. Reheat briefly in the microwave for a warm, gooey treat that’s just as delicious as fresh-baked.

Chef's Helpful Tips

  • Use high-quality chocolate for richer flavor; always let brownies cool before slicing for clean edges.
  • If using instant coffee, dissolve it well in warm water to avoid gritty texture.

Sharing these brownies at my friend’s birthday party led to rave reviews and requests for the recipe—definitely a sweet moment worth remembering!

FAQs

FAQ

What makes Tiramisu Brownies different from regular brownies?

Tiramisu Brownies blend classic brownie texture with creamy mascarpone and coffee flavors.

Can I use decaf coffee in this recipe?

Yes, decaf coffee works beautifully without sacrificing flavor in Tiramisu Brownies.

How do I know when my brownies are done baking?

Insert a toothpick; it should come out with moist crumbs but not wet batter.

Print
clock clock iconcutlery cutlery iconflag flag iconfolder folder iconinstagram instagram iconpinterest pinterest iconfacebook facebook iconprint print iconsquares squares iconheart heart iconheart solid heart solid icon

Tiramisu Brownies


5 Stars 4 Stars 3 Stars 2 Stars 1 Star

No reviews

  • Author: Robert Ferguson
  • Total Time: 45 minutes
  • Yield: Makes approximately 16 brownies 1x

Description

Indulge in the delightful fusion of coffee and chocolate with Tiramisu Brownies. These rich, fudgy treats are infused with espresso and layered with creamy mascarpone, topped off with cocoa powder for an elegant finish. Perfect for any occasion, from cozy nights in to festive gatherings, these brownies promise to elevate your dessert game while leaving a lasting impression on family and friends.


Ingredients

Scale

For the Brownie Base

  • 1/2 cup unsalted butter, melted
  • 1 cup granulated sugar
  • 2 large eggs
  • 1 teaspoon vanilla extract
  • 1/2 cup all-purpose flour
  • 1/2 cup unsweetened cocoa powder
  • 1/2 teaspoon salt
  • 1 teaspoon instant espresso powder
  • 4 oz dark chocolate or semi-sweet chocolate, melted
  • 1/2 cup chocolate chips, optional

For the Coffee Layer

  • 12 to 16 ladyfingers
  • 1/2 cup strong brewed coffee or espresso, cooled
  • 1 tablespoon sugar, optional
  • 1 teaspoon vanilla extract

For the Mascarpone Cream

  • 8 oz mascarpone cheese, cold
  • 1 cup heavy whipping cream, cold
  • 1/2 cup powdered sugar
  • 1 teaspoon vanilla extract
  • 1 teaspoon instant espresso powder, optional for stronger coffee flavor

For the Topping

    • 2 tablespoons unsweetened cocoa powder, for dusting
    • Dark chocolate shavings, optional

Instructions

1. Prepare the pan

Preheat the oven to 350°F / 175°C. Line an 8-inch square baking pan with parchment paper, leaving some overhang on the sides so you can lift the brownies out easily after chilling.

Lightly grease the parchment paper to help the brownies release cleanly.

2. Melt the chocolate and butter

In a microwave-safe bowl, add the unsalted butter and dark chocolate. Microwave in short intervals of 20 to 30 seconds, stirring between each one, until smooth and fully melted.

Let the mixture cool for a few minutes before adding the eggs. It should be warm, not hot.

3. Mix the wet ingredients

Add the granulated sugar to the melted chocolate mixture and whisk until combined.

Add the eggs, one at a time, whisking well after each addition. Stir in the vanilla extract.

The mixture should look glossy and smooth.

4. Add the dry ingredients

In a separate bowl, whisk together the all-purpose flour, unsweetened cocoa powder, salt, and instant espresso powder.

Add the dry ingredients to the chocolate mixture and fold gently with a spatula until just combined.

Do not overmix. Stop as soon as you no longer see dry streaks of flour.

5. Add chocolate chips

Fold in the chocolate chips, if using.

This step is optional, but it gives the brownie base a richer texture and a more chocolate-forward bite.

6. Bake the brownie layer

Spread the brownie batter evenly into the prepared pan.

Bake for 22 to 28 minutes, or until the edges look set and a toothpick inserted into the center comes out with a few moist crumbs.

Do not overbake. The brownie layer should stay fudgy because it will firm up more as it cools.

7. Cool the brownies completely

Remove the pan from the oven and let the brownies cool completely in the pan.

For best results, let them cool at room temperature first, then place the pan in the fridge for 20 to 30 minutes before adding the tiramisu layers.

8. Prepare the coffee mixture

In a shallow bowl, combine the cooled strong coffee or espresso, sugar, and vanilla extract.

Stir until the sugar dissolves.

Make sure the coffee is fully cooled before dipping the ladyfingers, otherwise they can soften too quickly.

9. Add the ladyfinger layer

Quickly dip each ladyfinger into the coffee mixture for about 1 second per side.

Do not soak them. Ladyfingers absorb liquid fast, and too much coffee can make the layer soggy.

Arrange the dipped ladyfingers in a single even layer over the cooled brownies. Trim pieces if needed so they fit neatly inside the pan.

10. Make the mascarpone cream

In a large bowl, beat the heavy whipping cream, powdered sugar, and vanilla extract until soft peaks form.

In another bowl, gently stir the cold mascarpone cheese until smooth.

Add the mascarpone to the whipped cream and beat on low speed just until combined and fluffy.

Do not overbeat, because mascarpone can turn grainy if mixed too much.

11. Spread the mascarpone layer

Spoon the mascarpone cream over the ladyfinger layer.

Use an offset spatula or the back of a spoon to spread it into an even layer.

Smooth the top well, especially if you want clean slices for photos.

12. Chill before slicing

Cover the pan and refrigerate for at least 4 hours, or overnight if possible.

This chilling time helps the ladyfingers soften properly, the cream set, and the flavors blend together.

For the cleanest cuts, overnight chilling is the best option.

13. Add the cocoa topping

Right before serving, dust the top with unsweetened cocoa powder.

Add dark chocolate shavings if you want a more finished bakery-style look.

Do not dust the cocoa too early if you want the topping to stay fresh and powdery.

14. Slice and serve

Lift the brownies out of the pan using the parchment paper overhang.

Use a sharp knife to cut into squares. Wipe the knife clean between cuts for neat layers.

Serve chilled for the best tiramisu texture.

Notes

If you want cleaner slices, chill the brownies overnight and use a hot knife. Just dip the knife in hot water, wipe it dry, then slice.

  • Prep Time: 15 minutes
  • Cook Time: 30 minutes
  • Category: Dessert
  • Method: Baking
  • Cuisine: Italian

Nutrition

  • Serving Size: 1 brownie (60g)
  • Calories: 210
  • Sugar: 18g
  • Sodium: 100mg
  • Fat: 10g
  • Saturated Fat: 5g
  • Unsaturated Fat: 4g
  • Trans Fat: 0g
  • Carbohydrates: 28g
  • Fiber: 2g
  • Protein: 3g
  • Cholesterol: 40mg

Leave a Comment

Your email address will not be published. Required fields are marked *

*

Recipe rating 5 Stars 4 Stars 3 Stars 2 Stars 1 Star