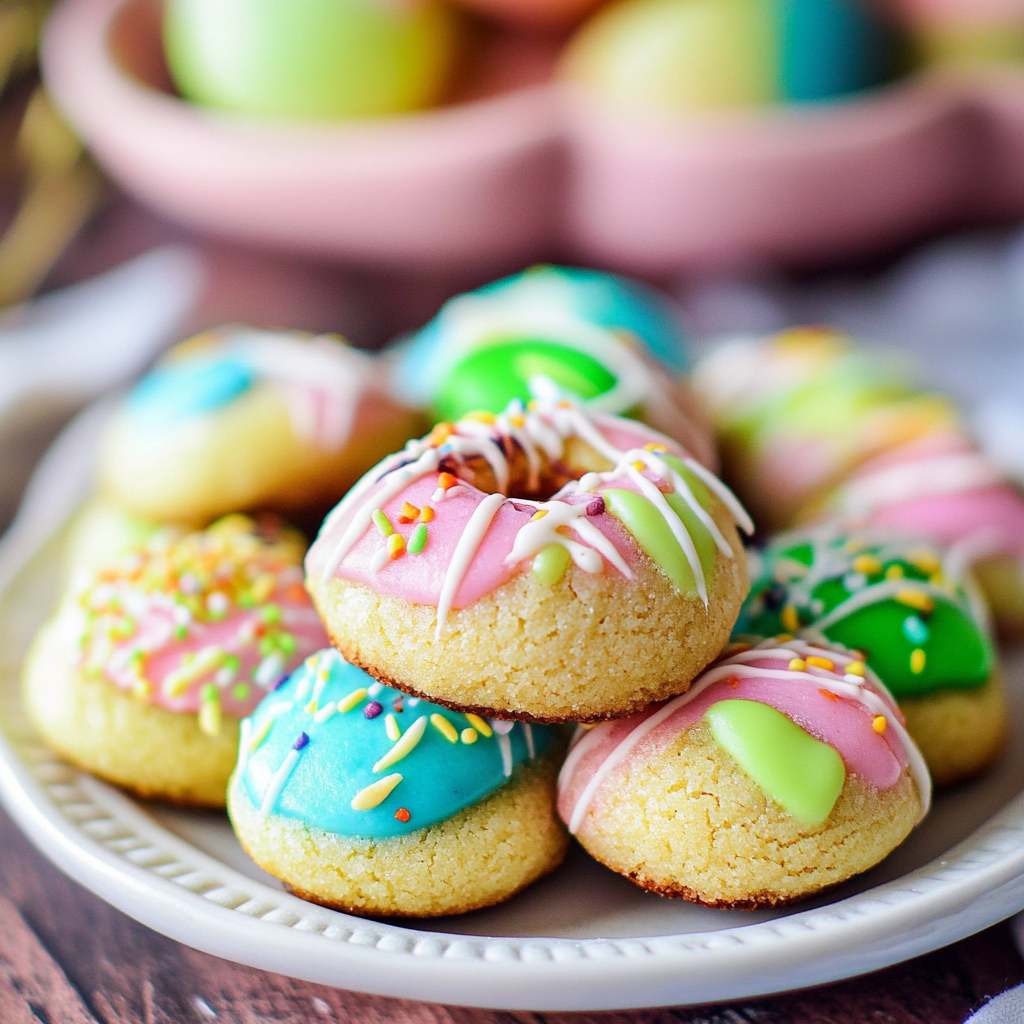
It’s that magical time of year when pastel colors reign supreme and chocolate bunnies hop into our hearts (and mouths). Easter not only brings a sense of renewal but also a delightful excuse to indulge in sweet treats, like these scrumptious Easter Blossom Cookies. Imagine biting into a cookie that’s soft, chewy, and bursting with flavor, topped with a delightful Hershey’s Kiss that just melts in your mouth. Yes, please!
As I reminisce about the Easters of my childhood, I can almost hear the sound of laughter filling the air as we all gathered around the dinner table, eagerly waiting for my grandmother to unveil her secret stash of cookies. Those precious moments were always accompanied by the sweet aroma of freshly baked goods wafting through the house. Now, it’s my turn to create those memories with my family. So let’s roll up our sleeves and dive into making these irresistible Easter Blossom Cookies!
Why You'll Love This Easter Blossom Cookies
- This incredible Easter Blossom Cookies transforms simple everyday ingredients into restaurant-quality flavors that will blow your mind completely.
- Foolproof recipe techniques guarantee perfect results every single time, making even novice cooks feel like professional chefs instantly.
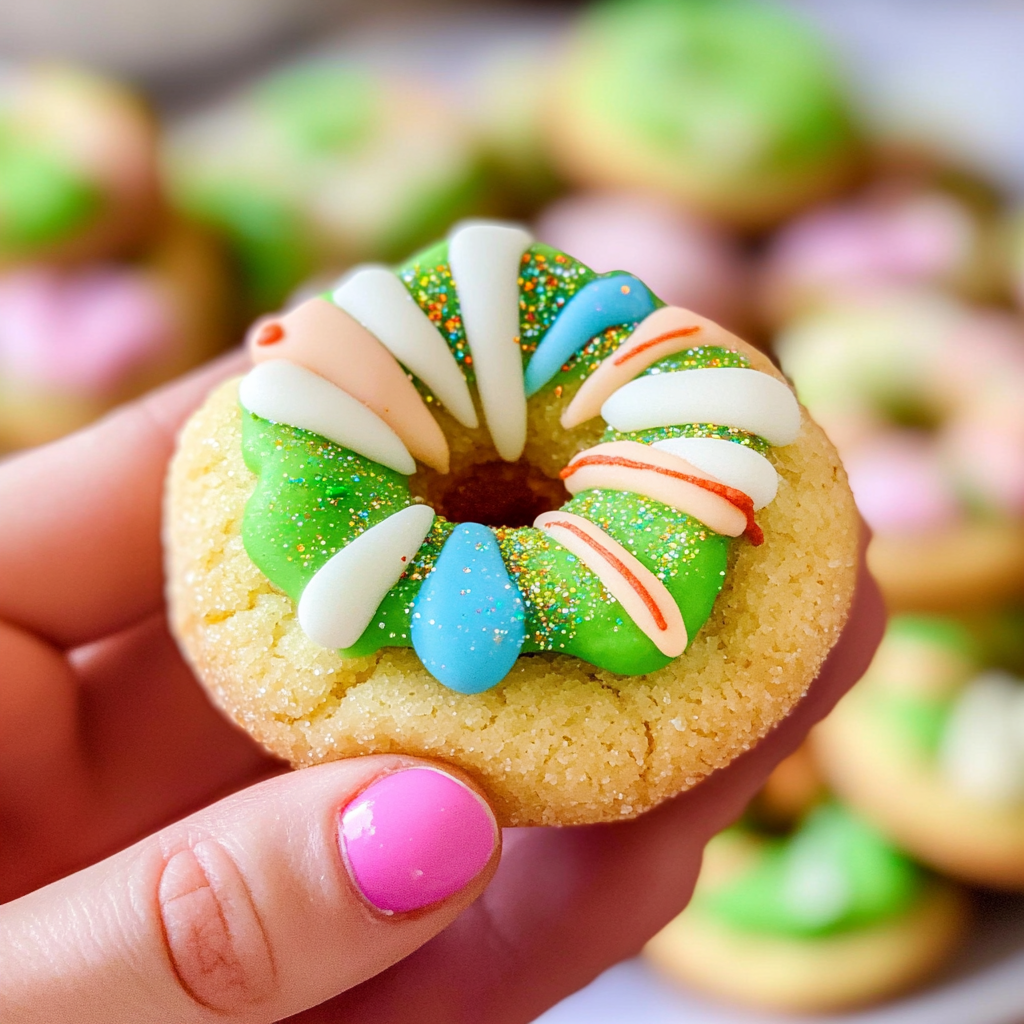
- Stunning visual appeal with gorgeous colors and mouthwatering aromas creates the ultimate Instagram-worthy dish for any special occasion.
- Endlessly adaptable for different dietary needs while working beautifully for meal prep, date nights, or entertaining large groups effortlessly.
What You’ll Need

Here’s what you’ll need to make this delicious Easter Blossom Cookies:
- All-Purpose Flour: The backbone of our cookies, flour gives structure and chewiness to these delightful treats. Make sure it’s fresh for the best results.
- Baking Powder: A must-have leavening agent that helps our cookies rise beautifully and achieve that perfect texture.
- Unsalted Butter: Using unsalted butter allows you to control the salt content while providing rich flavor and a melt-in-your-mouth experience.
- Granulated Sugar: Sweetness personified! This sugar ensures our cookies are perfectly sweet without overwhelming flavors.
- Brown Sugar: For that lovely caramel flavor and added moisture, brown sugar is essential in achieving cookie perfection.
- Eggs: Eggs are crucial for binding our ingredients together and giving the cookies their tender texture.
- Vanilla Extract: A splash of vanilla adds depth and warmth, making these cookies taste even more heavenly.
- Hershey’s Kisses: The crowning glory! These chocolate delights sit atop each cookie, adding sweetness and a touch of nostalgia to your baking adventure.
The full ingredients list, including measurements, is provided in the recipe card directly below.
Cooking Instructions
Follow these simple steps to prepare this delicious Easter Blossom Cookies:
Step 1: Preheat Your Oven
Preheat your oven to 350°F (175°C). Line two baking sheets with parchment paper so you can bake multiple batches without needing to clean up each time.
Step 2: Mix Dry Ingredients
In a medium bowl, whisk together the all-purpose flour and baking powder until well combined. Set it aside while we work on the wet ingredients.
Step 3: Cream Butter and Sugars
In a large mixing bowl, beat together the unsalted butter, granulated sugar, and brown sugar until it becomes creamy and light in color. This should take about three minutes—don’t rush it; let those sugars get cozy with the butter.
Step 4: Add Eggs and Vanilla
Add in the eggs one at a time along with the vanilla extract. Mix until everything is well blended—your kitchen should now smell like heaven!
Step 5: Combine Wet and Dry Ingredients
Gradually add your dry mixture into the wet mixture. Stir just until combined; be careful not to overmix unless you want tough cookies—nobody wants that!
Step 6: Shape Cookies
Scoop tablespoon-sized balls of dough onto your prepared baking sheets about two inches apart—these babies will spread out! Gently press each ball down slightly before placing them in the oven.
Step 7: Bake & Add Kisses
Bake for about eight minutes or until they’re lightly golden around the edges. As soon as they come out of the oven, gently press a Hershey’s Kiss into each cookie center—it’s like planting chocolate seeds!
Transfer to plates or cooling racks once they’ve cooled slightly, ensuring they maintain their adorable shape.
And there you have it! A batch of delightful Easter Blossom Cookies ready to dazzle your family during your springtime festivities. These little beauties not only look good but taste even better—perfect for sharing or hoarding all by yourself (I won’t judge!). Enjoy every bite as you bask in those sweet memories waiting to be made this Easter season!
You Must Know About Easter Blossom Cookies
- This showstopping Easter Blossom Cookies delivers restaurant-quality results using simple ingredients you probably already have at home.
- The perfect balance of textures and flavors creates an unforgettable dining experience that will have everyone asking for seconds.
- Picture-perfect presentation with vibrant colors makes this dish absolutely Instagram-worthy and guaranteed to impress any dinner guest.
- Incredibly versatile recipe that works beautifully for weeknight dinners, meal prep, special occasions, or even outdoor entertaining sessions.
Perfecting Cooking Process
Start by preheating your oven while you mix the dough. Shape the cookies, bake them until golden, and then immediately press in the chocolate candy to create those delightful blossoms. This sequence ensures each cookie has that perfect soft center and a crisp edge.
Flavor Your Way
Want to jazz up your Easter Blossom Cookies? Try swapping out regular flour for almond flour for a nutty twist or add sprinkles into the dough for extra festive flair! The possibilities are endless!
Storing & Reheating
To keep your Easter Blossom Cookies fresh, store them in an airtight container at room temperature for up to a week. If you need to reheat them, pop them in the microwave for just a few seconds—enough to bring back their gooey goodness without overbaking.
Chef's Helpful Tips for Easter Blossom Cookies
- This professional-quality Easter Blossom Cookies relies on precise timing and temperature control to achieve restaurant-standard results consistently.
- Master the art of mise en place by prepping all ingredients beforehand, ensuring smooth execution and preventing any last-minute cooking disasters.
- The secret lies in layering flavors throughout the cooking process rather than seasoning only at the end for maximum depth.
- Pro tip: let the finished dish rest for optimal texture and flavor development before serving to hungry guests waiting eagerly.
Baking these cookies always reminds me of the time my cousin declared them “the best cookies ever” at our family gathering. Watching everyone fight over the last piece was both hilarious and heartwarming!
FAQs
What are Easter Blossom Cookies?
Easter Blossom Cookies are delightful, festive treats that feature a soft, buttery base topped with a chocolate kiss or other candy in the center. These cookies are often made during the Easter season, making them perfect for holiday gatherings and celebrations. The cookies can be customized with various colors of candy or sprinkles to match your Easter theme. They are easy to prepare and appeal to both children and adults alike, bringing a touch of sweetness to your holiday festivities.
How do you make Easter Blossom Cookies?
To make Easter Blossom Cookies, start by creaming together butter and sugar until light and fluffy. Then, add eggs and vanilla extract, mixing well. Gradually incorporate flour, baking powder, and salt to form a dough. After chilling the dough for a short time, roll it into balls and bake until golden. Once out of the oven, immediately press a chocolate kiss into the center of each cookie for that signature blossom look. Allow them to cool before serving.
What variations can I try for Easter Blossom Cookies?
You can experiment with various flavors and toppings for Easter Blossom Cookies. Consider adding lemon zest or almond extract for a unique twist on the traditional flavor. Instead of chocolate kisses, use pastel-colored candies like M&Ms or jelly beans to create an eye-catching design. You can also sprinkle colored sugar on top before baking for added texture and sweetness, making these cookies even more festive.
Can I freeze Easter Blossom Cookies?
Yes, you can freeze Easter Blossom Cookies! To properly freeze them, first allow the cookies to cool completely after baking. Place them in an airtight container or freezer bag with parchment paper between layers to prevent sticking. They can be stored in the freezer for up to three months. When you’re ready to enjoy them again, simply thaw at room temperature or pop them in the microwave for a few seconds to soften before serving.
Conclusion
Easter Blossom Cookies are a fun and tasty addition to any Easter celebration. With their soft texture and delightful candy center, they are sure to please guests of all ages. Making these cookies is straightforward, allowing you to customize flavors and colors as desired. Whether you stick to the classic chocolate kiss topping or explore new variations, these treats will surely brighten your holiday table. Don’t forget that preparing a batch of Easter Blossom Cookies can become a cherished family tradition that everyone looks forward to each year!

Easter Blossom Cookies
- Total Time: 23 minutes
- Yield: Approximately 24 cookies 1x
Description
Easter Blossom Cookies are a delightful treat that perfectly captures the spirit of the season. These soft, chewy cookies feature a buttery base topped with a Hershey’s Kiss, making them an irresistible addition to your Easter celebrations. With their vibrant colors and nostalgic charm, these cookies bring joy to family gatherings and create sweet memories with every bite. Easy to make and customizable, they are sure to be a hit with both kids and adults alike.
Ingredients
- 2 ¾ cups all-purpose flour
- 1 tsp baking powder
- ½ cup unsalted butter (softened)
- ¾ cup granulated sugar
- ¾ cup brown sugar (packed)
- 2 large eggs
- 1 tsp vanilla extract
- 24 Hershey’s Kisses
Instructions
- Preheat your oven to 350°F (175°C) and line two baking sheets with parchment paper.
- In a bowl, whisk together flour and baking powder; set aside.
- In a large bowl, cream softened butter, granulated sugar, and brown sugar until light and fluffy.
- Beat in the eggs one at a time followed by the vanilla extract until well mixed.
- Gradually add dry ingredients to the wet mixture, stirring until just combined.
- Scoop tablespoon-sized balls of dough onto prepared sheets, spacing them 2 inches apart; slightly flatten each ball.
- Bake for 8 minutes or until edges are golden. Immediately press a Hershey’s Kiss into the center of each cookie.
- Allow cookies to cool slightly on the baking sheet before transferring to a wire rack.
- Prep Time: 15 minutes
- Cook Time: 8 minutes
- Category: Dessert
- Method: Baking
- Cuisine: American
Nutrition
- Serving Size: 1 cookie (30g)
- Calories: 140
- Sugar: 10g
- Sodium: 70mg
- Fat: 6g
- Saturated Fat: 3g
- Unsaturated Fat: 2g
- Trans Fat: 0g
- Carbohydrates: 20g
- Fiber: 0g
- Protein: 2g
- Cholesterol: 15mg


