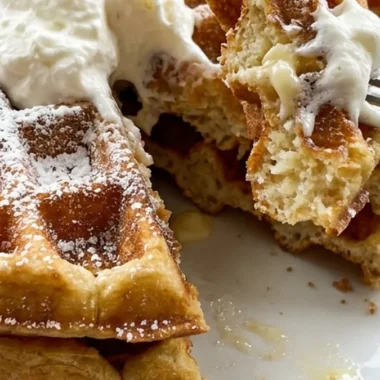
Valentine’s Day Waffle Board is a festive breakfast or brunch spread built around crisp, fluffy waffles and a colorful assortment of fruit, creamy toppings, and sweet extras. Heart-shaped waffles make the board feel special, while strawberries, raspberries, and other red and pink toppings create an easy Valentine’s Day presentation.
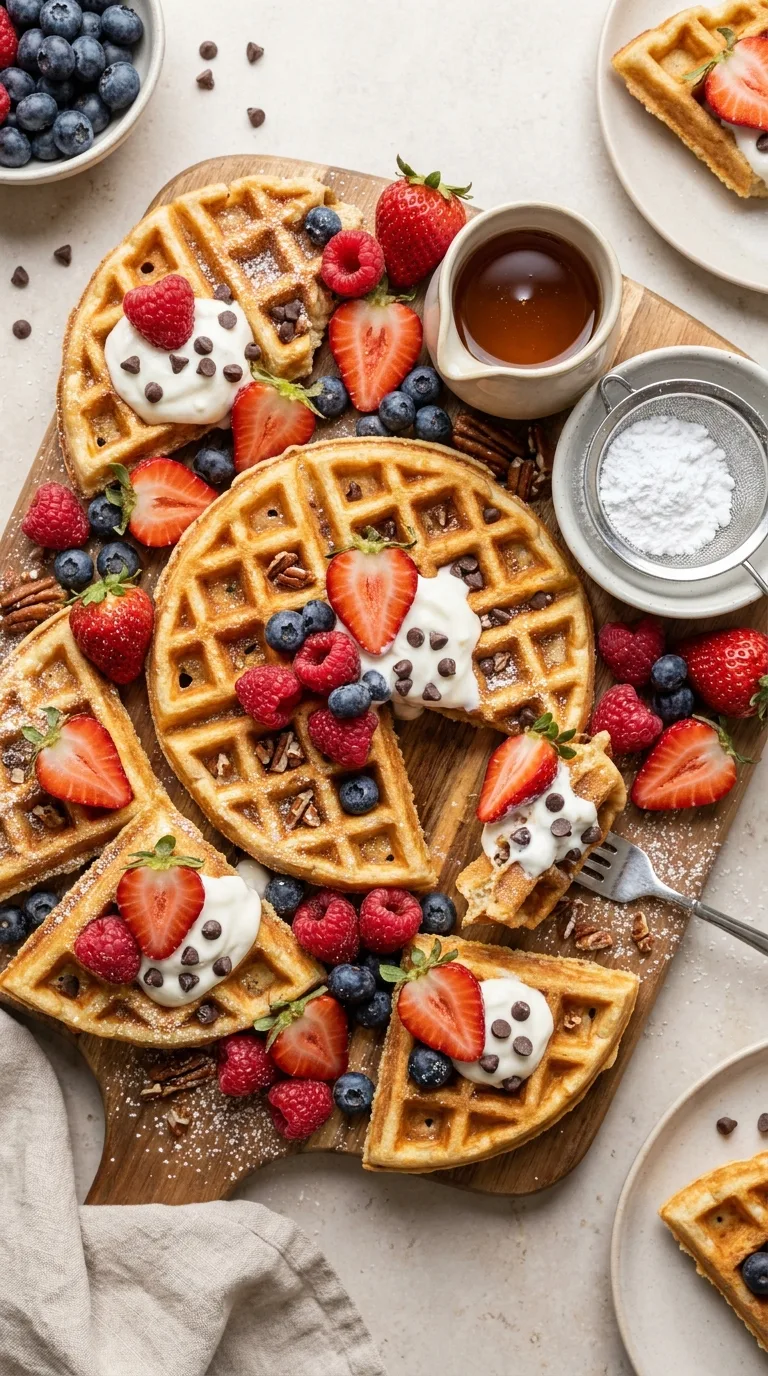
This board is designed for sharing and can be assembled ahead of time with the waffles kept separate until serving. The key is to arrange the toppings in small clusters so guests can build their own plates while the waffles stay crisp and inviting.
Recipe at a Glance
- Prep Time: 20 minutes
- Cook Time: 20 minutes
- Additional Time: 10 minutes
- Total Time: 50 minutes
- Yield: 16 small waffles plus toppings
- Servings: 6
- Difficulty: Easy
What Makes This Recipe Work
- Small waffles are easy to share. Individual portions fit naturally on a grazing-style breakfast board.
- Heart-shaped waffles create the Valentine’s Day theme. A heart-shaped waffle iron adds visual appeal without requiring complicated decorating.
- Fresh fruit balances the sweet toppings. Strawberries, raspberries, and blueberries add freshness, color, and acidity.
- Separate topping clusters keep the board organized. Small bowls prevent wet ingredients from making the waffles soggy.
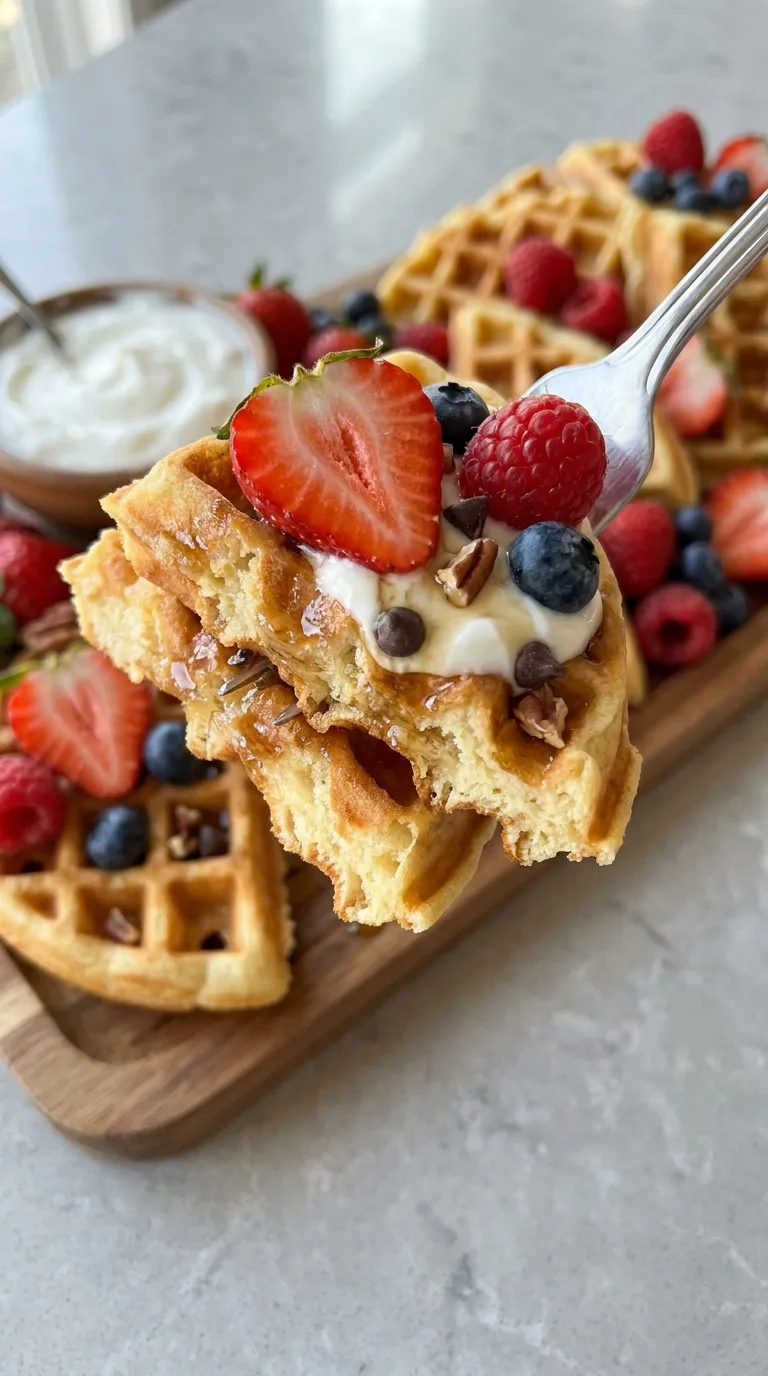
- A mix of textures makes the board more interesting. Crisp waffles, creamy yogurt, juicy fruit, and crunchy nuts provide variety in every serving.
Tools for This Recipe
- Heart-shaped waffle maker
- Large mixing bowl
- Medium mixing bowl
- Whisk
- Rubber spatula
- Wire cooling rack
- Large serving board or platter, about 18 x 24 inches
- 3 to 5 small serving bowls
Ingredient Notes
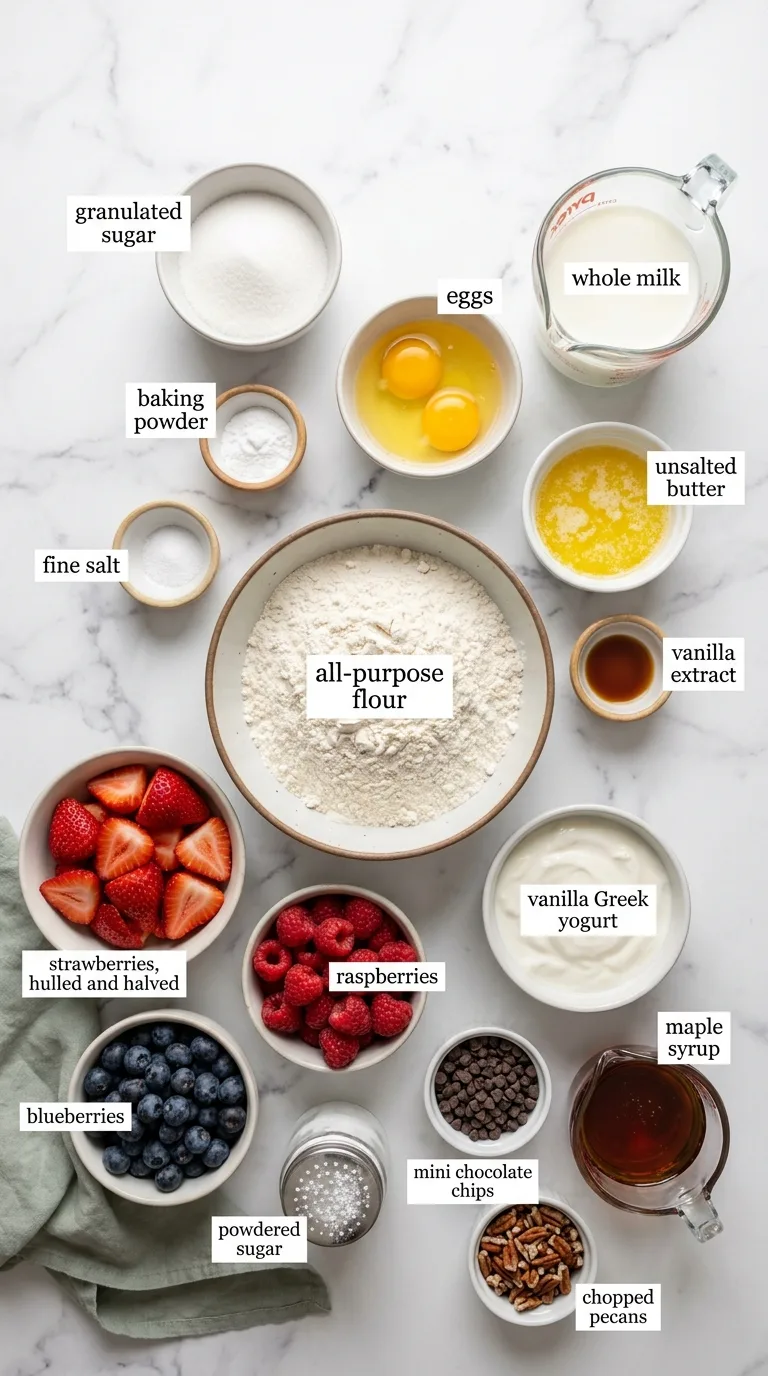
- ■ All-purpose flour: Gives the waffles enough structure while keeping them tender. A 1-to-1 gluten-free baking flour can work, but texture may vary slightly depending on the blend.
- ■ Whole milk: Creates a rich waffle batter. 2% milk can replace it for a slightly lighter texture.
- ■ Unsalted butter: Adds flavor and helps the waffles brown. Melted coconut oil can replace it, although it may add a subtle coconut flavor.
- ■ Greek yogurt: Adds creamy, tangy contrast to the sweet waffles and fruit. Whipped cream can replace it, but it is lighter and less tangy and should be added shortly before serving.
- ■ Berries: Provide color, freshness, and acidity. Blackberries can replace the raspberries or blueberries, while sliced bananas can add another fruit option.
Step-by-Step Method
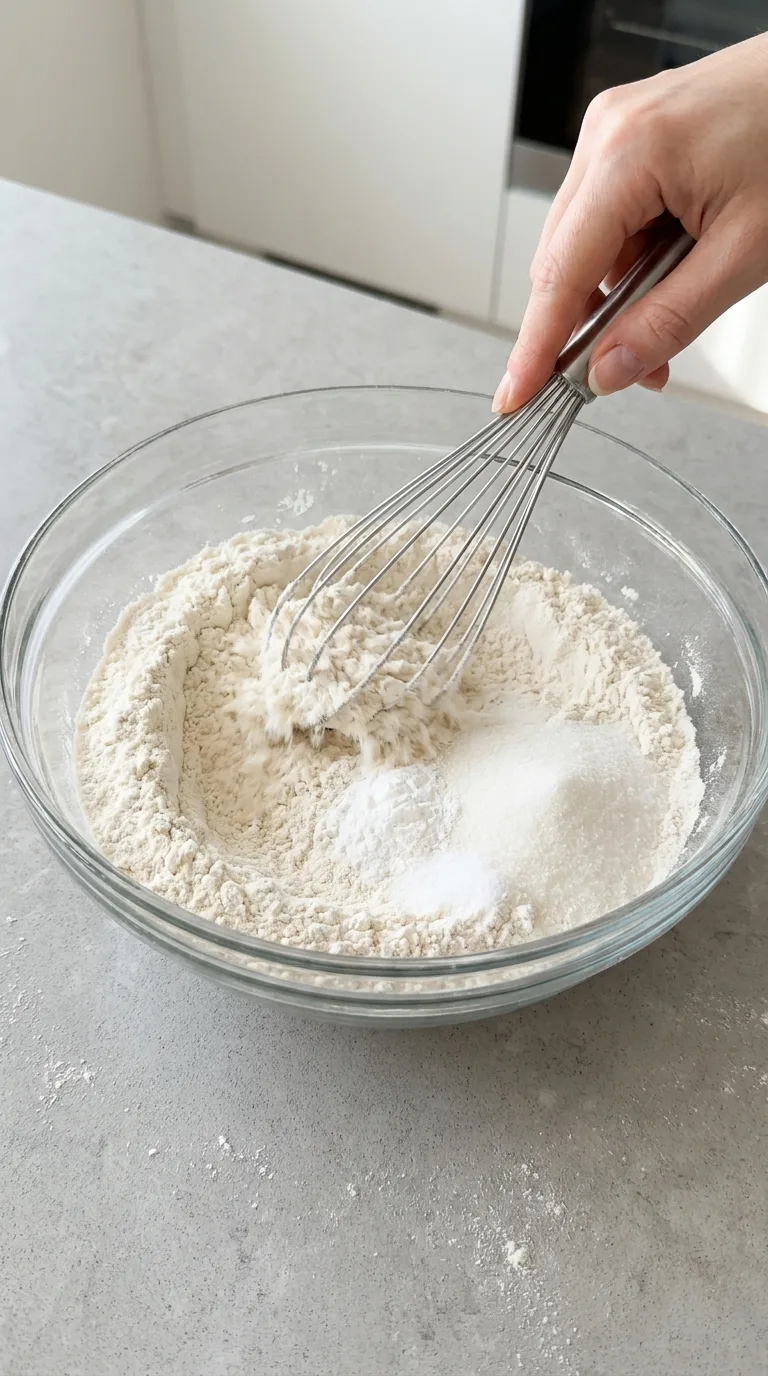
- Prepare the waffle batter. In a large bowl, whisk together the flour, sugar, baking powder, and salt. In a separate medium bowl, whisk the eggs, milk, melted butter, and vanilla until smooth.

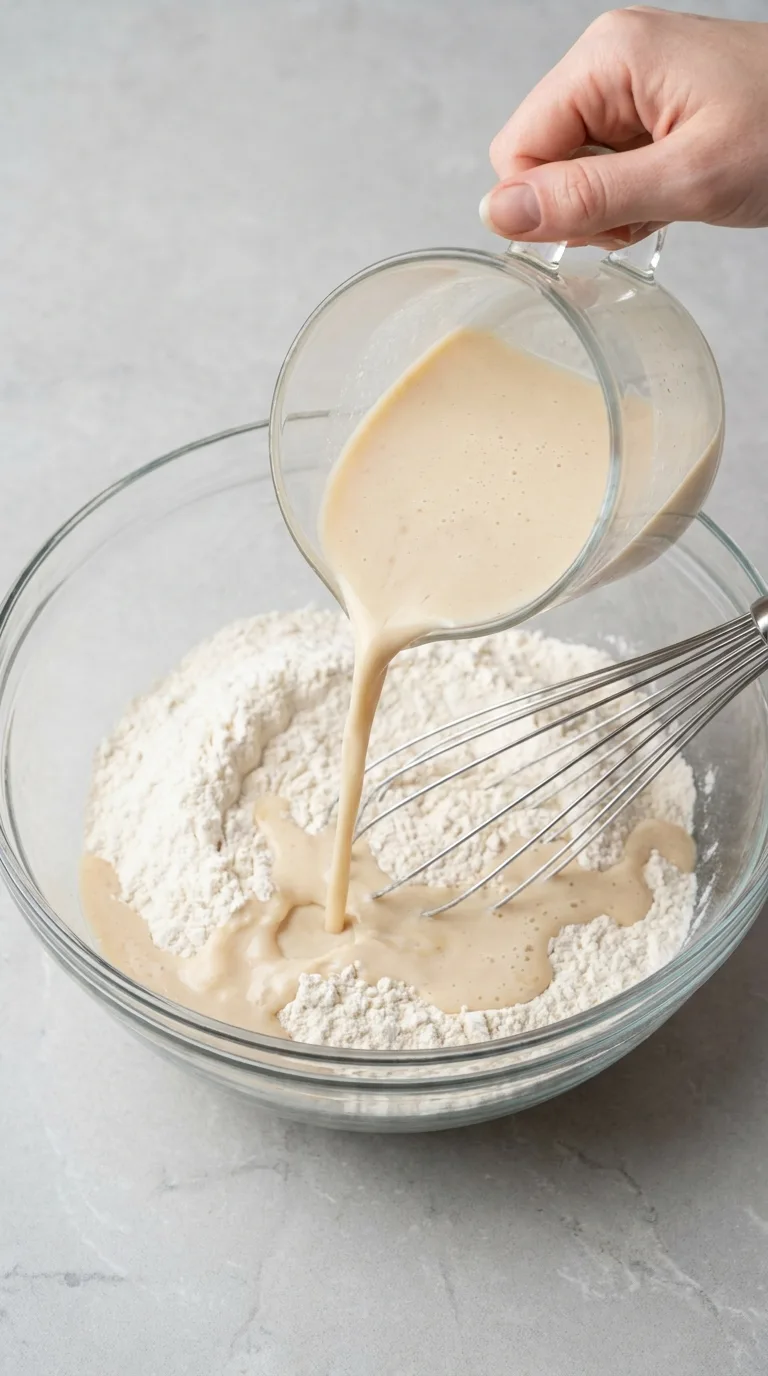
- Combine the wet and dry ingredients. Pour the wet mixture into the dry ingredients. Stir gently with a rubber spatula just until no large pockets of dry flour remain. A few small lumps are fine. Do not overmix, or the waffles may become tough.
- Rest the batter. Let the batter rest for 10 minutes at room temperature. It should thicken slightly while remaining easy to pour.
- Preheat the waffle maker. Heat the heart-shaped waffle maker according to the manufacturer's instructions. Lightly grease it if required by your waffle maker.
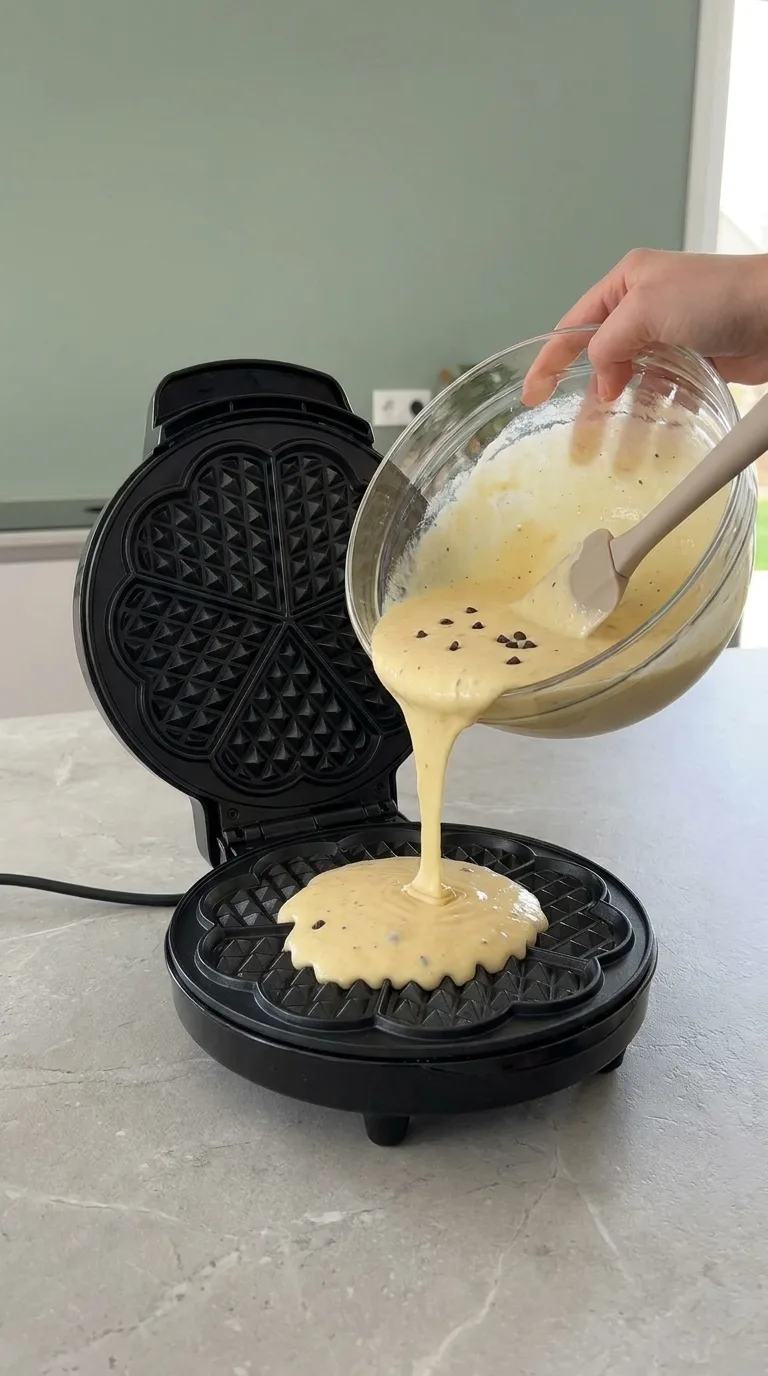
- Cook the waffles. Add enough batter to fill the waffle plates without overflowing. Close the waffle maker and cook until the waffle is golden brown and releases easily, usually about 3 to 5 minutes depending on the appliance. Repeat with the remaining batter.
- Keep the waffles crisp. Transfer cooked waffles to a wire rack rather than stacking them immediately. Stacking traps steam and can soften the exterior.
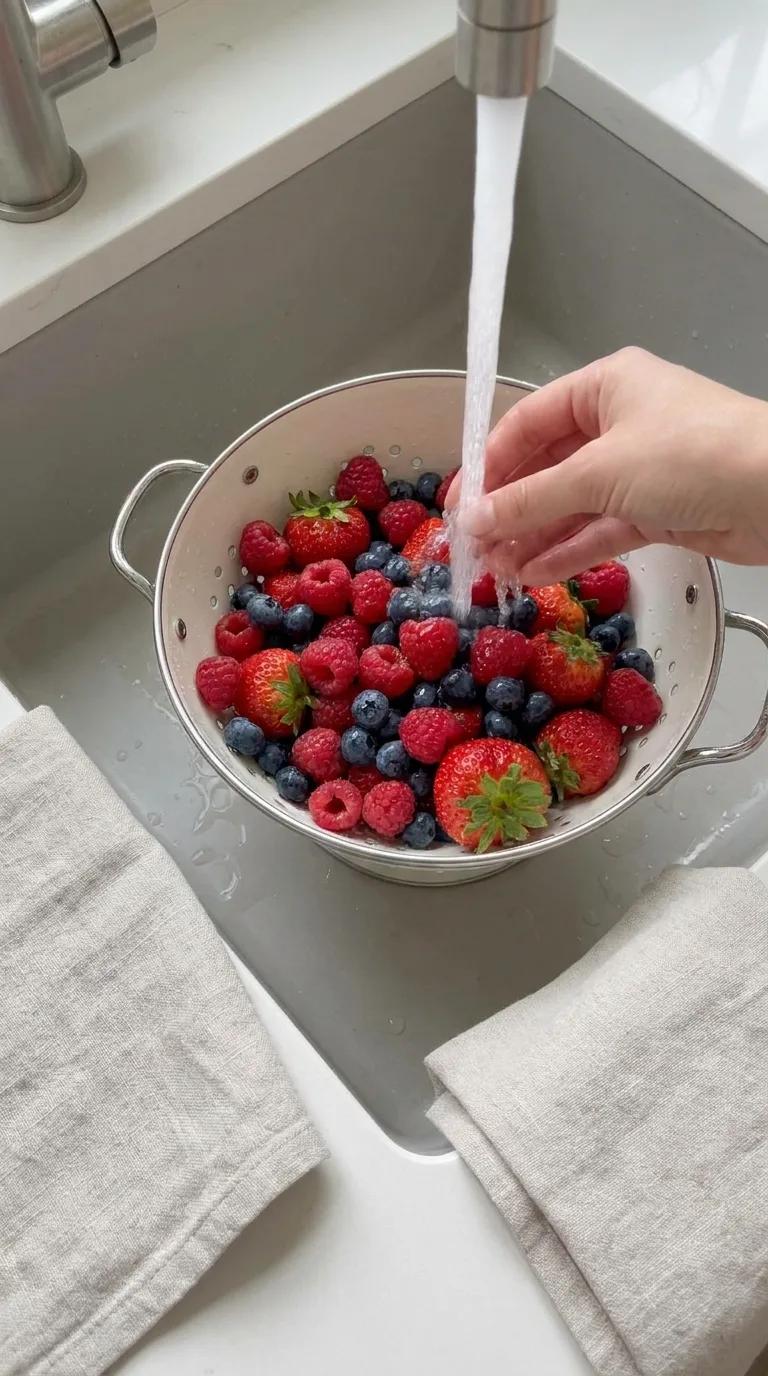
- Prepare the fruit. Wash the strawberries, raspberries, and blueberries. Pat them dry thoroughly so excess moisture does not make the board soggy.
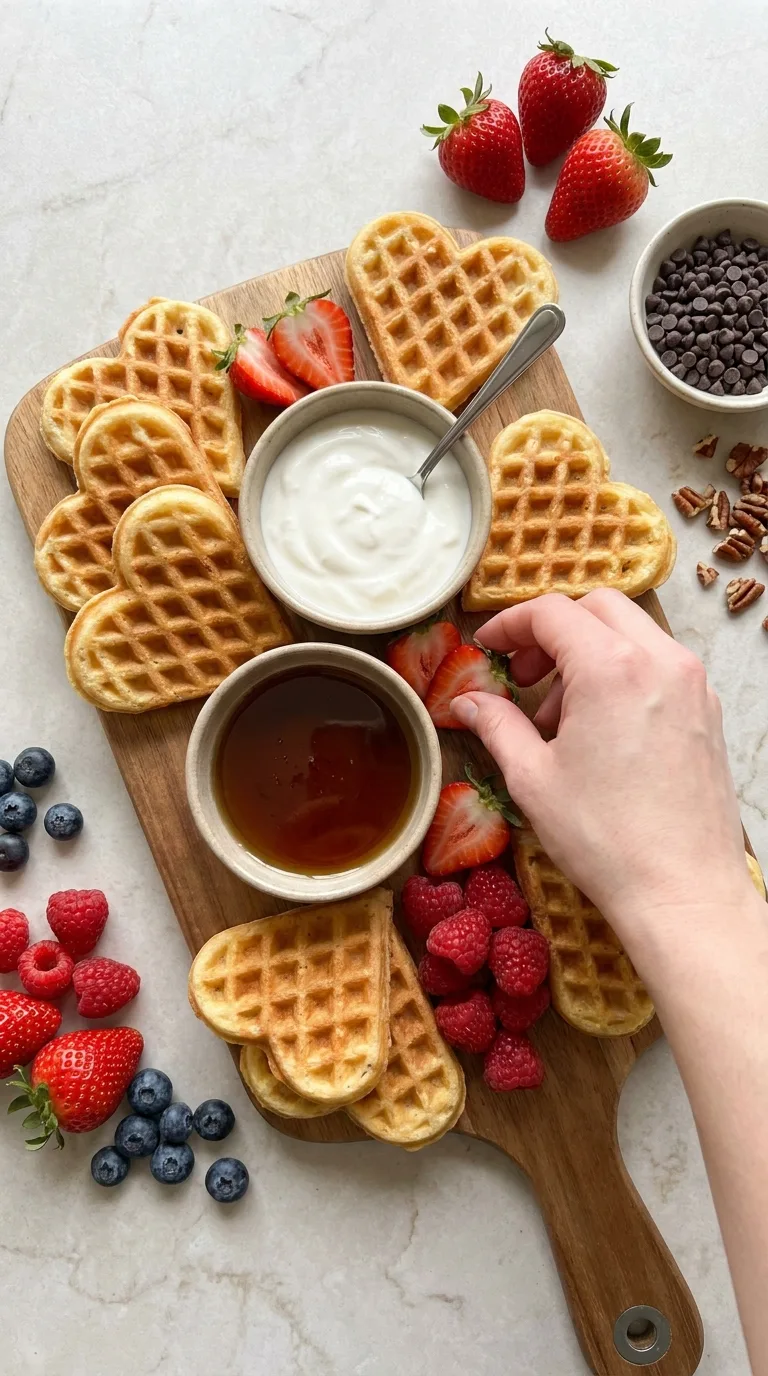
- Set up the board. Place the small bowls of Greek yogurt and maple syrup on the serving board first. Add the chocolate chips and chopped pecans to separate small bowls or clusters.
- Arrange the waffles and fruit. Place the heart-shaped waffles around the bowls, leaving some open spaces for fruit. Fill the remaining spaces with strawberries, raspberries, and blueberries in distinct clusters.
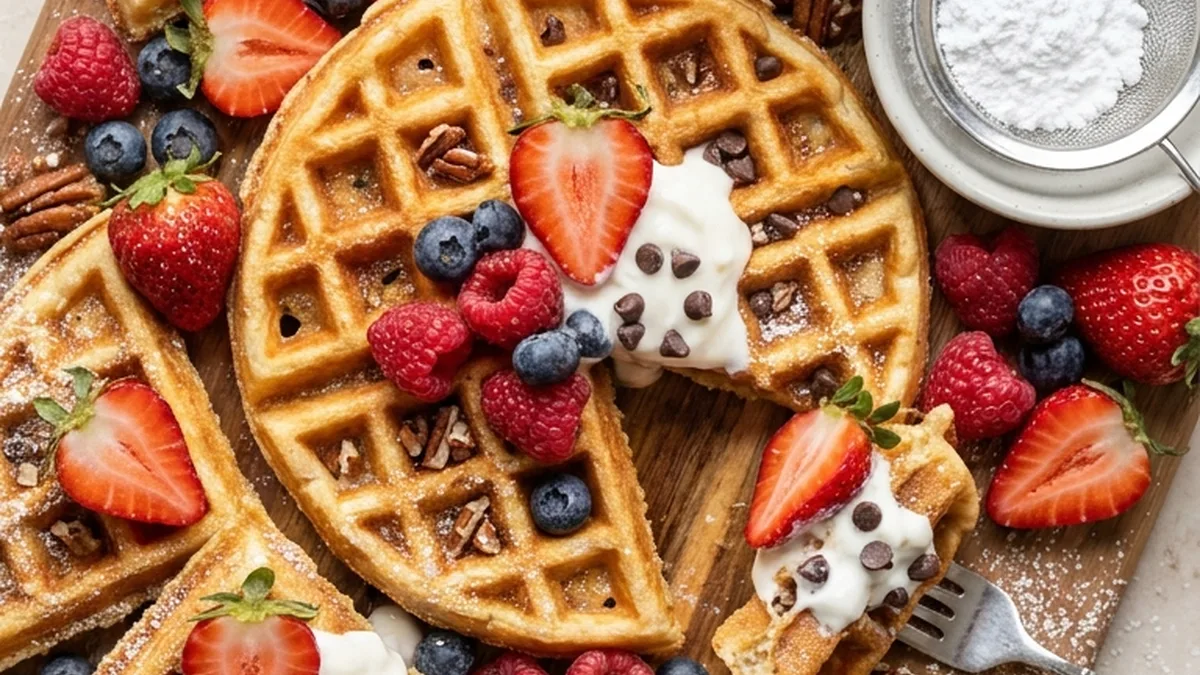
- Finish the board. Dust the waffles lightly with powdered sugar just before serving. Keep the maple syrup and yogurt accessible so guests can add them to individual waffles.
- Serve immediately. Serve the board while the waffles are still warm and crisp. Provide small plates and forks or let guests build their own combinations directly from the board.
Make-Ahead and Storage Notes
- Cooked waffles can be cooled completely and stored in an airtight container in the refrigerator for up to 3 days. For best texture, reheat them in a toaster or toaster.
- Waffles can also be frozen for up to 2 months. Cool them completely, place parchment paper between layers, and transfer them to a freezer-safe bag or container. Reheat directly from.
- The waffle batter can be prepared up to 1 day ahead and refrigerated in a covered container. Stir gently before cooking; the batter may thicken slightly overnight.
FAQ
Can I use a regular waffle maker?
Yes. A standard waffle maker works well if you do not have a heart-shaped model.
Can I make the waffles ahead of time?
Yes. Cook them up to 3 days ahead and refrigerate them, or freeze them for up to 2 months.
How far ahead can I assemble the waffle board?
For the best texture, assemble it shortly before serving. The fruit and wet toppings can release moisture, which can soften the waffles if the board sits too long.
Can I use frozen berries?
Fresh berries are preferable for the board because they hold their shape better. Frozen berries can become soft and release liquid as they thaw, making them better suited to sauces or compotes than a grazing board.
What other toppings can I add?
You can add sliced bananas, shredded coconut, granola, whipped cream, or additional fresh fruit. Keep wet toppings in small bowls so they do not soften the waffles.
Ingredients
Method
- In a large bowl, whisk together the flour, sugar, baking powder, and salt. In a separate medium bowl, whisk the eggs, milk, melted butter, and vanilla until smooth.
- Pour the wet mixture into the dry ingredients: Stir gently with a rubber spatula just until no large pockets of dry flour remain. A few small lumps are fine. Do not overmix, or the waffles may become tough.
- Let the batter rest for 10 minutes at room temperature. It should thicken slightly while remaining easy to pour.
- Heat the heart-shaped waffle maker according to the manufacturer's instructions. Lightly grease it if required by your waffle maker.
- Add enough batter to fill the waffle plates without overflowing. Close the waffle maker and cook until the waffle is golden brown and releases easily, usually about 3 to 5 minutes depending on the appliance. Repeat with the remaining batter.
- Transfer cooked waffles to a wire rack rather than stacking them immediately. Stacking traps steam and can soften the exterior.
- Wash the strawberries, raspberries, and blueberries: Pat them dry thoroughly so excess moisture does not make the board soggy.
- Place the small bowls of Greek yogurt and maple syrup on the serving board first. Add the chocolate chips and chopped pecans to separate small bowls or clusters.
- Place the heart-shaped waffles around the bowls, leaving some open spaces for fruit. Fill the remaining spaces with strawberries, raspberries, and blueberries in distinct clusters.
- Dust the waffles lightly with powdered sugar just before serving. Keep the maple syrup and yogurt accessible so guests can add them to individual waffles.
- Serve the board while the waffles are still warm and crisp. Provide small plates and forks or let guests build their own combinations directly from the board.